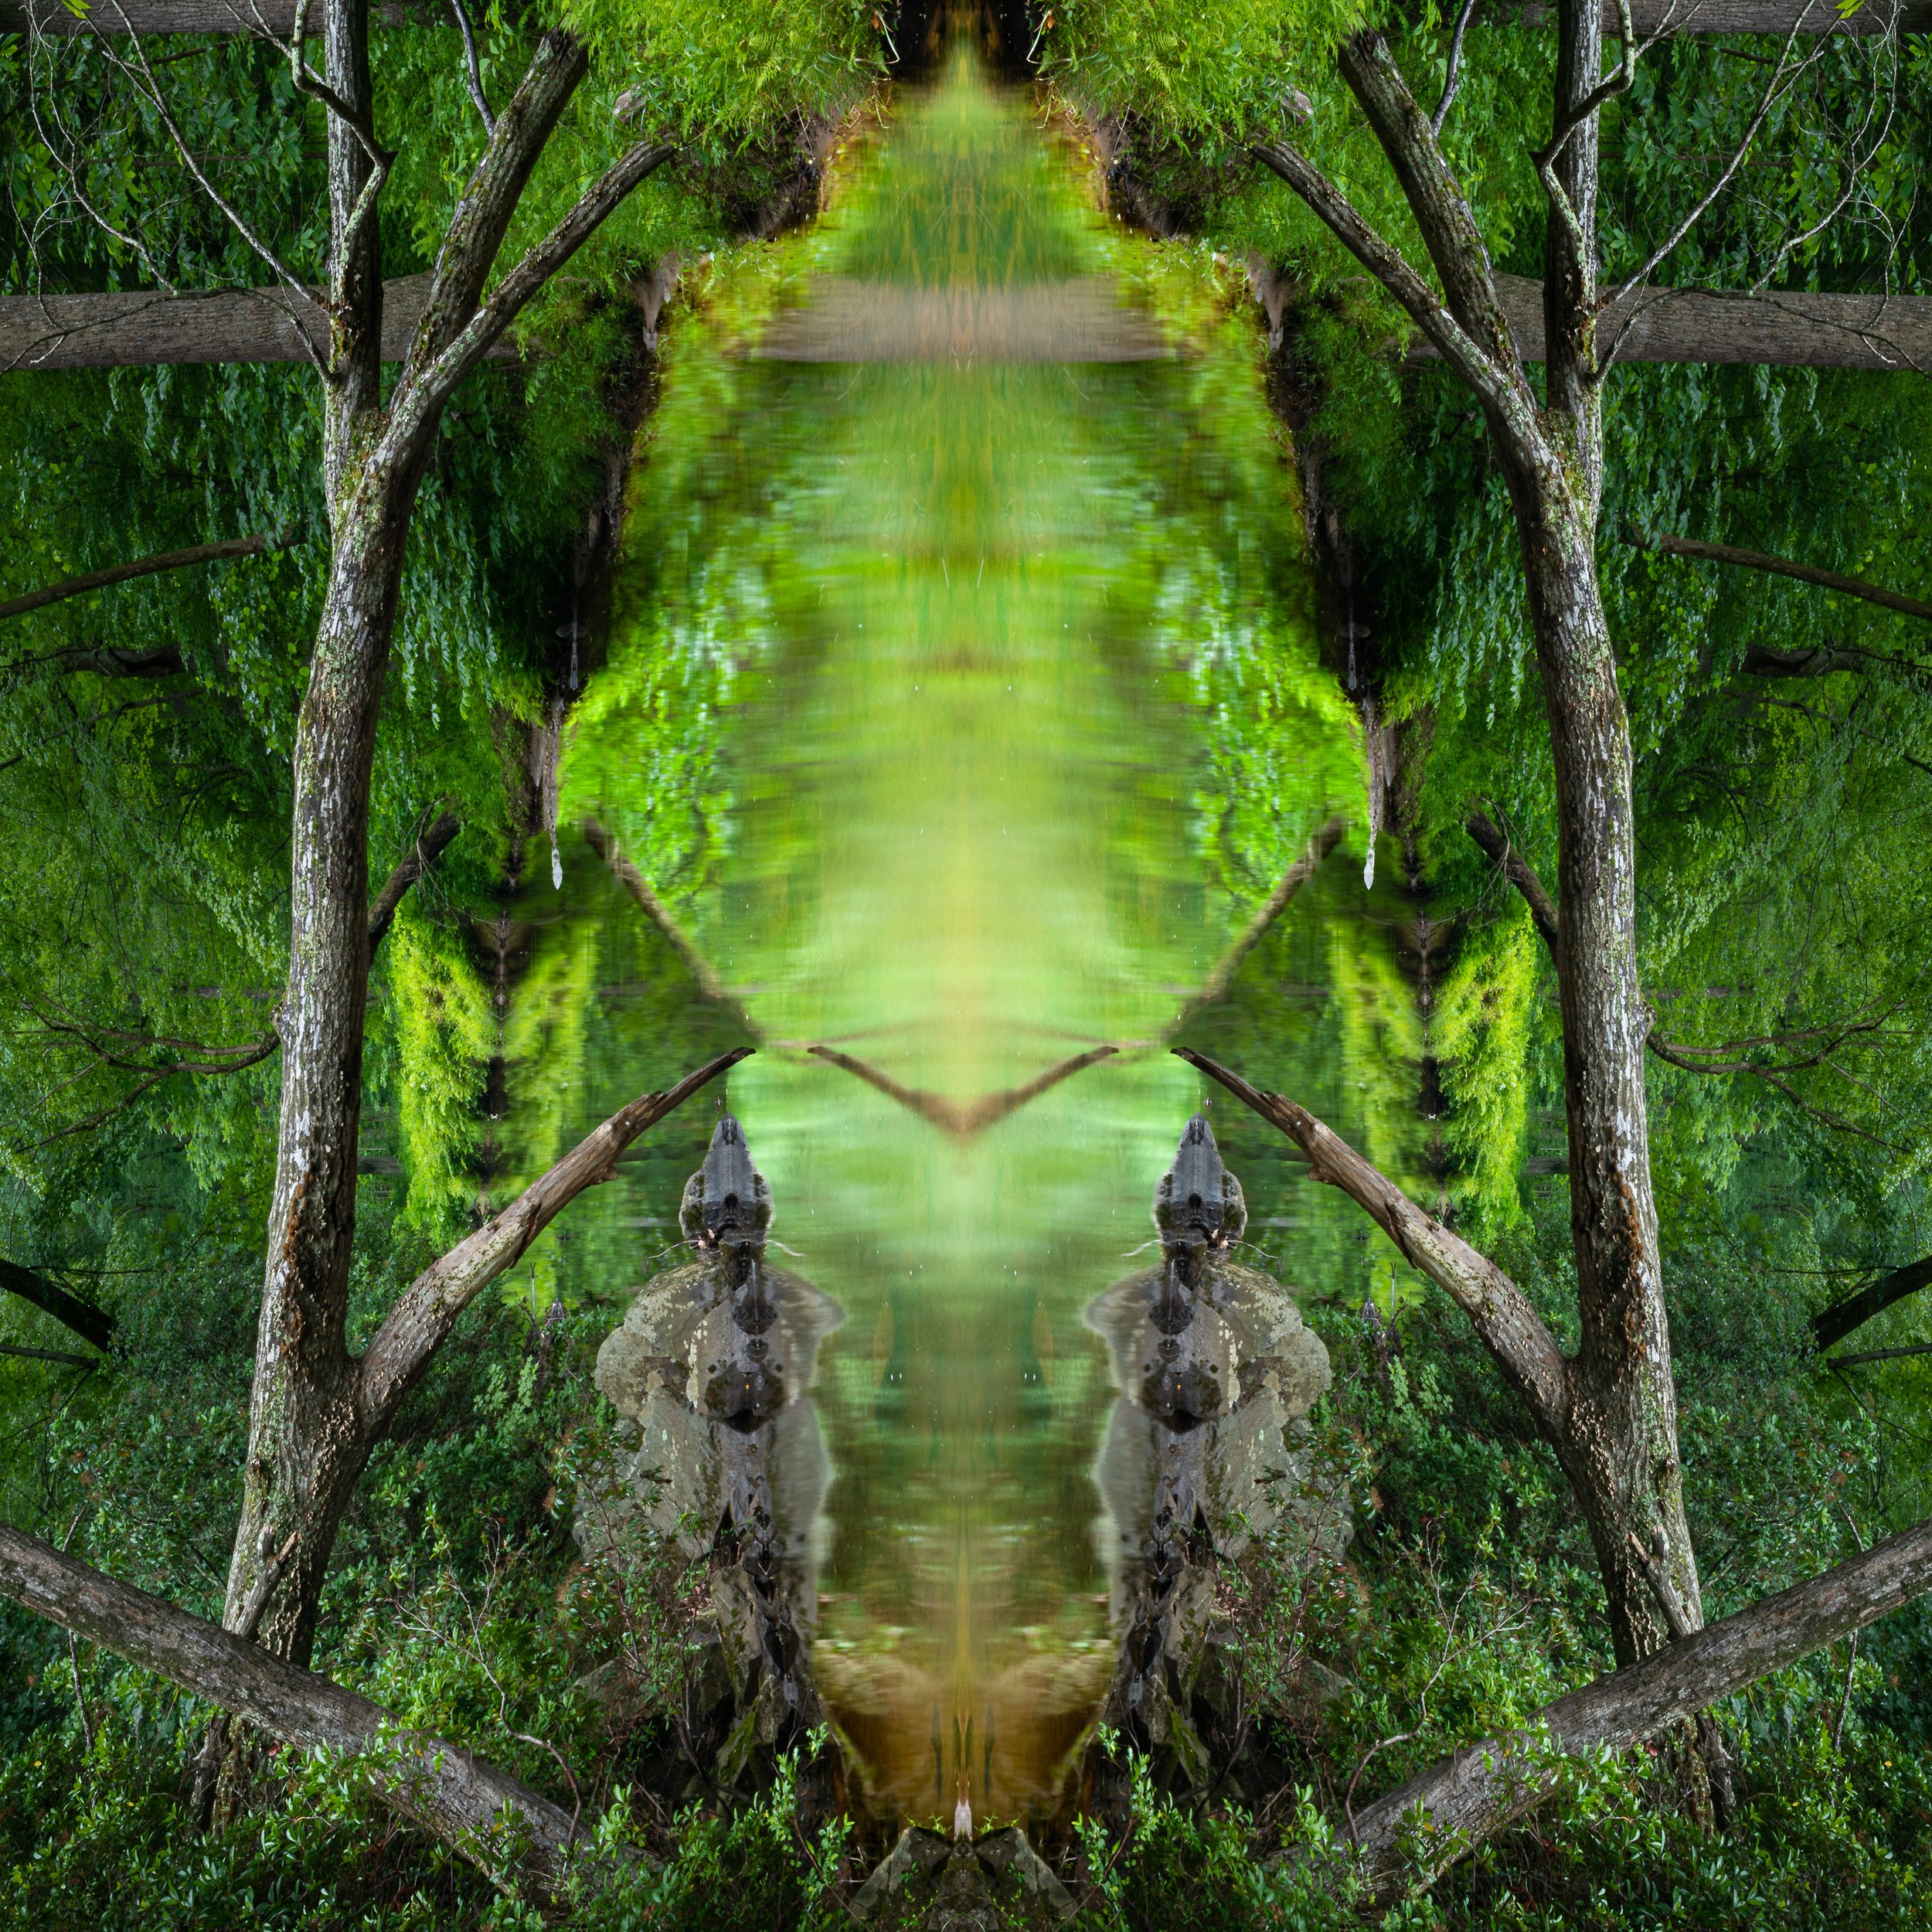
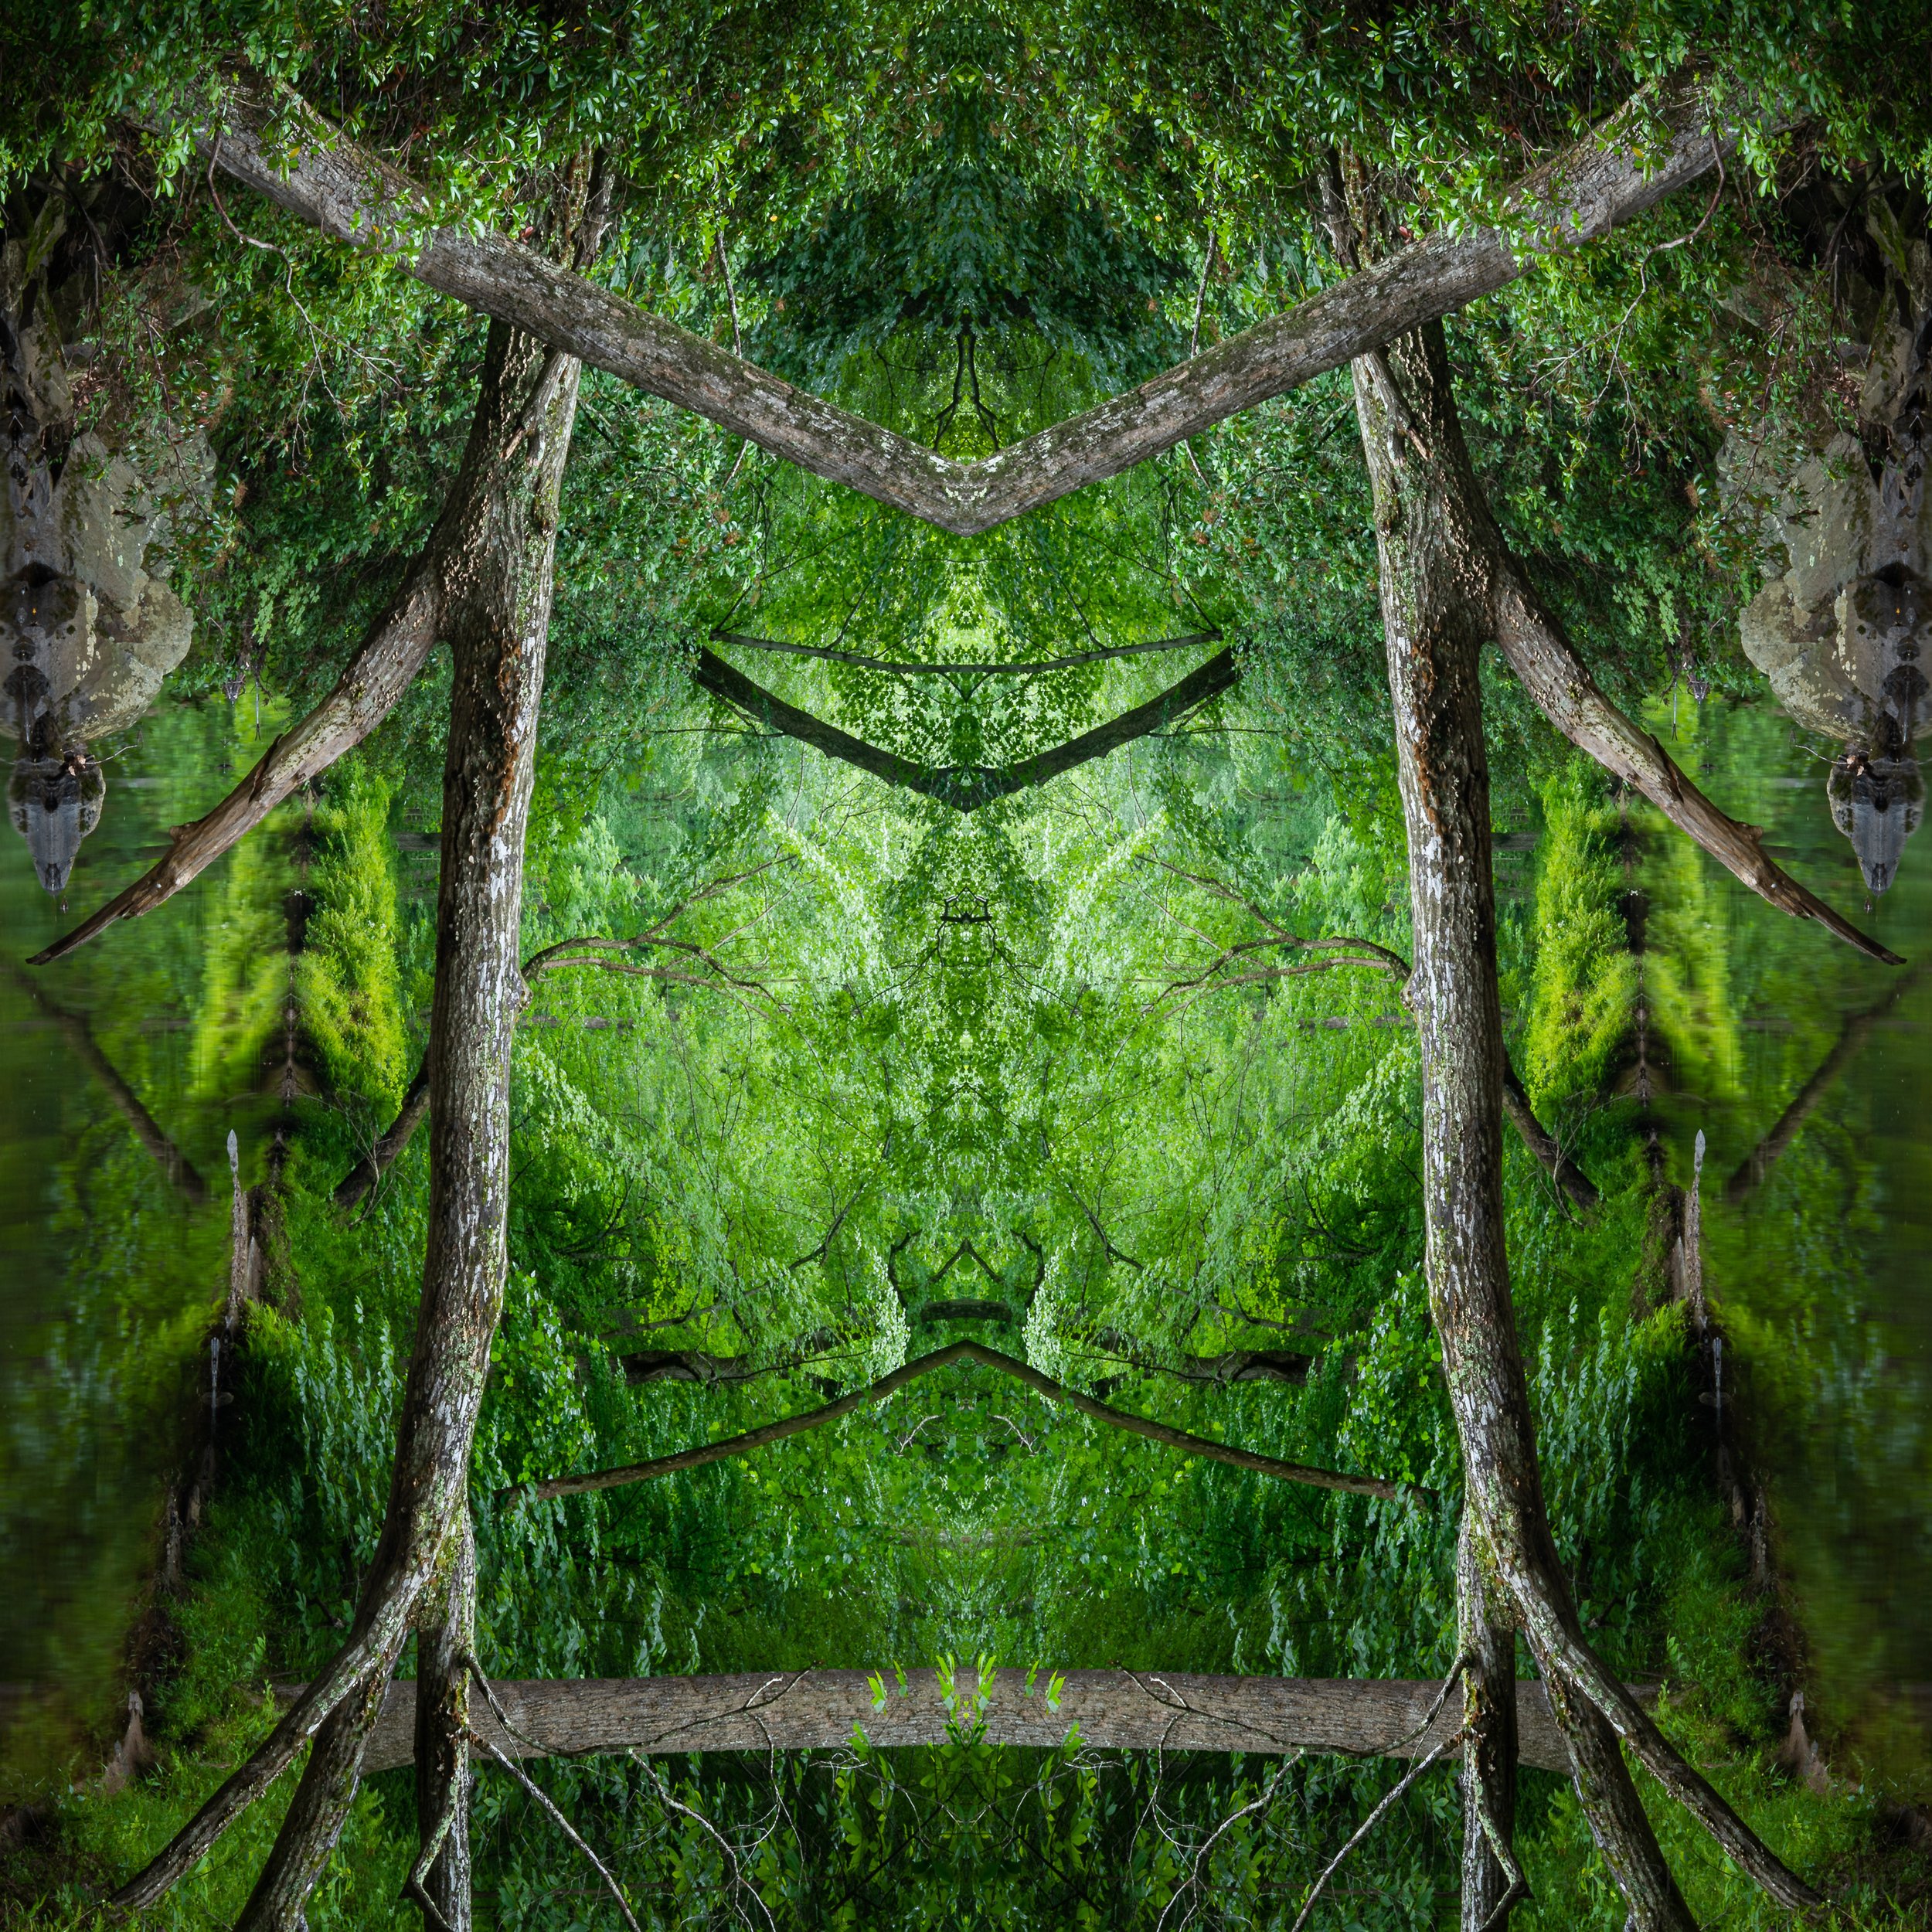
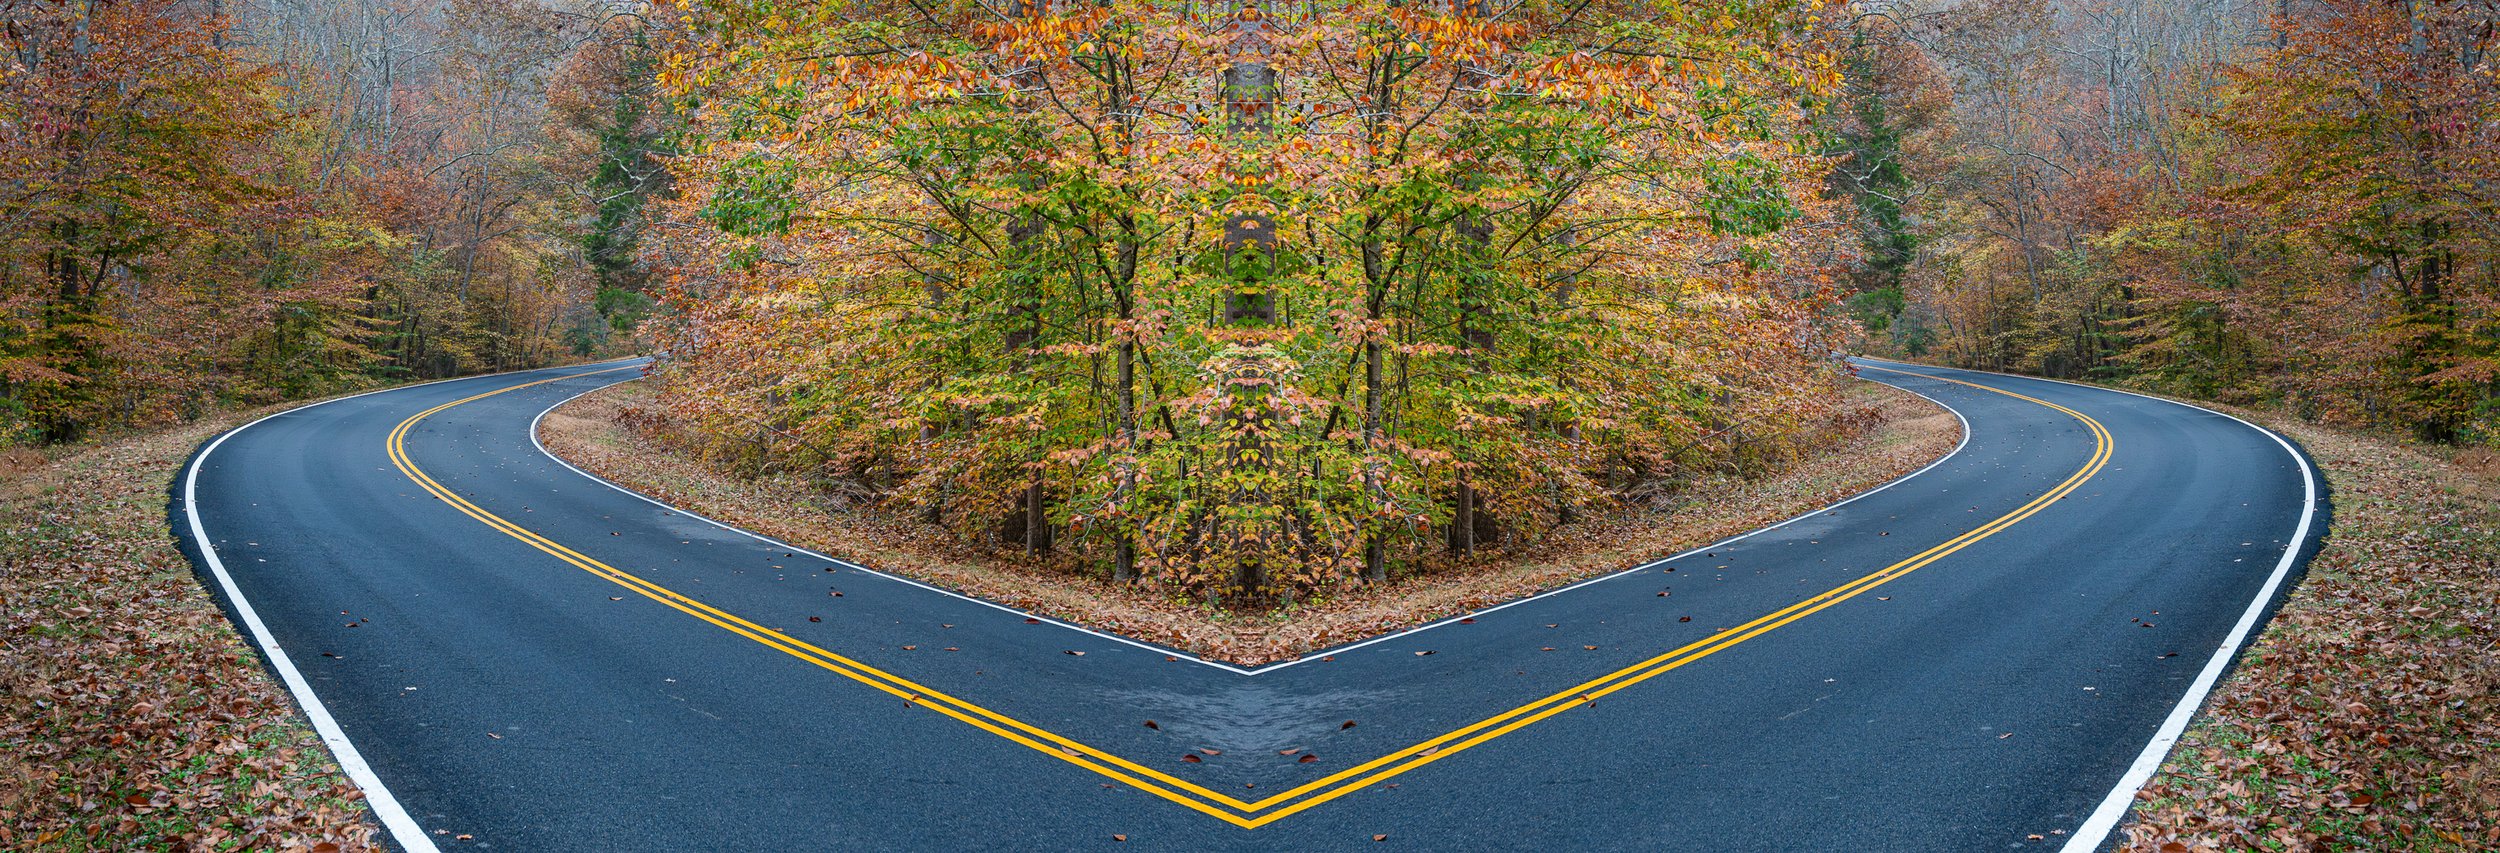
Through the Greenway
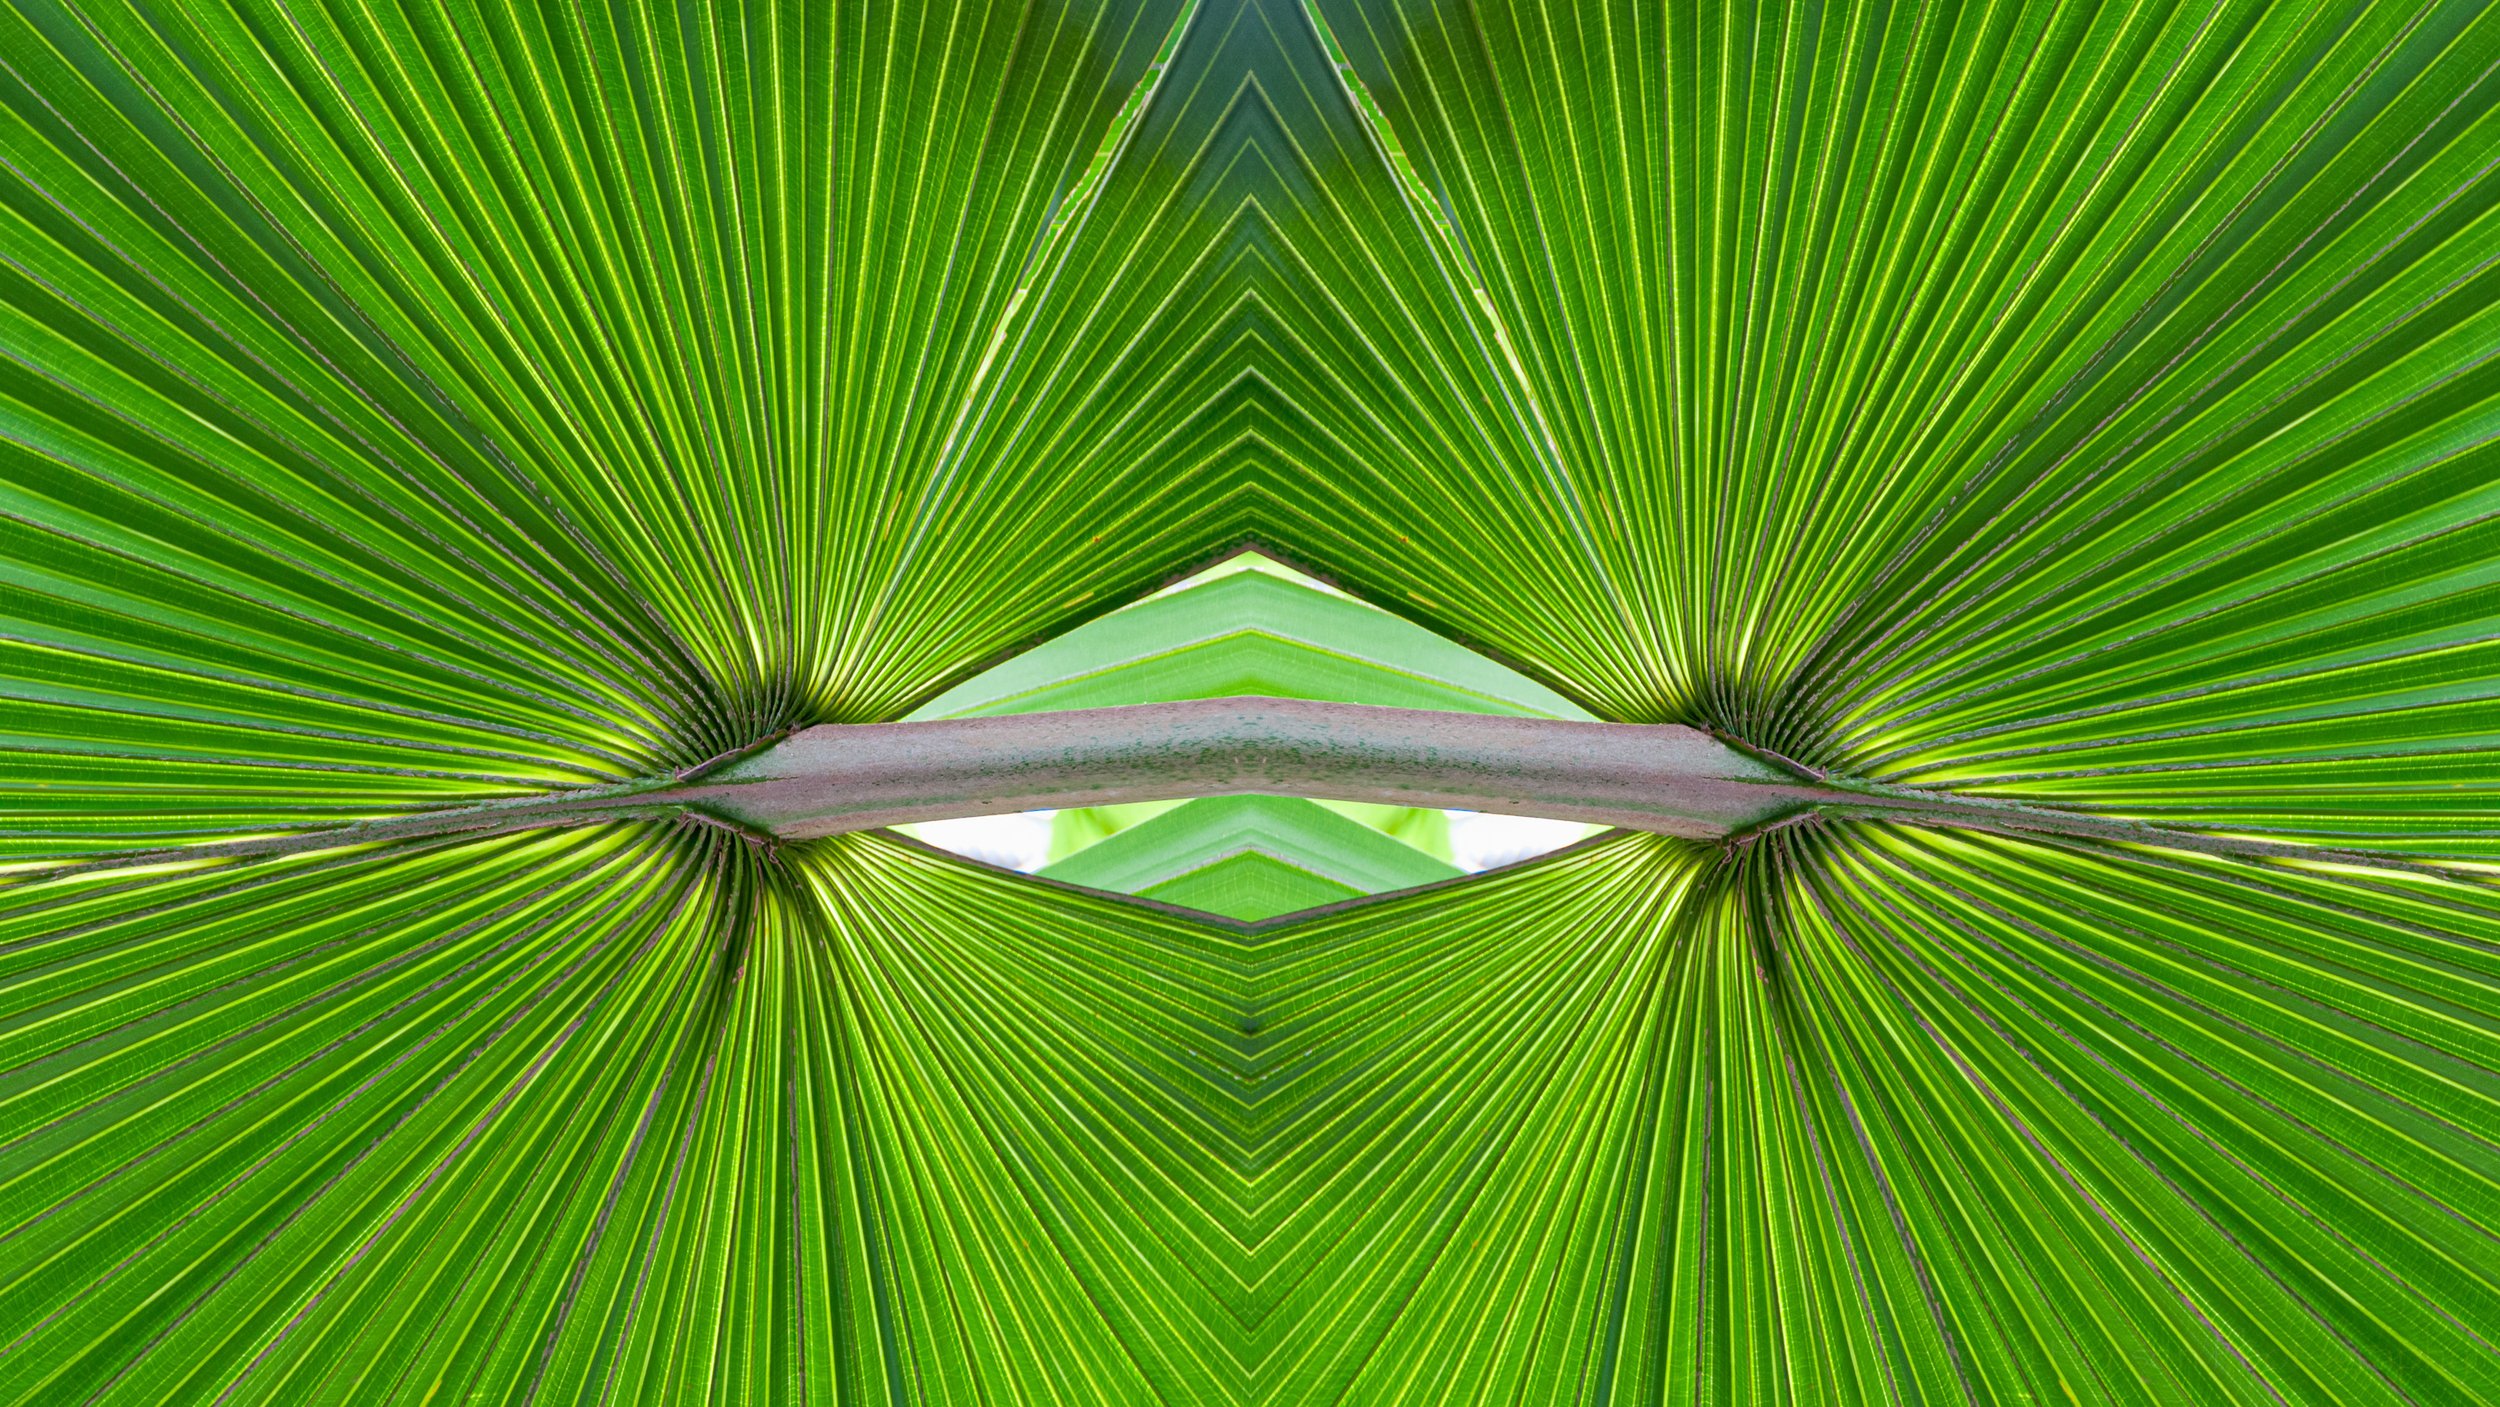
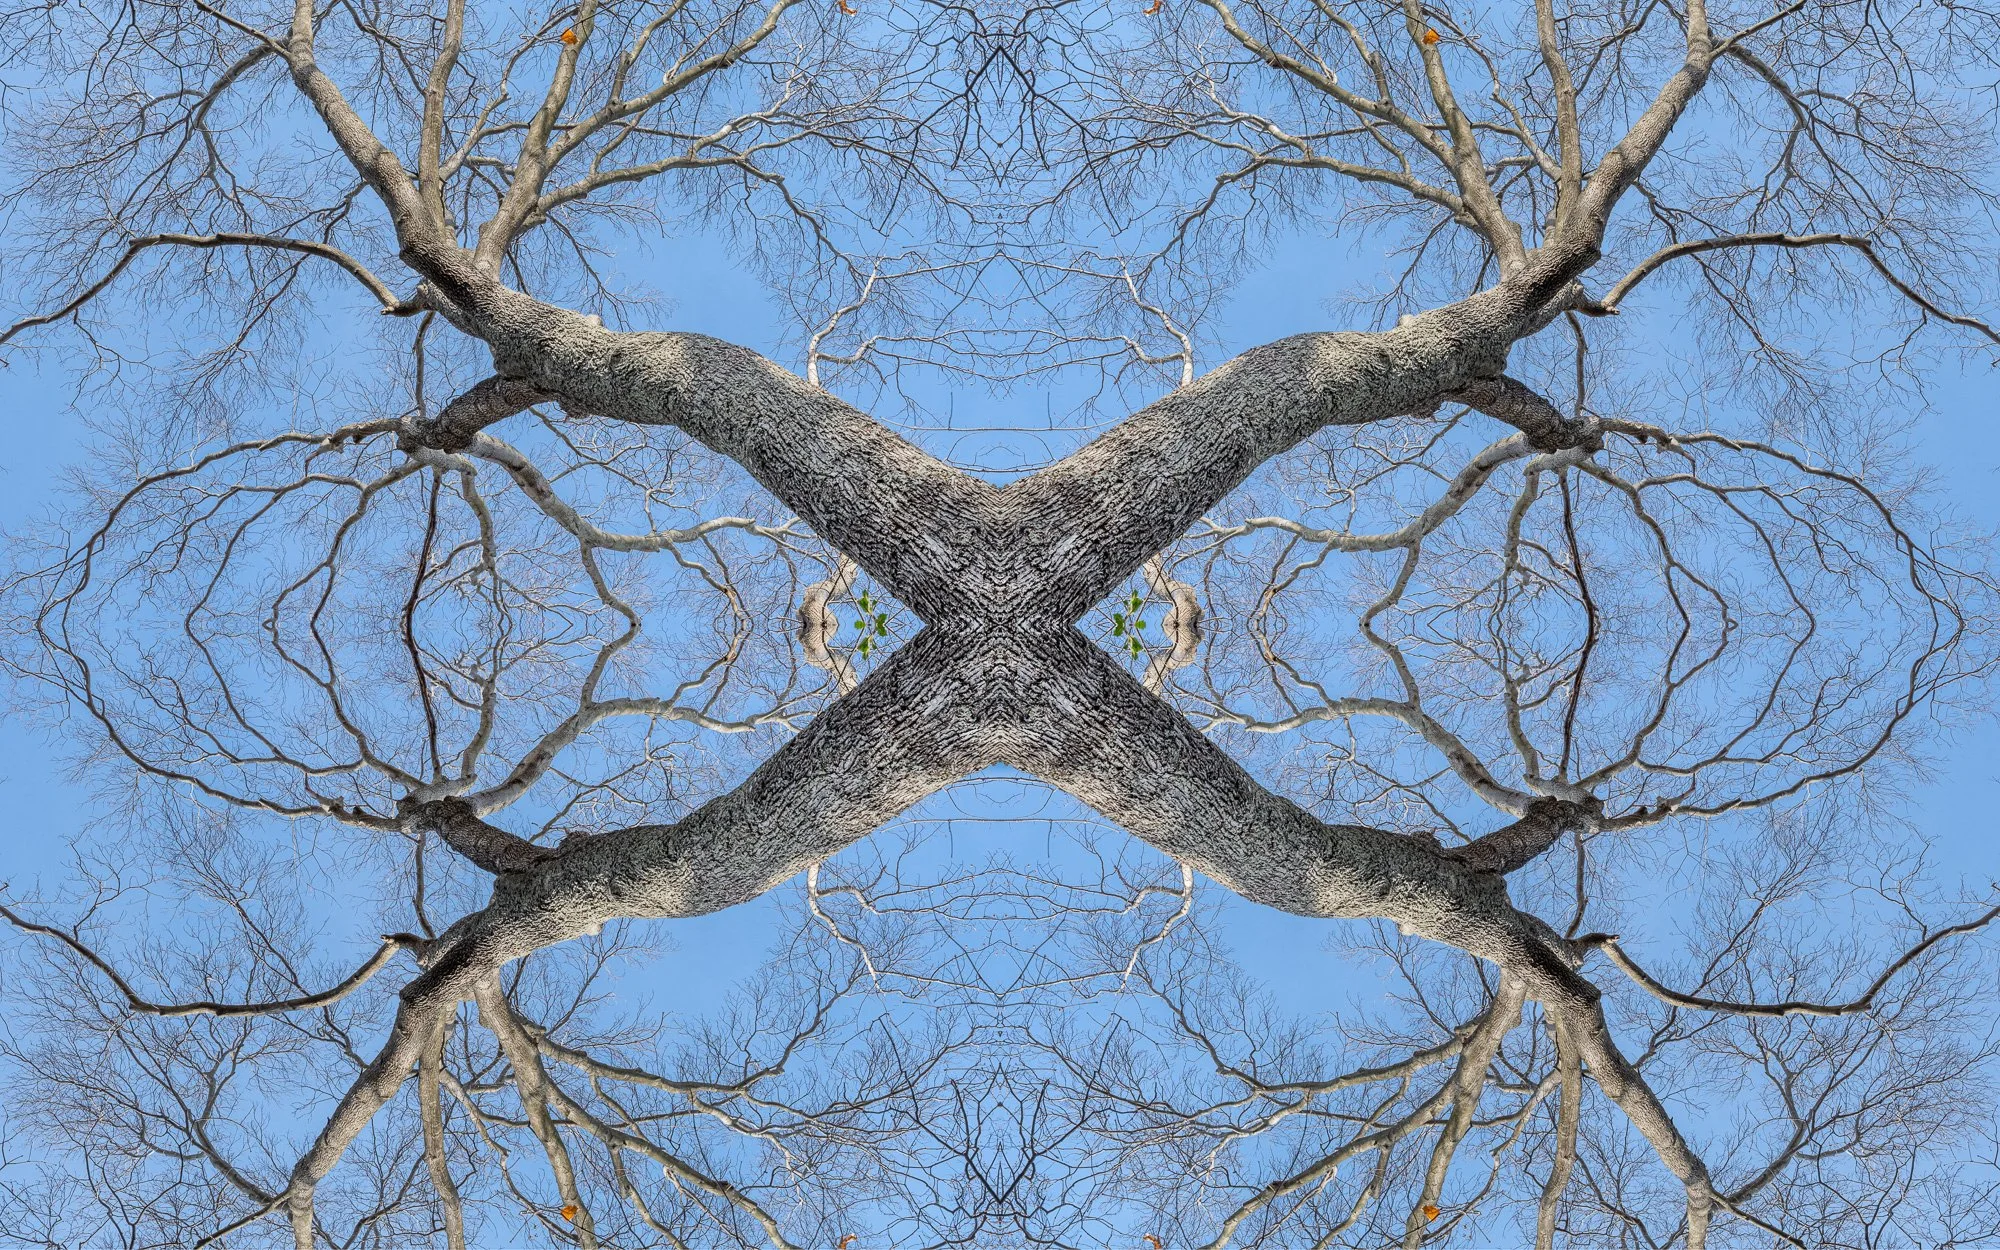
I’ve not been out photographing much lately, nor have I worked much on my photography, both because of the hot and humid weather and due to various family concerns that have occupied my time and thoughts. But I have a great desire to continue regularly creating something to show here each week. Though I initially felt completely uninspired and struggled to find anything in my back catalog to work on or show, I eventually found myself gravitating to a series of photos of palm fronds from a trip to the United States Botanic Garden back in 2009. If you’ve followed my work long enough you may know I enjoy finding images I can flip and stitch together into interesting patterns, and that’s exactly what I’ve done here. I hope you enjoy the results.
Do you enjoy these posts?
Sign up to receive periodic emails with updates and thoughts. Don’t worry, I won’t spam you. And please consider purchasing artwork or products from my online store, and using my affiliate links in the sidebar to the right when shopping online.
I appreciate your support!