water

The Fog in My Head Every Morning by Todd Henson

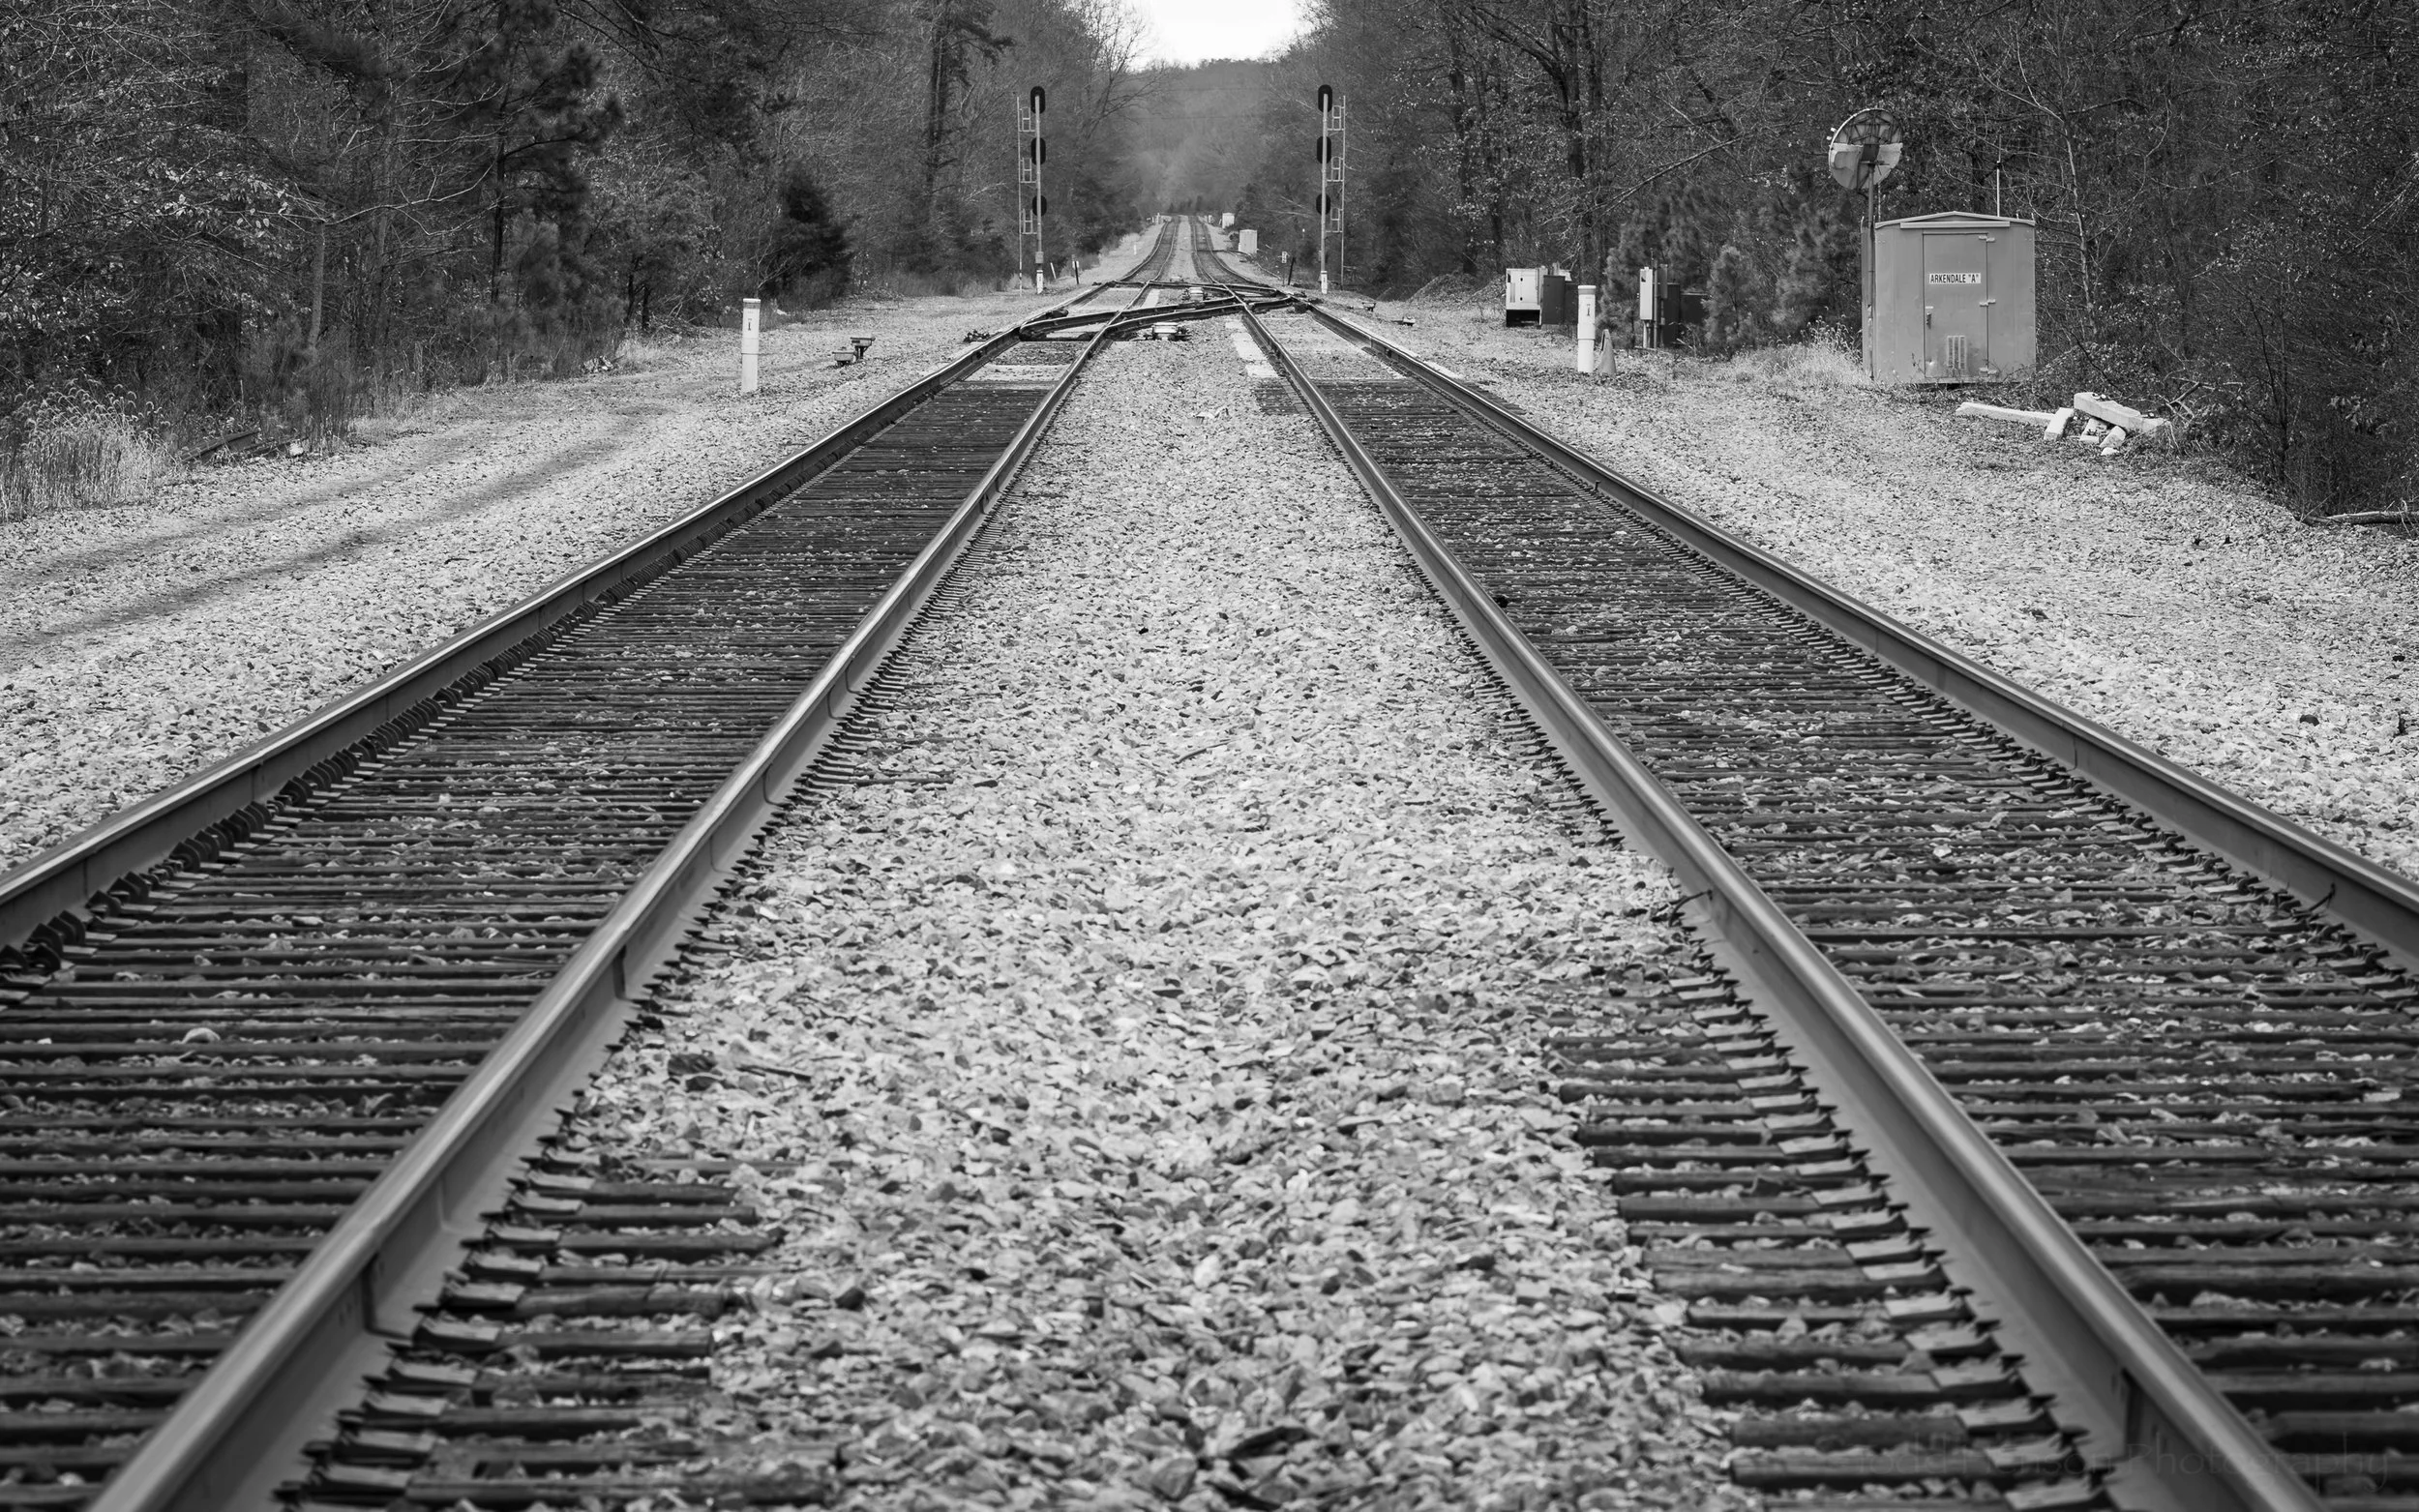
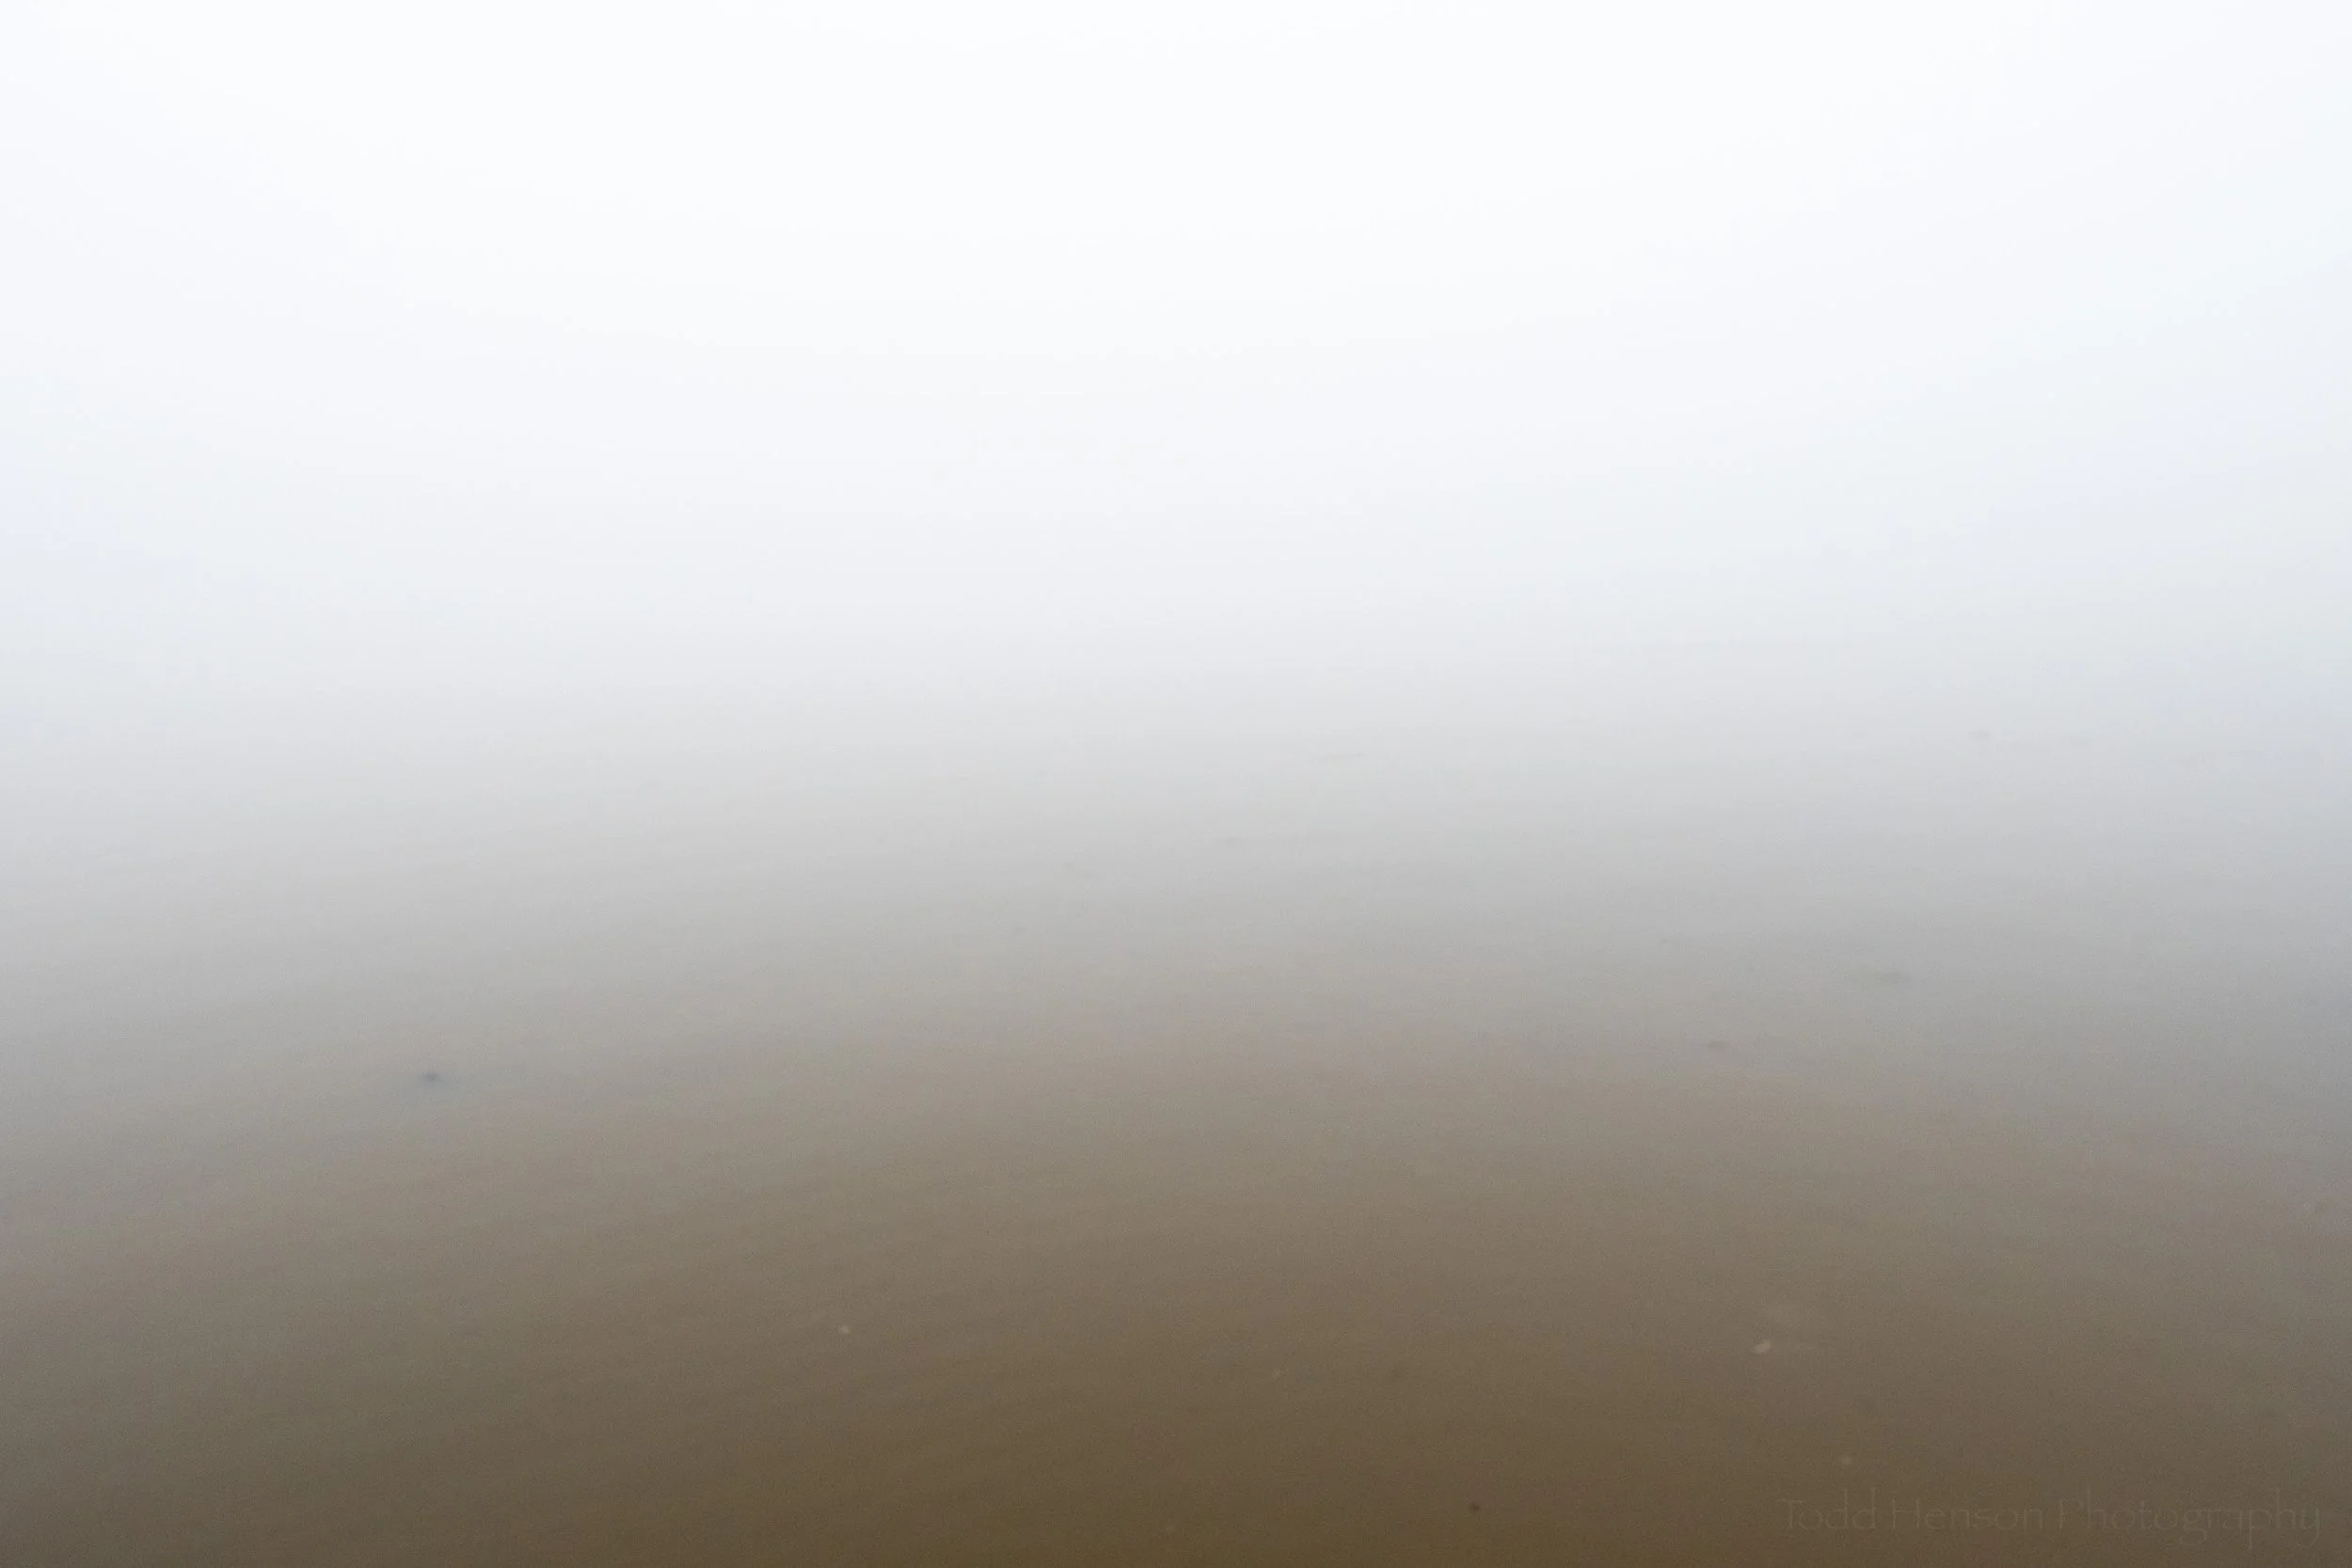
In response to some of the recent foggy photos I’ve posted a friend asked me if I could photograph the fog in their head every morning. That resulted in what follows.

The Fog in My Head Every Morning

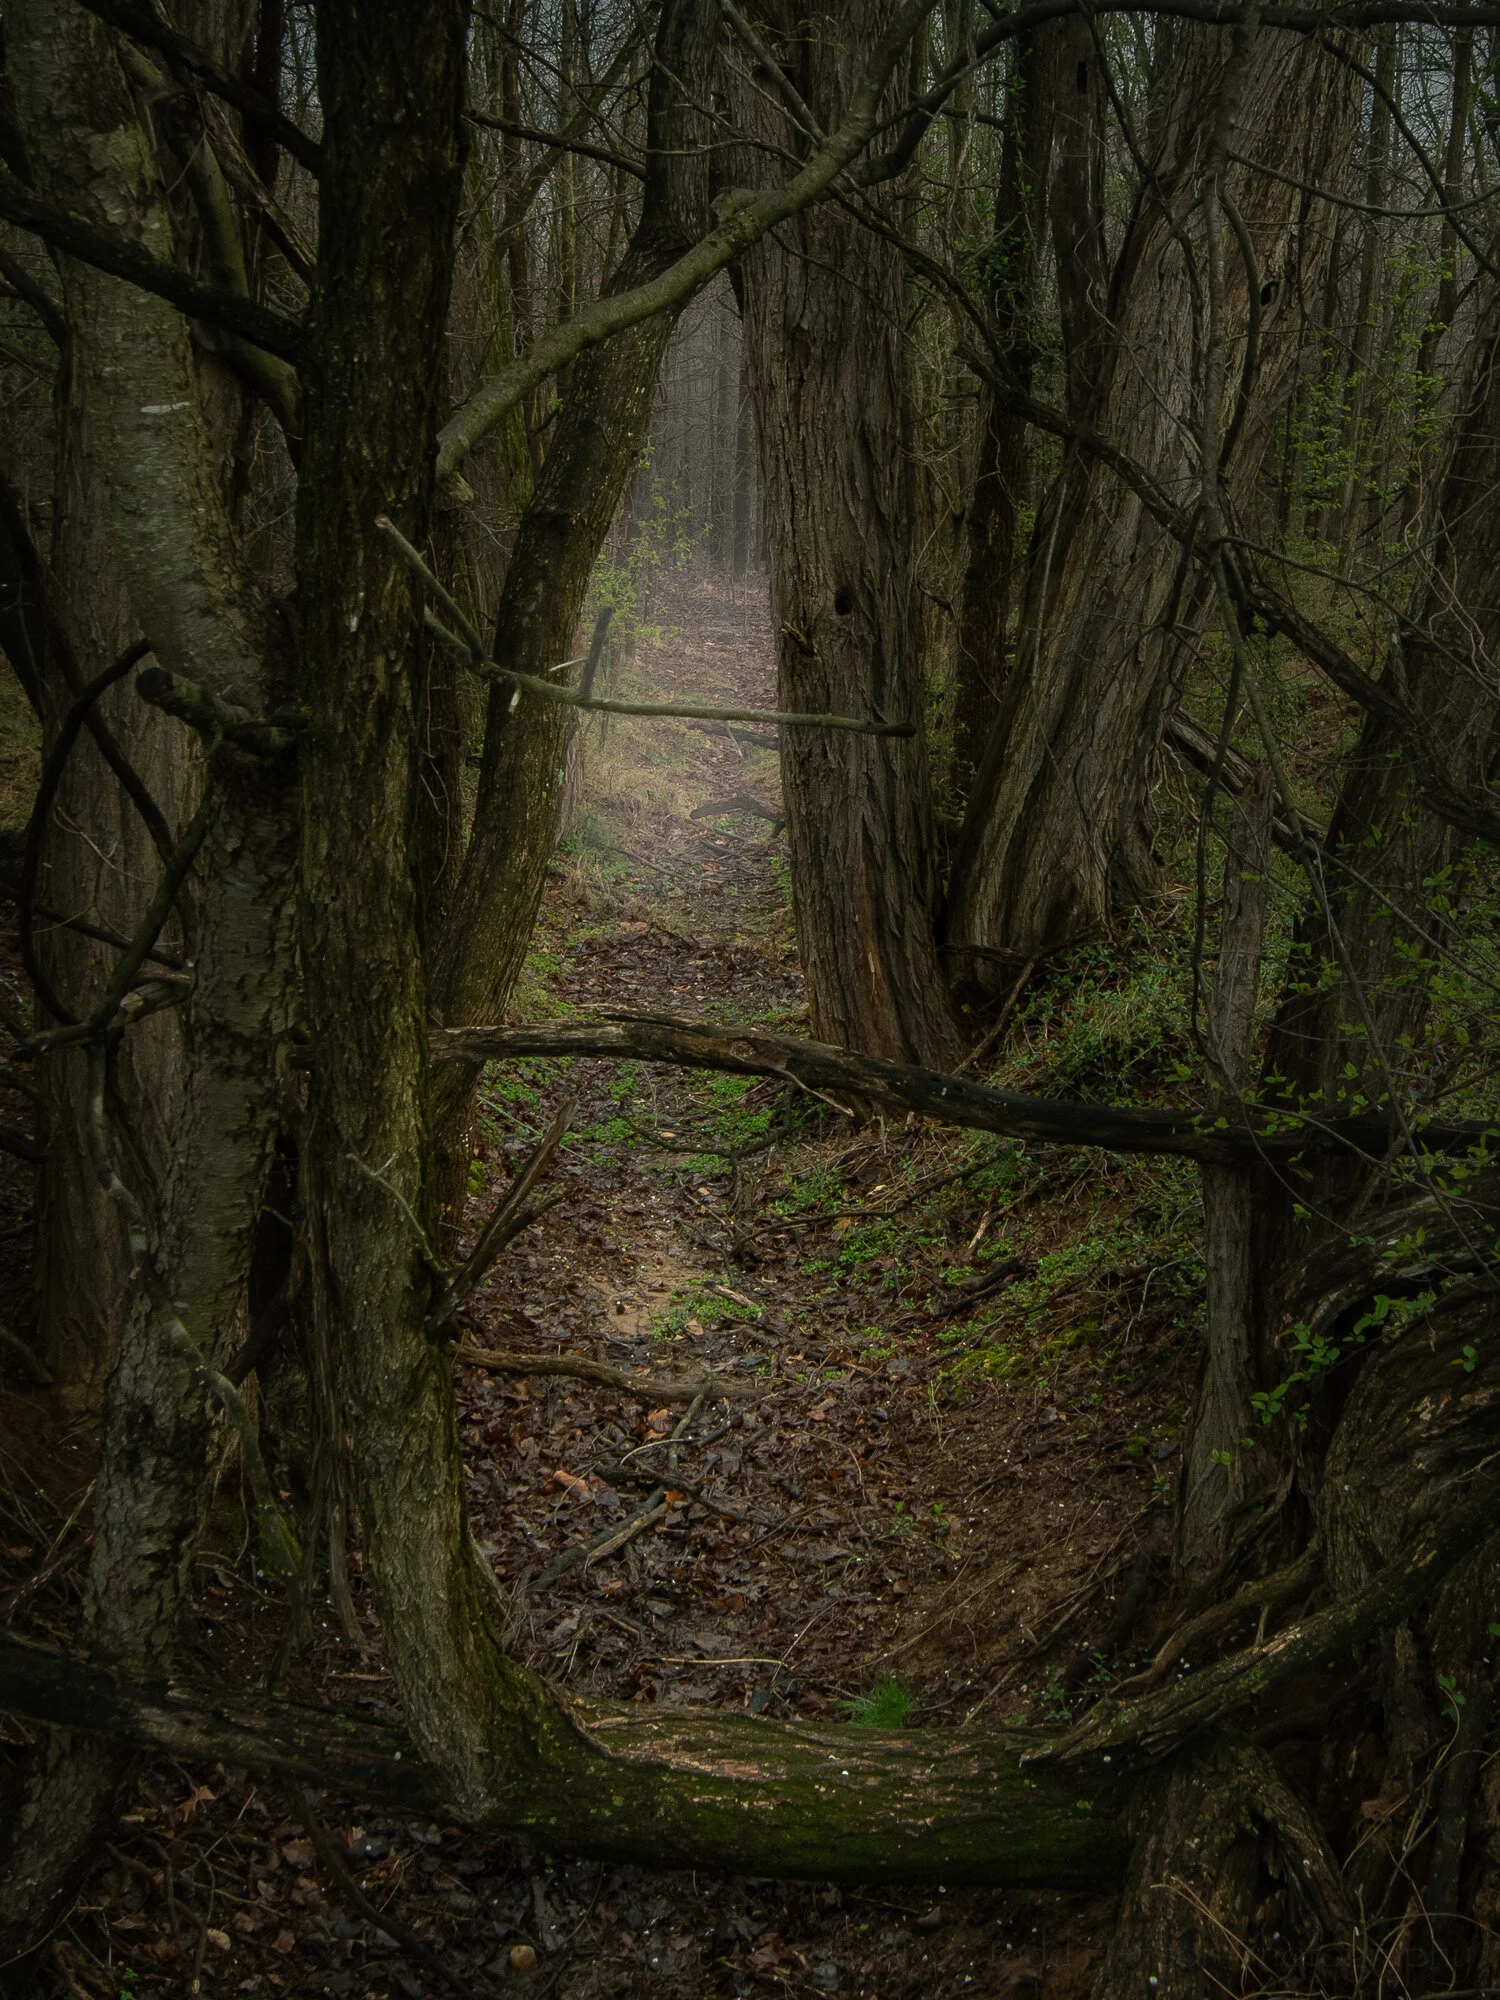
I awake and all around me the world is hidden in fog. I can almost make out little details close in but they quickly disappear into the white mist.

The fog in my head every morning

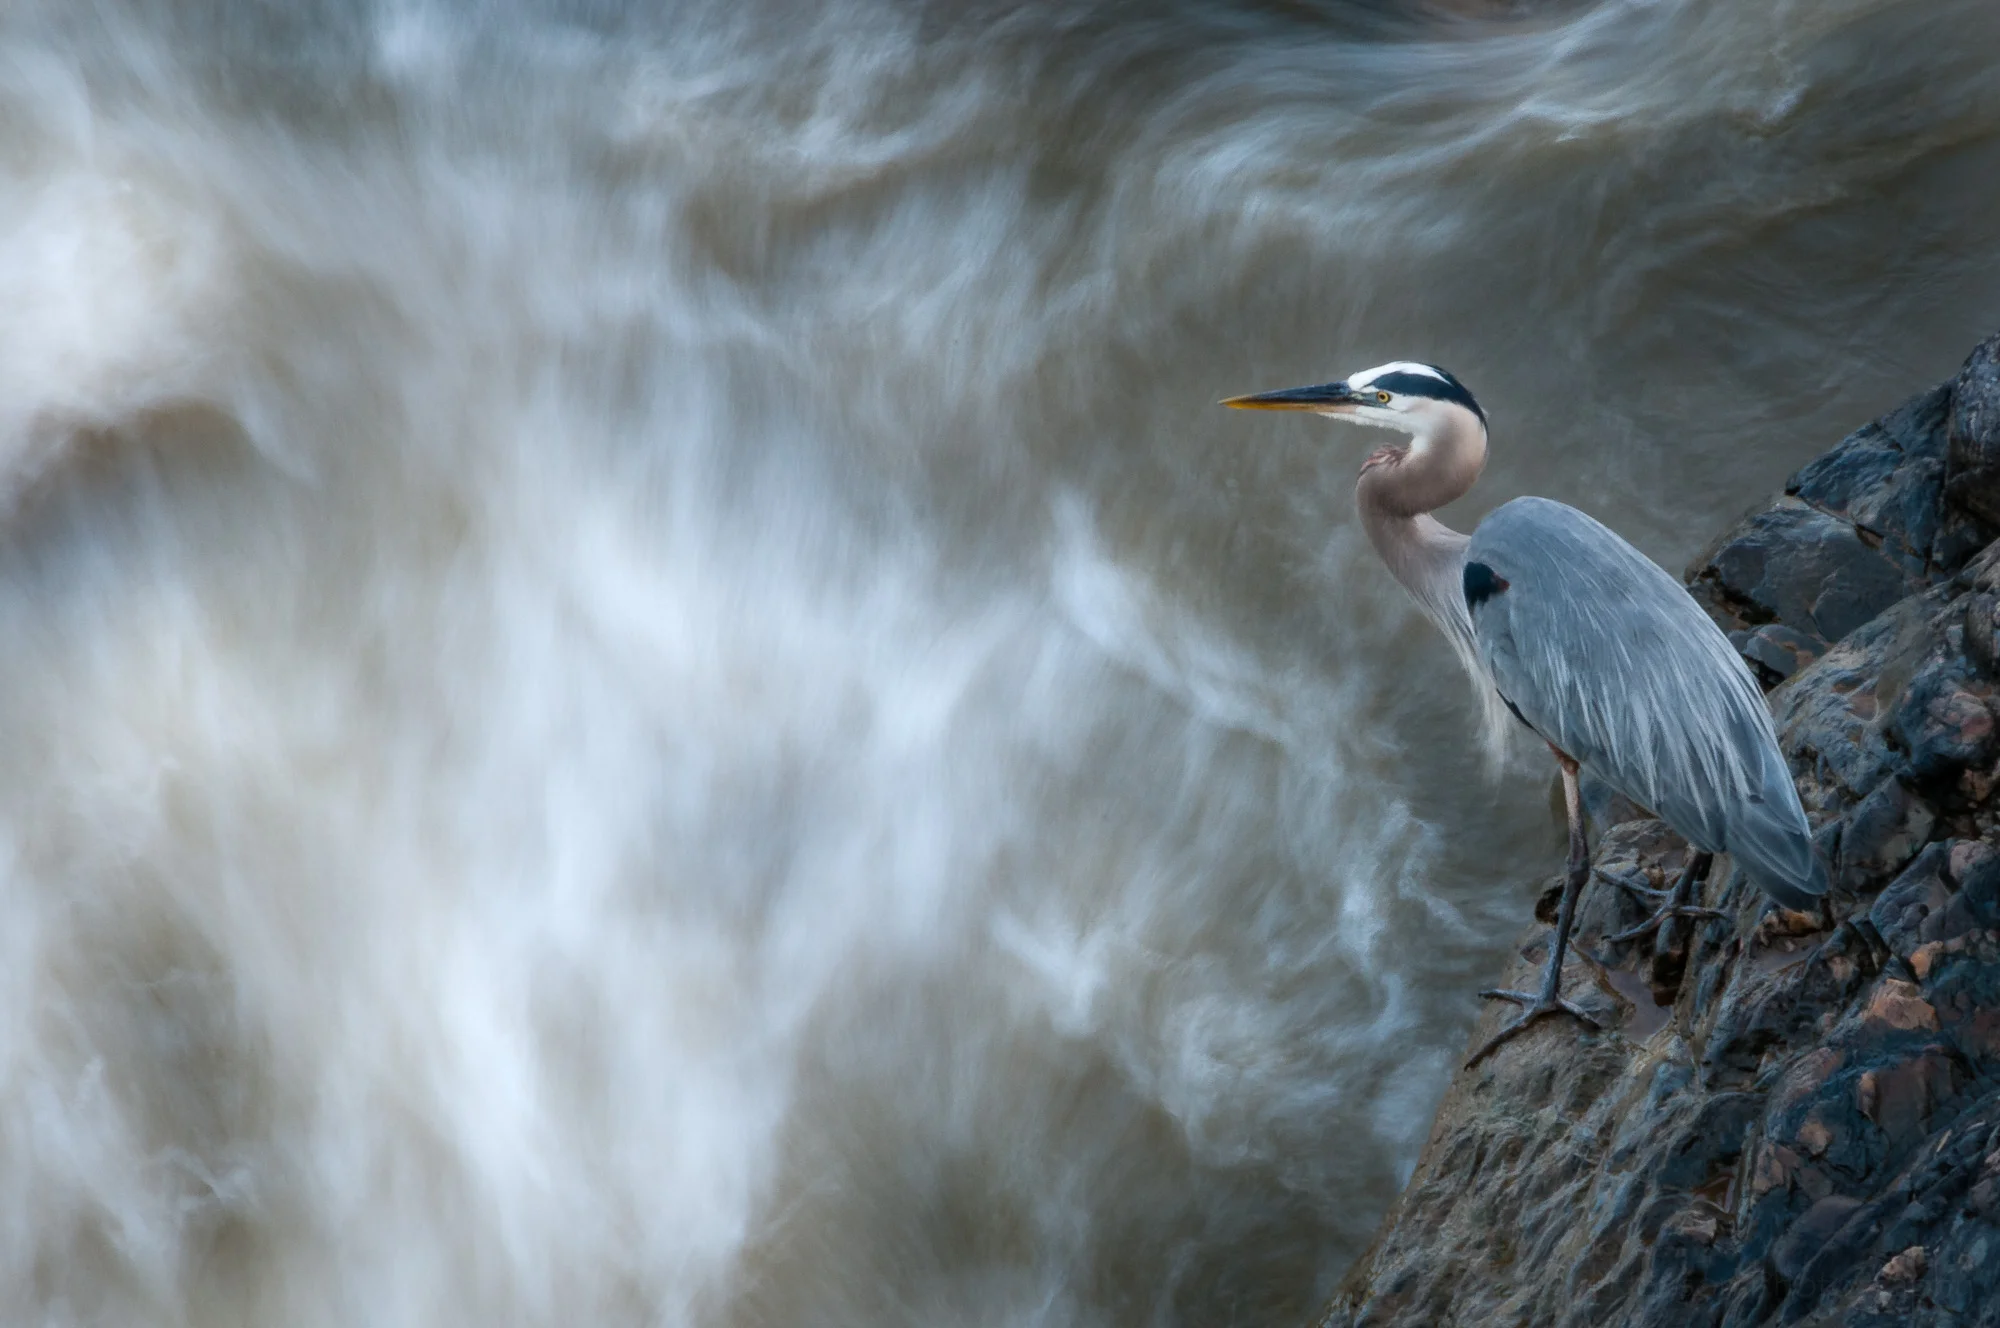
Walking Over Rocks Into a Foggy Unknown

I blink my eyes trying to bring life into focus. All I see up close is a small field of rocks blocking the way forward. Then water and ice. Then nothing.

Walking over rocks into the unknown

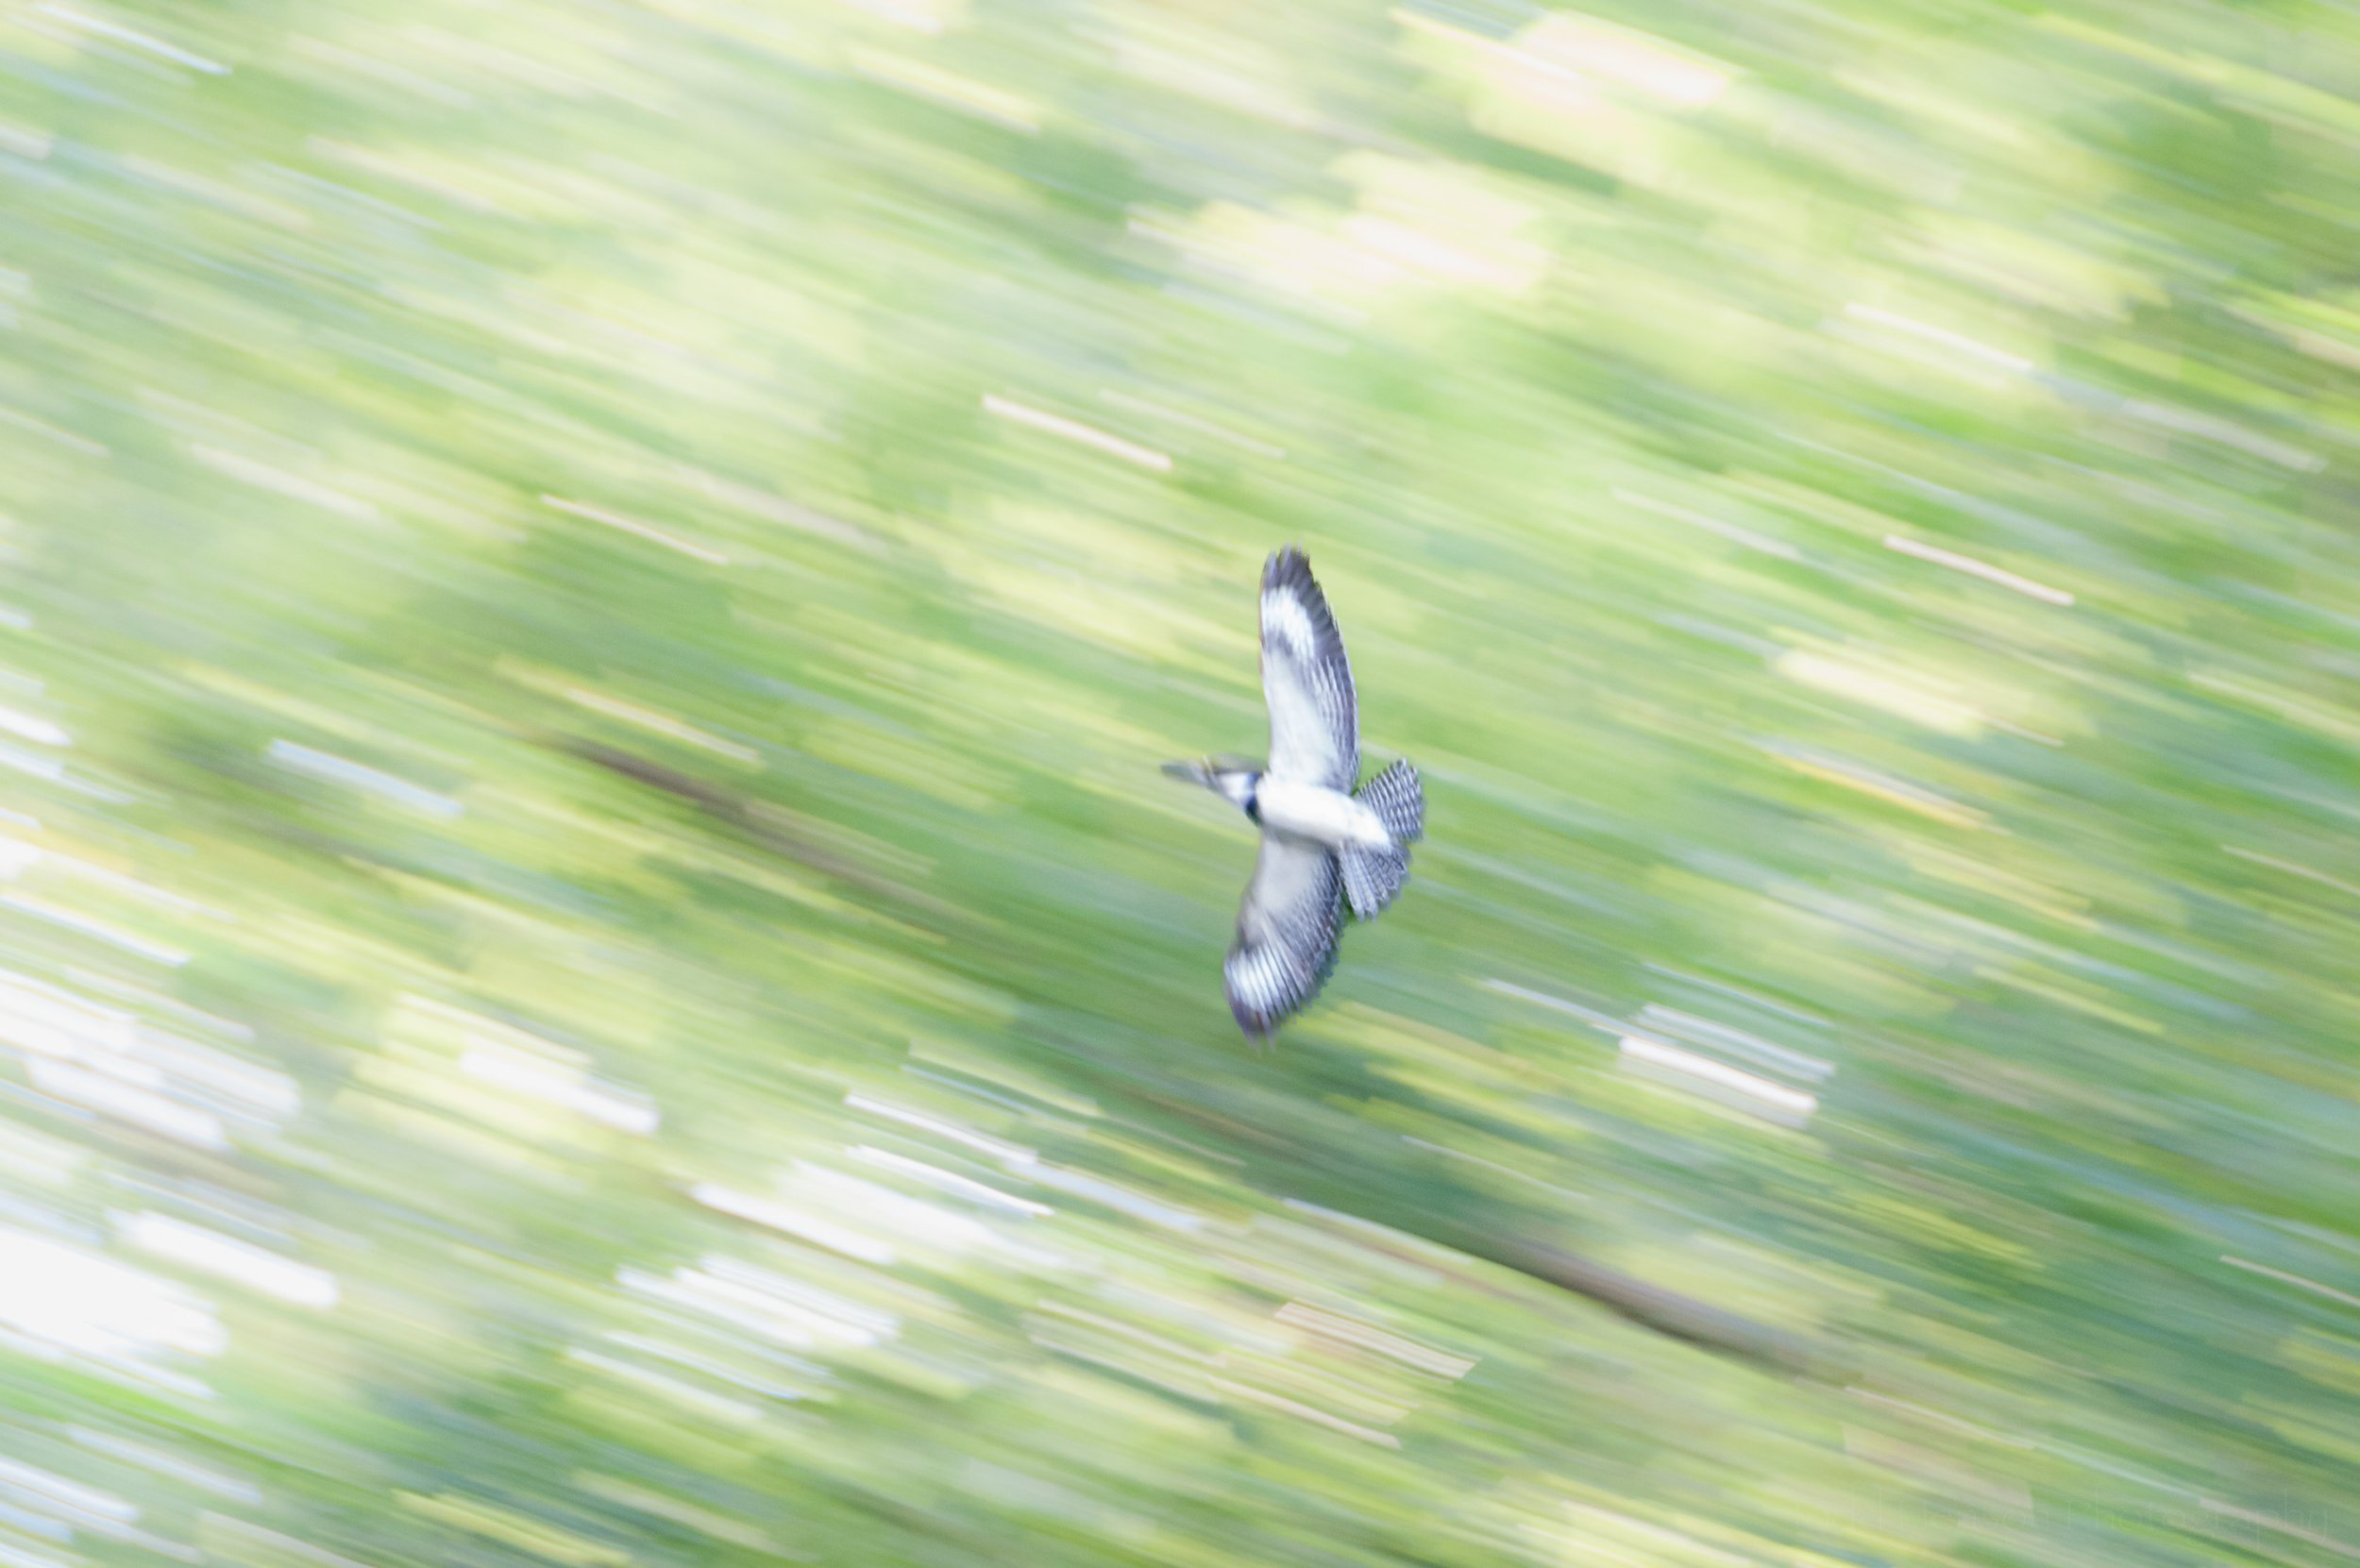
Shaking My Head

I close my eyes and shake my head to clear the haze. But when I look out at the world again it’s all a blur. Even so, I take a step forward.

Shaking my head


Do you enjoy these posts?

Sign up to receive periodic emails with updates and thoughts. Don’t worry, I won’t spam you. And please consider purchasing artwork or products from my online store, and using my affiliate links in the sidebar to the right when shopping online.

I appreciate your support!


Bridge Over the Channel by Todd Henson

Bridge Over the Channel: The Francis Case Memorial Bridge over the Washington Channel

This photo came about during a trip into Washington, DC, to view the cherry blossoms early one spring. My brother and I had travelled into DC many times over the years viewing and photographing cherry blossoms, and so for this trip we decided to look for cherry blossoms in an area we’d yet to explore, East Potomac Park. The park is located on a finger of land surrounded by the Potomac River and the Washington Channel, and is just outside the typical circuit route popular with most cherry blossom viewers.

You have to pass under a couple bridges to get to the majority of the park, and one of those is the Francis Case Memorial Bridge, over which 395 spans from Virginia into DC. I often find bridges, and particularly their underside, fascinating, and this one was no different. So I paused briefly and composed some photographs before moving on to the rest of the park and the cherry blossoms.

I like the symmetry you often find with bridges. And with this one I was drawn to the slightly lit undersides of the metal beams, lit from sunlight reflected from the water below. I did lighten them further in post-processing to help bring out some of what I’d been drawn to, the light and shadow, the patterns of the parallel lines occasionally crossed by the horizontal supports. And I liked the variety of tones to the stones of the support columns.

A lesson that was reinforced this day is that even when you go out with a specific goal in mind, such as photographing cherry blossoms, always keep your eyes open to other possibilities. You never know what you may find.


Do you enjoy these posts?

Sign up to receive periodic emails with updates and thoughts. Don’t worry, I won’t spam you. And please consider purchasing artwork or products from my online store, and using my affiliate links in the sidebar to the right when shopping online.

I appreciate your support!


Tips For Blurring Moving Water by Todd Henson

I’ve been asked in the past how to blur moving water from rivers and waterfalls in a photograph. It all comes down to shutter speed. The slower the shutter speed the more blur in the water. Below are a number of tips to help you do this. You don’t have to follow all of these tips to blur water. Pick whichever ones you’re able to use. Just realize some of them may not get the shutter speed as slow as you’d like. That’s when you may need to try the other tips.

Stabilize Your Camera

If you want a sharp image of everything but the water you’ll first need to stabilize your camera. The best way to do this is to put it on a good tripod. If you don’t have a tripod you can try resting the camera on something stable such as a stone wall or a large rock or tree. Just be careful not to let the camera drop.

Use a Remote Shutter Release or Self-Timer

To reduce the chance of introducing shake into the camera during the exposure it’s best not to press the shutter button with your finger to start the exposure. Two options for avoiding this are a remote shutter release, or setting the camera’s self-timer such that your exposure begins some number of seconds after you press the shutter button.

Using the self-timer is the least expensive option if your camera supports it, though you will lose a little flexibility in choosing exactly when to start the exposure.

There are two options for remote shutter releases: cable releases that attach to a special connector on your camera and wireless releases. At present I use a simple cable release that just presses and optionally locks the shutter. Some higher-end cable (and wireless) releases include intervalometer features which let you take a photo every so many seconds for some period of time.

Shoot Early, Late, or on an Overcast Day

It’s best if it’s not a bright sunny day as the sunlight can blow out the white highlights in the water. Try to photograph very early or very late, before the sun is up or after it has gone down. Or pick an overcast day when clouds will hide the sun. This reduces the quantity of light in the scene, reducing the chances of blowing out highlights, and requiring a longer exposure in your camera, increasing your chances of blurring the water.
This was shot on an overcast morning. Less light meant a longer exposure. ISO 200, aperture f/36, shutter speed 15 seconds.

Adjust Your ISO

Set your ISO to the lowest setting your camera allows. The ISO controls how sensitive your camera’s sensor is to light. The lowest setting, for example, 100 or 200, will require more light to make an exposure. Your camera will need more time to collect more light which will help you achieve the slow shutter speed you’re after.

Stop Down Your Aperture

Stop down your aperture as far as you can. To do this use a larger f-stop number, such as f/16, f/32, etc. This closes down the aperture, making a smaller opening that light will need to travel through, requiring more time for the camera to gather enough light to make the exposure. This lets you shoot using slower shutter speeds. Be aware, though, that the very smallest apertures can cause diffraction, which may reduce the sharpness of your photo. If this happens you’ll need to open up the aperture just a bit.

A wider aperture results in a faster shutter speed allowing you to see more detail in the water. ISO 200, aperture f/4, shutter speed 1/50 second.

A smaller aperture results in a slower shutter speed allowing you to blur the water. ISO 200, aperture f/11, shutter speed 1/8 second.

A wide aperture results in a faster shutter speed, freezing action and showing more detail in the water. ISO 320, aperture f/6.3, shutter speed 1/1250 second.

A small aperture results in a slower shutter speed, helping convey action by blurring the water. ISO 320, aperture f/25, shutter speed 1/60 second.

Use a Polarizing Filter

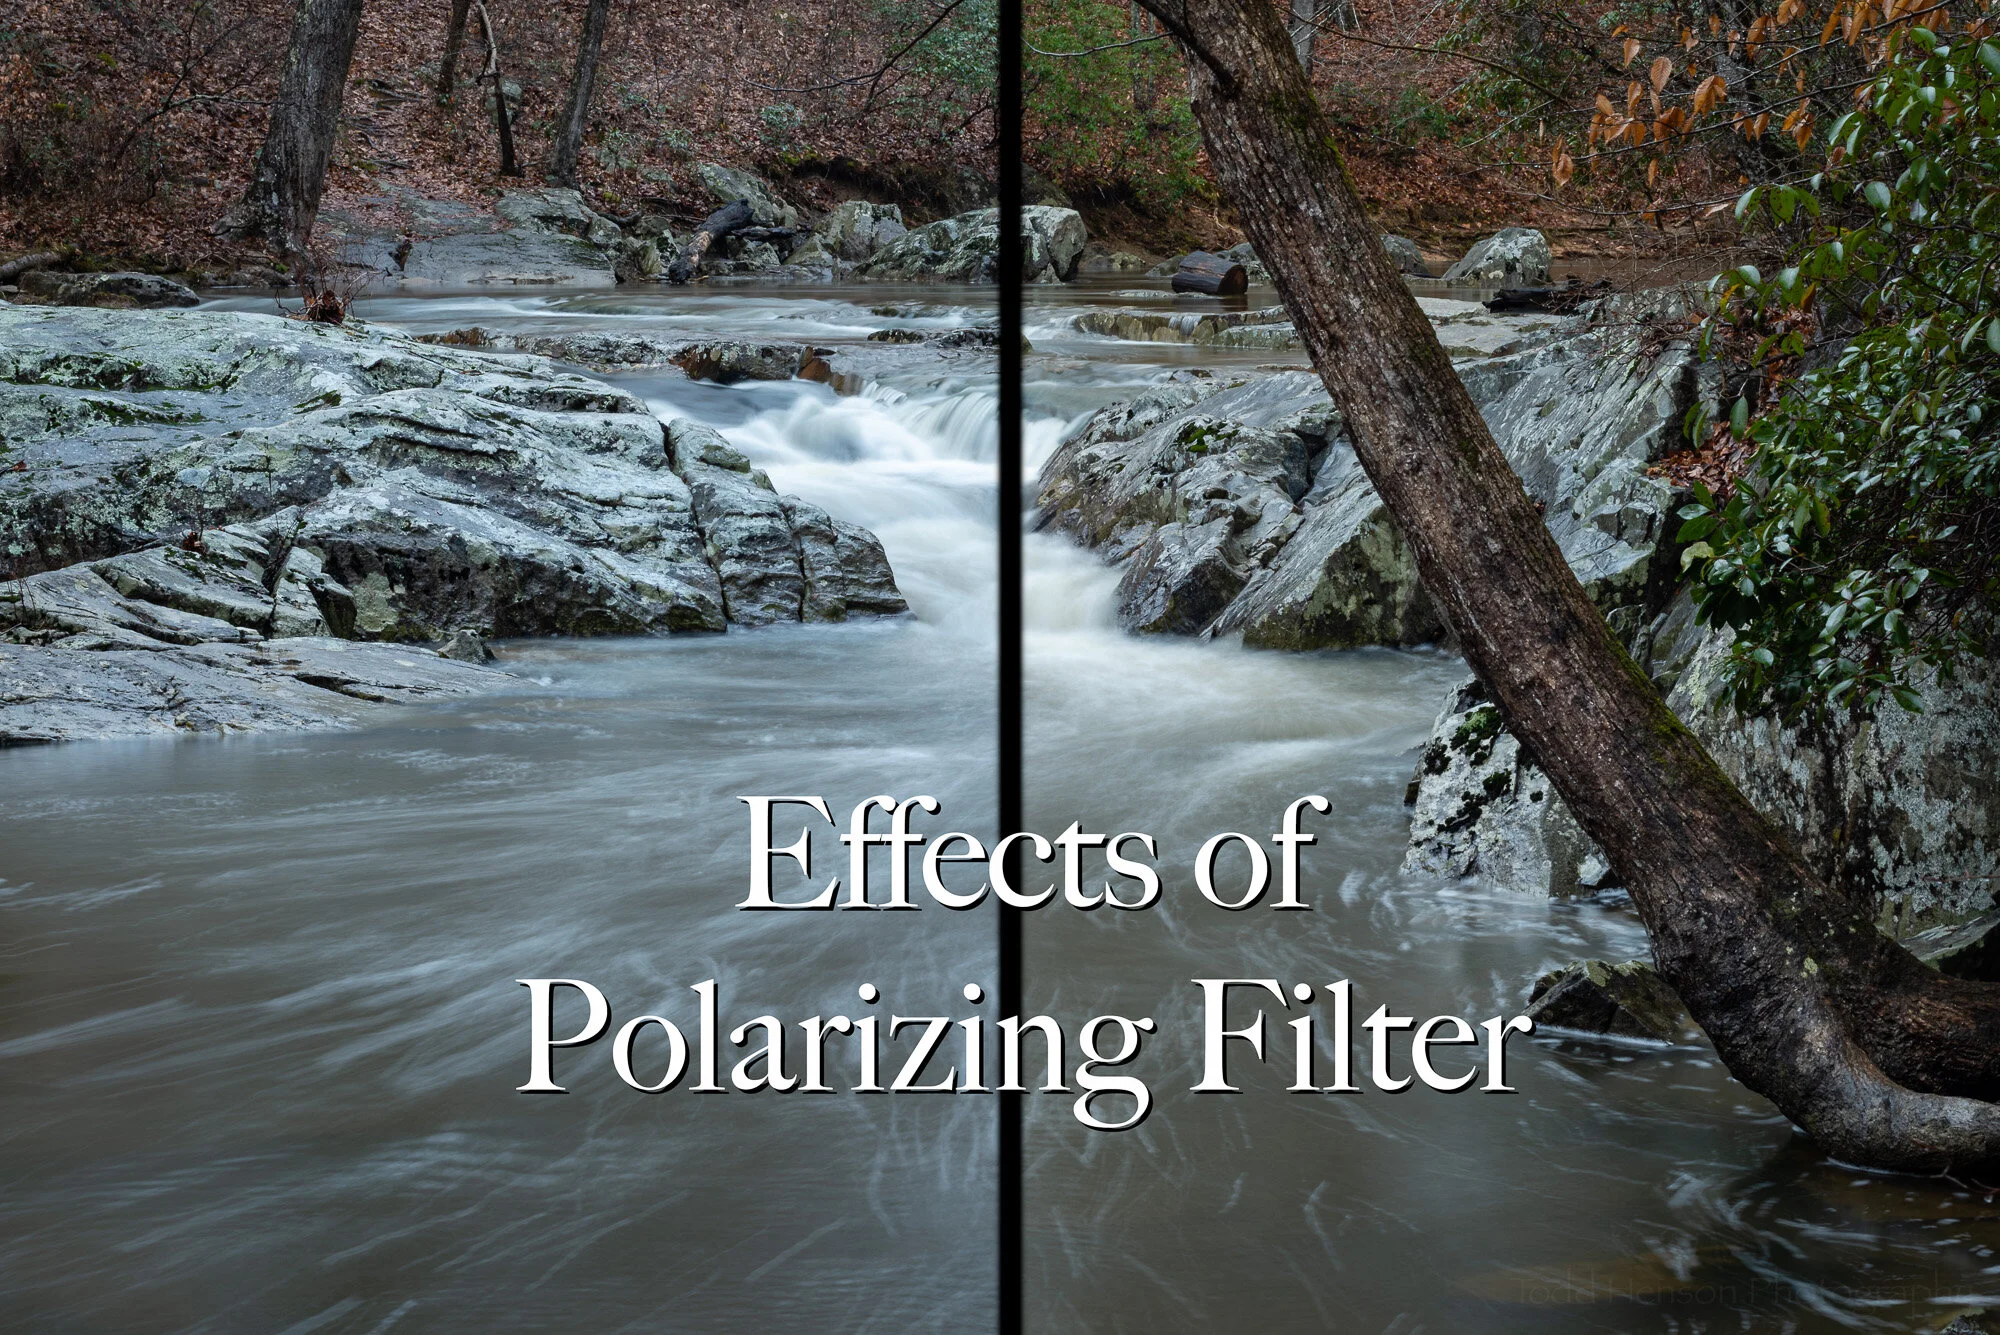
If everything above still isn’t enough to slow the shutter speed down enough to create the blur you’re after then you may need to resort to filters that fit over your lens. The first to try is a polarizing filter if you already have one.

A polarizing filter is often used to reduce reflections and glare on surfaces such as water and leaves, to create richer colors, and to darken skies. A side effect of these filters is reducing the amount of light that reaches the sensor, usually by about 1 to 2 stops. This isn’t a lot but it might be enough to get the shutter speed slow enough to blur the water.
Using a polarizing filter and a small aperture helped slow down the shutter speed, blurring the water from the fountains. ISO 200, aperture f/25, shutter speed 1.6 seconds.

Use a Neutral Density (ND) Filter

If nothing else will get the shutter speed slow enough you’ll want to invest in a neutral density filter. Think of this as sunglasses for your camera lens. It’s a dark filter that reduces the amount of light entering the lens. Neutral density filters are available in a range of levels, some reducing 1 stop of light, some 3 stops, some 5, 10 or even 15 stops of light. You can even find variable neutral density filters that let you turn the filter like a polarizer to change the density of the filter. With neutral density filters you’ll be able to slow the shutter speed down as much as you’d like.

You can also stack filters, using multiple neutral density filters to slow things down even more. And you can stack a polarizing filter and neutral density filters. Just be aware that if you stack too many filters you may begin to see the filters at the corners of the image. If this happens you either need to remove some of the filters or crop the image when you’re finished.

A polarizing filter in the middle of the day allowed a slow exposure, but not slow enough to really blur (or still) the moving water. ISO 200, aperture f/22, shutter speed 1/8 second.

A polarizing filter and a 5-stop neutral density filter in the middle of the day allowed a slow enough exposure to blur (or mostly still) the moving water. ISO 200, aperture f/22, shutter speed 4 seconds.

It's reasonably early in the morning without a filter. ISO 200, aperture f/11, shutter speed 1/80 second.

Adding a Singh-Ray Gold-N-Blue Polarizer and a 10-stop neutral density filter shifted the colors and slowed the shutter speed way down, introducing a lot of blur into the water. ISO 200, aperture f/11, shutter speed 67 seconds.

In this triptych I used a Singh-Ray Vari-N-Duo filter, which combines a polarizing filter with a variable neutral density filter, to gradually slow the shutter speed down by increasing the amount of neutral density. All images are ISO 200 with an aperture of f/25. The left image has a shutter speed of 1/8 second. The center image has a shutter speed of 4/5 second. The right image has a shutter speed of 8 seconds.

I hope these tips for blurring moving water have been useful to you. It can be a lot of fun and it can really add a nice dynamic to a photograph. So head out there and try a few of them out, see what kinds of interesting photographs you can create.


Do you enjoy these posts?

Sign up to receive periodic emails with updates and thoughts. Don’t worry, I won’t spam you. And please consider purchasing artwork or products from my online store, and using my affiliate links in the sidebar to the right when shopping online.

I appreciate your support!