Before & After: South Fork Quantico Creek - Downstream - October 2021
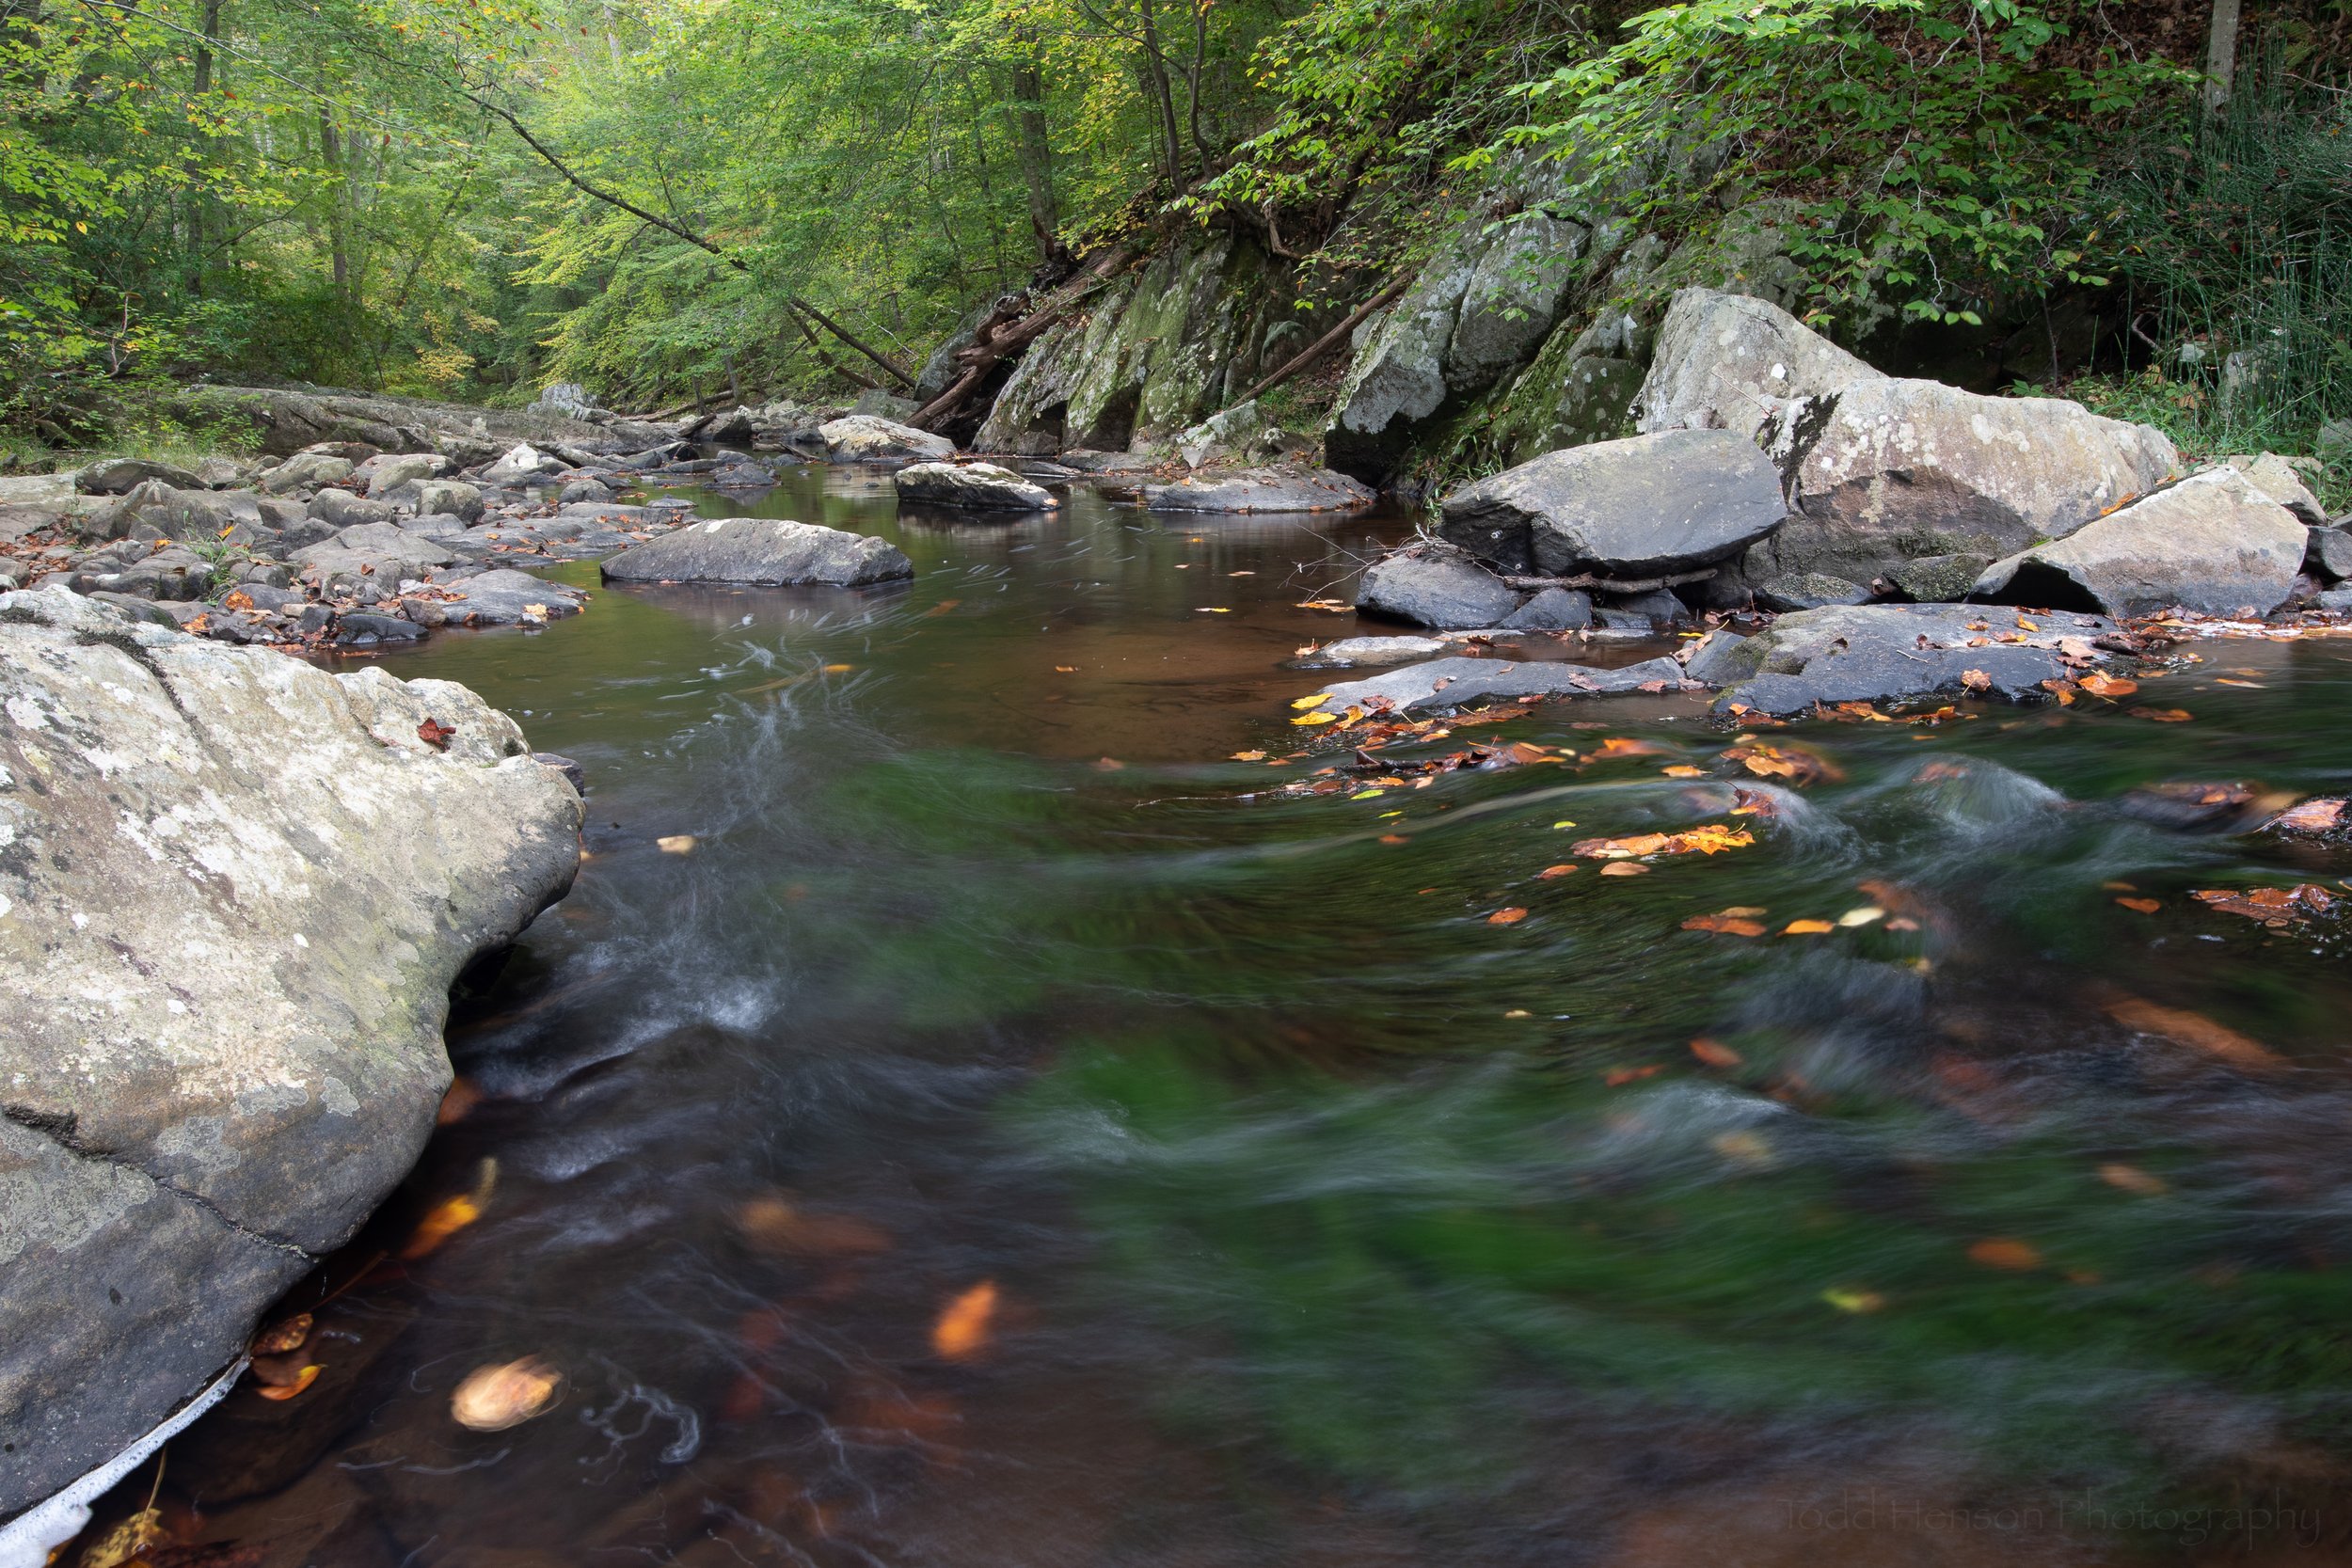
It feels like time for another before & after post where I share a little about my process using one photo as an example, stepping you from straight out of the camera to the finished product. This photo is of South Fork Quantico Creek, facing downstream, in October of 2021. It’s an example of an image that didn’t require any drastic editing but instead benefited from a series of small adjustments. All of the processing was performed in Adobe Lightroom.
Straight Out of the Camera
Before making any adjustments
Step 1: Global Adjustments & Lens Correction
Global adjustments & lens corrections
I most often tend to perform any global adjustments first. These apply to the entire image and included lowering the highlights and whites and raising the shadows. This provided a little more detail, letting us better see in some dark areas and keeping some light areas from getting too light. I also increased the vibrance a bit to help the colors pop.
Step 2: Post-Crop Vignette
Post-crop vignette
I very often apply vignettes to my photos to help draw the eye into the frame. Sometimes I’ll do this manually but in this case I used Lightroom’s Post-Crop Vignette setting to darken the corners and edges just a bit.
Step 3: Masking - Selectively Applying Texture
Masking - Selectively applying texture
At this point it was time to start selectively editing specific areas of the image. I wanted the rocks to stand out nicely so I added a little texture, which is a type of contrast adjustment. I didn’t want that applied to softer areas like the water, or to the trees, so I painted it just onto the rocks. You’ll see a pinkish overlay on the areas where I applied texture.
Step 4: Masking - Selectively Increasing Exposure
Masking - Selectively increasing exposure
I loved the greenery under the water and wanted that to stand out so I created another brush mask and painted over those areas, increasing exposure to lighten them up.
Step 5: Masking - Selectively Decreasing Exposure
Masking - Selectively decreasing exposure
There were other areas I thought would look better a little darker, so I created a brush mask and lowered the exposure of these areas. This was mostly the rocks but also some areas in the trees.
Step 6: Masking - Another Round of Increased Exposure
Masking - Another round of increased exposure
I decided that distant rock face was a little too dark so I created another brush mask and increased exposure just a touch.
Step 7: Masking - Selectively Increasing Whites
Masking - Selectively increasing whites
Finally, I wanted the whites on the surface of the water to stand out to show the motion of the water. I created a final brush mask and increased the whites in those areas. This was more focused than increasing exposure, just increasing the whites instead of brightening the entire area.
Final Image
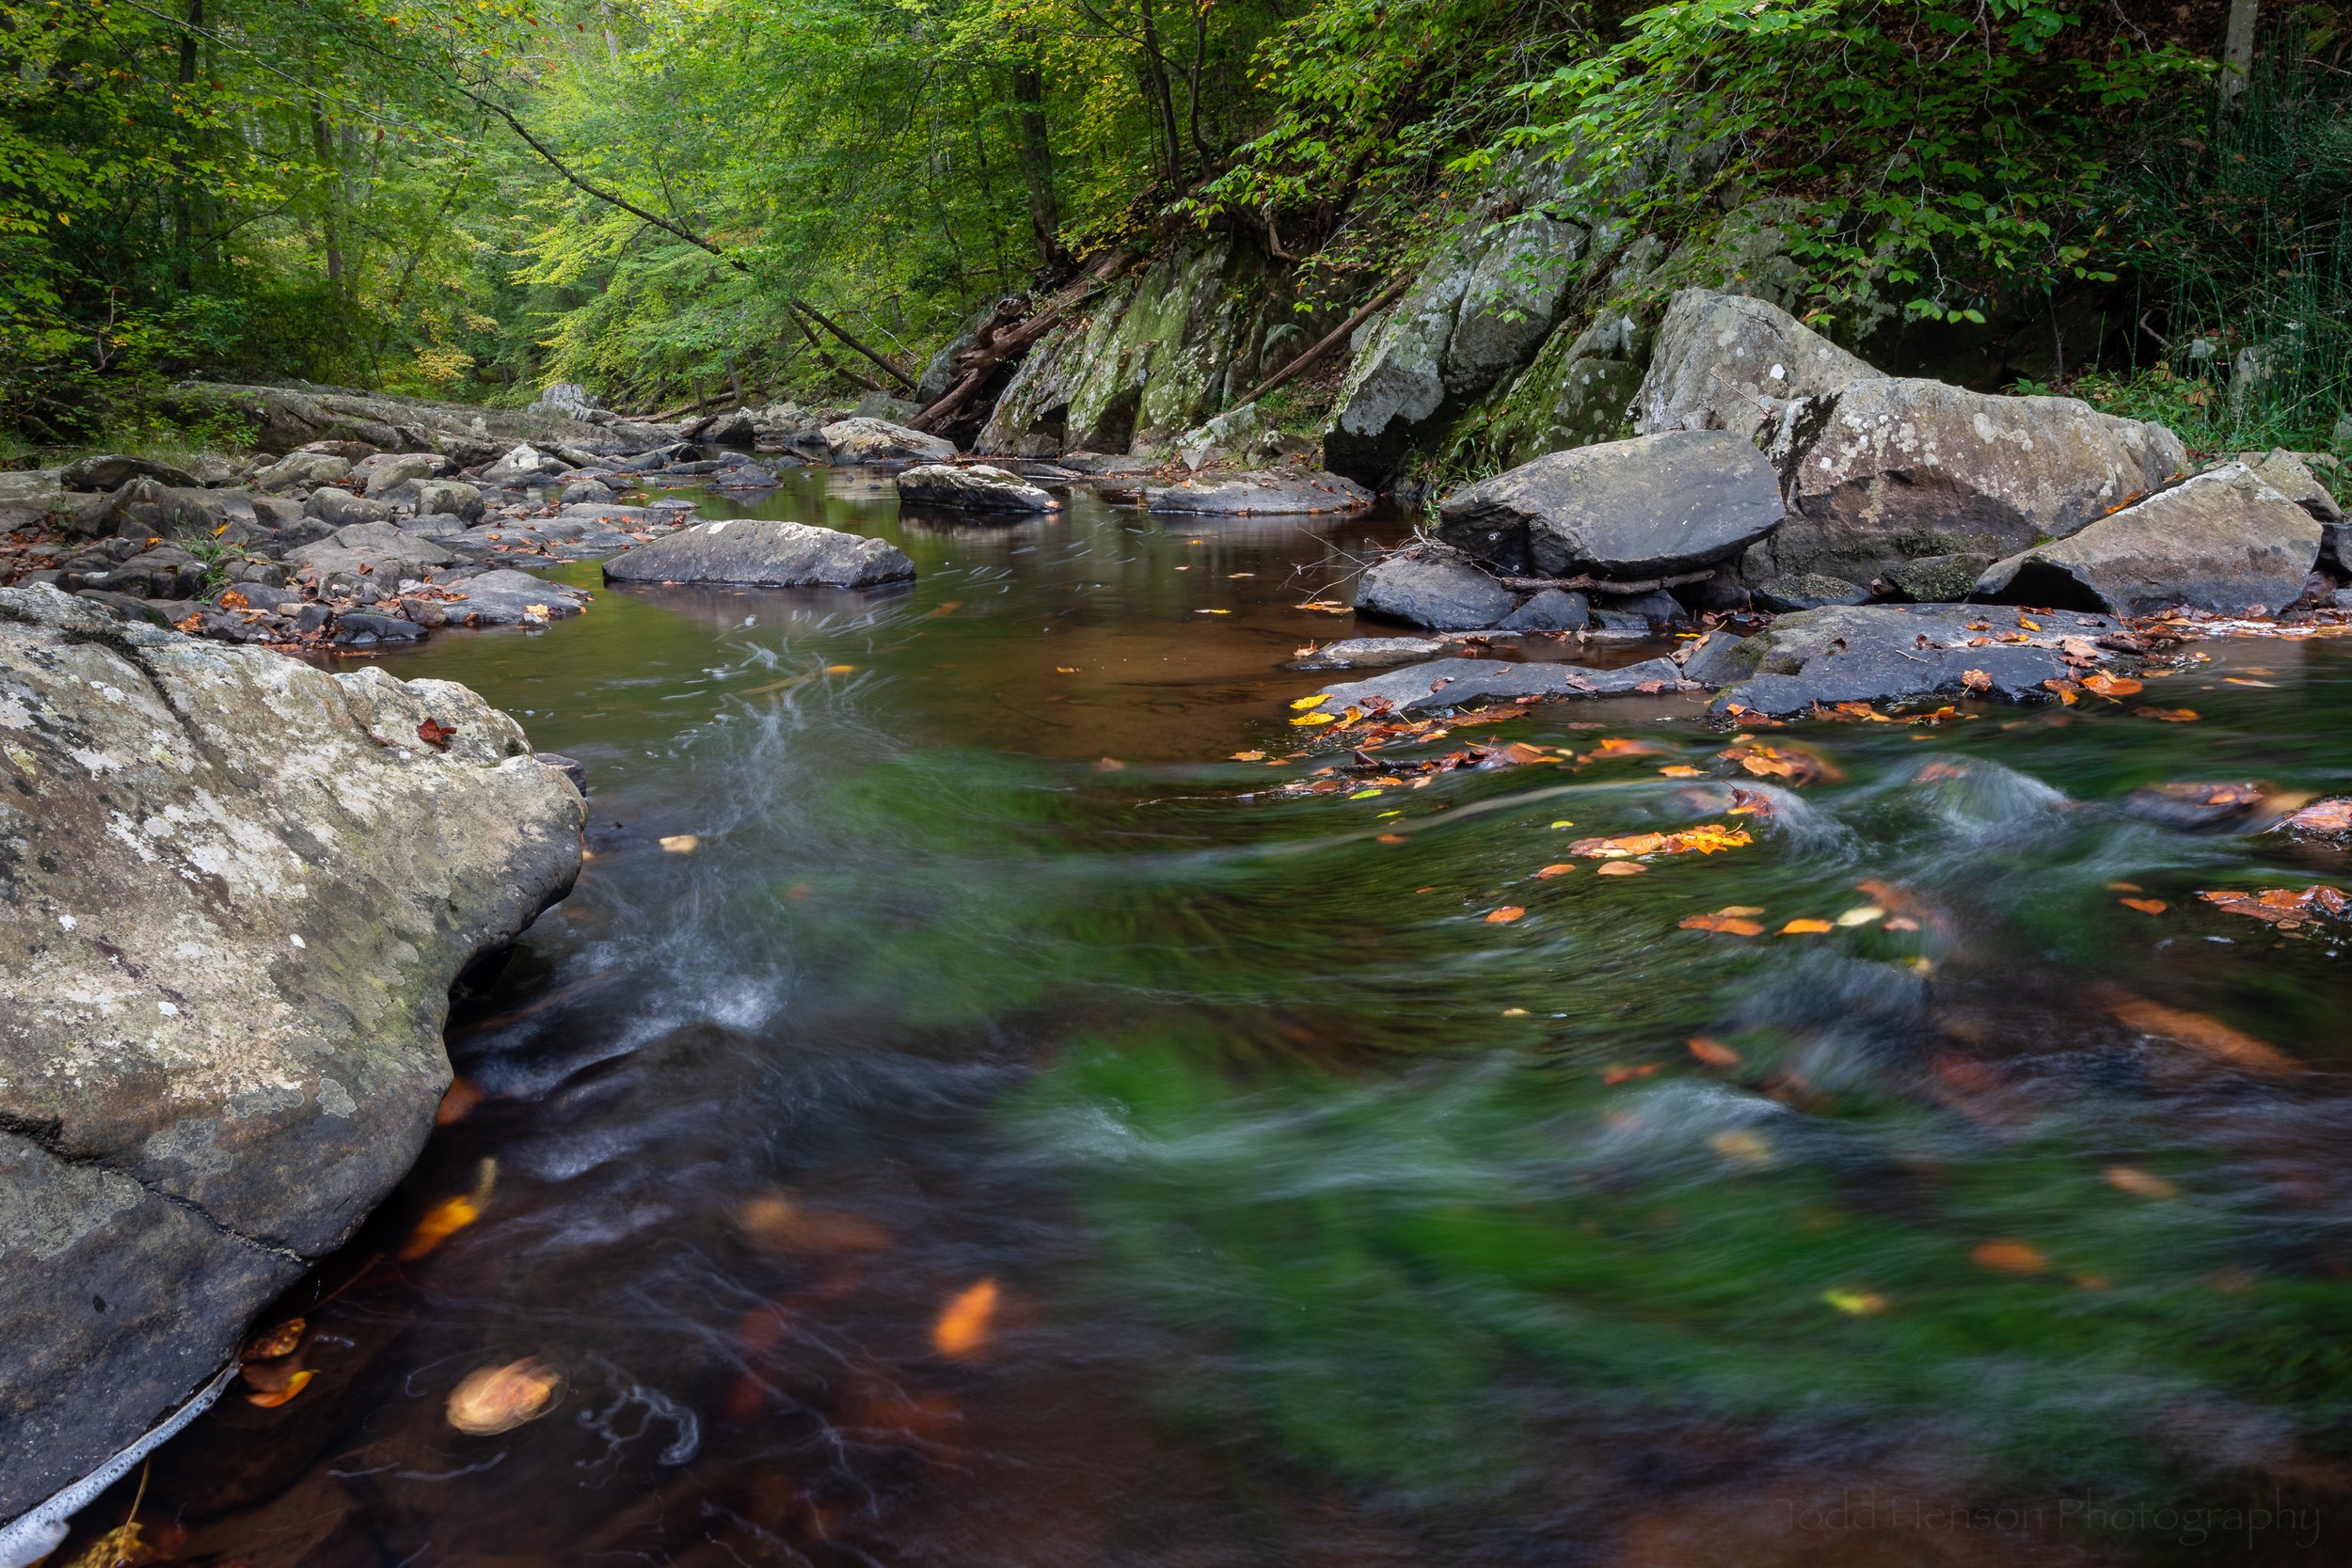
South Fork Quantico Creek - Downstream - October 2021: Final Image
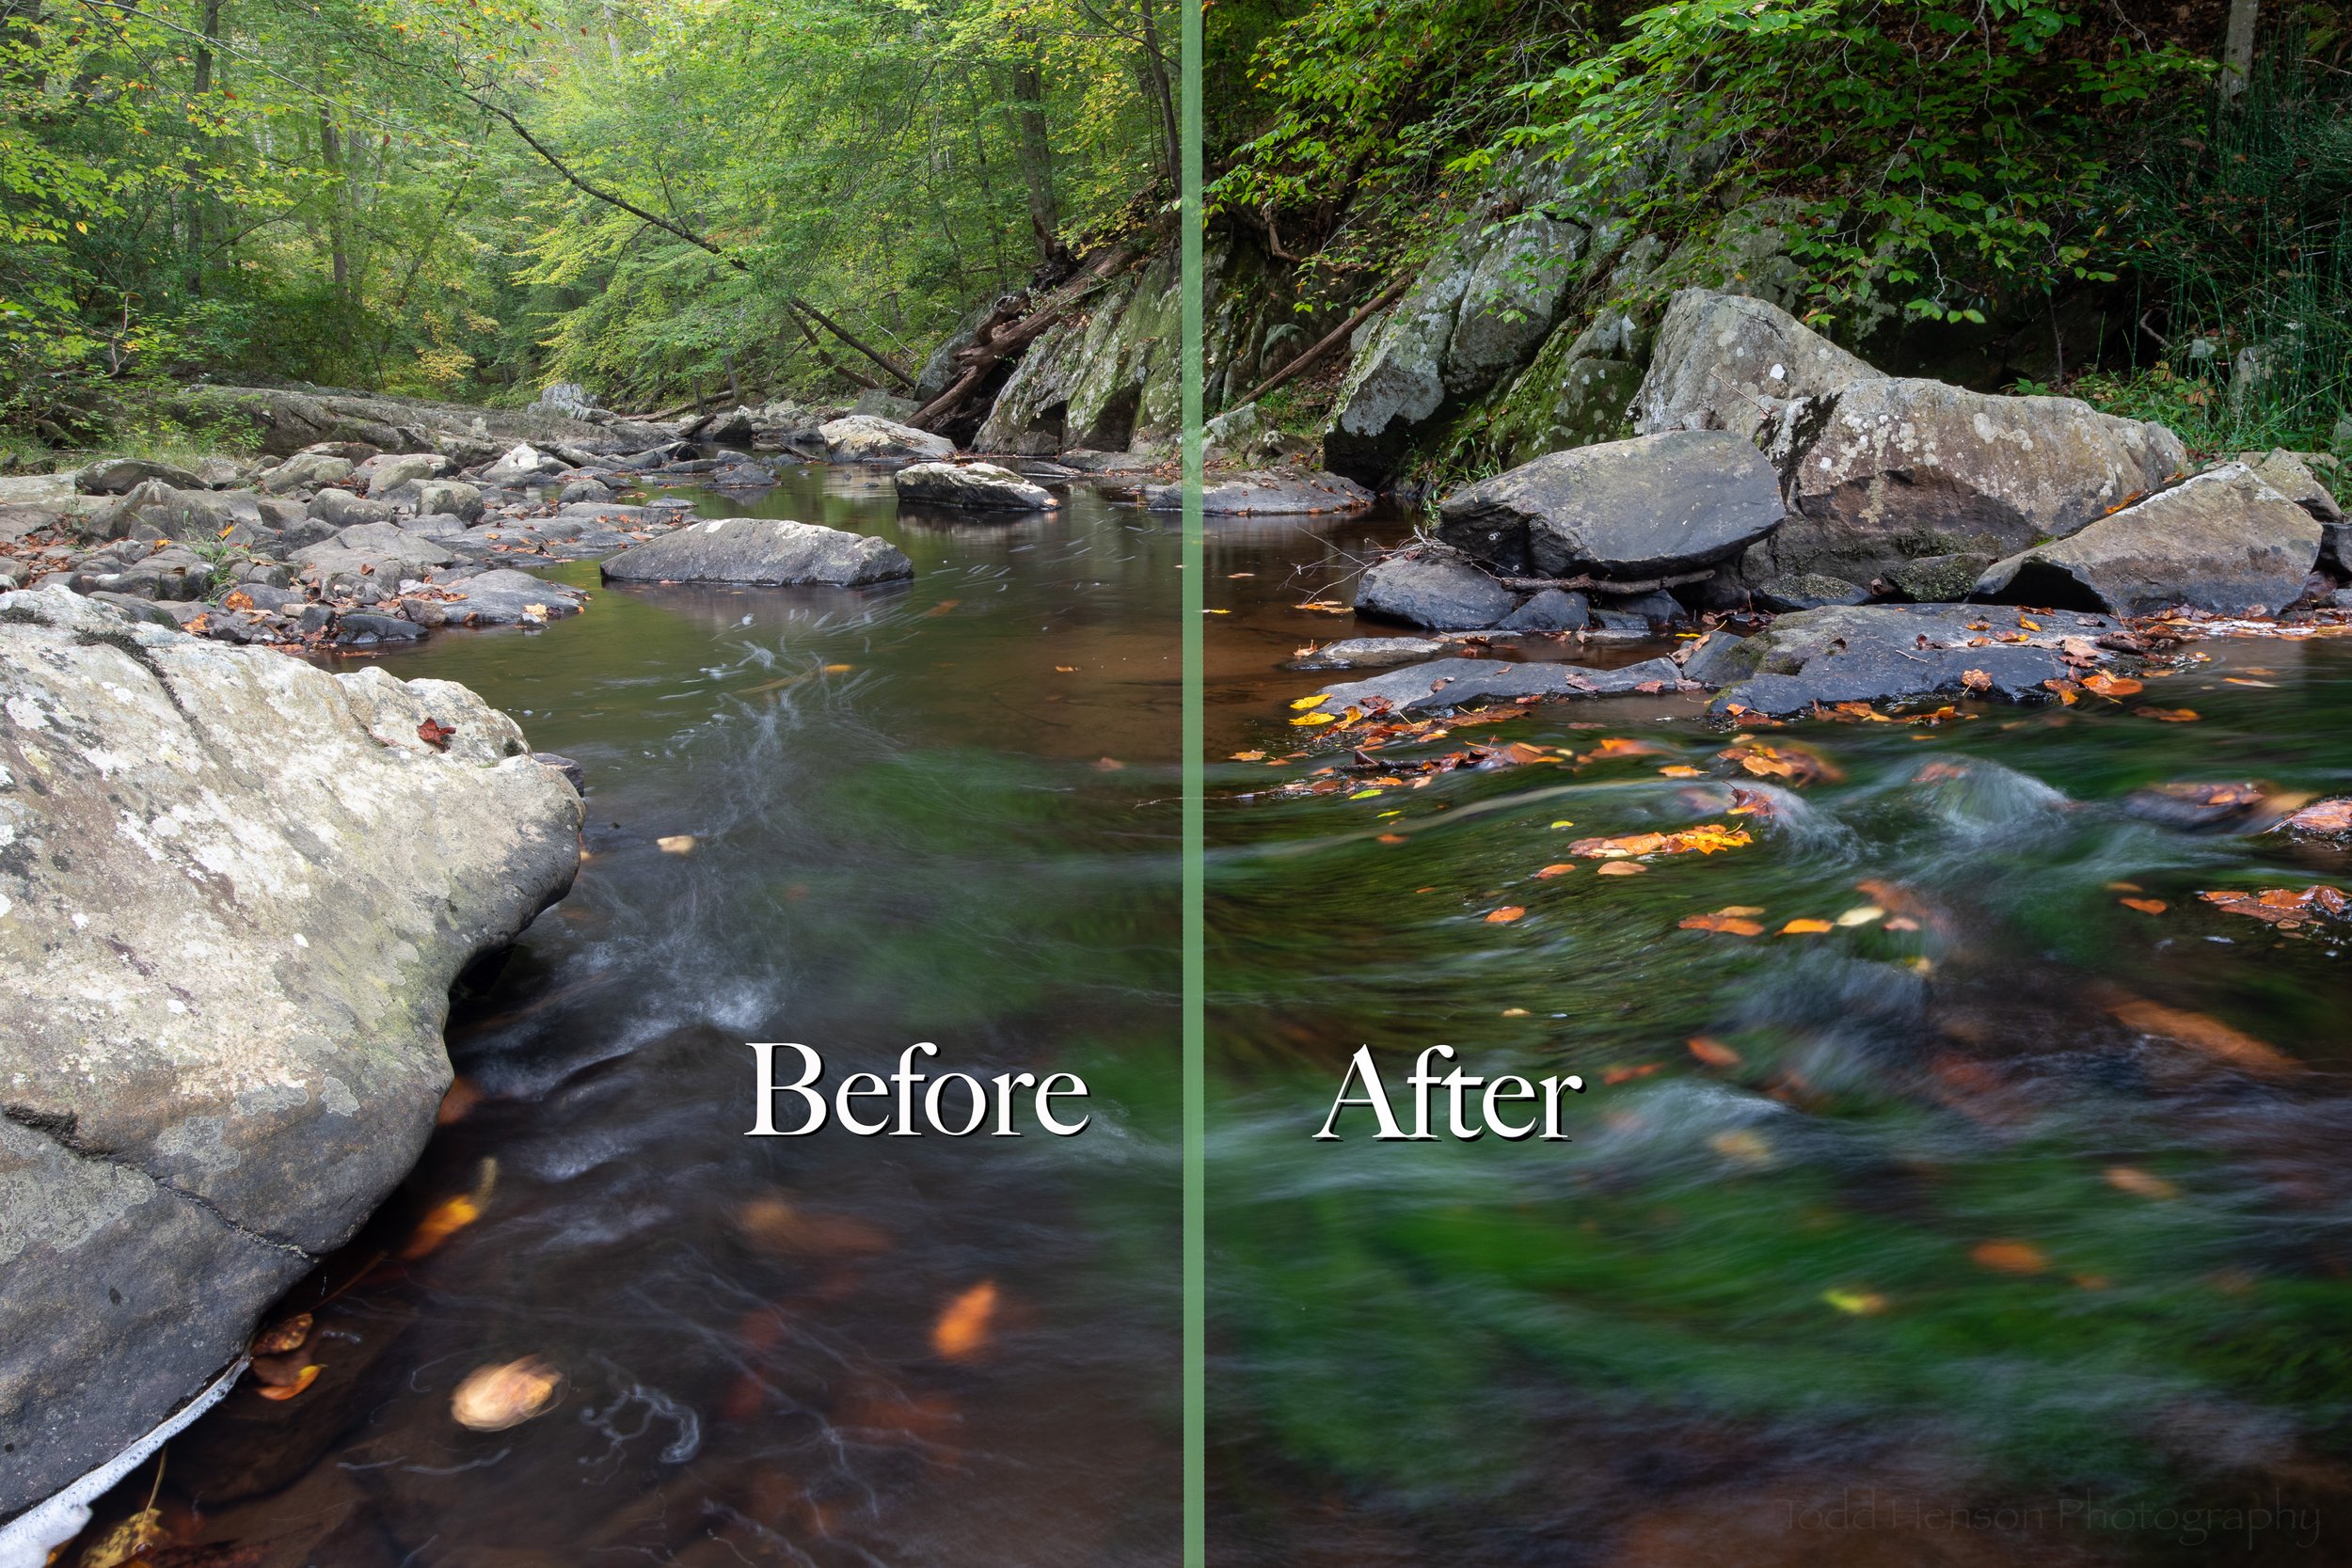
And that was it. At this point I was happy with the look of the photograph. I’d started with an image I liked and by applying some small adjustments here and there I was able to enhance it into an image I liked even more, that better showed what I saw and how I felt on that day.
Click on the photo below to cycle between the before and after images to better see the results of all these small edits. Any one of them by themselves might not do much for the photo, but taken together they help shape the final image.


I hope you’ve enjoyed this small look into my process.
South Fork Quantico Creek - Downstream - October 2021 is available for purchase as wall art or on a variety of products at my online store.
Do you enjoy these posts?
Sign up to receive periodic emails with updates and thoughts. Don’t worry, I won’t spam you. And please consider purchasing artwork or products from my online store, and using my affiliate links in the sidebar to the right when shopping online.
I appreciate your support!


