South Fork Quantico Creek

South Fork Quantico Creek After the Rain by Todd Henson

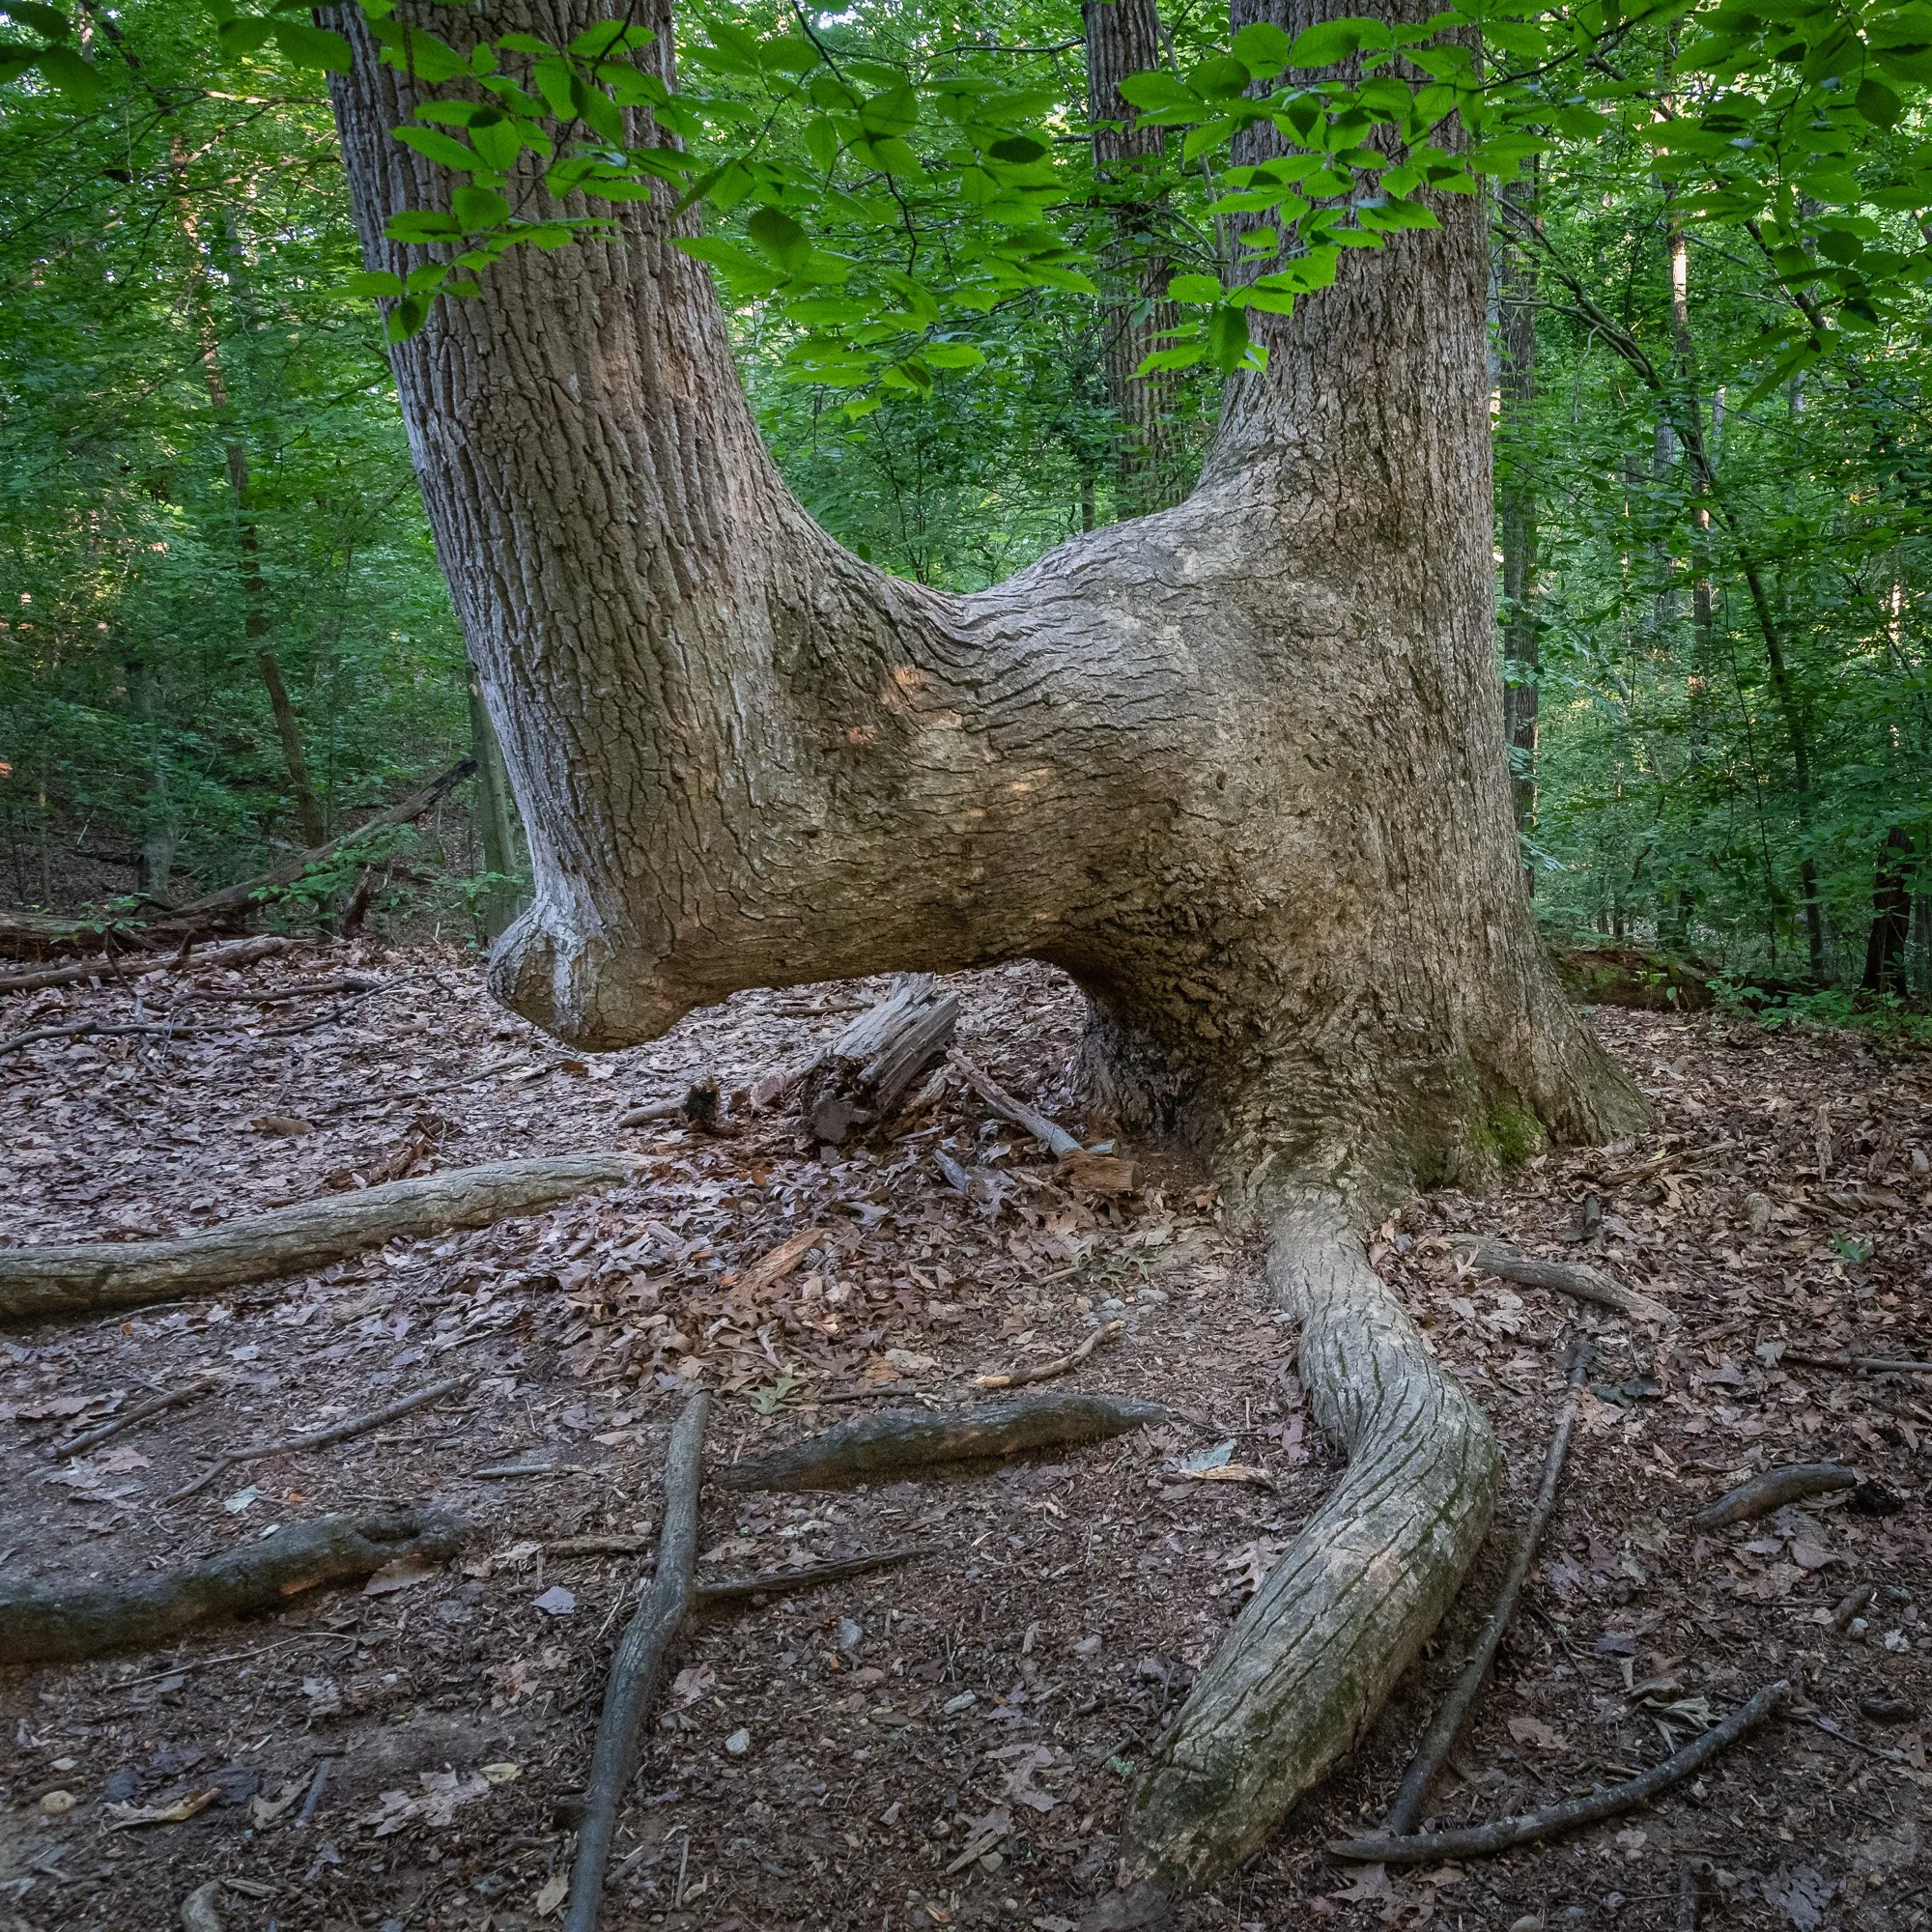
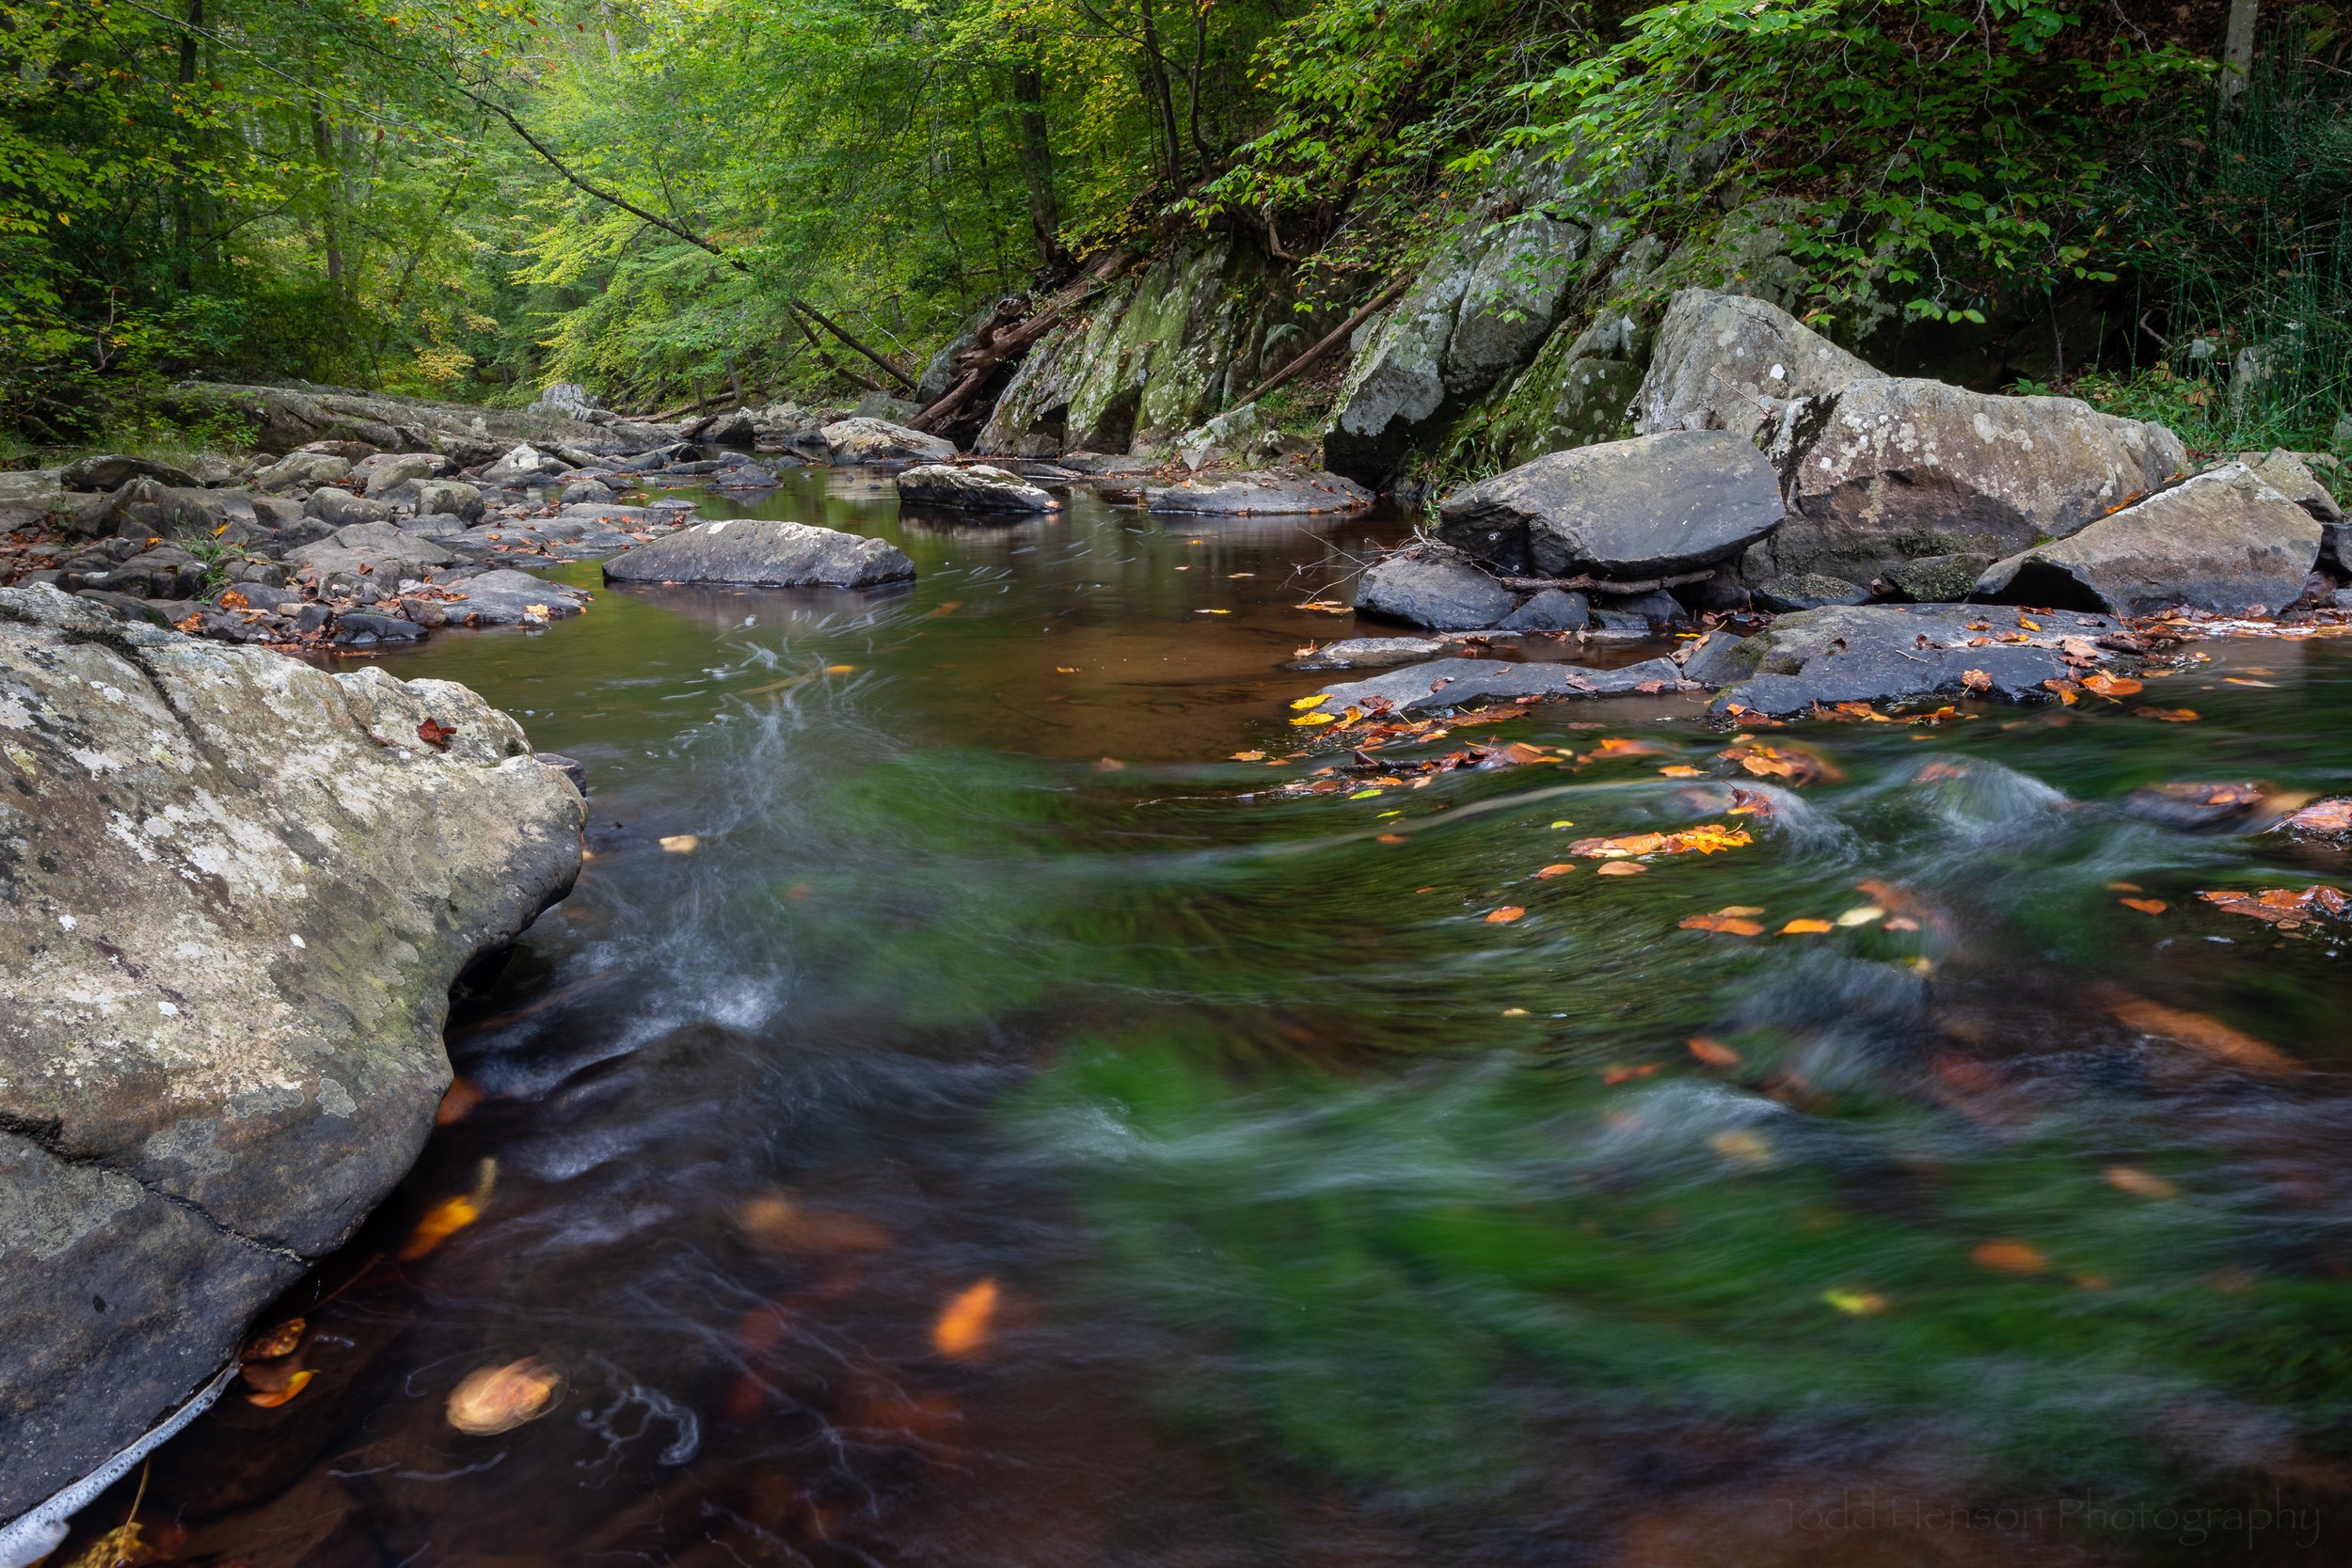
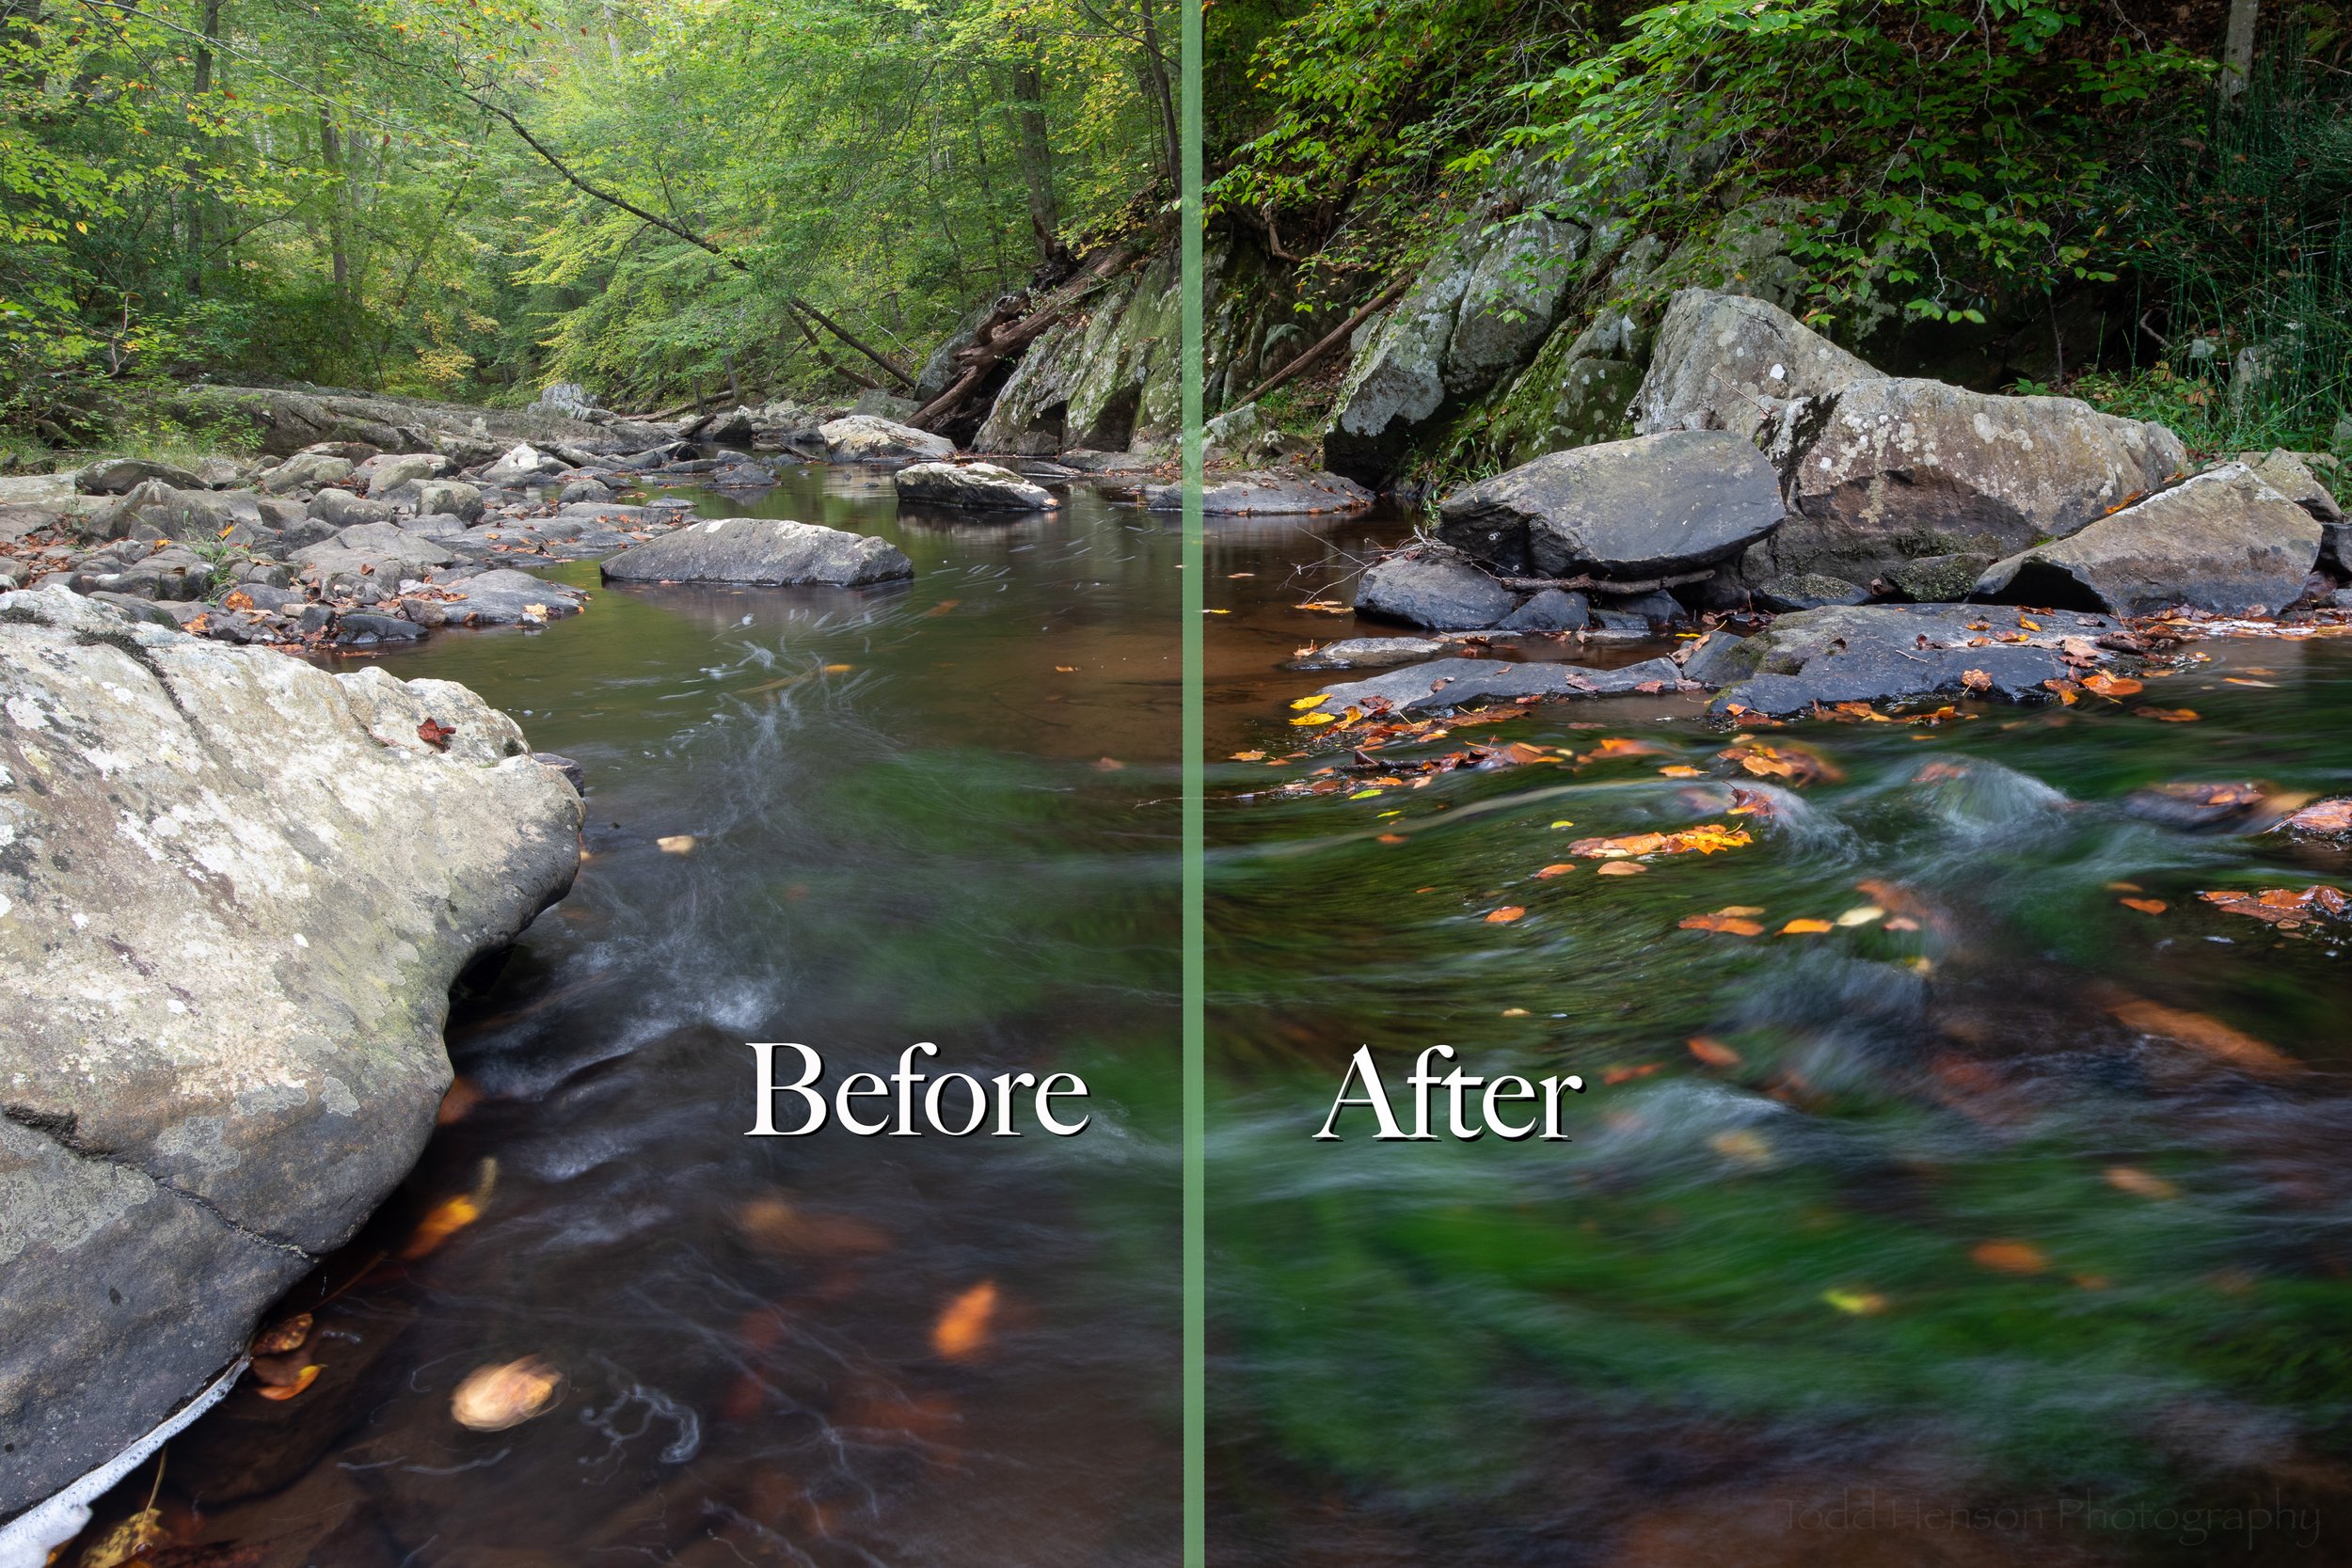
South Fork Quantico Creek after the rain

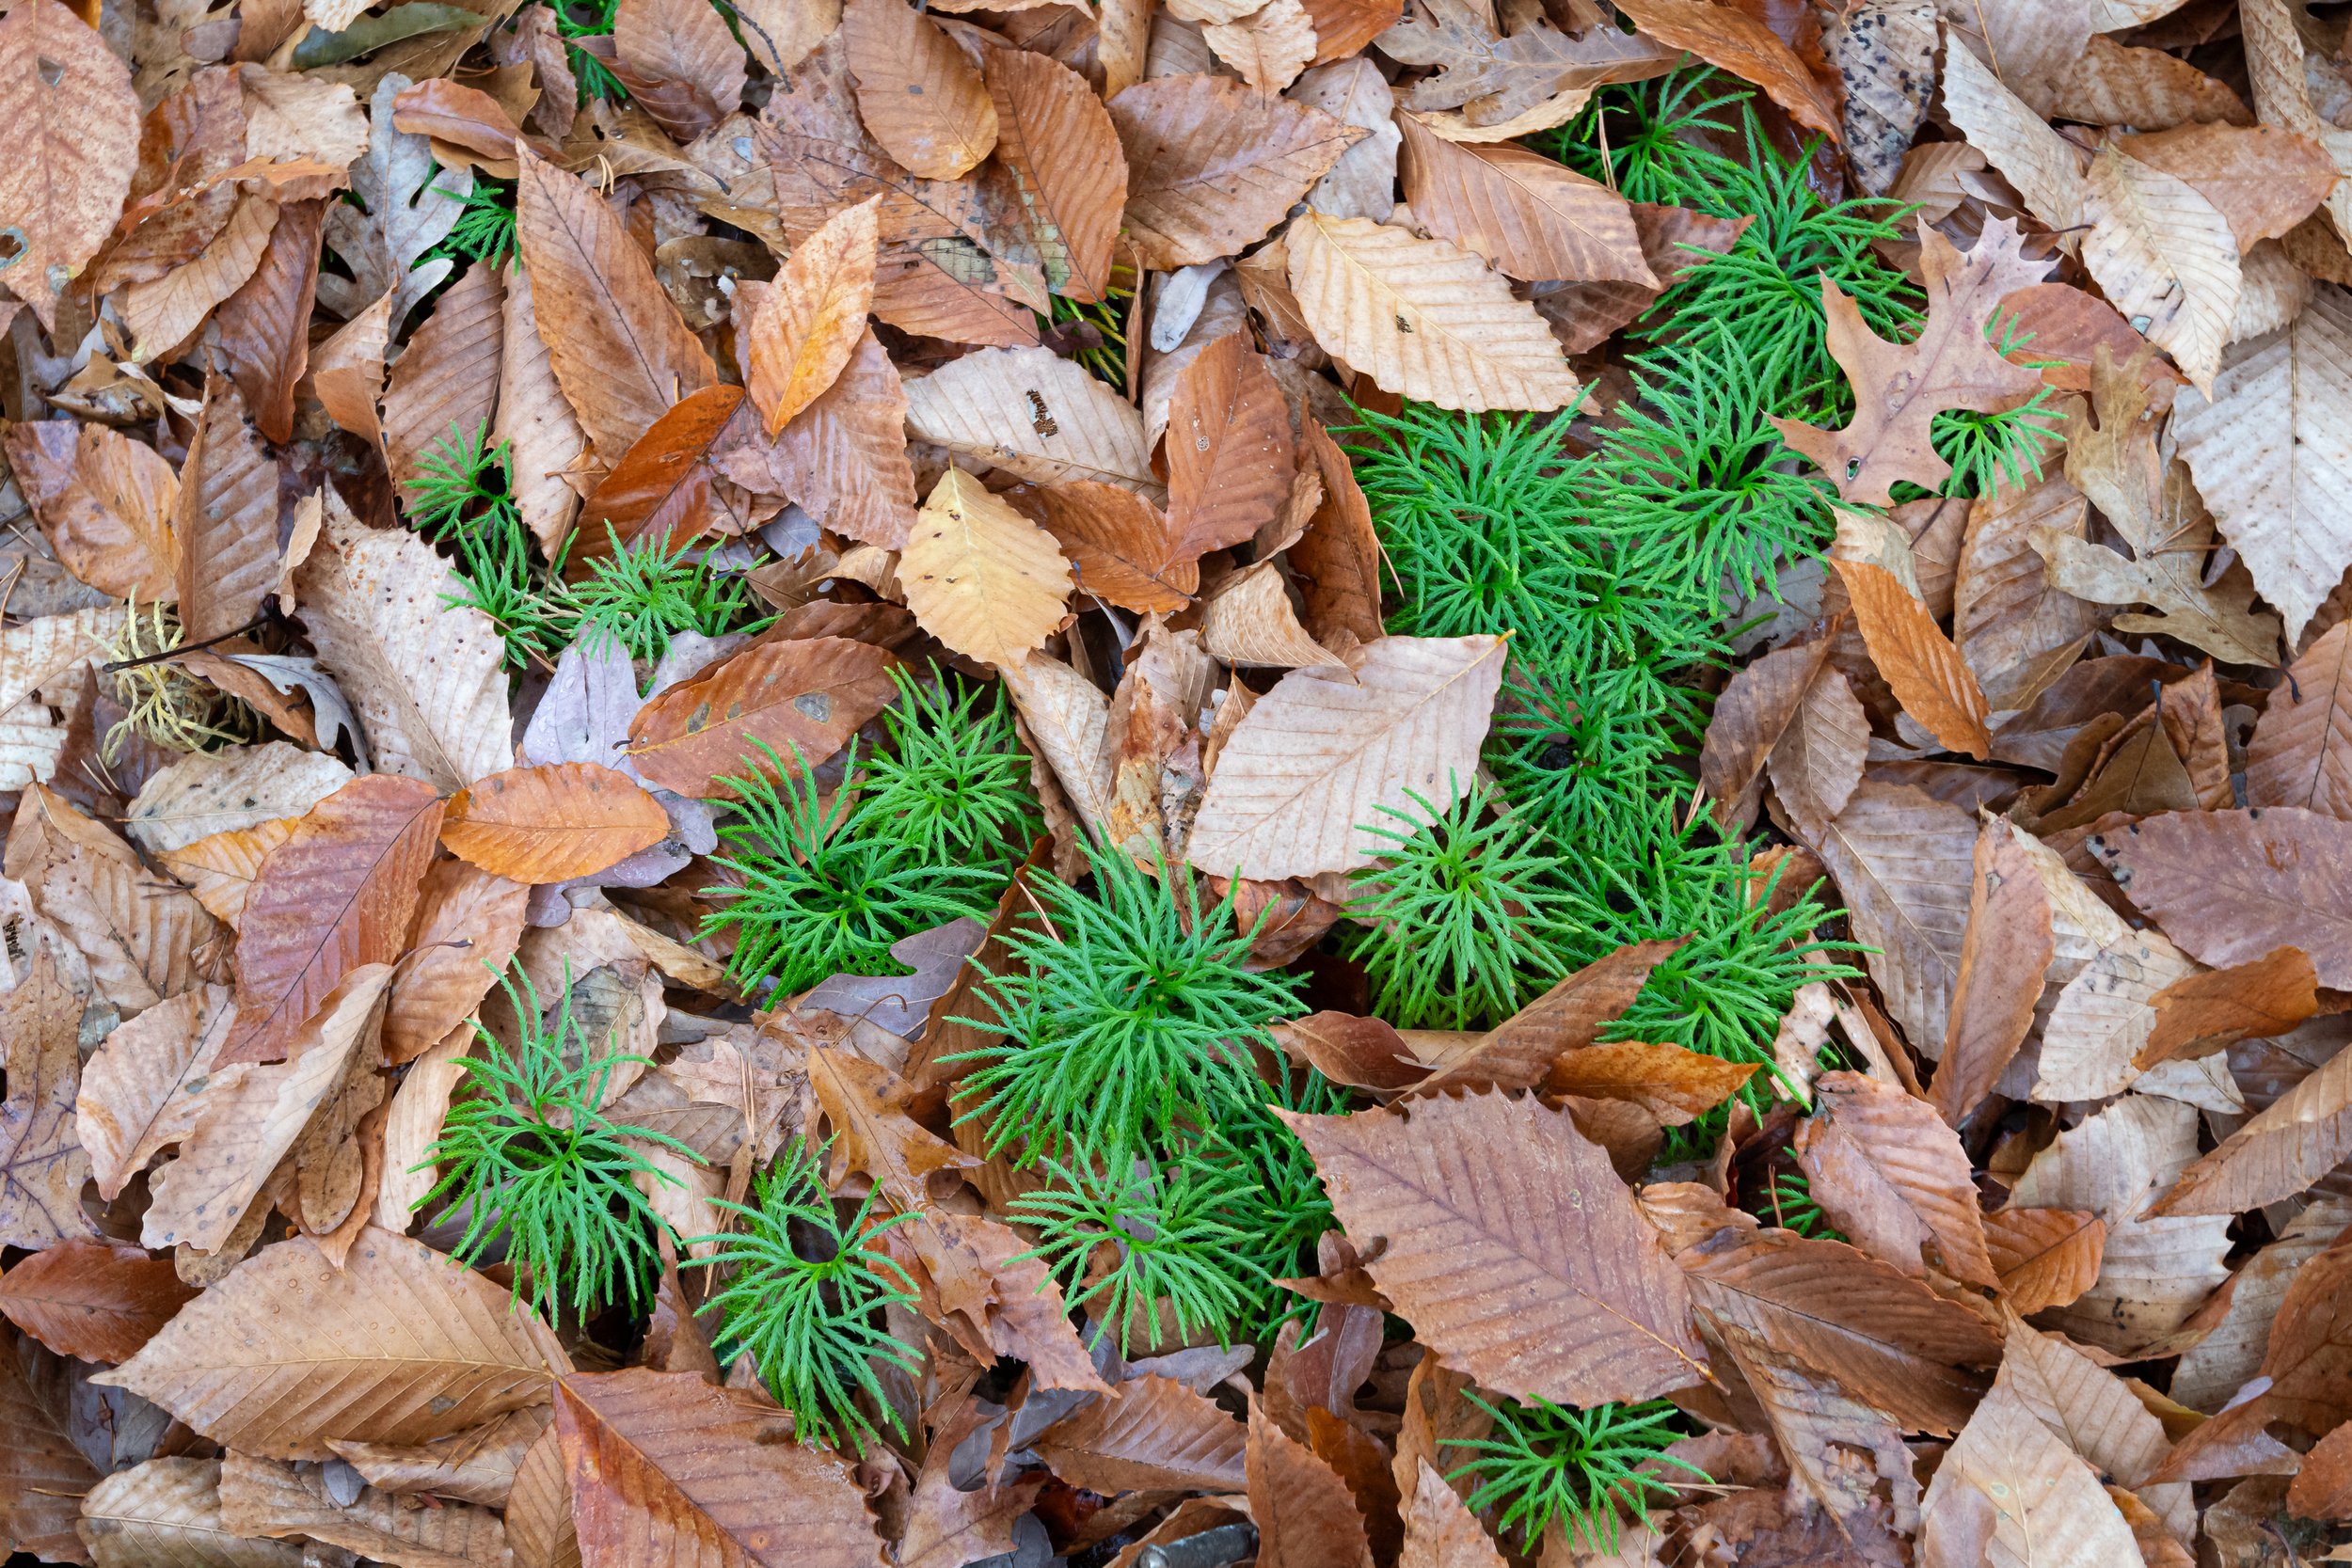
At the end of May, on Memorial Day, we had an early rain. It was a fairly light rain, so when it ended I packed up my camera and tripod and headed into the forest looking for a particular stretch of creek I very much enjoy. The trails were a bit muddy, but not too bad, and the recent rain helped saturate the greens of the wet leaves and the browns and greys of the rocks along the creek.

This is such a beautiful and relaxing stretch of creek, and I was fortunate there were still some mountain laurel blooming along the creekside. Times like this can really help make up for some of the hustle and bustle of everyday life.


Do you enjoy these posts?

Sign up to receive periodic emails with updates and thoughts. Don’t worry, I won’t spam you. And please consider purchasing artwork or products from my online store, and using my affiliate links in the sidebar to the right when shopping online.

I appreciate your support!


Variations on a Theme: Creekside Greenery by Todd Henson

Creekside Greenery

I first noticed this scene from the road. Walking over a bridge provides this lovely view of South Fork Quantico Creek in Prince William Forest Park. It was late June of 2021 and all the various shades of green were present. A fallen tree spanned the width of the creek, which I sometimes find distracting but other times find an appealing addition to a composition. In either case, it is what it is, so better to find a way to work with it.

As for settings, I was using a 16-35mm lens at 27mm. I set the aperture to f/16 and the shutter speed to 1.6 seconds with an ISO of 100. The camera was mounted on a tripod to let me get the longer shutter speed. By doing that I was hoping to smooth out any movements in the slow moving creek and accentuate the reflections.

There’s a trail along the left side of the creek and after hiking down to the trail I still found myself attracted by the same scene, just seen from a different perspective. When down closer to the water I noticed how with a little careful movement I could place the lit up greenery in the background within a triangle of sorts formed by the fallen tree and reflections of a tree in the background. I liked that. It let me work with the fallen tree to create what I thought was a pleasing composition. The sun cooperated by highlighting the background greenery along the shore.

Glowing Greens Along Quantico Creek

Once again, I was trying to smooth out the water to accentuate the reflections so I used similar settings. Still at ISO 100 but this time at 35mm and f/18 with a shutter speed of 2.5 seconds. I liked this composition even more than the previous one. It focused in on a smaller section of the scene and I liked the framing of the lighter greenery.

I suppose this is an example of working a scene. Instead of planting the tripod in one spot and creating photographs of a single view of a scene, move around, see what other options are present, explore the various ways you can frame the scene. What other perspectives are available?

From a technical perspective these are not perfect photos. Each one is a little soft. The fallen tree could have been tack sharp but it isn’t. I’m not sure exactly why. I don’t know if I might have had some tripod movement. One likely culprit is forgetting to turn off the vibration reduction feature of the lens when I put it on the tripod and locked it down. Walking between scenes I’m usually handholding the camera so I’ll turn vibration reduction on, something that’s especially helpful for someone with essential tremors. But when I put the camera on the tripod and lock it down I need to remember to turn off vibration reduction. Otherwise it can actually introduce movement during the exposure, which might have resulted in the slight softness present in each of these.

So given the overall softness I figured why not experiment with another version of the photograph that pushes that softness, adding a bit more of a glow to it, creating something that perhaps has a more painterly, less realistic, look? The photo below is the result of that experimentation.

Softly Glowing Greens Along Quantico Creek


Do you enjoy these posts?

Sign up to receive periodic emails with updates and thoughts. Don’t worry, I won’t spam you. And please consider purchasing artwork or products from my online store, and using my affiliate links in the sidebar to the right when shopping online.

I appreciate your support!


Before & After: South Fork Quantico Creek - Downstream - October 2021 by Todd Henson

Before & After: South Fork Quantico Creek - Downstream - October 2021

It feels like time for another before & after post where I share a little about my process using one photo as an example, stepping you from straight out of the camera to the finished product. This photo is of South Fork Quantico Creek, facing downstream, in October of 2021. It’s an example of an image that didn’t require any drastic editing but instead benefited from a series of small adjustments. All of the processing was performed in Adobe Lightroom.

Straight Out of the Camera

Before making any adjustments

Step 1: Global Adjustments & Lens Correction

Global adjustments & lens corrections

I most often tend to perform any global adjustments first. These apply to the entire image and included lowering the highlights and whites and raising the shadows. This provided a little more detail, letting us better see in some dark areas and keeping some light areas from getting too light. I also increased the vibrance a bit to help the colors pop.

Step 2: Post-Crop Vignette

Post-crop vignette

I very often apply vignettes to my photos to help draw the eye into the frame. Sometimes I’ll do this manually but in this case I used Lightroom’s Post-Crop Vignette setting to darken the corners and edges just a bit.

Step 3: Masking - Selectively Applying Texture

Masking - Selectively applying texture

At this point it was time to start selectively editing specific areas of the image. I wanted the rocks to stand out nicely so I added a little texture, which is a type of contrast adjustment. I didn’t want that applied to softer areas like the water, or to the trees, so I painted it just onto the rocks. You’ll see a pinkish overlay on the areas where I applied texture.

Step 4: Masking - Selectively Increasing Exposure

Masking - Selectively increasing exposure

I loved the greenery under the water and wanted that to stand out so I created another brush mask and painted over those areas, increasing exposure to lighten them up.

Step 5: Masking - Selectively Decreasing Exposure

Masking - Selectively decreasing exposure

There were other areas I thought would look better a little darker, so I created a brush mask and lowered the exposure of these areas. This was mostly the rocks but also some areas in the trees.

Step 6: Masking - Another Round of Increased Exposure

Masking - Another round of increased exposure

I decided that distant rock face was a little too dark so I created another brush mask and increased exposure just a touch.

Step 7: Masking - Selectively Increasing Whites

Masking - Selectively increasing whites

Finally, I wanted the whites on the surface of the water to stand out to show the motion of the water. I created a final brush mask and increased the whites in those areas. This was more focused than increasing exposure, just increasing the whites instead of brightening the entire area.

Final Image

South Fork Quantico Creek - Downstream - October 2021: Final Image

And that was it. At this point I was happy with the look of the photograph. I’d started with an image I liked and by applying some small adjustments here and there I was able to enhance it into an image I liked even more, that better showed what I saw and how I felt on that day.

Click on the photo below to cycle between the before and after images to better see the results of all these small edits. Any one of them by themselves might not do much for the photo, but taken together they help shape the final image.

I hope you’ve enjoyed this small look into my process.


South Fork Quantico Creek - Downstream - October 2021 is available for purchase as wall art or on a variety of products at my online store.

Photography Prints by Todd Henson


Do you enjoy these posts?

Sign up to receive periodic emails with updates and thoughts. Don’t worry, I won’t spam you. And please consider purchasing artwork or products from my online store, and using my affiliate links in the sidebar to the right when shopping online.

I appreciate your support!