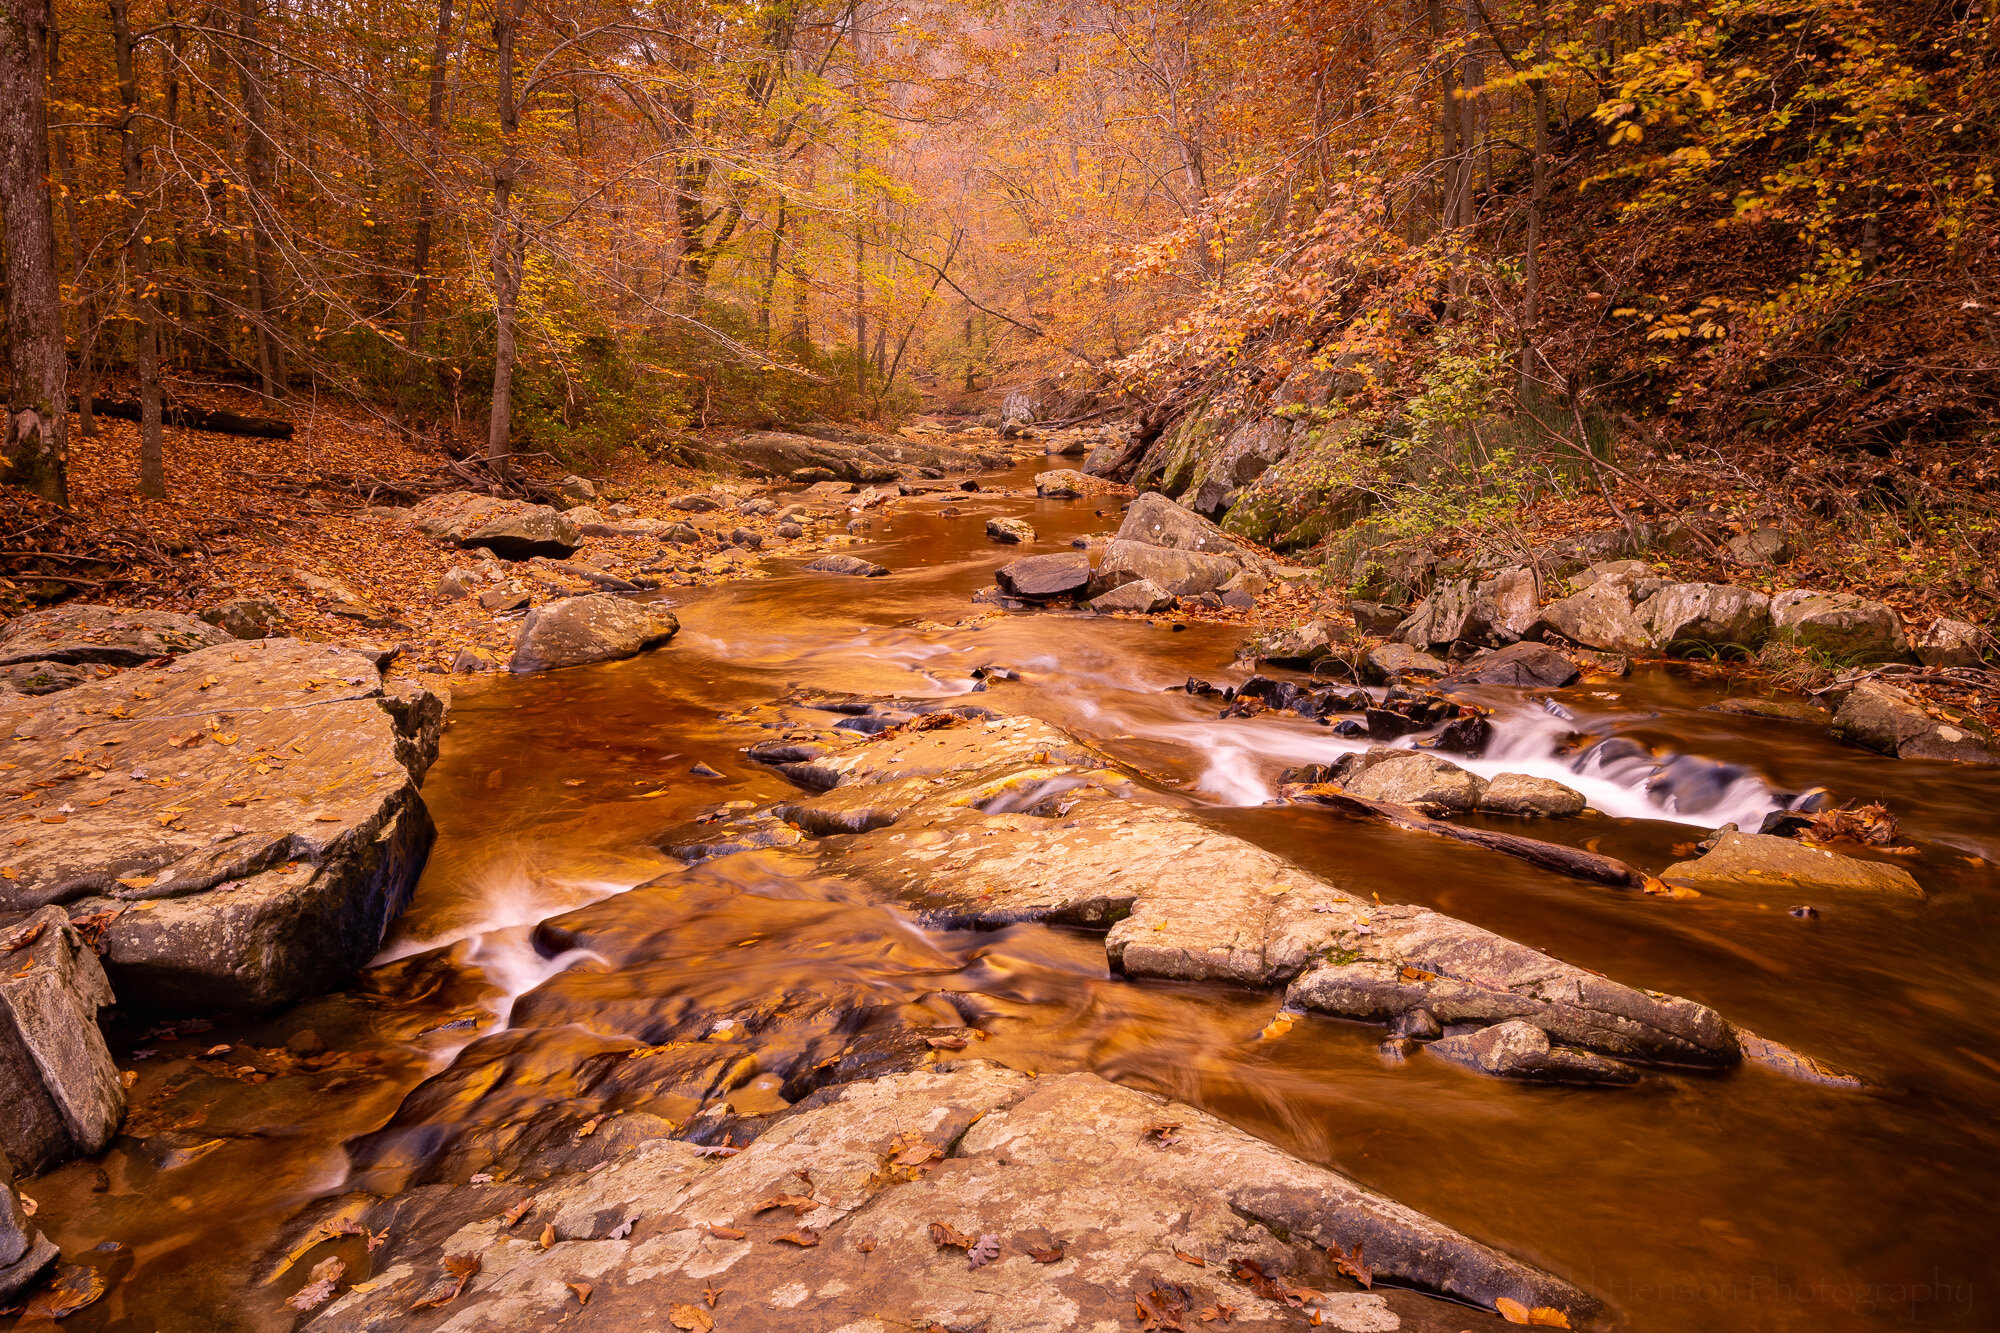
Crossing Powell’s Creek
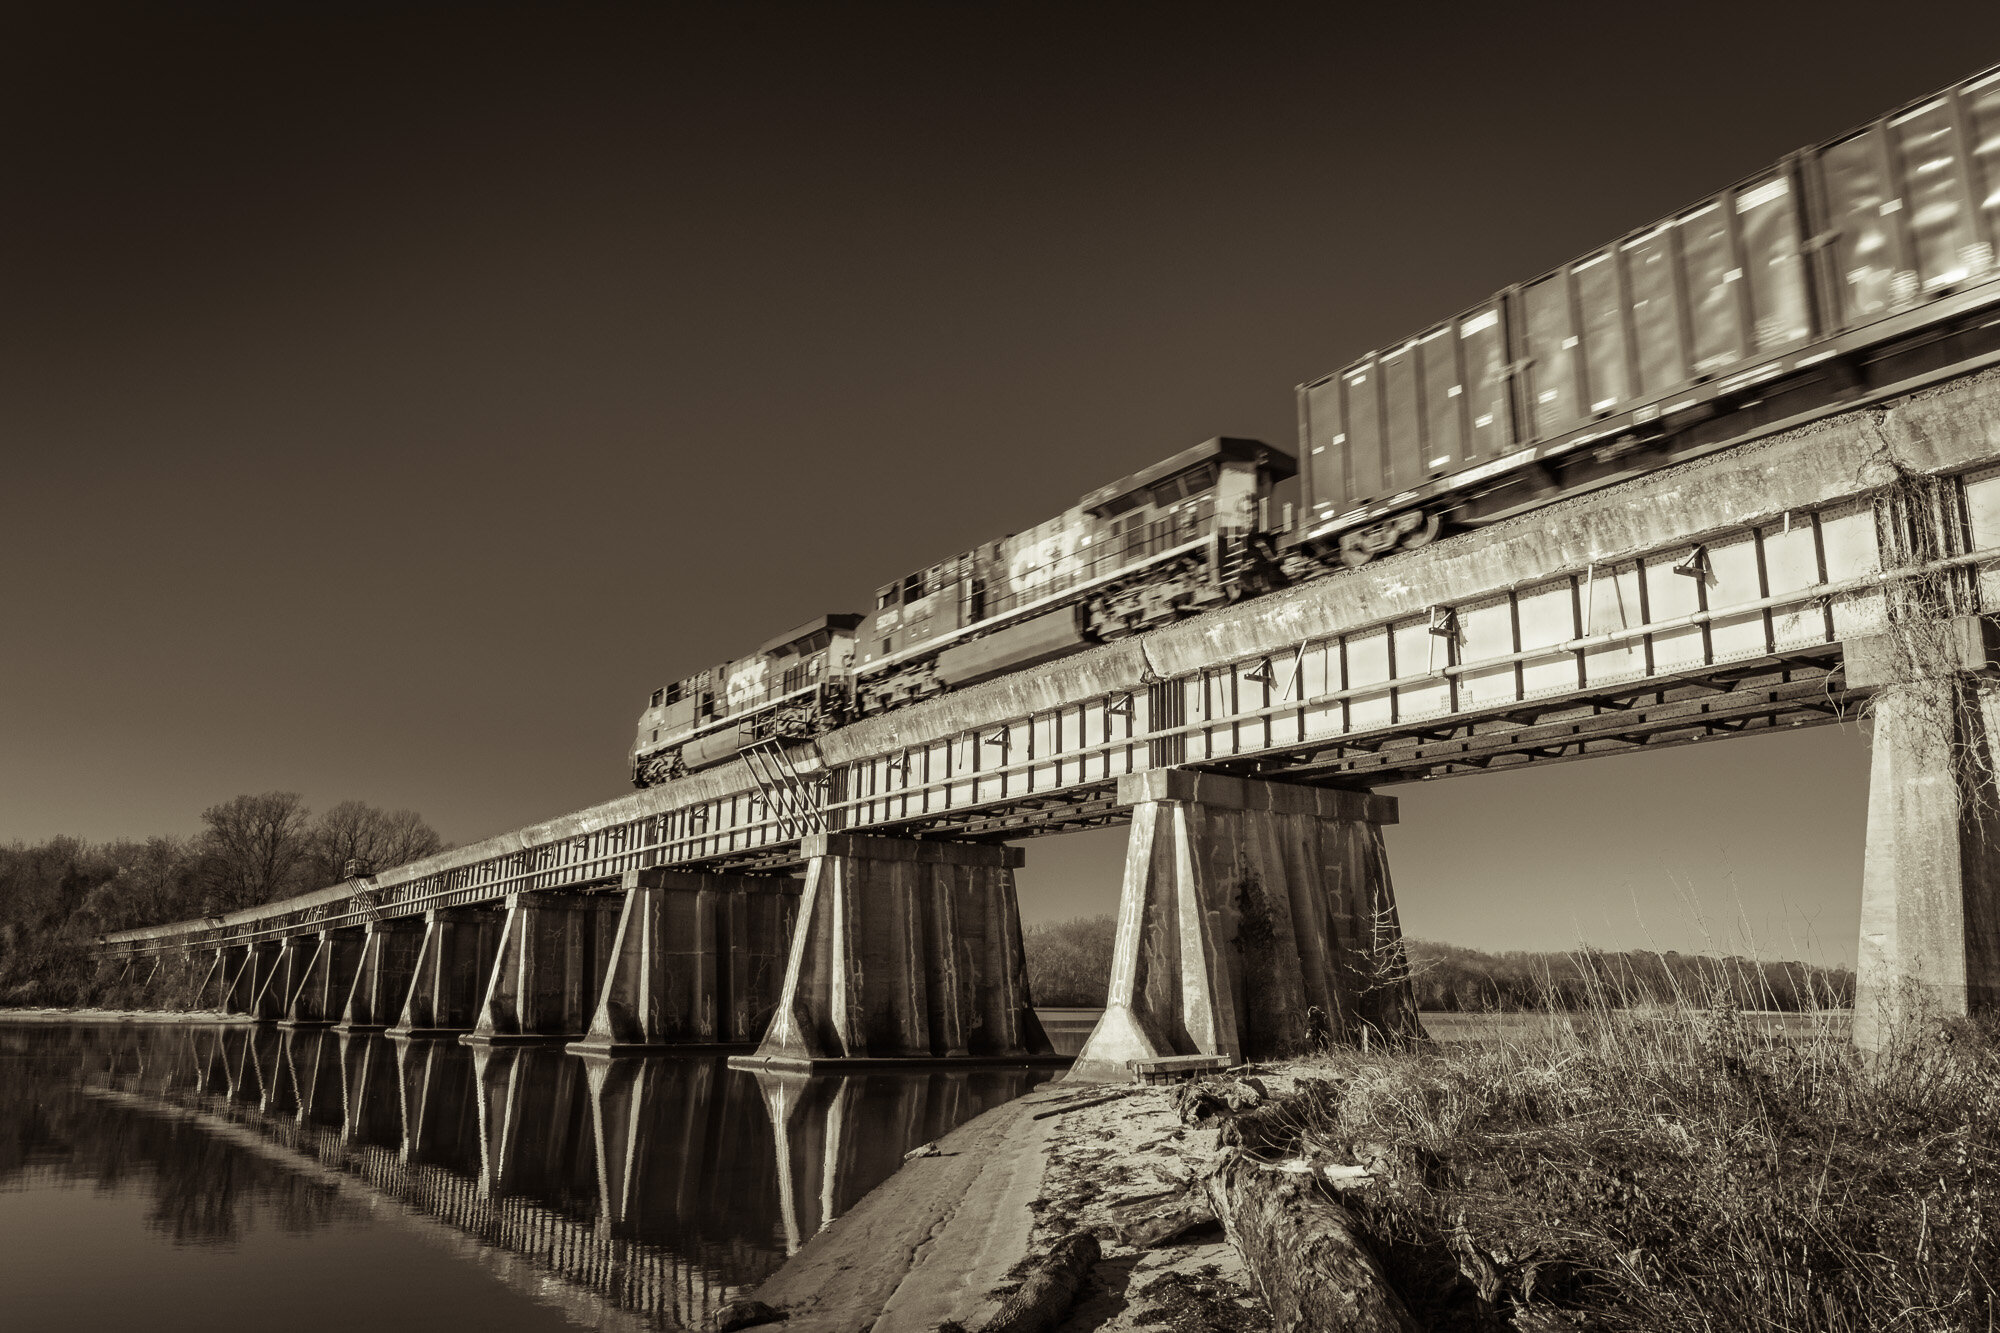
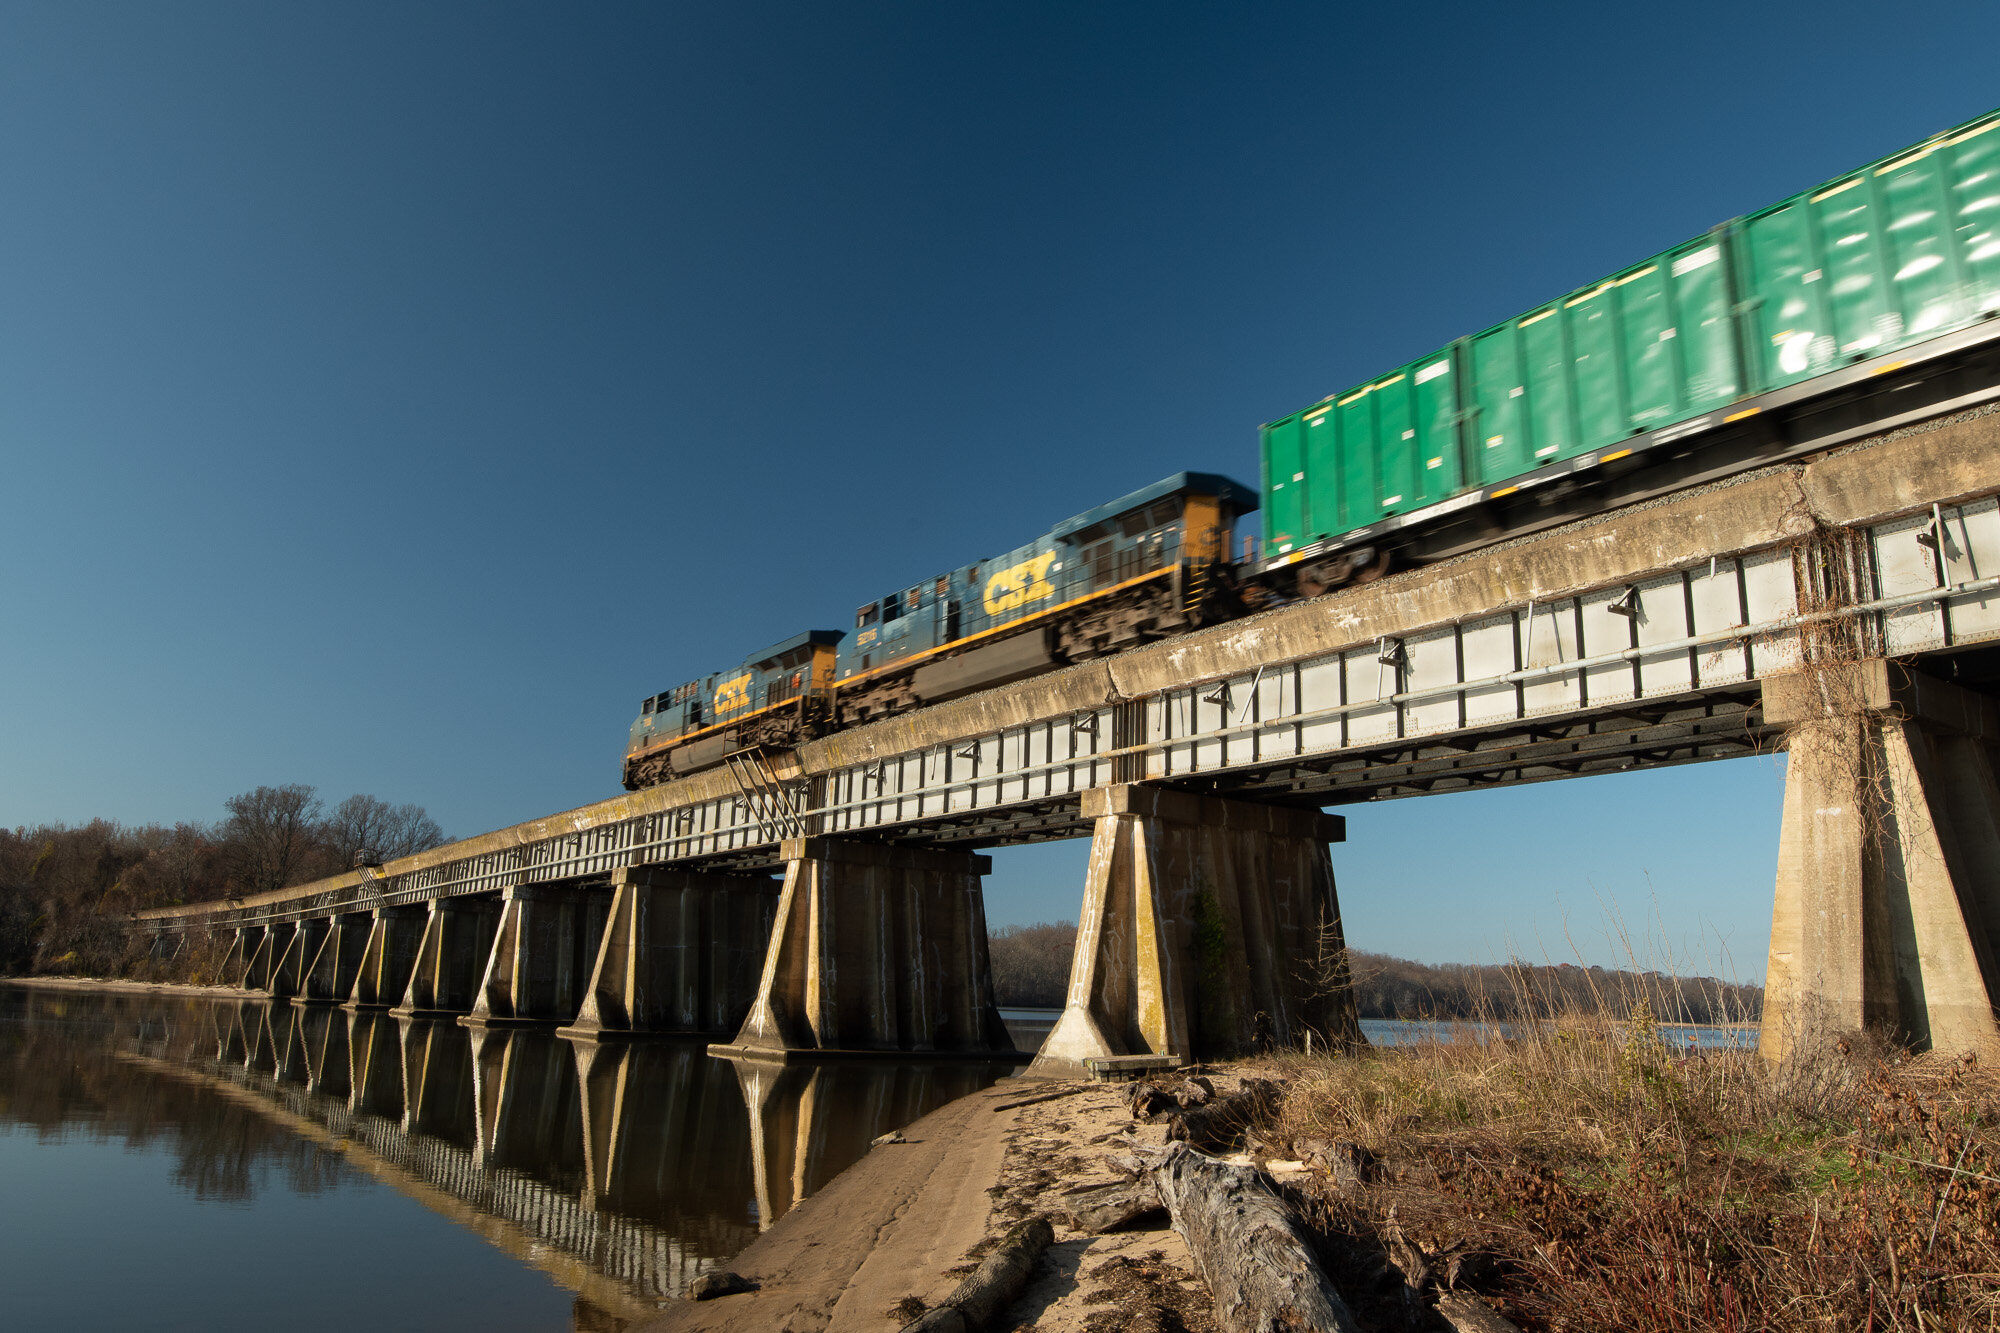
At the end of November I met my father in Leesylvania State Park to go for a morning hike. The park is crossed by a north-south railroad line and you can sometimes watch as trains traverse Powell’s Creek Crossing, a bridge over the creek. We had just passed under the bridge and were about to enter the woods when we heard the rumbling of an oncoming train. I didn’t think I’d get back to the bridge in time to photograph it but decided to try anyway. And as luck would have it I arrived in plenty of time to stand and photograph the train as it crossed the bridge. This ended up being a fairly long train pulled by two CSX locomotives.
The History
Powell’s Creek Crossing, a concrete deck railway bridge over Powell’s Creek
The history of this rail line stretches back to 1864, when they began constructing it, and in 1872 it opened for service. At the time it was a wooden trestle bridge, but in 1928 they replaced it with the current concrete deck bridge to allow for larger and faster trains. Previously the trains were limited to 20 miles per hour in this stretch due to the wooden trestles and curves in the line. So they straightened the curves and replaced the wooden trestles. Powell’s Creek Crossing was the last wooden trestle bridge on the line.
The Photograph
On this particular morning the sky was completely clear and the sun was shining from behind me, illuminating the bridge and the train as it crossed. I had on my wide angle zoom lens so I was able to photograph a large part of the bridge, showing a bit of the shoreline on each side. I often like showing a bit of motion blur with moving trains to show they are, in fact, moving. I didn’t have my tripod with me on this hike, but the train was moving fast enough that a shutter speed of 1/50 second was still enough to capture a small amount of blur while holding the camera steady enough to keep the bridge sharply in focus. And because I was using a wide angle lens and the train was moving away from me the front locomotive, which is further away from the camera, appears to have less motion blur than the car closest to us, which I also like.
The Processing
As I mentioned, it was a perfectly clear day, not a cloud in the sky, and it was still early enough to show a nice blue sky. I was hoping for a little punch to the photograph with contrast between the sky and the train so I had on a circular polarizing filter to darken the sky and make that blue even richer, as well as possibly reducing any reflections from the train. However, I made a very common mistake. I didn’t take into account the wide angle I was shooting at (16mm on a cropped sensor) and my angle from the sun. If you look at the original unprocessed color version below you can see the result of this mistake. Notice how the blue in the sky changes, very rich and dark in the central portion but getting progressively lighter on the left and right. Sometimes circular polarizing filters create this effect when shooting very wide angle. I won’t get into the technical details of why, but it’s something you should be aware of. Try it sometime if you have both a very wide angle lens and a circular polarizing filter. Change your angle to the sun and see how the tones in the sky change.
The unprocessed original color version of the photo
The color, itself, didn’t do much for me in this photograph so I decided to convert it to a monochromatic image. In Adobe Lightroom I converted it to black and white and did my typical post-processing. Then I added a split tone to give it just a touch of color, to warm it up a bit. This involved adding a yellowish tone to the highlights and an orangish tone to the shadows. I also corrected the sky tones caused by the polarizing filter, trying to create a more consistent tone in the sky that gradually lightened towards the horizon. I think this monochromatic treatment really helps the train and the bridge stand out.
Click on the image below to cycle between the final monochromatic and original color versions.
What do you think? Did the monochromatic treatment add something to the photograph? Or do you prefer the color version?
Do you enjoy these posts?
Sign up to receive periodic emails with updates and thoughts. Don’t worry, I won’t spam you. And please consider purchasing artwork or products from my online store, and using my affiliate links in the sidebar to the right when shopping online.
I appreciate your support!