Quantico Creek

Quantico Cascades by Todd Henson

Lower Quantico Cascades

When the trail map calls out waterfalls you know that stretch of trail will become popular, at least during the warmer months. But it’s sometimes possible to visit in relative peace when it’s colder out or the weather isn’t so nice. These photos were created in early February when there was still a very noticeable chill in the air, though not cold enough to freeze any of the water.

This section of creek has two small groups of cascades where the water flows over rock shelves. It’s a beautiful and relaxing location when not crowded. You can walk out onto some of the rock shelves if the water level isn’t too high and just sit and watch and listen as the water flows by.

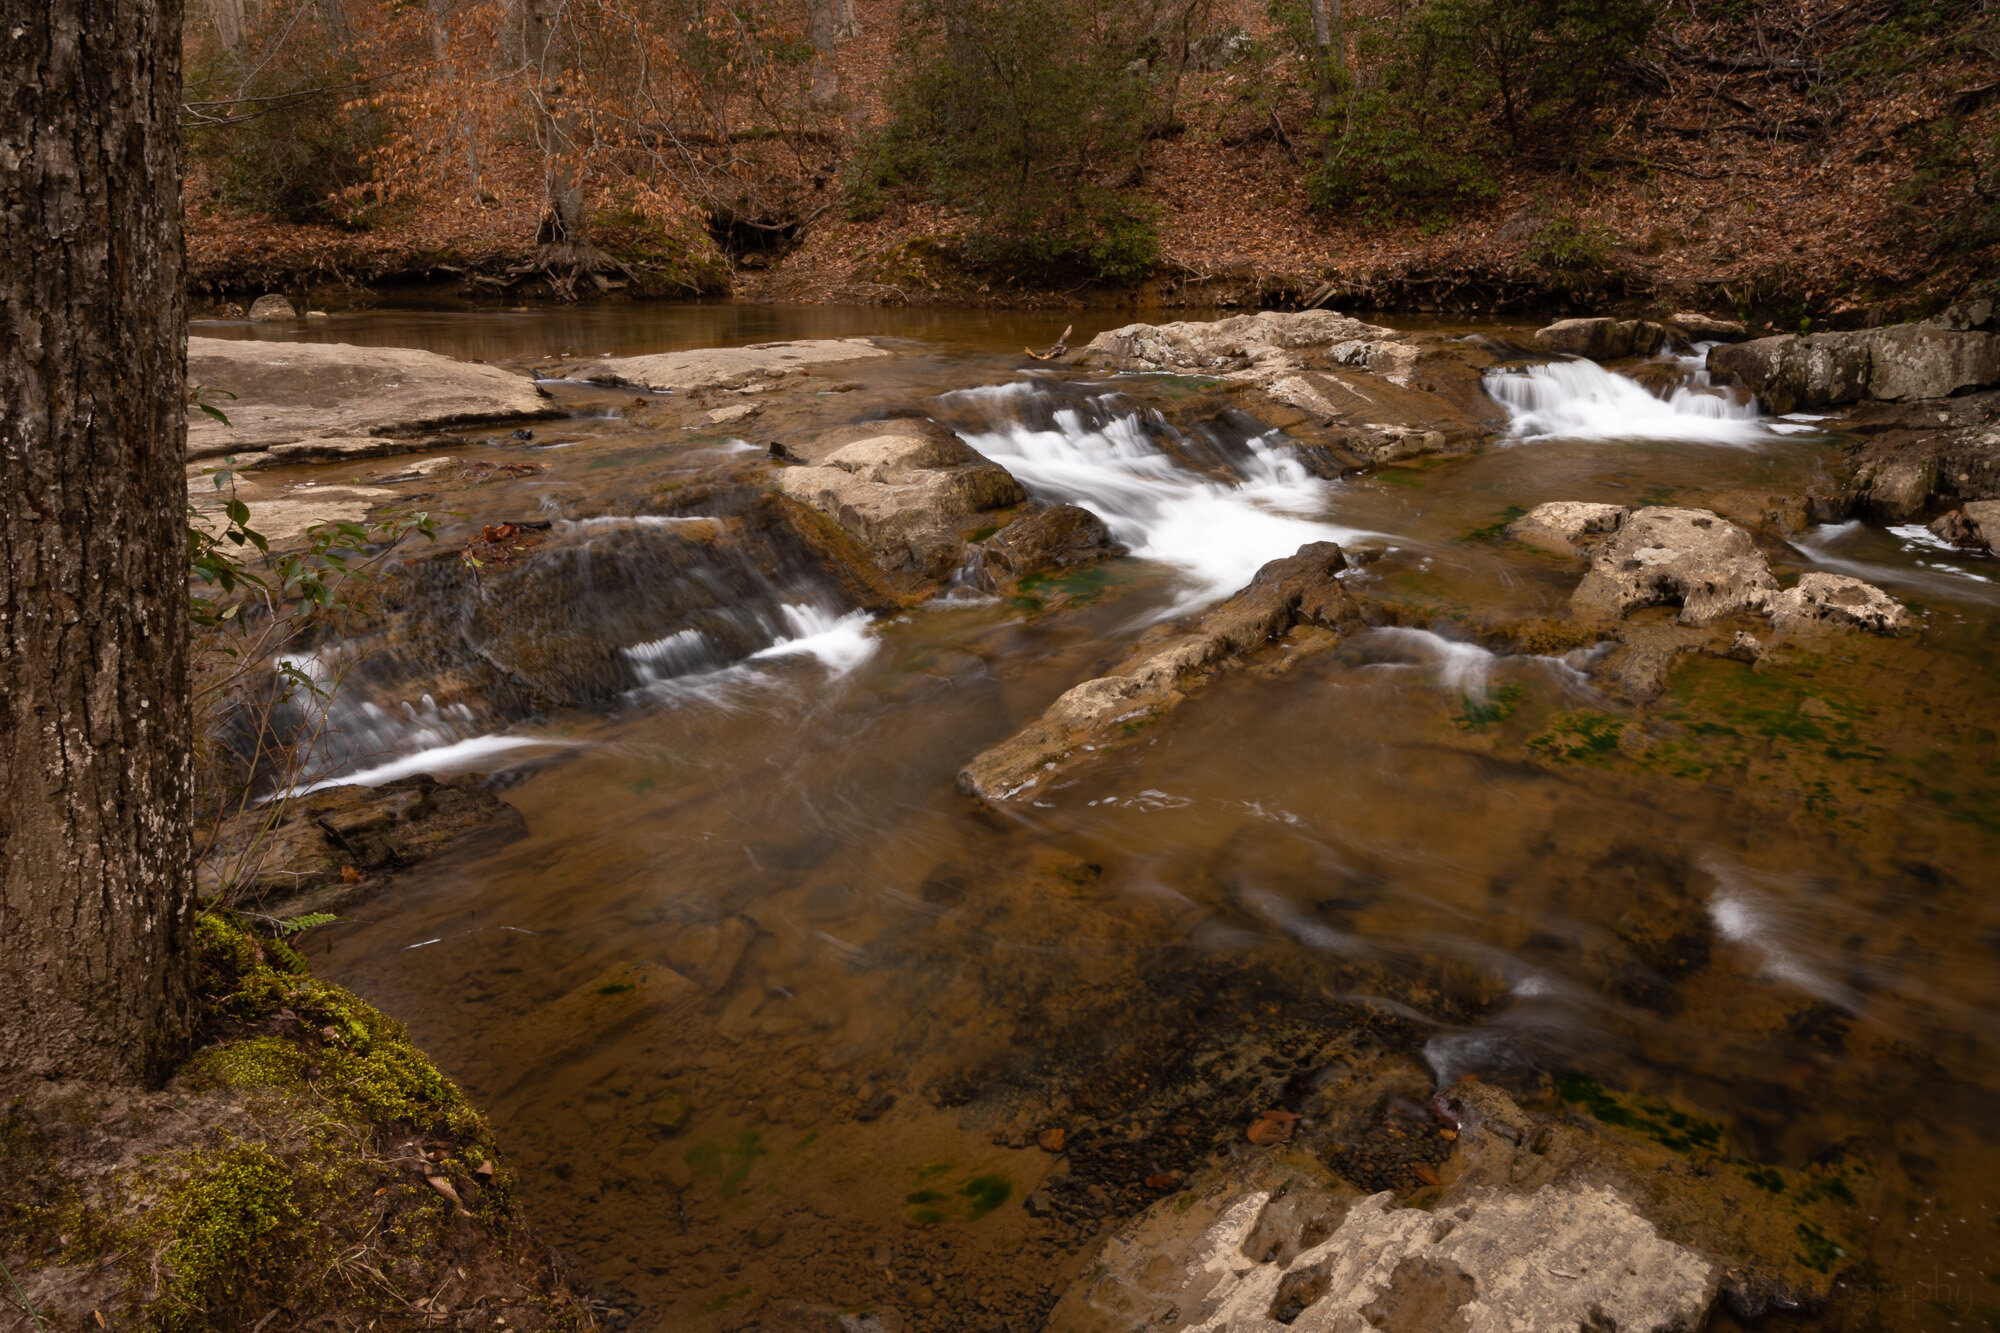
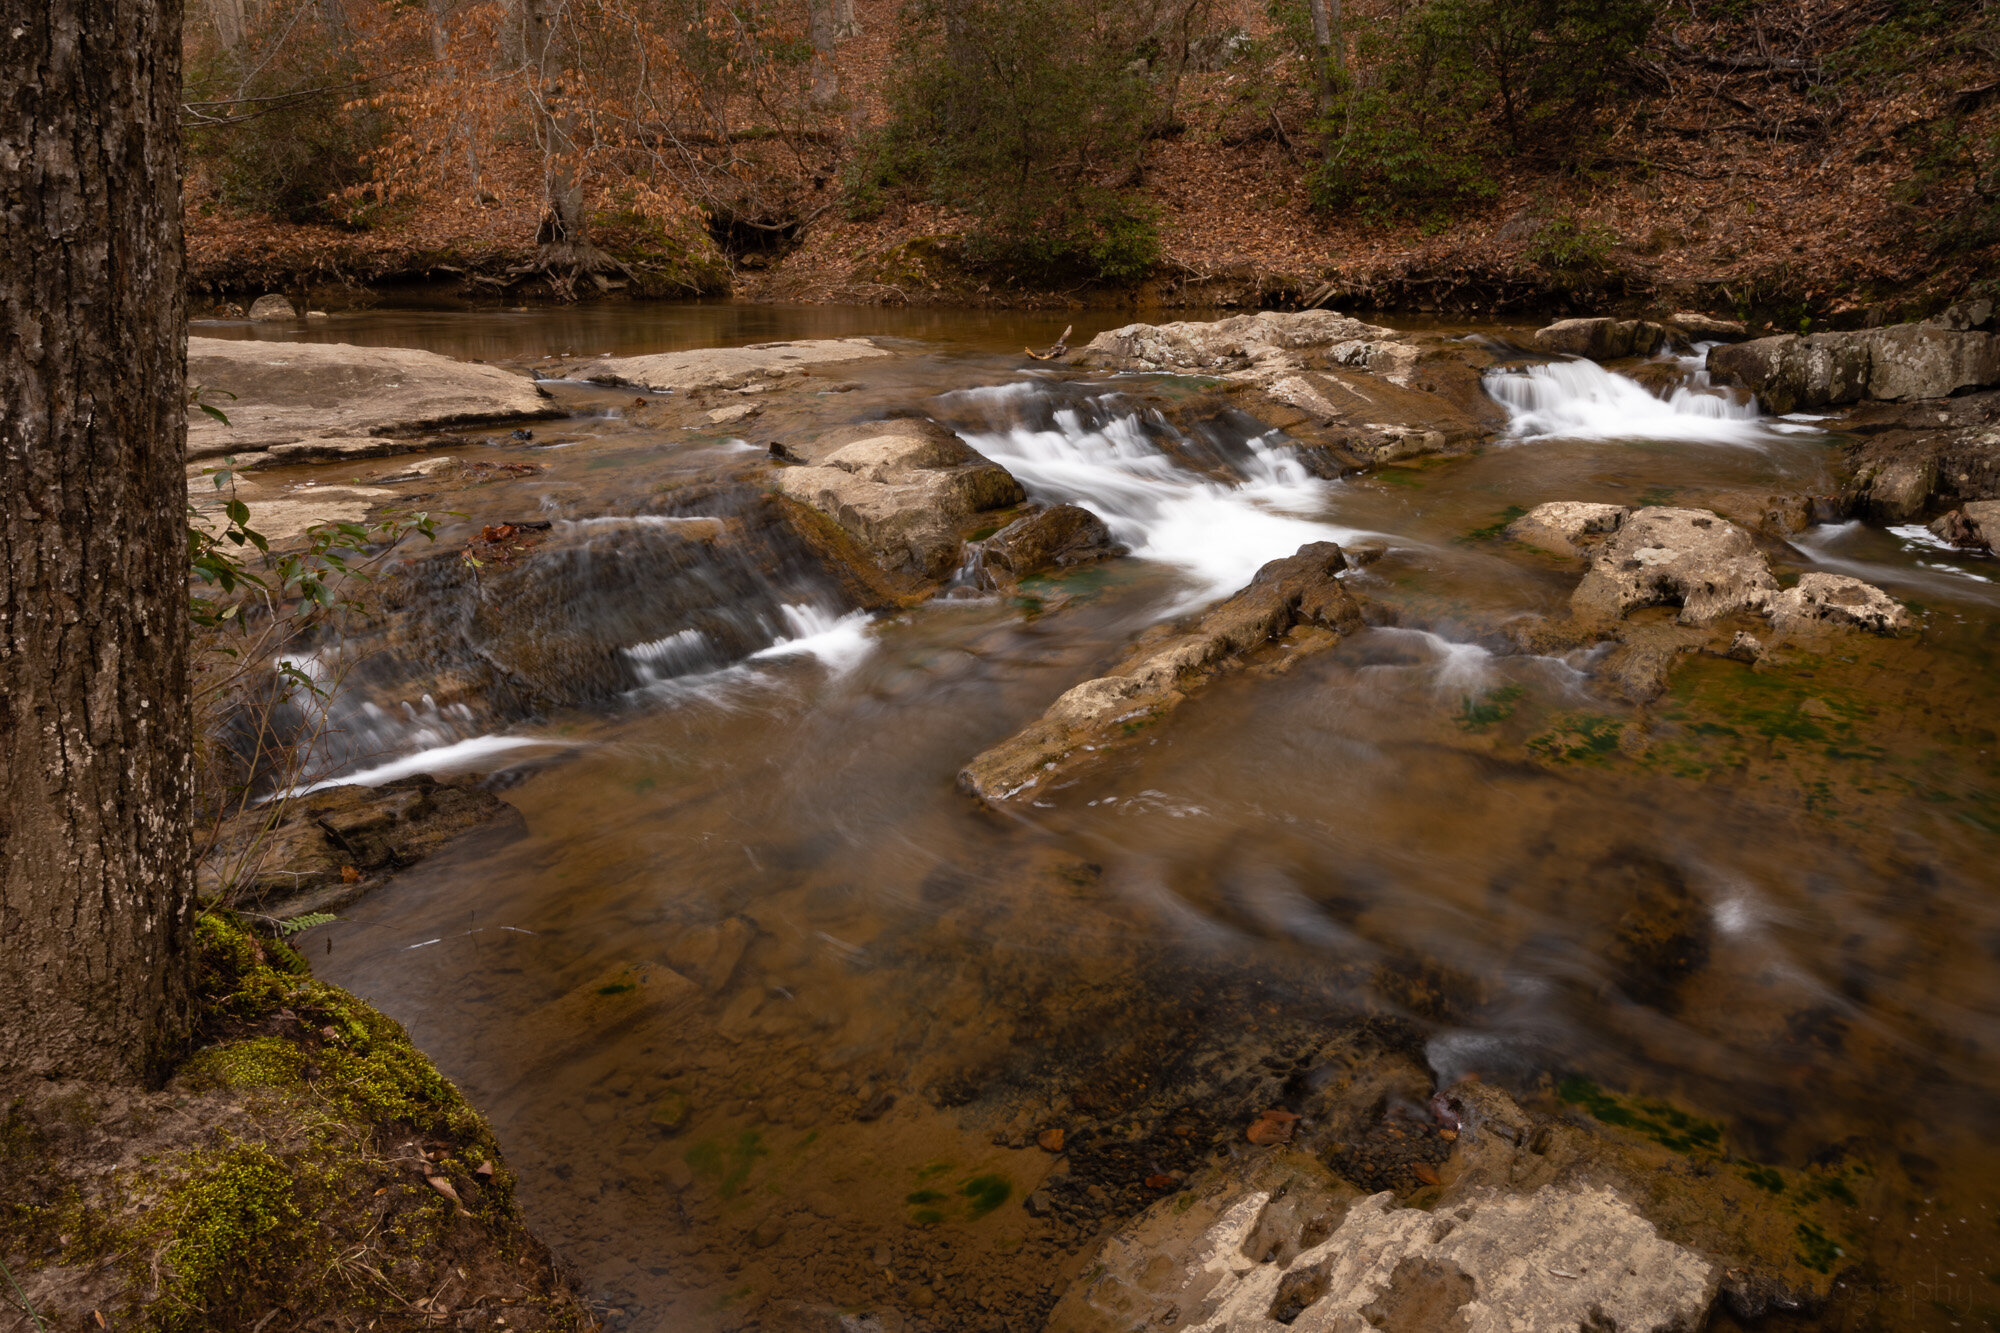
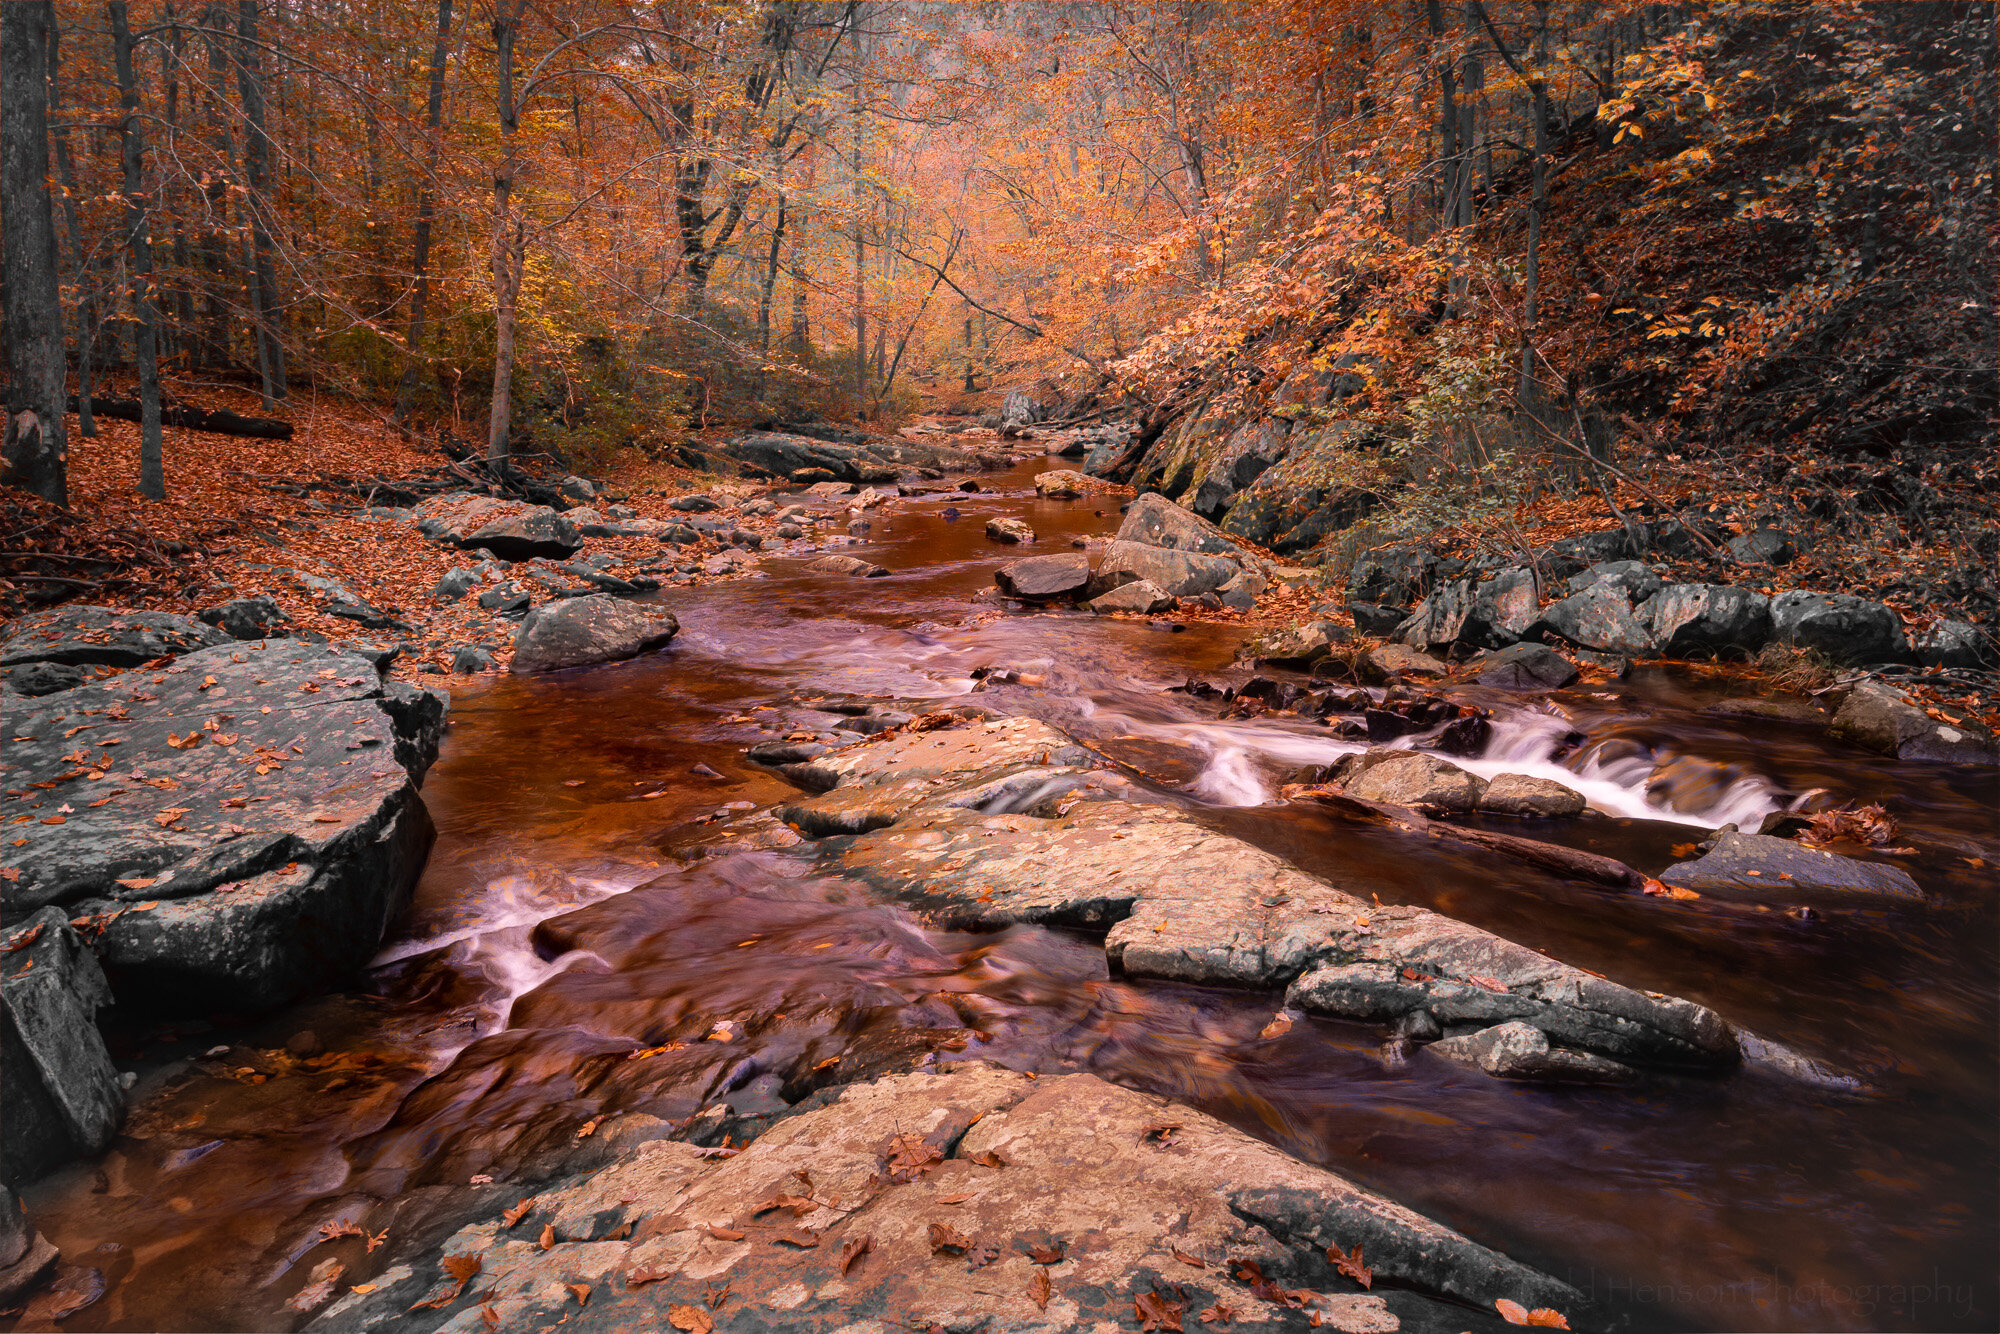
The image at the top of this post is the downstream section of cascades. There’s a large tree at a bend in the creek, visible on the left side of the photo. I climbed down to the waters edge, being careful with my footing as many sections of the creek floor were covered in slippery green growth. But I wasn’t quite careful enough. I’d stepped into the creek at one point and when I walked back onto a flat section of dry rock my wet boots either had picked up something slick from the water or the dry stone became slick when wet. I slipped and fell straight onto my back, camera and tripod in hand, held up high trying not to let them crash onto the rock or water. I felt a little guilty about this as I was hiking with my father and when he saw me go down he rushed over to be sure I was ok. I was, though I did end up with a sore bruise on my back for a couple days.

It was after the fall I walked up close to the tree and found the composition you see above. At first I tried composing without the tree, but I ended up liking the interesting shape of it even though you can only see a small section.

Just a little ways upstream is the first set of cascades, interestingly also with a tree right at the edge, though not as large or curiously shaped. But this one had a nice bit of green moss growing about its base which I really liked. I’m curious to return later in the year and see how this develops.

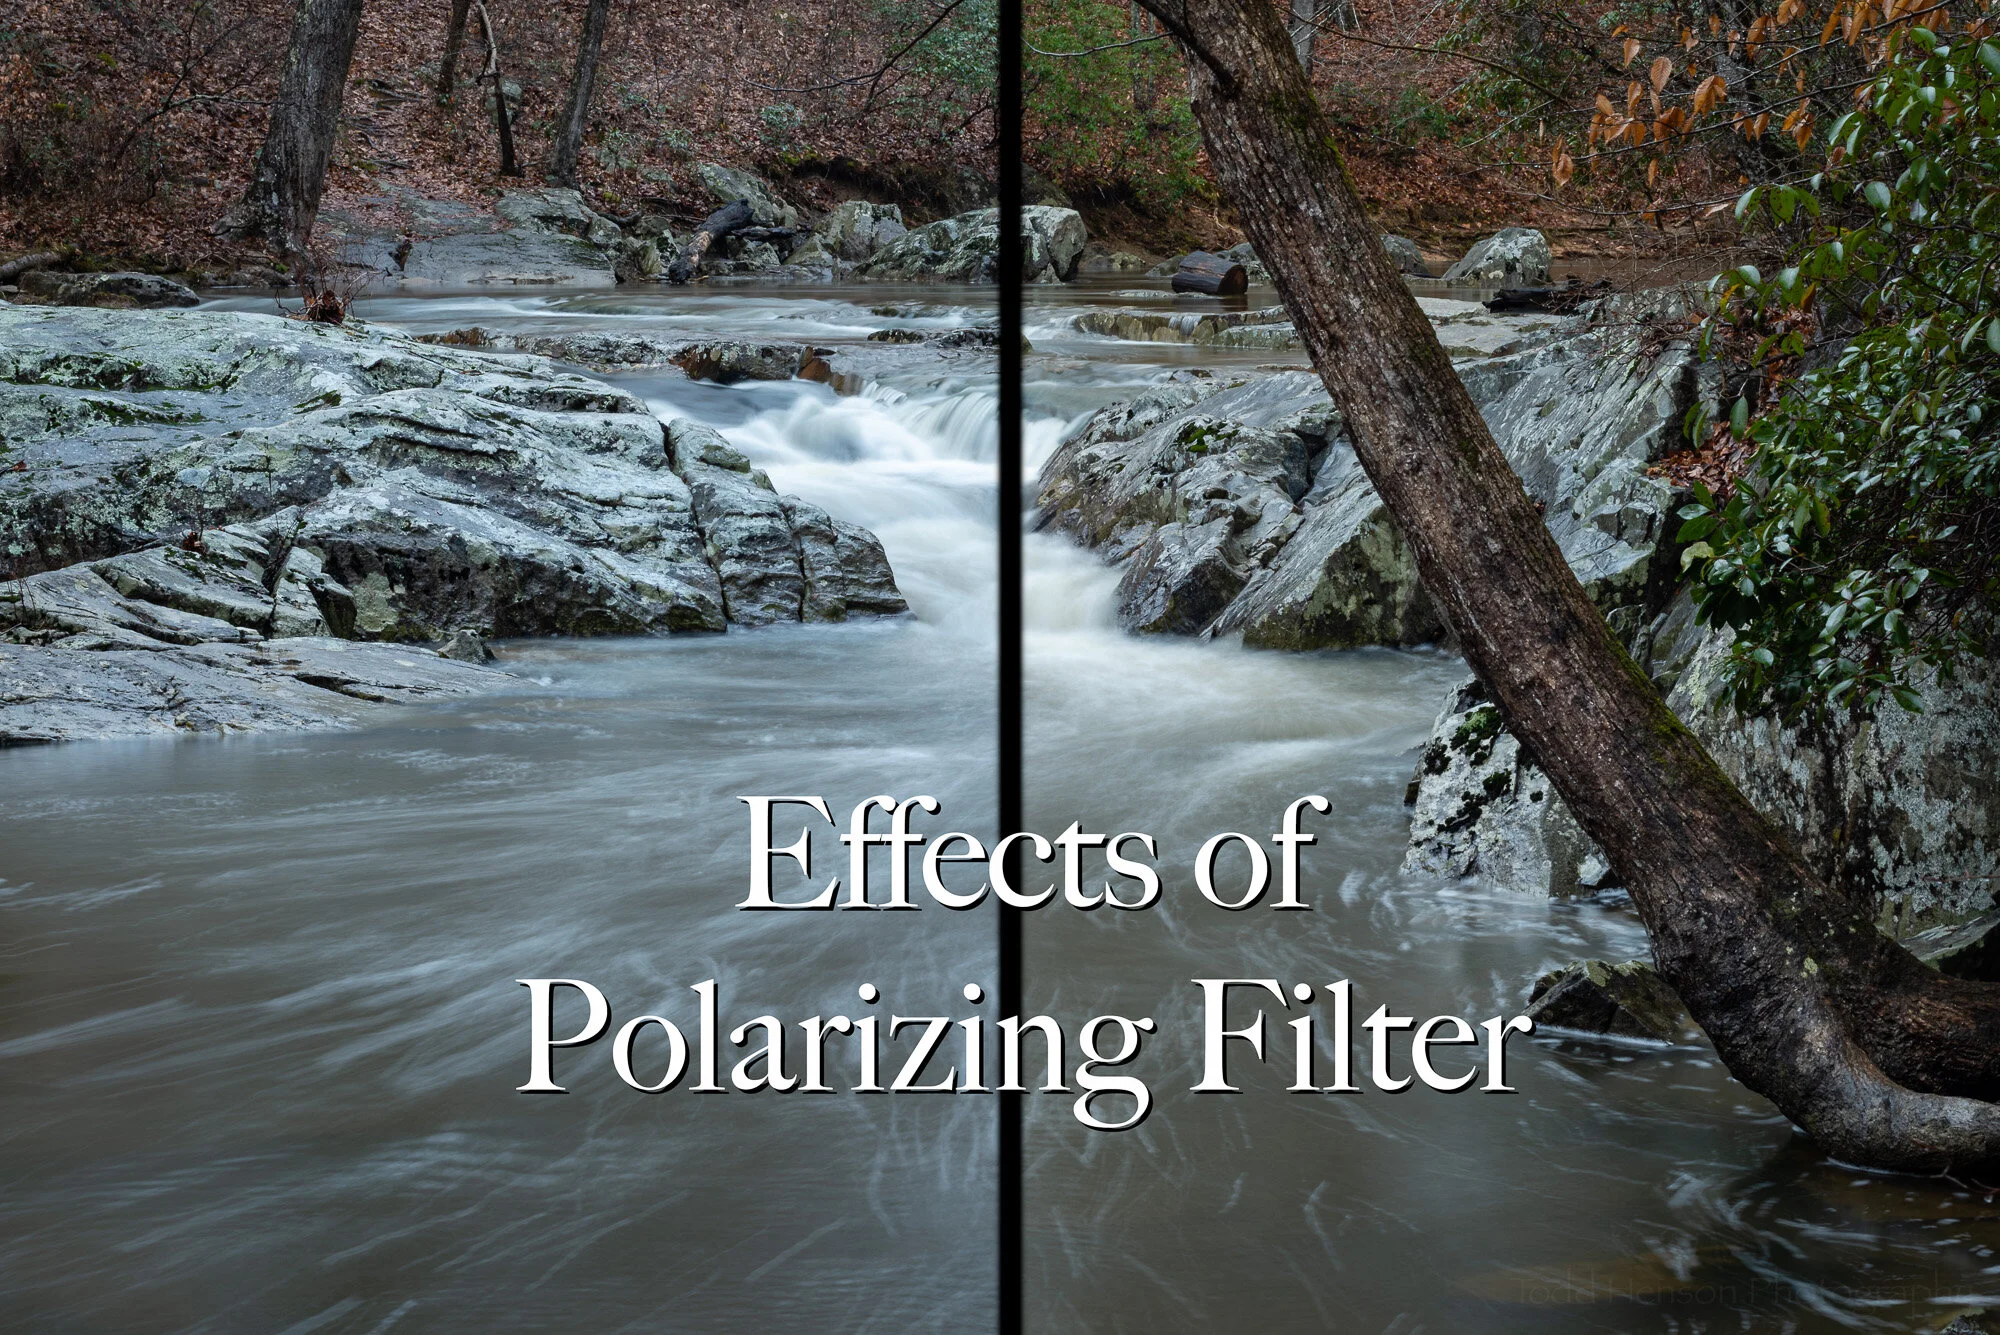
For this cascade I decided to try another experiment with the polarizing filter. I created one image with lots of reflections and one with the filter eliminating almost all reflections. Then I combined the two, keeping some reflections in some sections and eliminating them from others.

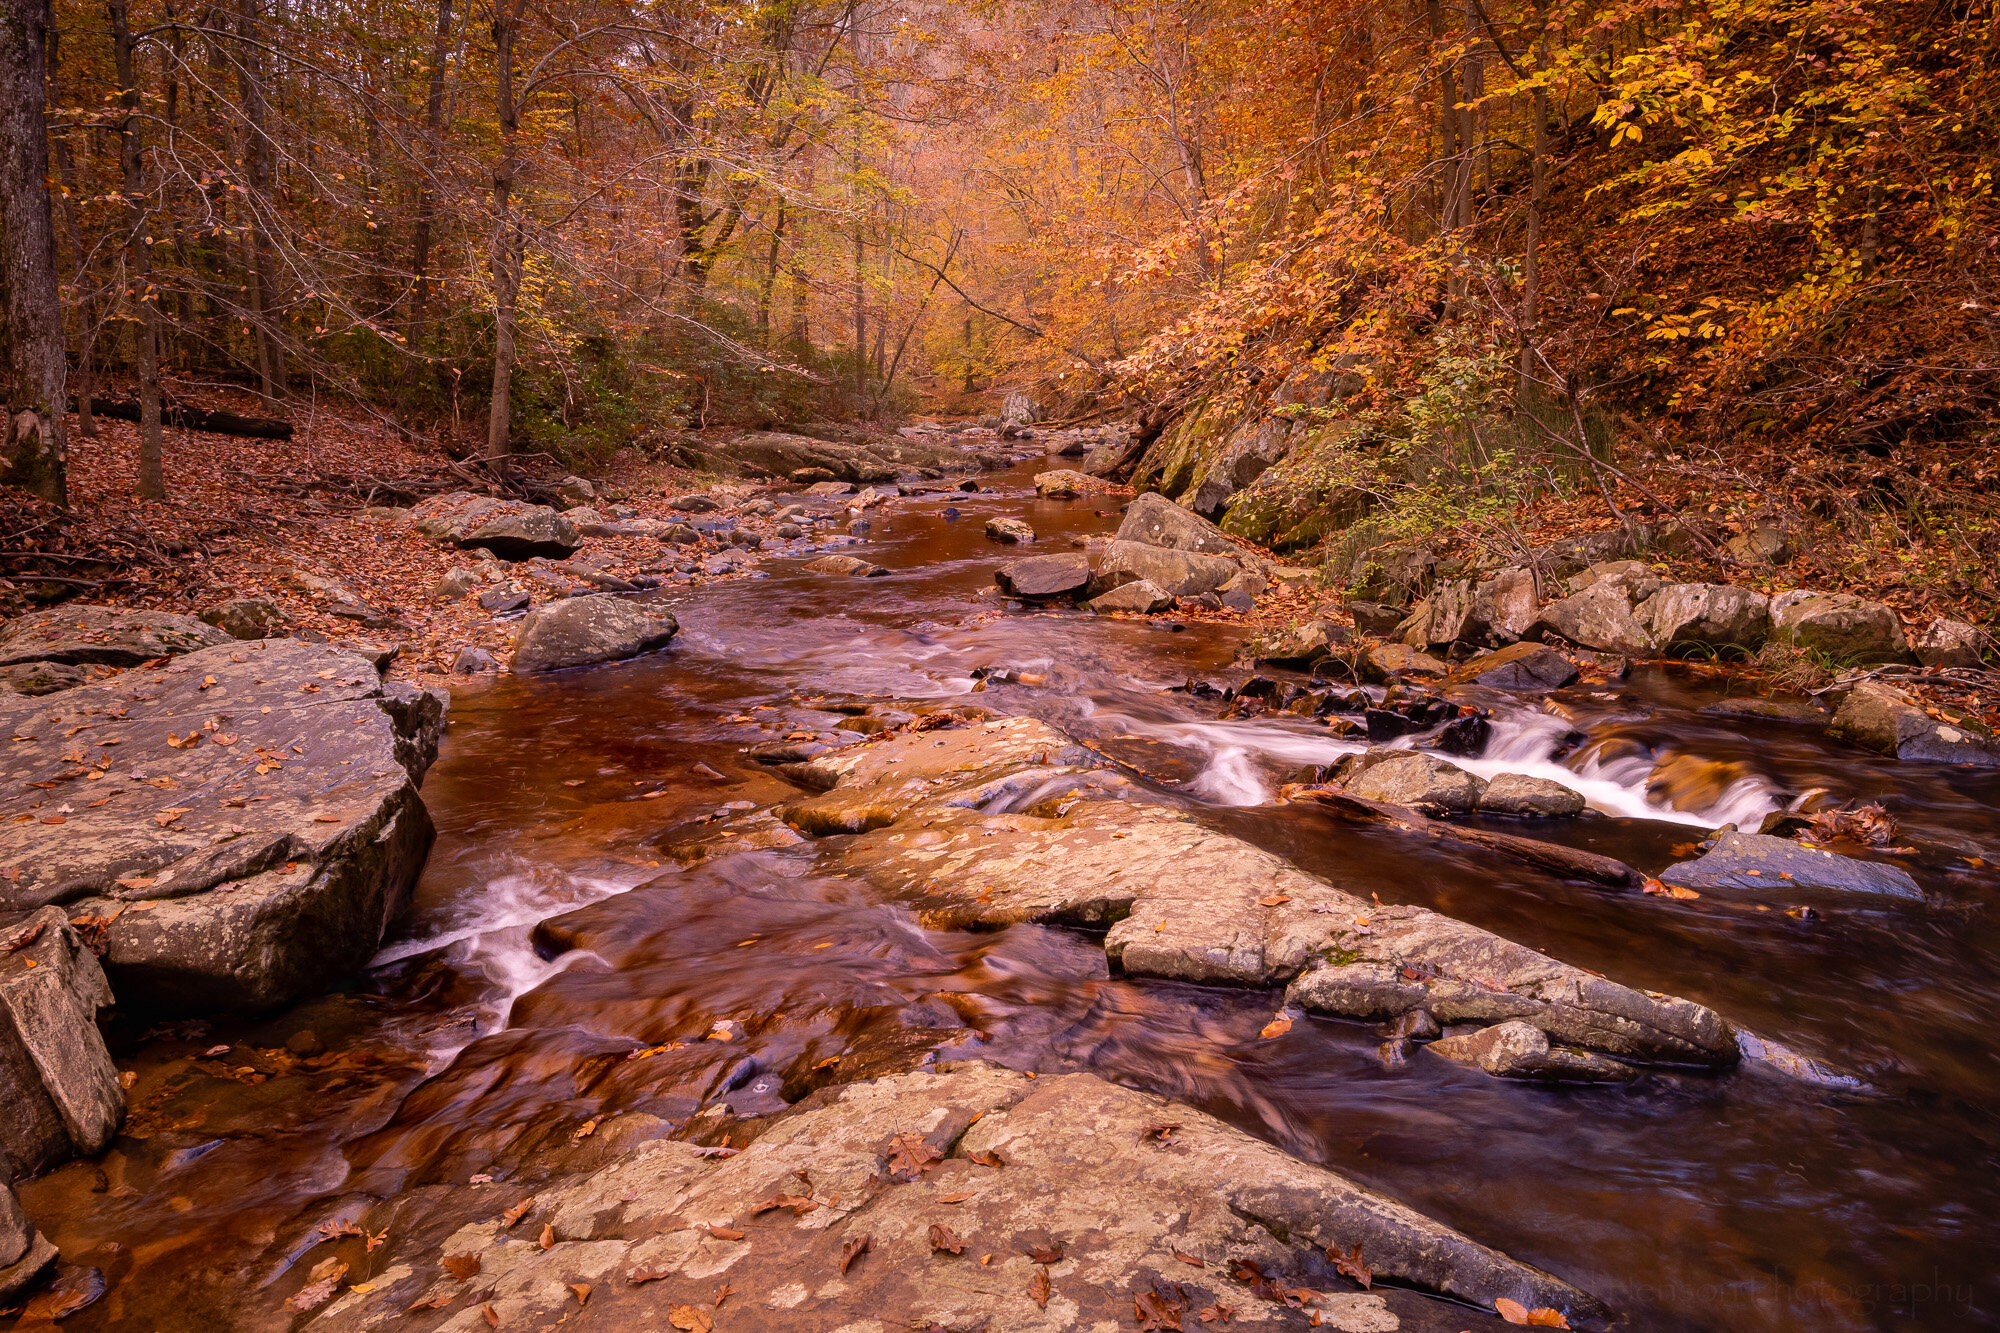
Upper Quantico Cascades (lots of reflections)

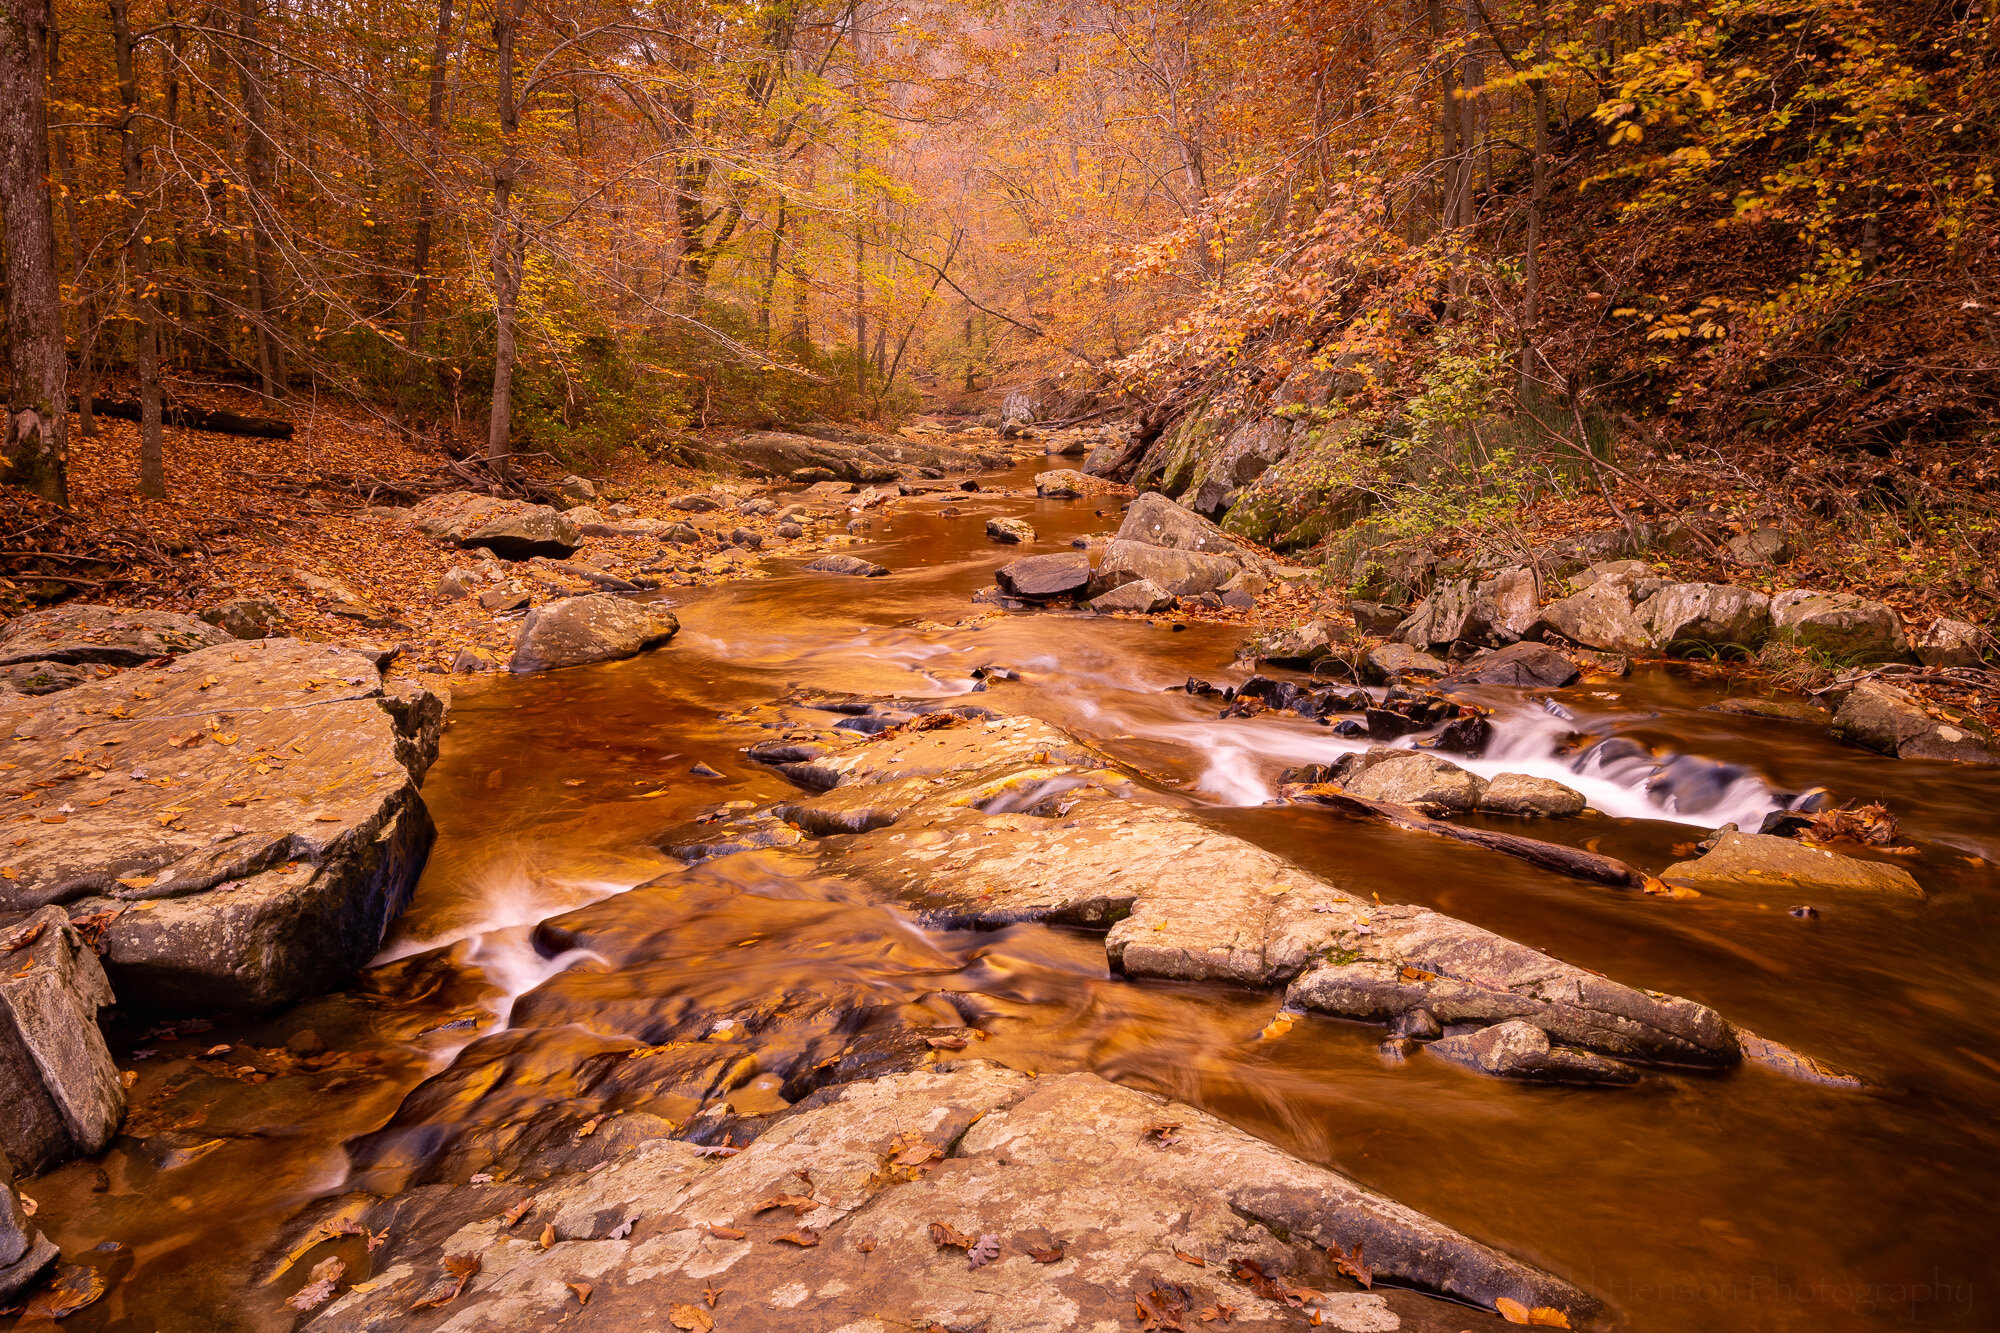
Upper Quantico Cascades (minimal reflections)

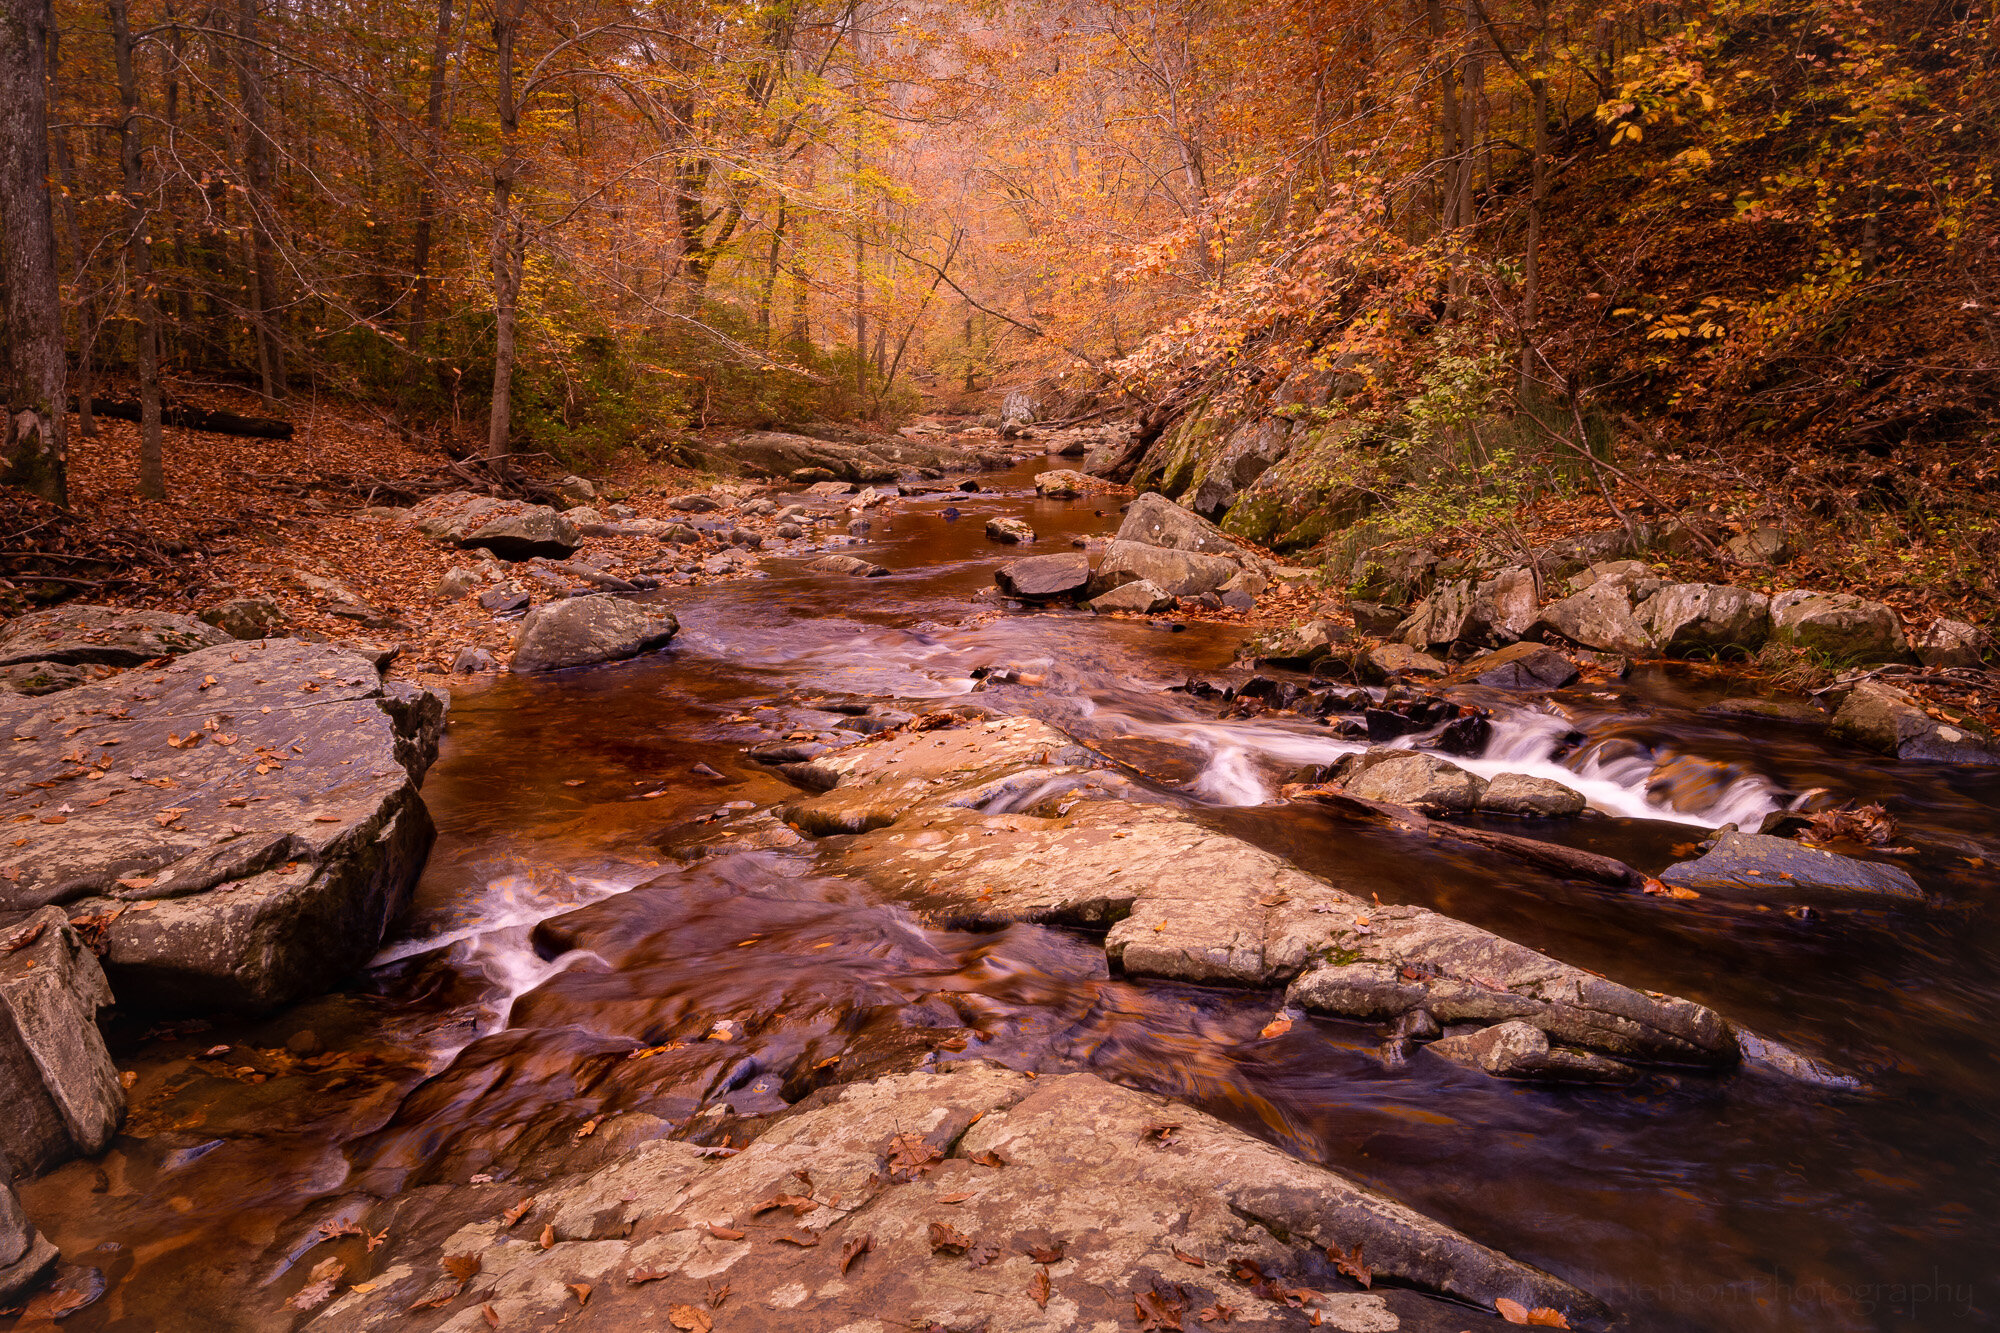
Upper Quantico Cascades (merged exposures)

What drew to me to conduct the polarizer experiment were the reflections close to the tree. There was a somewhat bright spot, which then faded to a wide line with no reflection, as the tree blocked the light from the sun. That seemed a little off to me. But I did like the bit of reflection between the mossy land and the water just below. I also liked the shapes the reflections created a little further in. So I created the two versions knowing I could combine them in software when I got home.

Click the image below to cycle through each version for comparison:
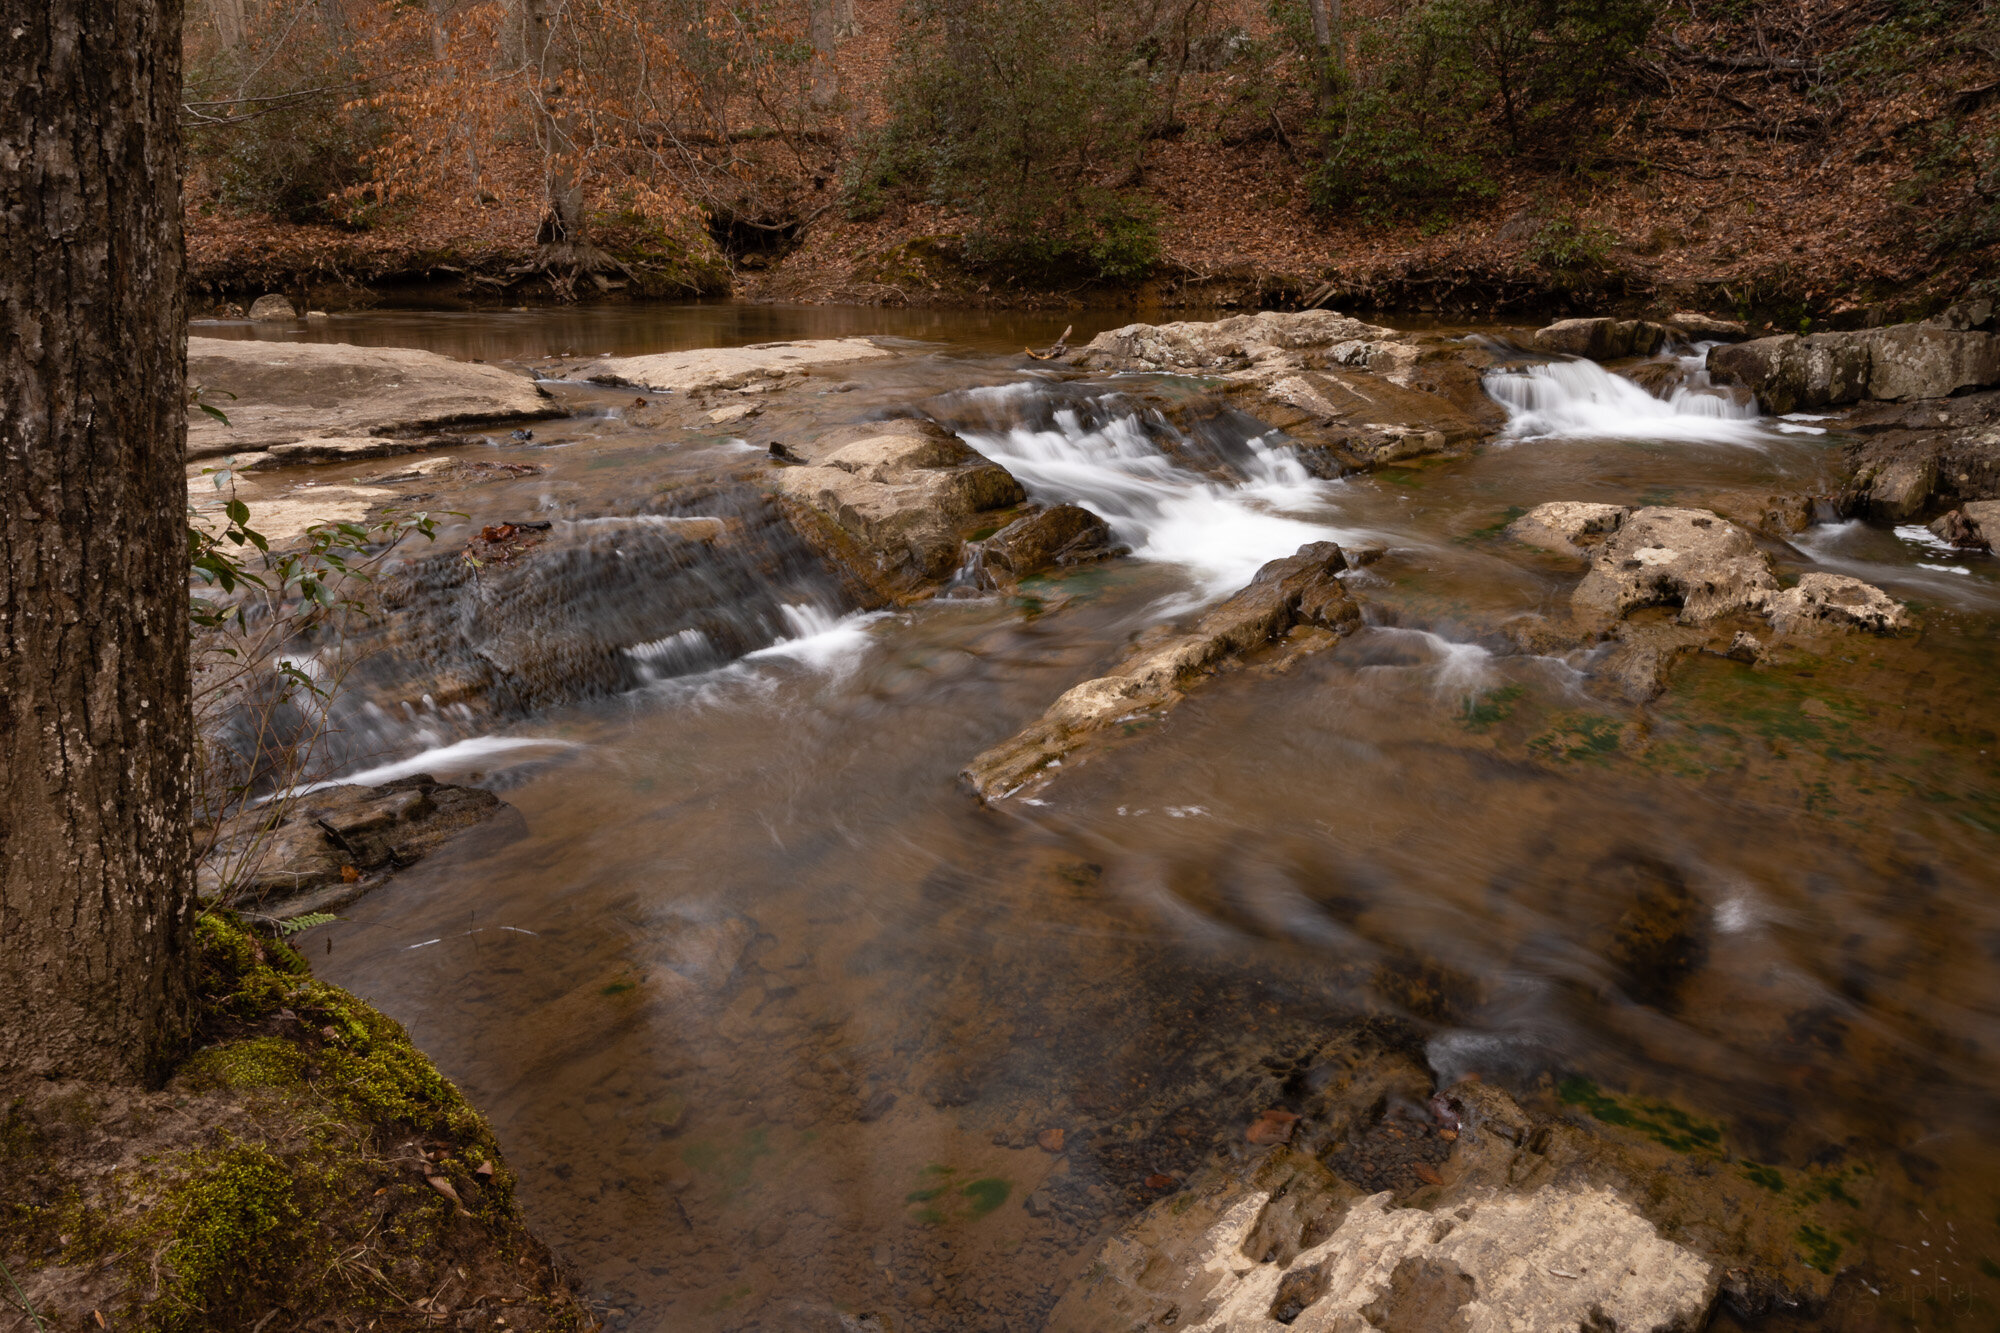
Let me know which of these versions you prefer in the comments below.


Do you enjoy these posts?

Sign up to receive periodic emails with updates and thoughts. Don’t worry, I won’t spam you. And please consider purchasing artwork or products from my online store, and using my affiliate links in the sidebar to the right when shopping online.

I appreciate your support!


Five Variations on a Theme - South Fork by Todd Henson

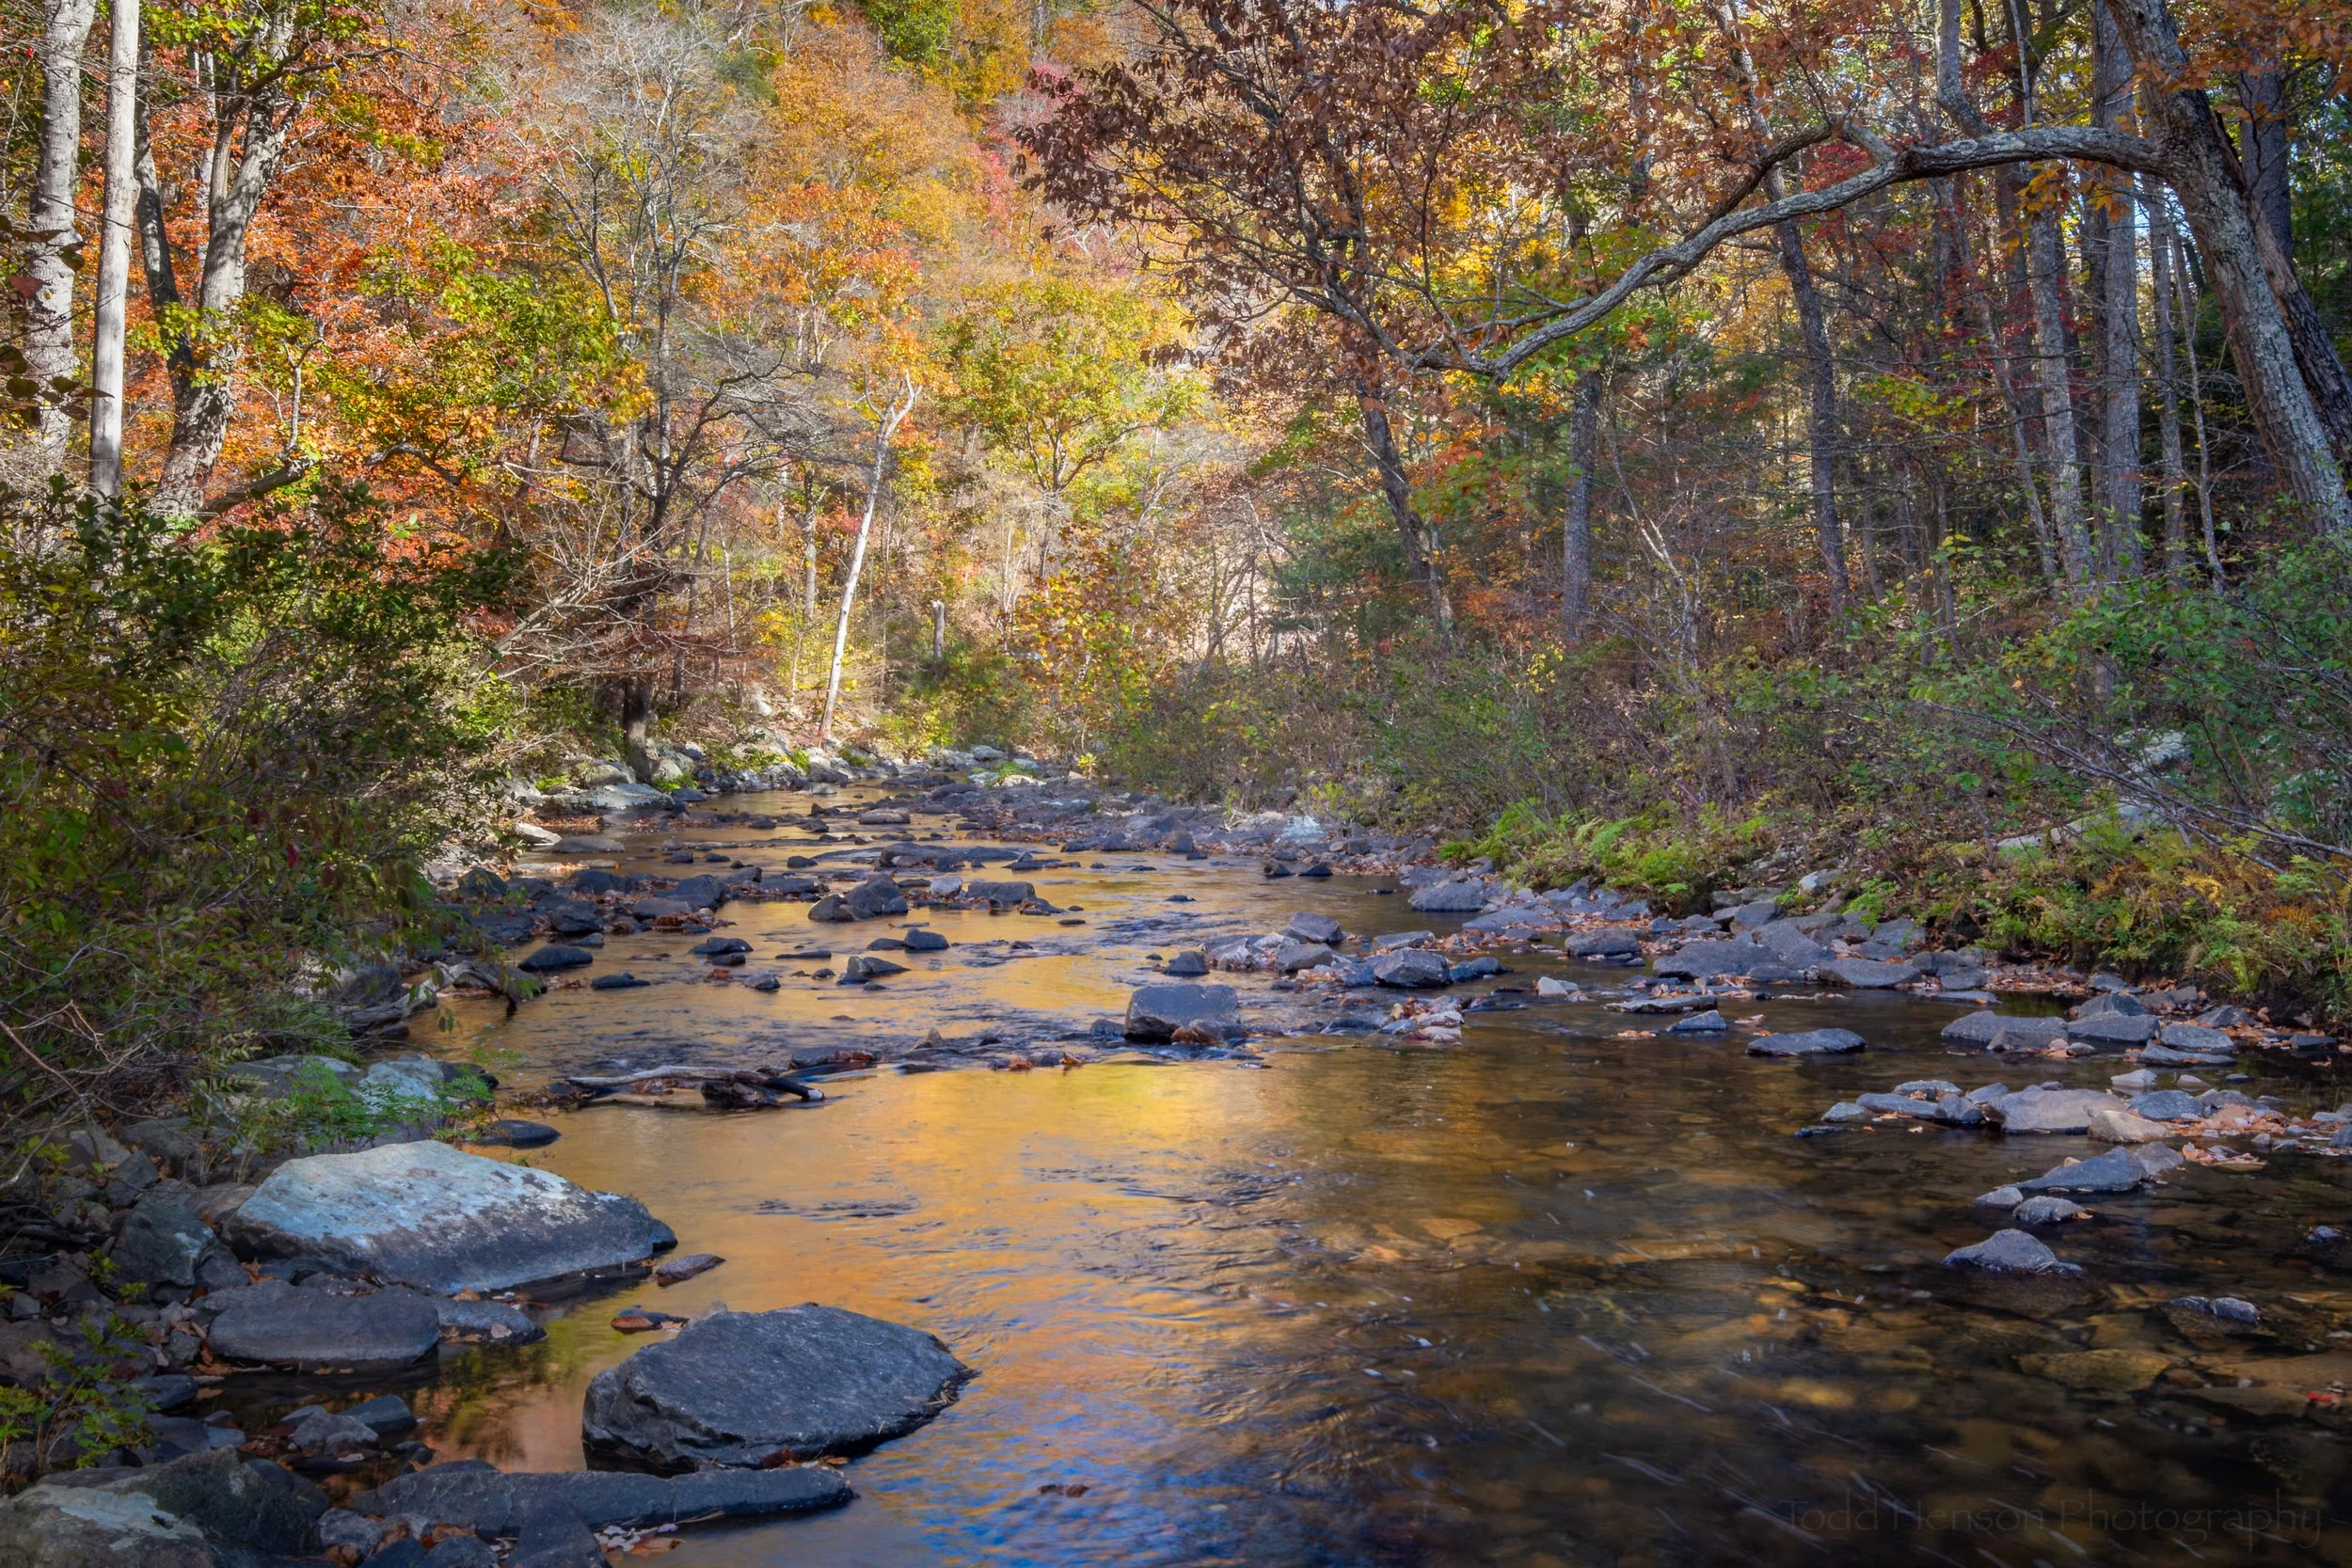
A couple weeks back I shared a photo of South Fork Quantico Creek. This week we’ll look at the same scene from a slightly different perspective. I moved onto a rock in the middle of the creek and looked downstream. I also experimented with a couple filters, creating different versions of the same image. Then when home I processed the images, combining some to create even more versions of the scene. Below are the results and some discussion of what I did to create each image.

South Fork - The Blue

South Fork - The Blue

It was late October, many leaves having already fallen, with enough stragglers to give a yellow/orange/brown look to overhanging trees. As I sometimes do I wondered what the Singh-Ray Gold-n-Blue polarizing filter would do to the scene, so I put it on the lens and began turning, rotating between various shades of blue and gold. In this first iteration I opted for the bluer side of the filter, but only slightly blue. This might be the most natural looking of the photos here. To get an idea of what the colors in the scene looked like without this filter check out the previous post where I used a warming polarizing filter. It had more green in the scene.

South Fork - The Gold

South Fork - The Gold

Then I turned the Gold-n-Blue polarizer towards the gold side. This seems to have a stronger effect on the colors in the scene. It adds a lot of warmth, perhaps shifting towards colors more common at sunrise or sunset.

South Fork - Combining The Blue & The Gold

South Fork - Combining The Blue & The Gold

When I compared the bluer version with the golder version I wondered how it would look if I combined the two, keeping the extra gold in the upper part with the trees and foliage, and using the bluer part for the lower half with the rocks and water. So I combined the two in Photoshop. I think I prefer this version over either of the other two. What do you think?

South Fork - Seeing Infrared

South Fork - Seeing Infrared

I also happened to have one of my infrared filters with me. This one is perhaps more of a near-infrared, the Singh-Ray I-Ray 690 filter. It lets in a slightly different set of frequencies than the full infrared filter, allowing for shorter exposure times on unconverted cameras but not quite giving as strong an IR effect. In this case the exposure time was 42 seconds. When home I converted the image to black and white in Lightroom.

South Fork - The Works (or Through the Woods Darkly)

South Fork - The Works (or Through the Woods Darkly)

Finally, I had the idea to combine the black and white infrared image with the composite blue and gold image above. I’ve only done this once before so I was curious what other look I could create. I took the time to experiment a bit in Photoshop, trying options I’ve rarely used, and in this case ended up combining them using the Darken Color blending mode.

Interestingly, this image is vastly different from the other where I tried combining infrared and color. With that one I used the Singh-Ray I-Ray 830 filter, which is the full infrared filter, so it provided that nice glowing fuzzy feel. I painted that infrared look onto the color image where I really saturated the colors to fill out the glow, giving a brighter dream-like feel.

In this one I went for a slightly darker look. Perhaps this was that patch of creepy woods you’ve sometimes driven past but never had the nerve to stop and explore. But now that you have, though creeped out, you still see some beauty in the scene. But having seen the general darkness and the almost reddish tones to the water you’re nervous about what else might be out here with you…

Final Thoughts

Well, I hope you’ve enjoyed this little exploration of the possibilities of a scene. I suppose this is similar to the 10x10 exercise I mentioned a short while back, except that here I created different versions both in the field and at home and decided to only create 5 versions instead of 10. Perhaps one day I’ll go back and create 5 more.

Below you can cycle through each image to better compare them:

Do you have a favorite of those I created? Any thoughts on any of them, good or bad?


Do you enjoy these posts?

Sign up to receive periodic emails with updates and thoughts. Don’t worry, I won’t spam you. And please consider purchasing artwork or products from my online store, and using my affiliate links in the sidebar to the right when shopping online.

I appreciate your support!

Comparing Infrared to Visible Light by Todd Henson

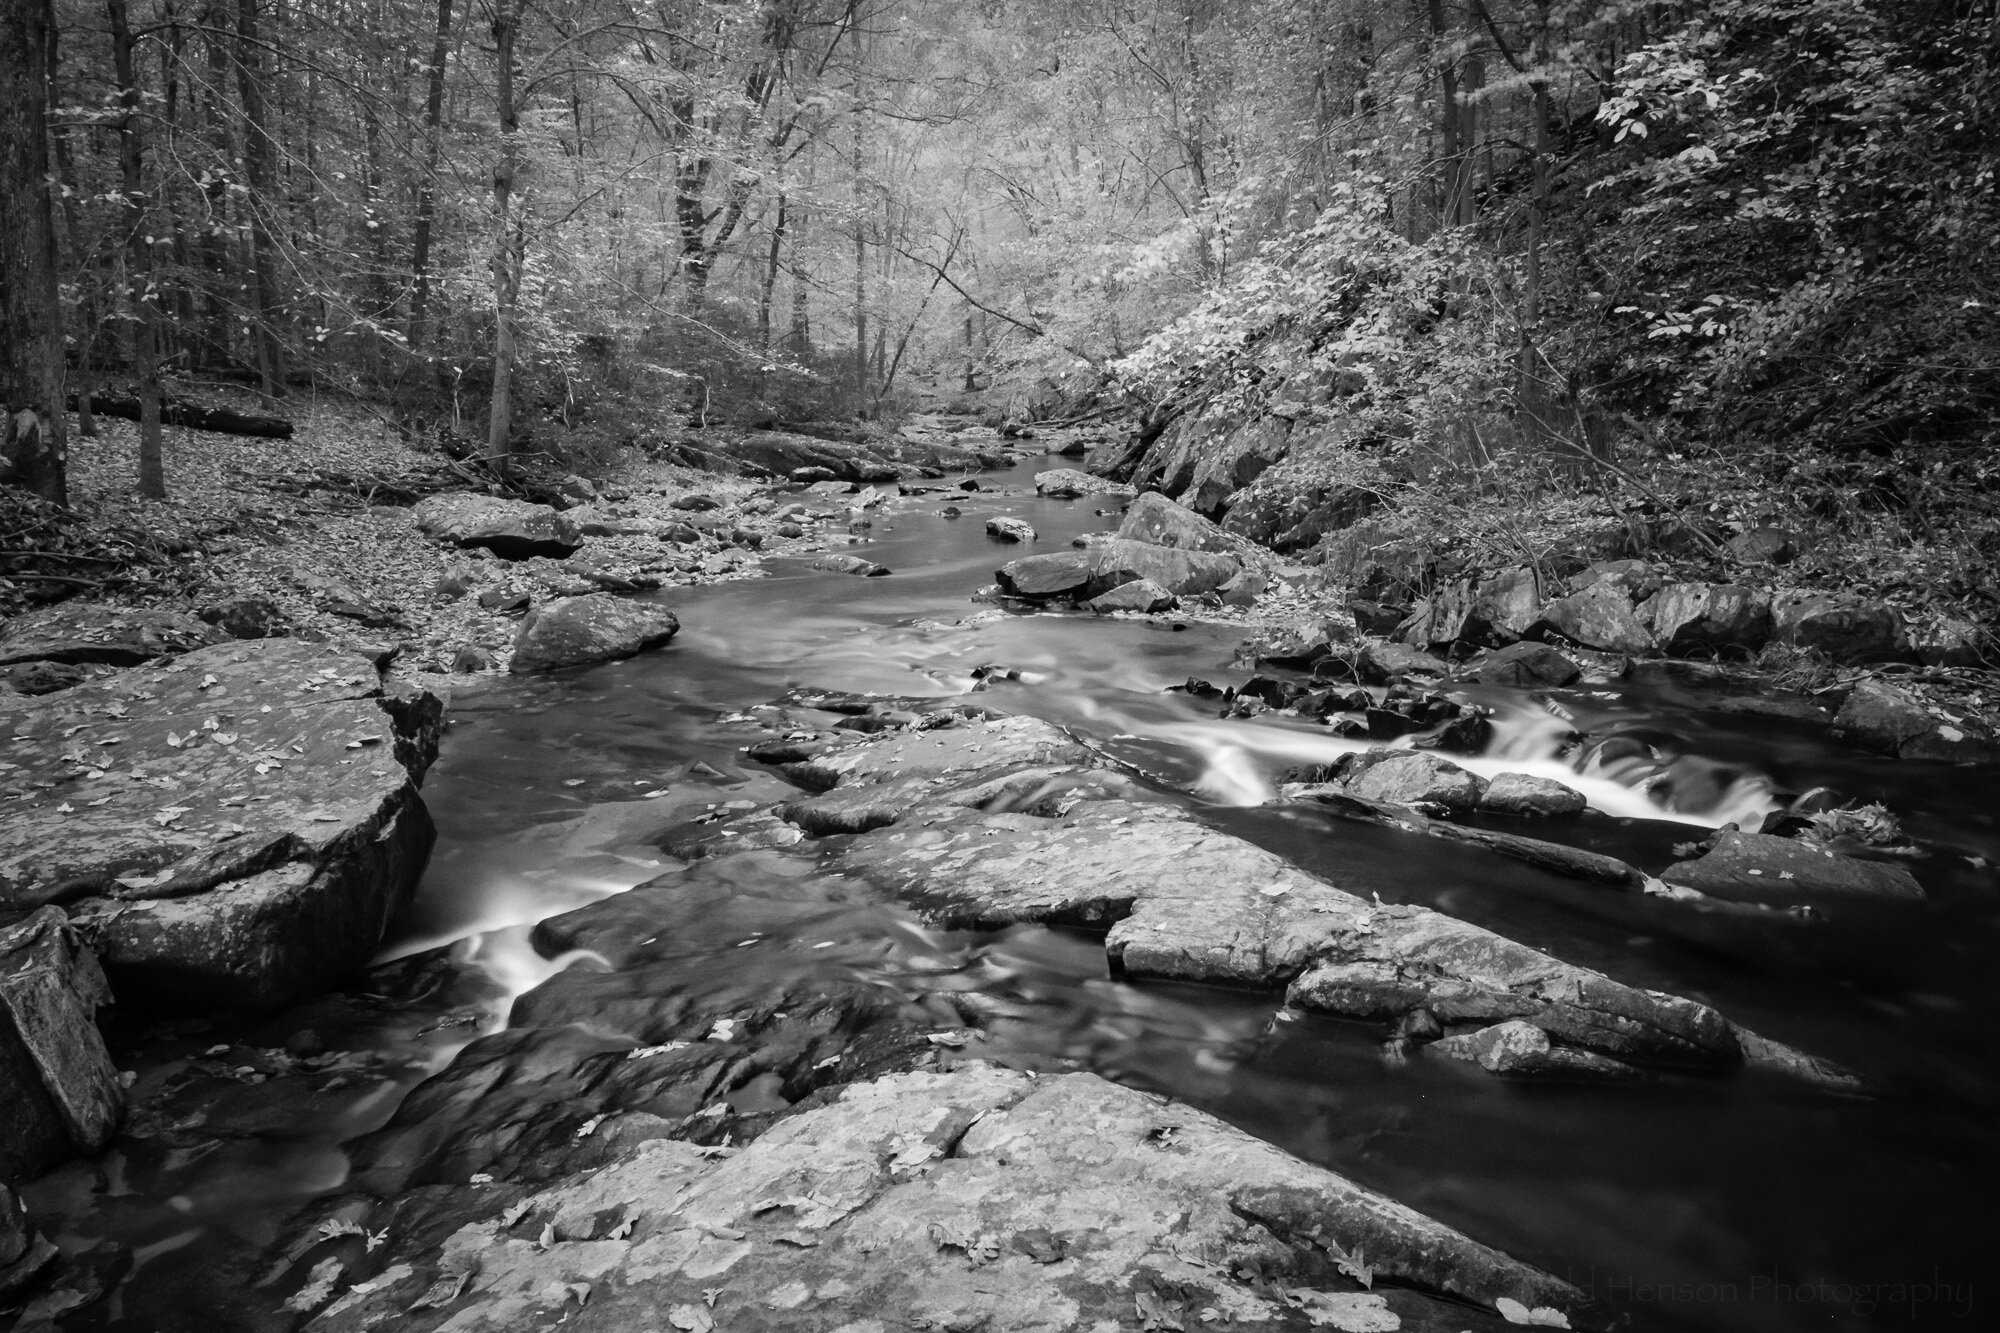
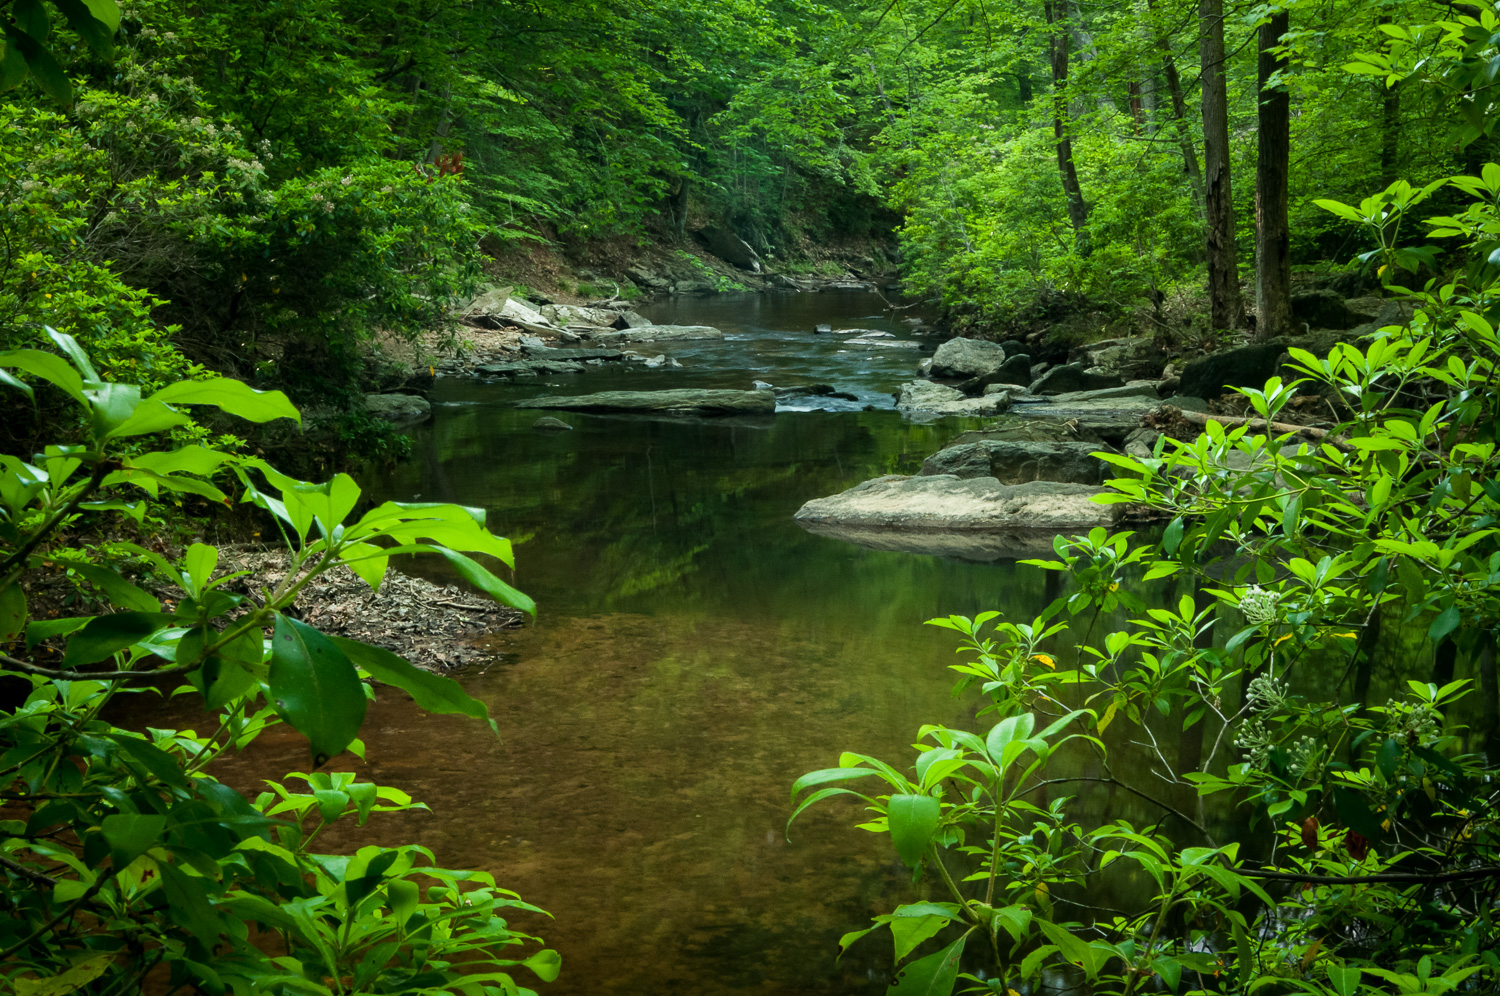
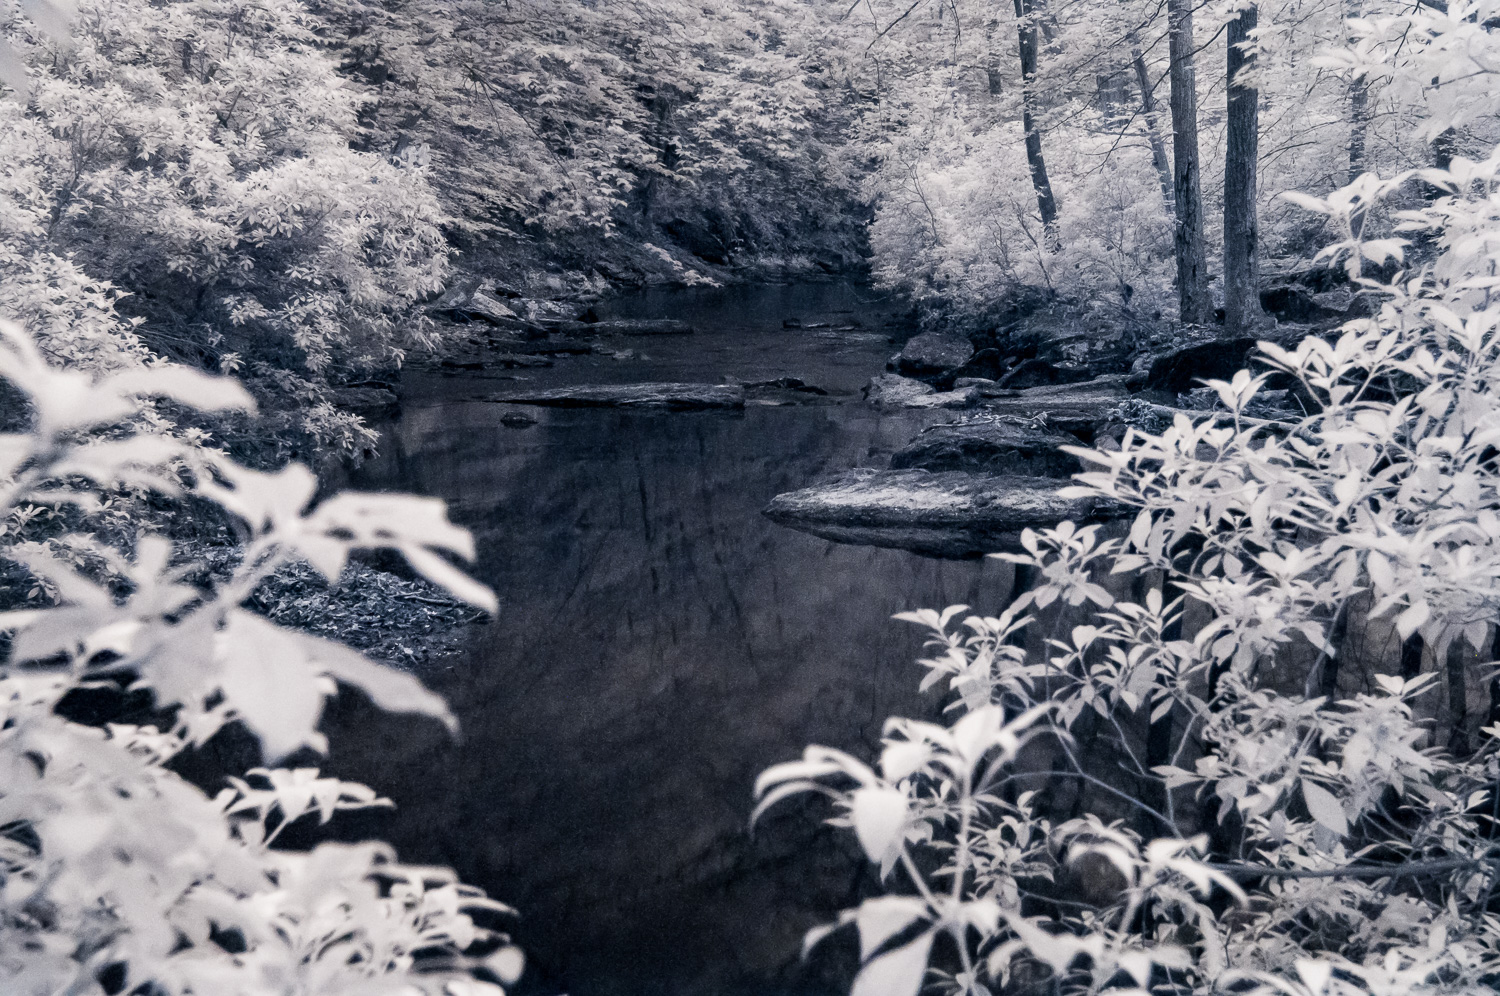
Infrared image of Quantico Creek along the Birch Bluff Trail in Prince William Forest Park

I continue to be fascinated by infrared photography, even though my setup isn’t ideally suited to it. To take the most advantage of infrared photography you likely should convert a camera, making it a dedicated infrared camera. But in my case I simply use a filter over the lens that blocks out virtually all visible light, leaving only infrared or near infrared. The problem with this approach is that most cameras come with an infrared filter right over the sensor. This is meant to block the majority of infrared light because infrared can cause fuzzy photos. So there’s not a lot of infrared light that actually makes it to my sensor, requiring long exposures to soak up enough light to make an image. My experiments in infrared usually require exposures of several minutes even with higher ISOs. This increases motion blur and contributes to noise, especially since my camera is not one of the more recent models with great high ISO capabilities (though it is decent).

But regardless of this, I’ve enjoyed using the add-on filter to see what I can do with it. I’ve started taking photos both with and without the filter so I can compare the two images, see how the infrared differs. Perhaps one of these days I’ll also try a composite image combining aspects of both visible light and infrared.

The images here were made along Quantico Creek on the Birch Bluff Trail in Prince William Forest National Park. They are not particularly remarkable landscape photos, but were made as experiments. It’s interesting to note how the infrared version differs. An obvious difference is the light glow of anything warm, such as the leaves and some small portions of the rocks. Being a several minute exposure the infrared photo has smoothed the water. The water is cool, so it stays dark and we can’t see much under the surface, but we do get a reflection of the trees and leaves.

Here is the natural light image

Here is the infrared light image

I’m enjoying infrared enough that I suspect one of these days I may go the expense of converting or purchasing an infrared dedicated camera. That would allow much faster shutter speeds, lower ISO, and reduce the noise.

One of my past infrared experiments was at Kenilworth Aquatic Gardens, where I photographed their small bridge in front of the lotus ponds. And I made some infrared images of the Martin Luther King, Jr. Memorial and the Jefferson Memorial in Washington, D.C., during the Cherry Blossom Festival.

The infrared filter I used for this photograph is the Singh-Ray I-Ray 830, which completely blocks visible and ultraviolet light, letting through only infrared. I also have an I-Ray 690 that lets in a little more light, has a bit less of the pure infrared look, and allows for shorter exposure times.


Do you enjoy these posts?

Sign up to receive periodic emails with updates and thoughts. Don’t worry, I won’t spam you. And please consider purchasing artwork or products from my online store, and using my affiliate links in the sidebar to the right when shopping online.

I appreciate your support!