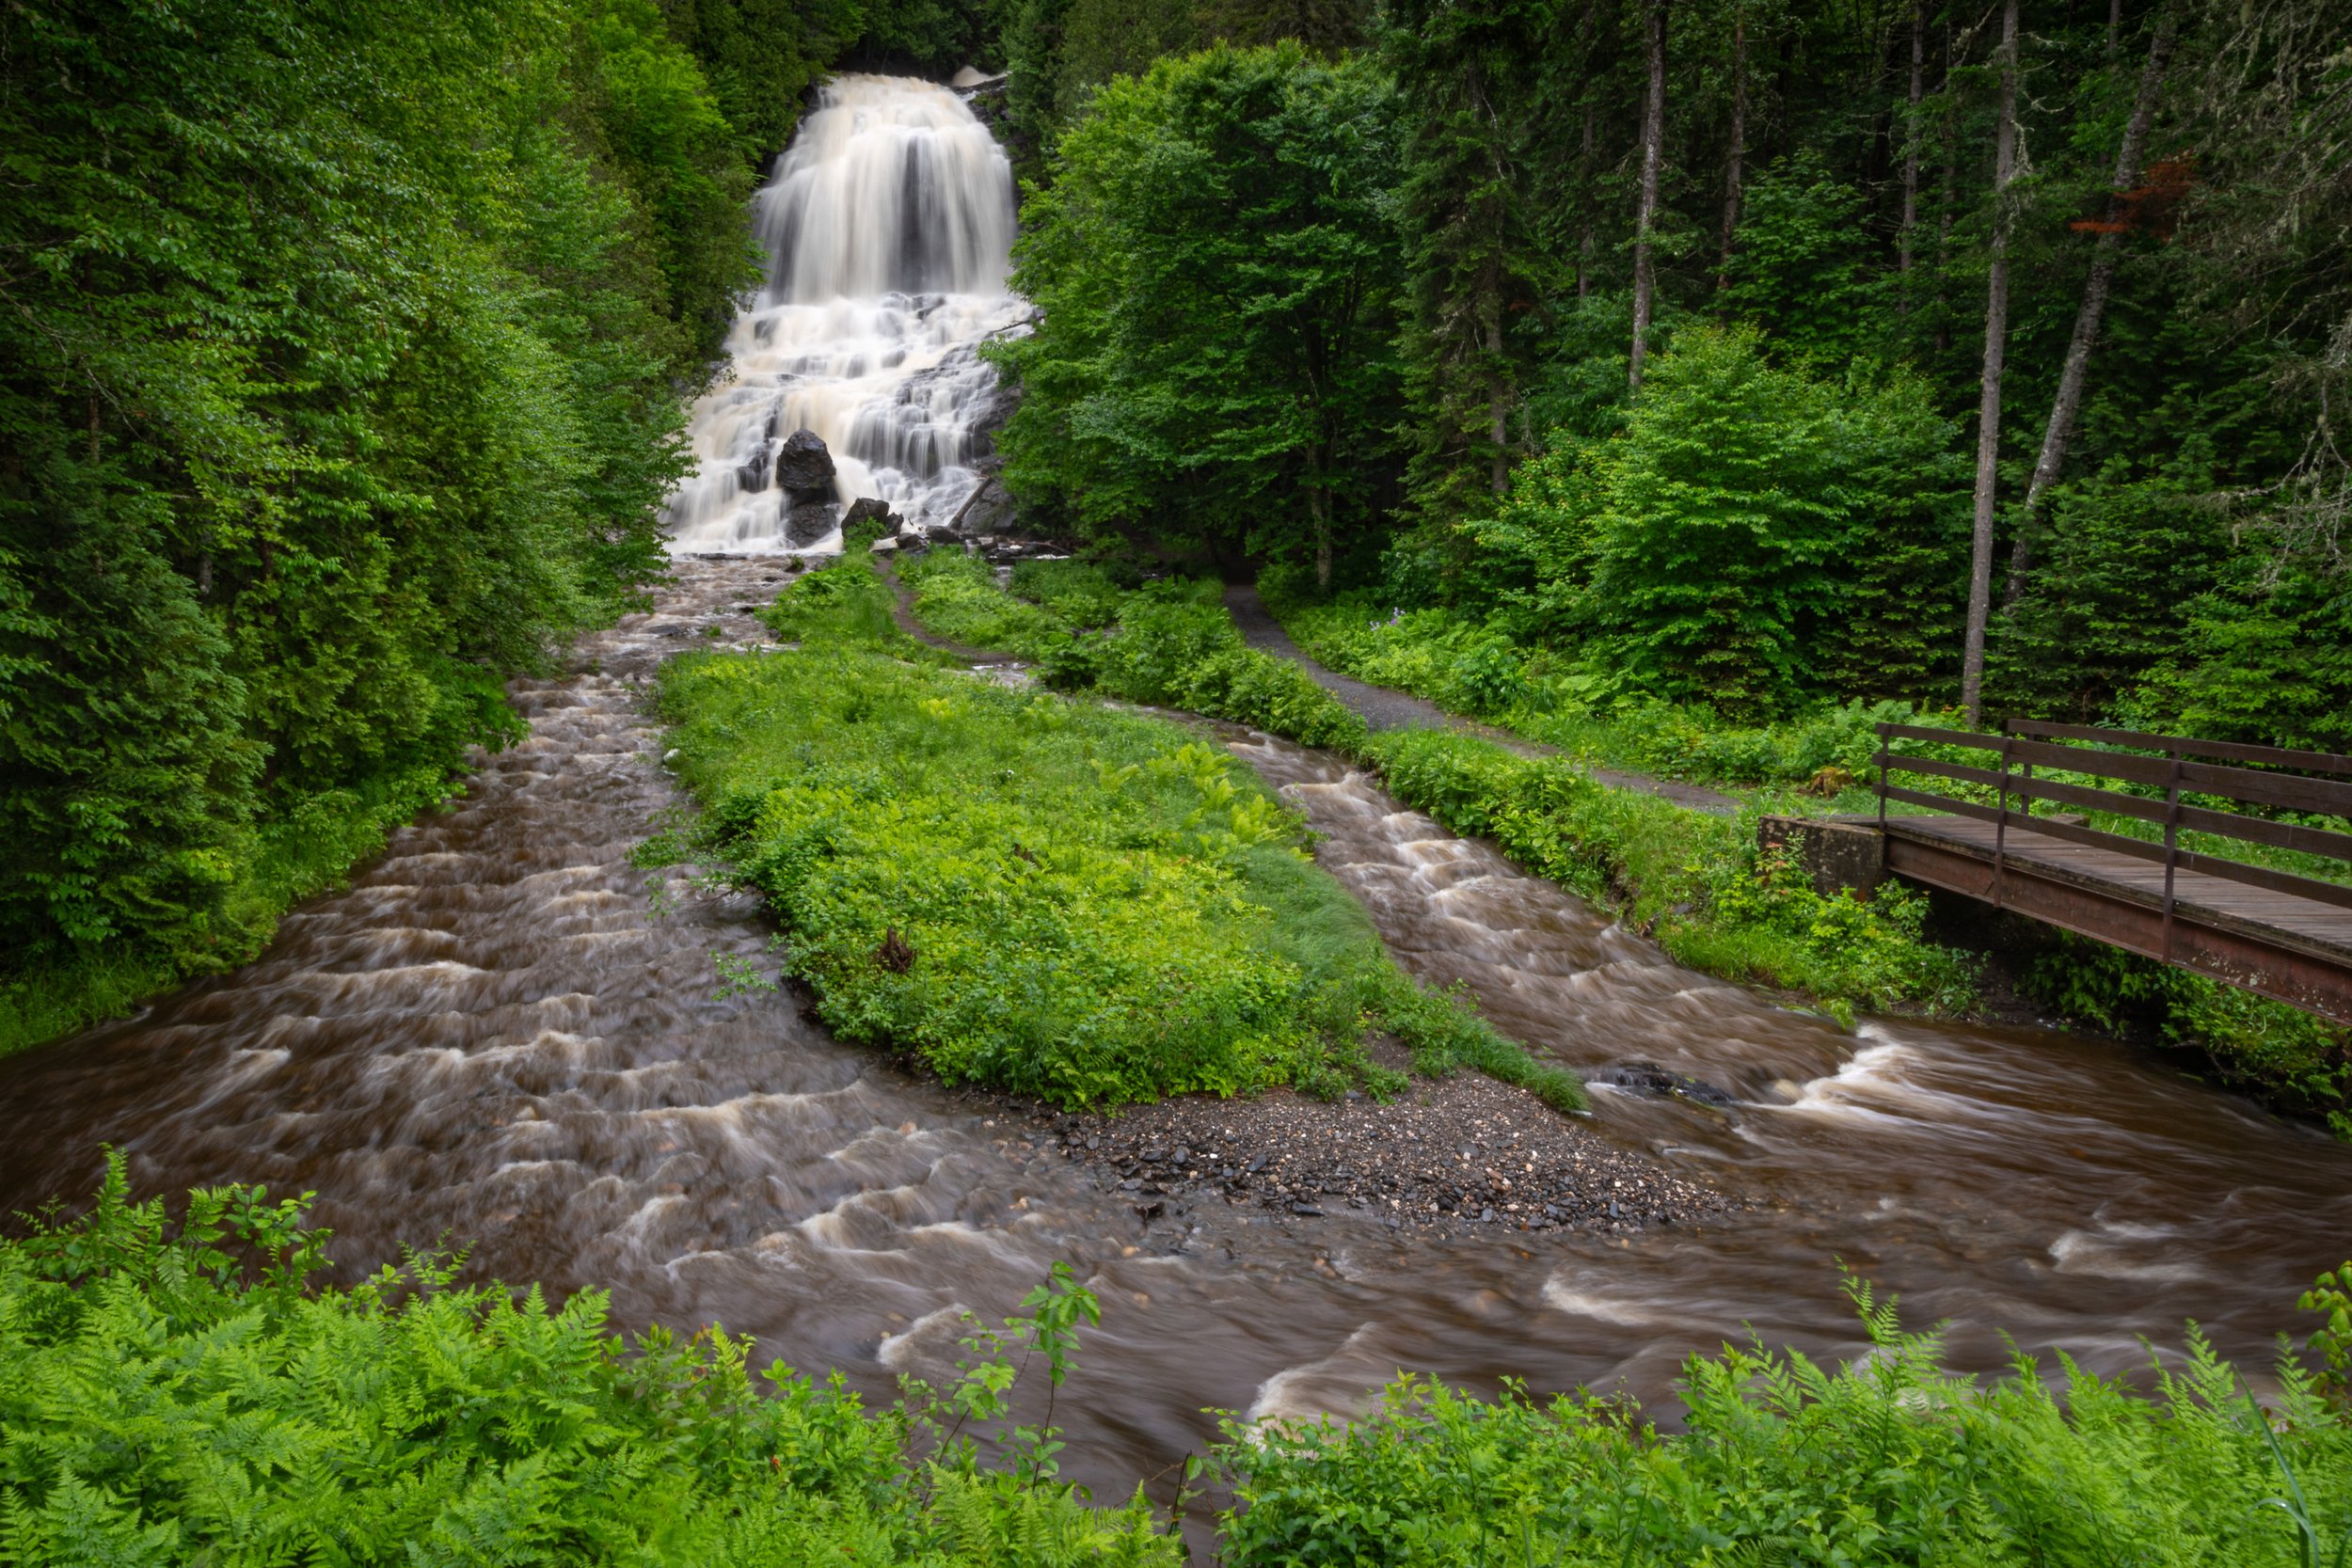
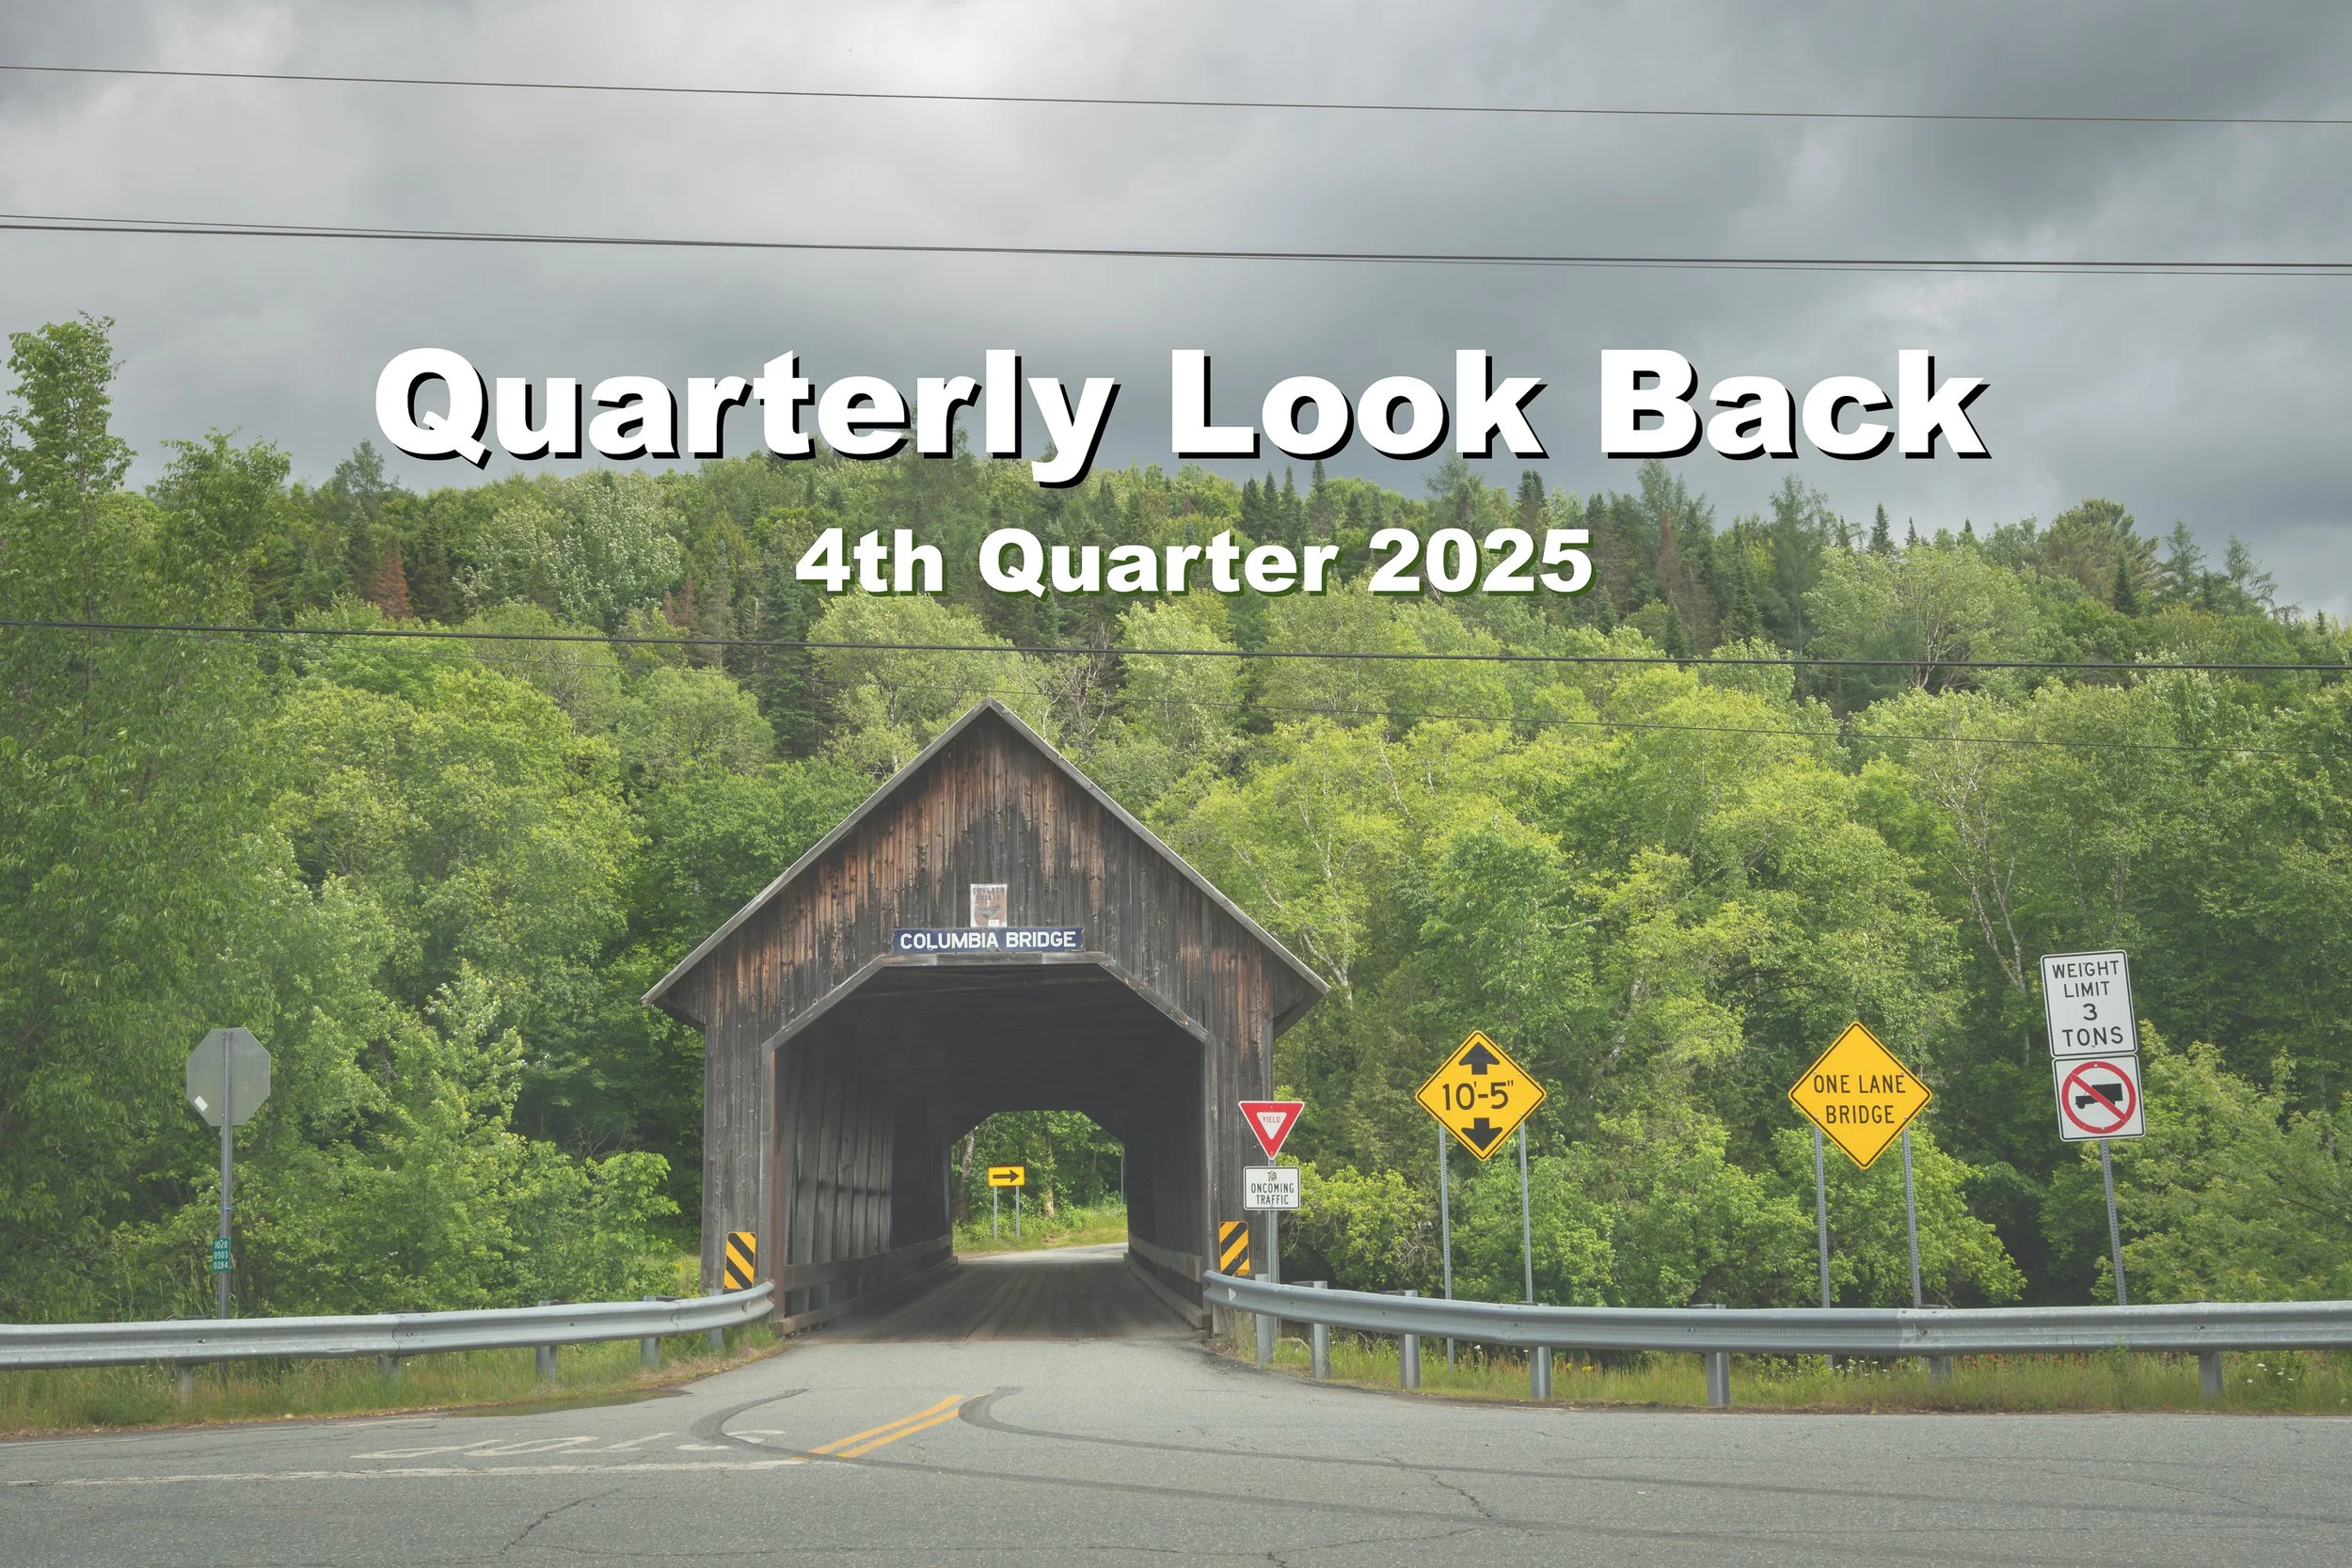
Beaver Brook Falls, New Hampshire
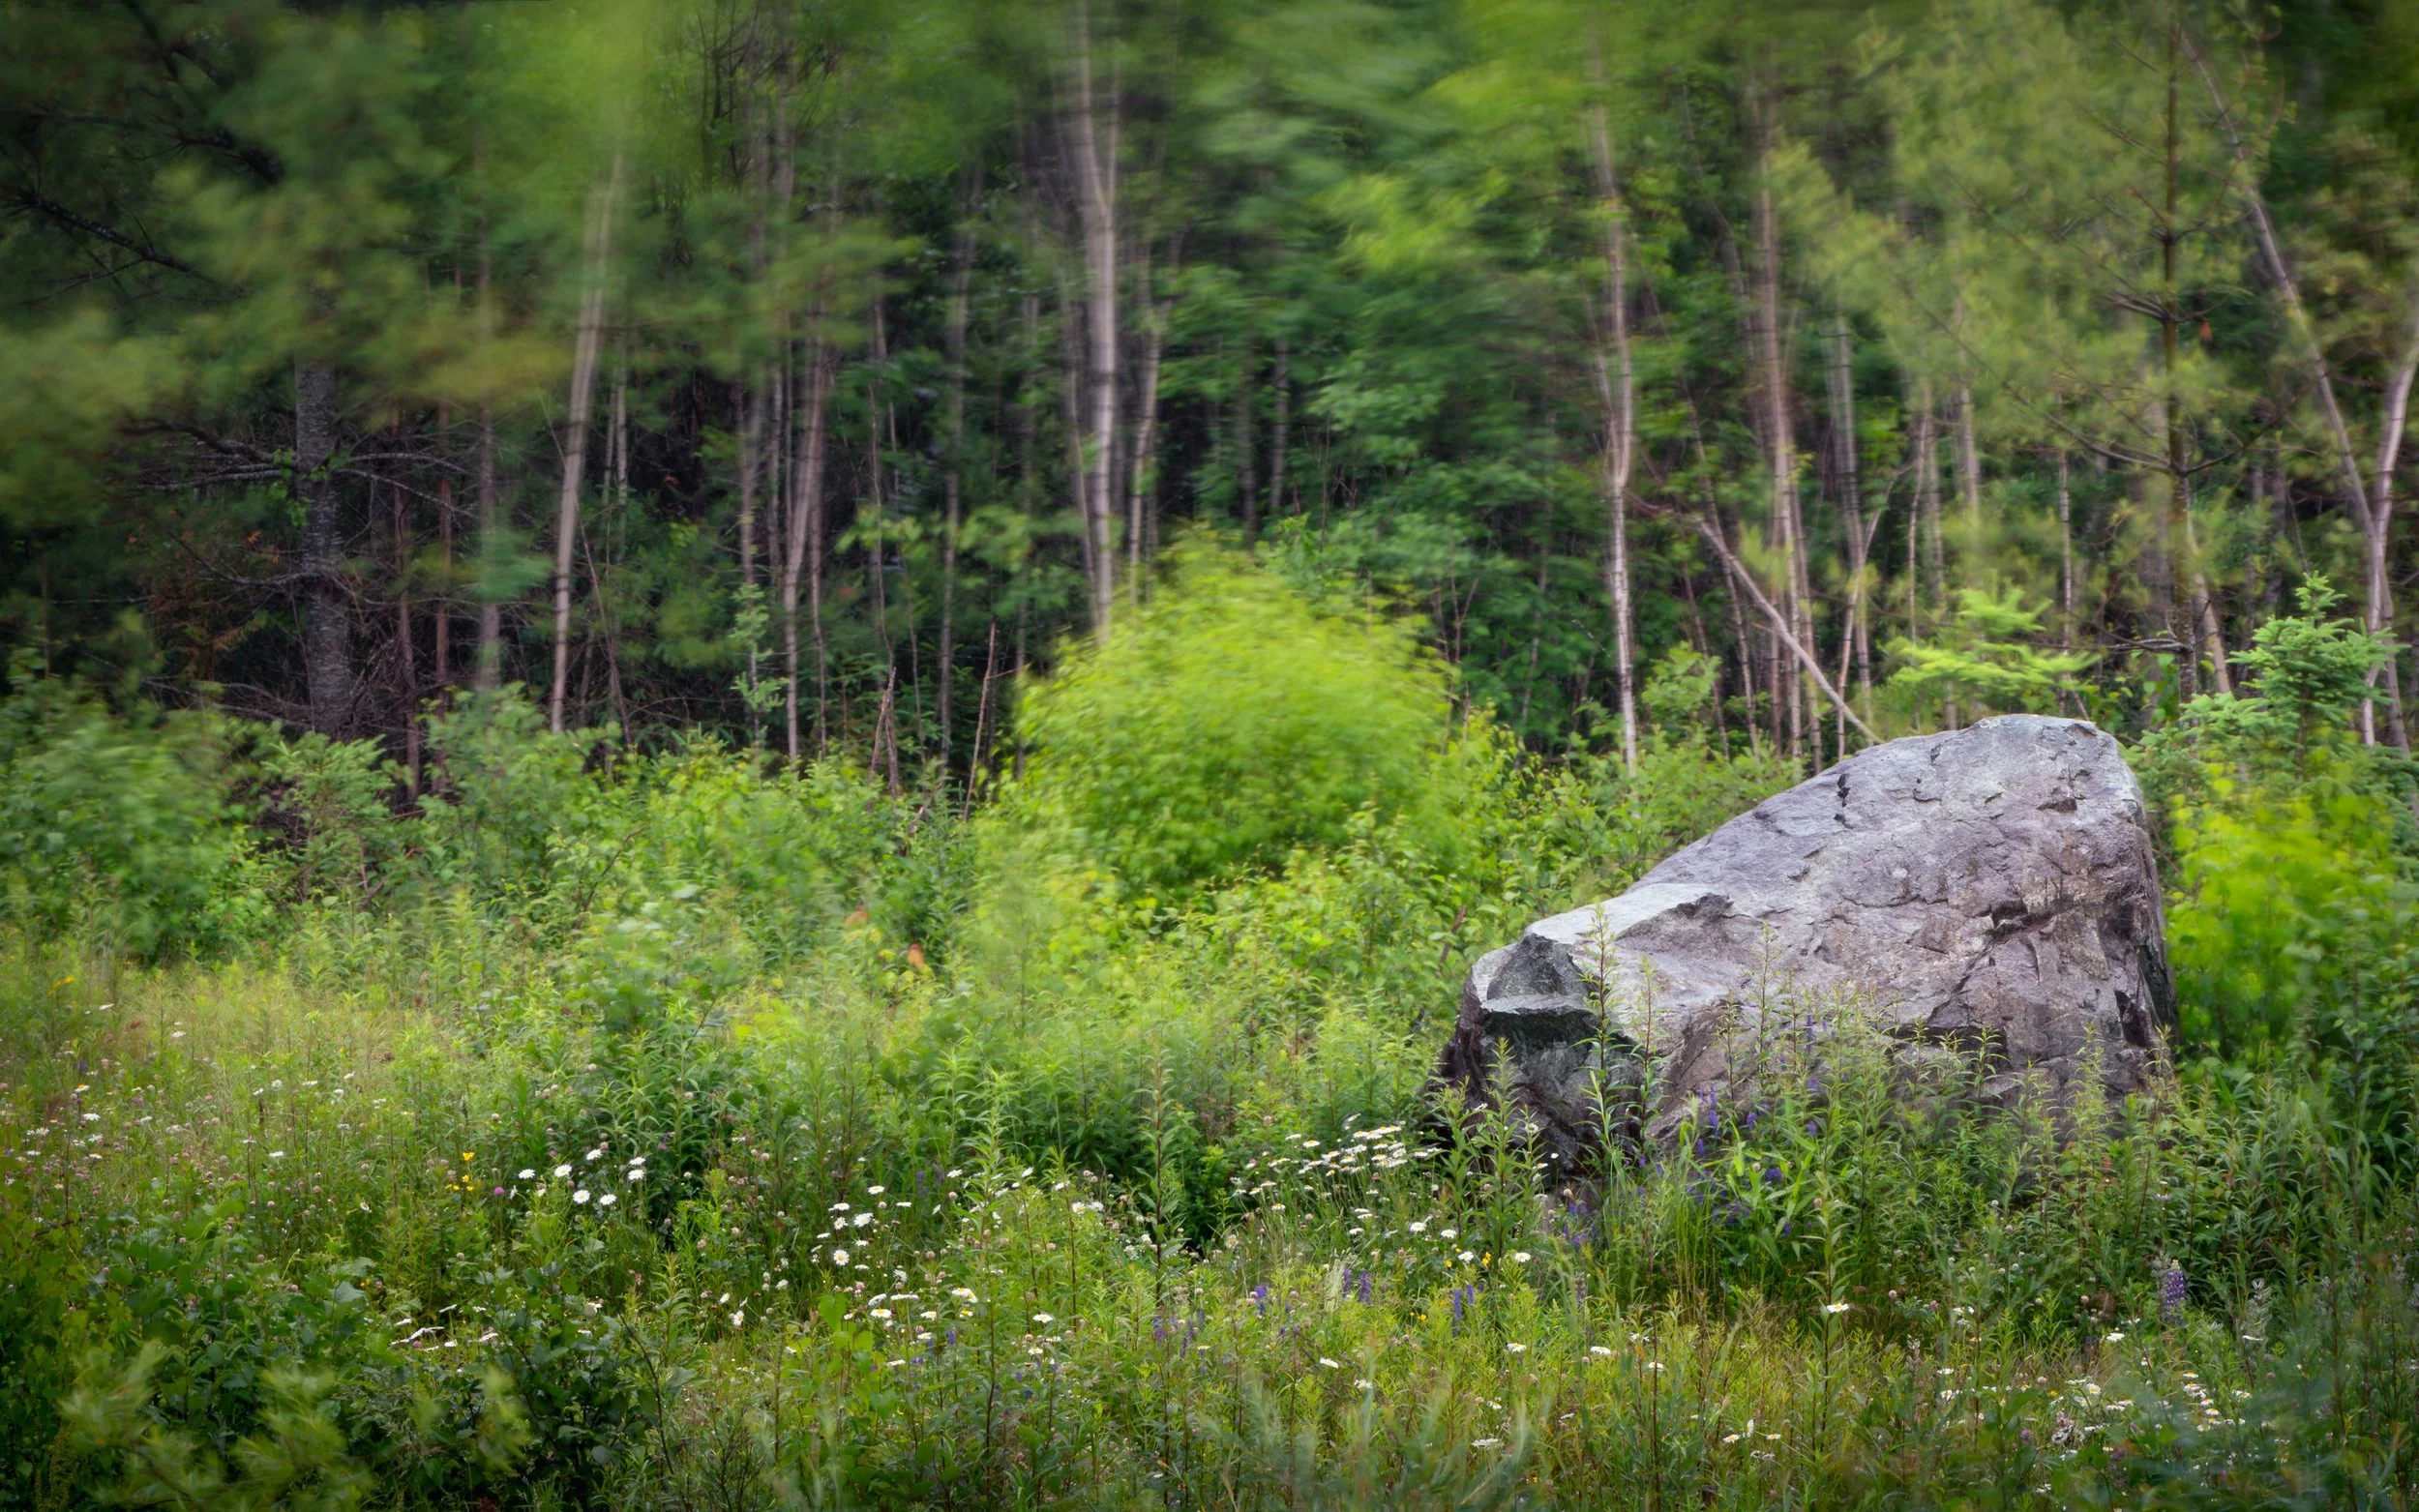
My father and I were fortunate to visit Beaver Brook Falls State Wayside in Colebrook, New Hampshire, on a somewhat overcast and rainy day. All the recent rain resulted in a lot of water going over the approximately 80-foot Beaver Brook Falls. Granted, it also meant the water was perhaps a bit more brown than it usually would be because of the strong runoff. But it also resulted in more saturated greens from the wet leaves. It was a bit breezy so there was some movement of the leaves and flowers.
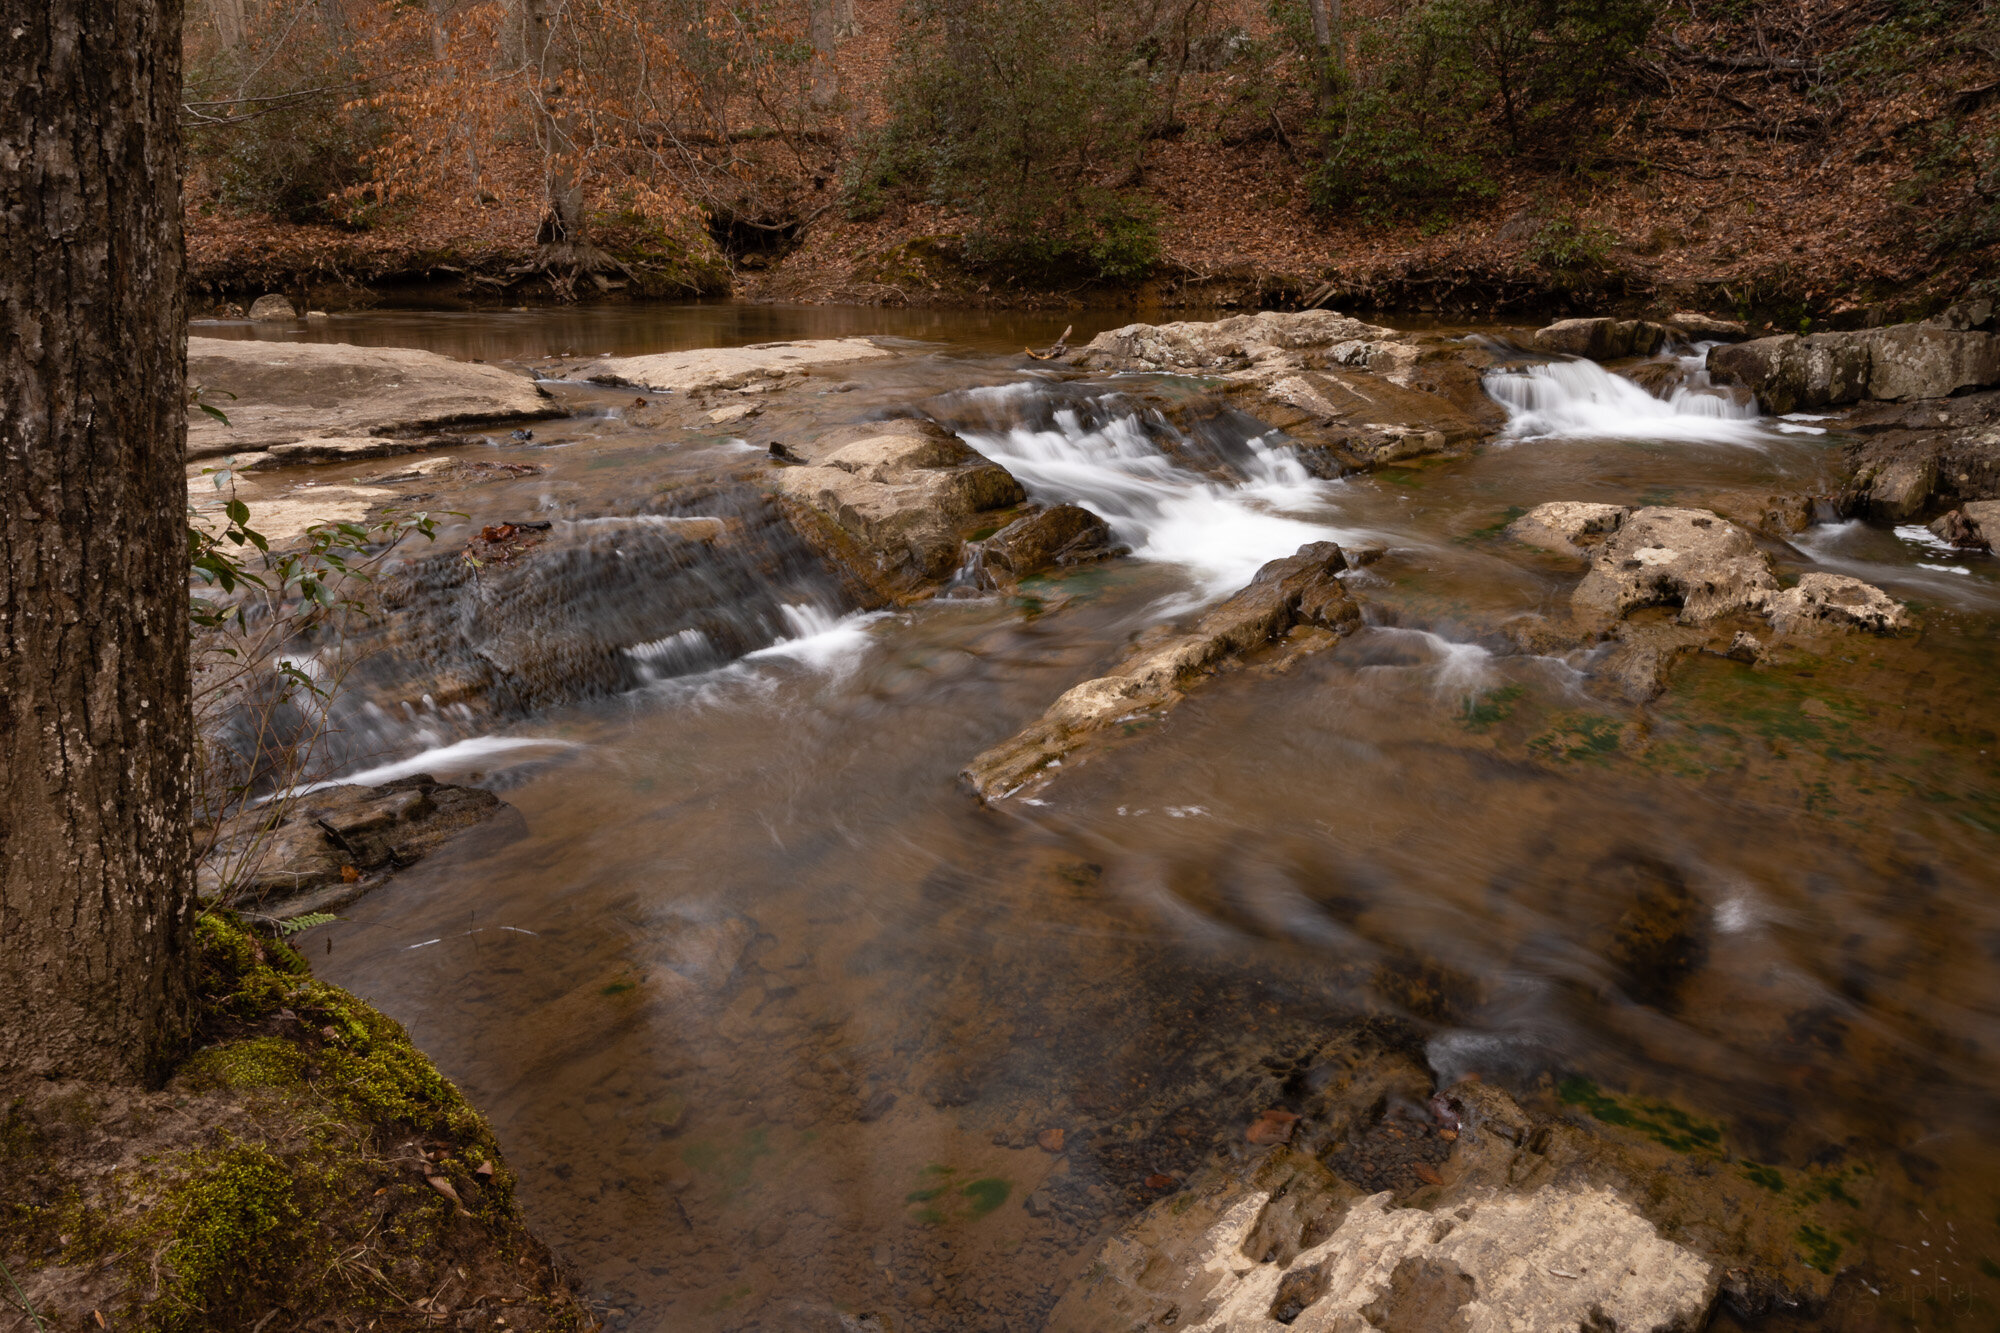
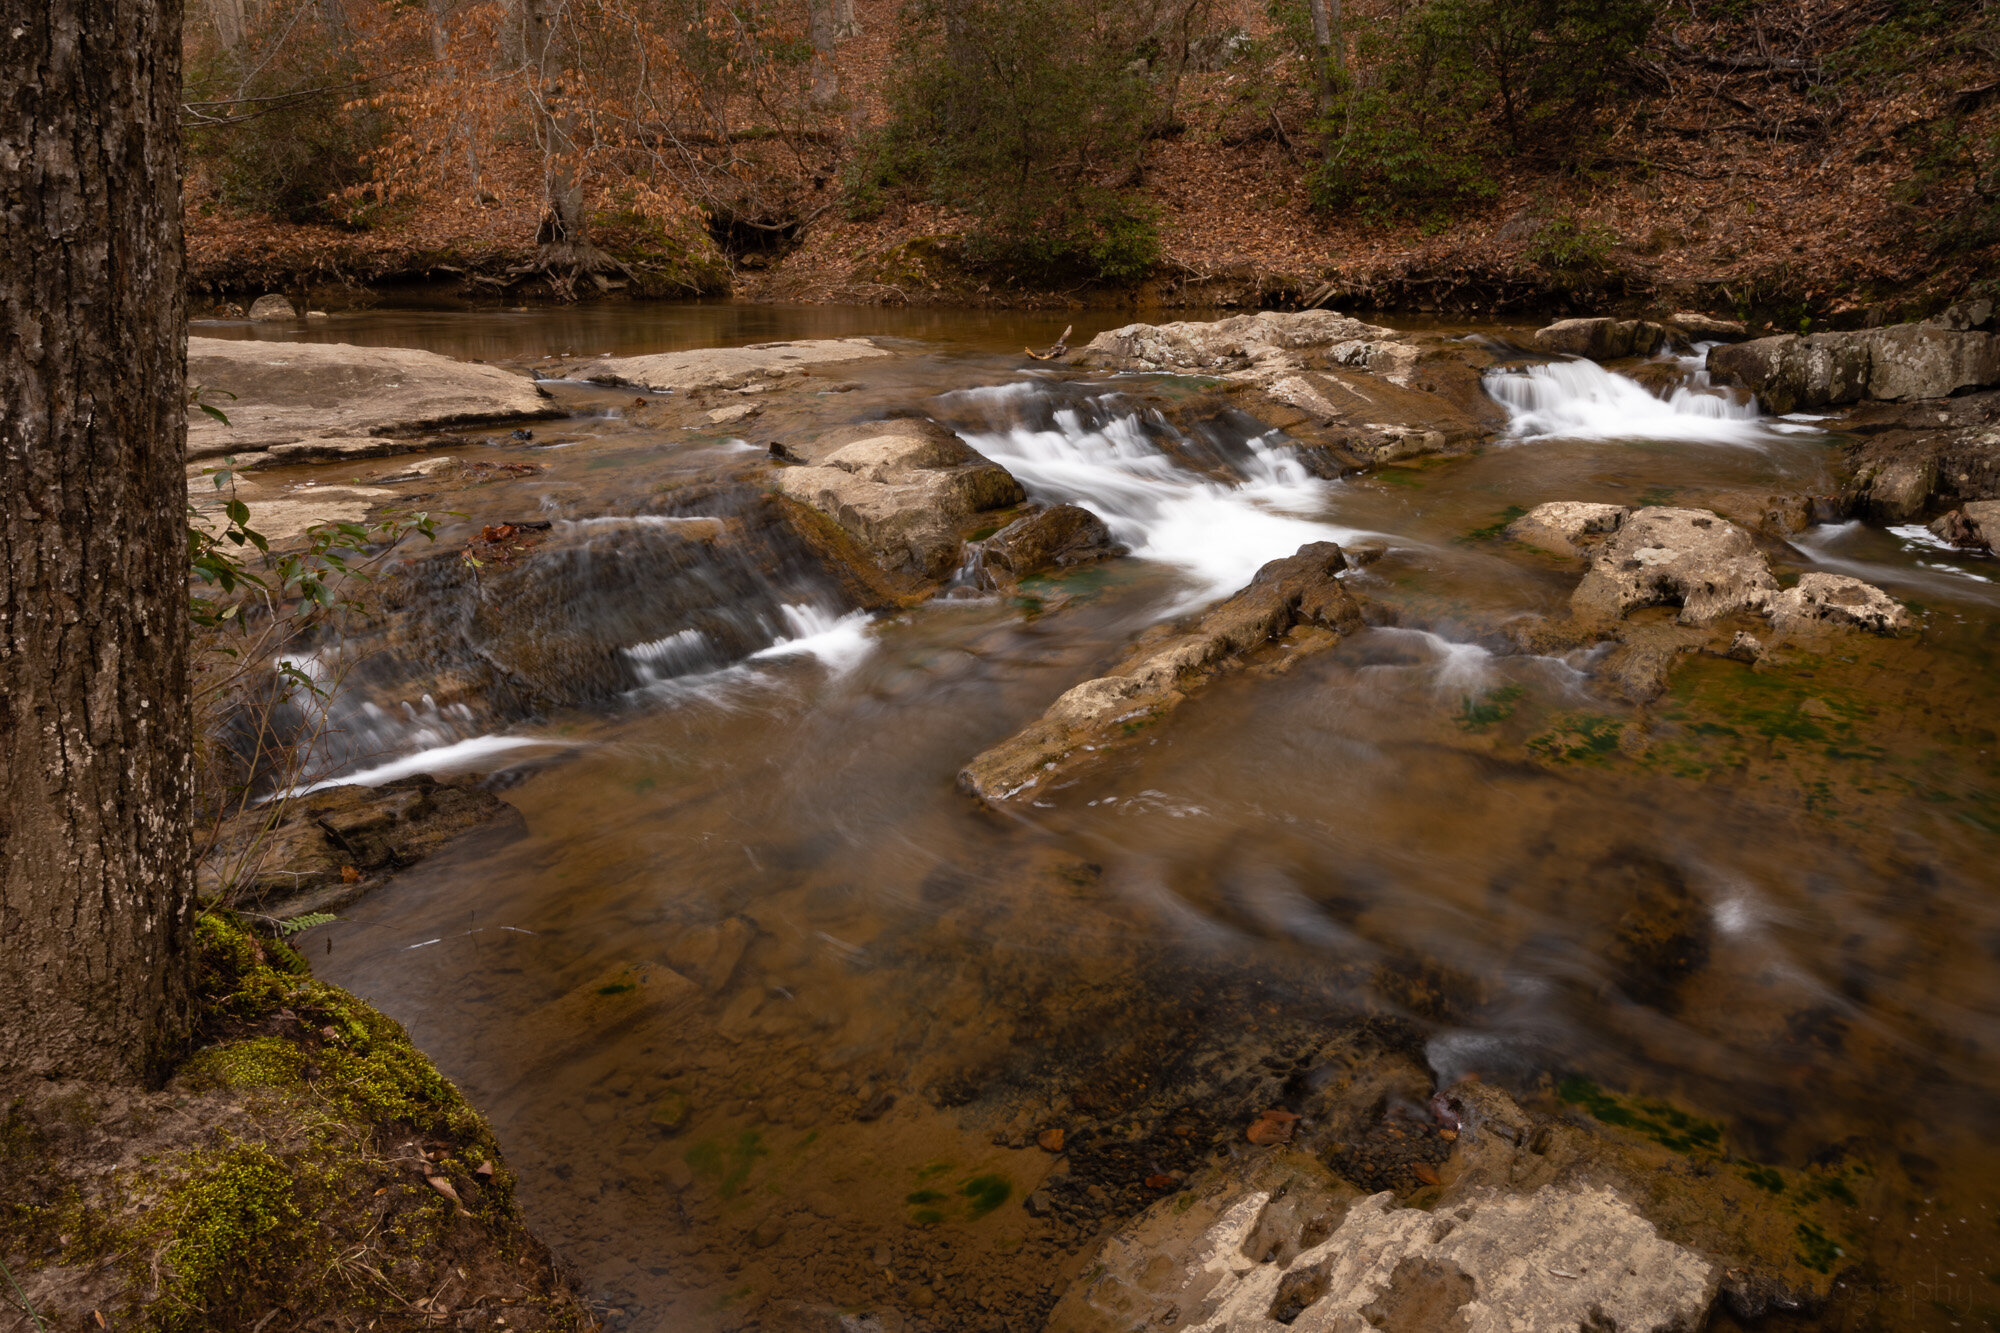
Beaver Brook Falls merging into North Fork Beaver Brook
The falls are on Beaver Brook and just below the falls the brook merges with North Fork Beaver Brook seen at the bottom of the photos flowing left to right. The water eventually flows into the Connecticut River in the town of Colebrook. The Connecticut River defines much of the border between New Hampshire and Vermont.
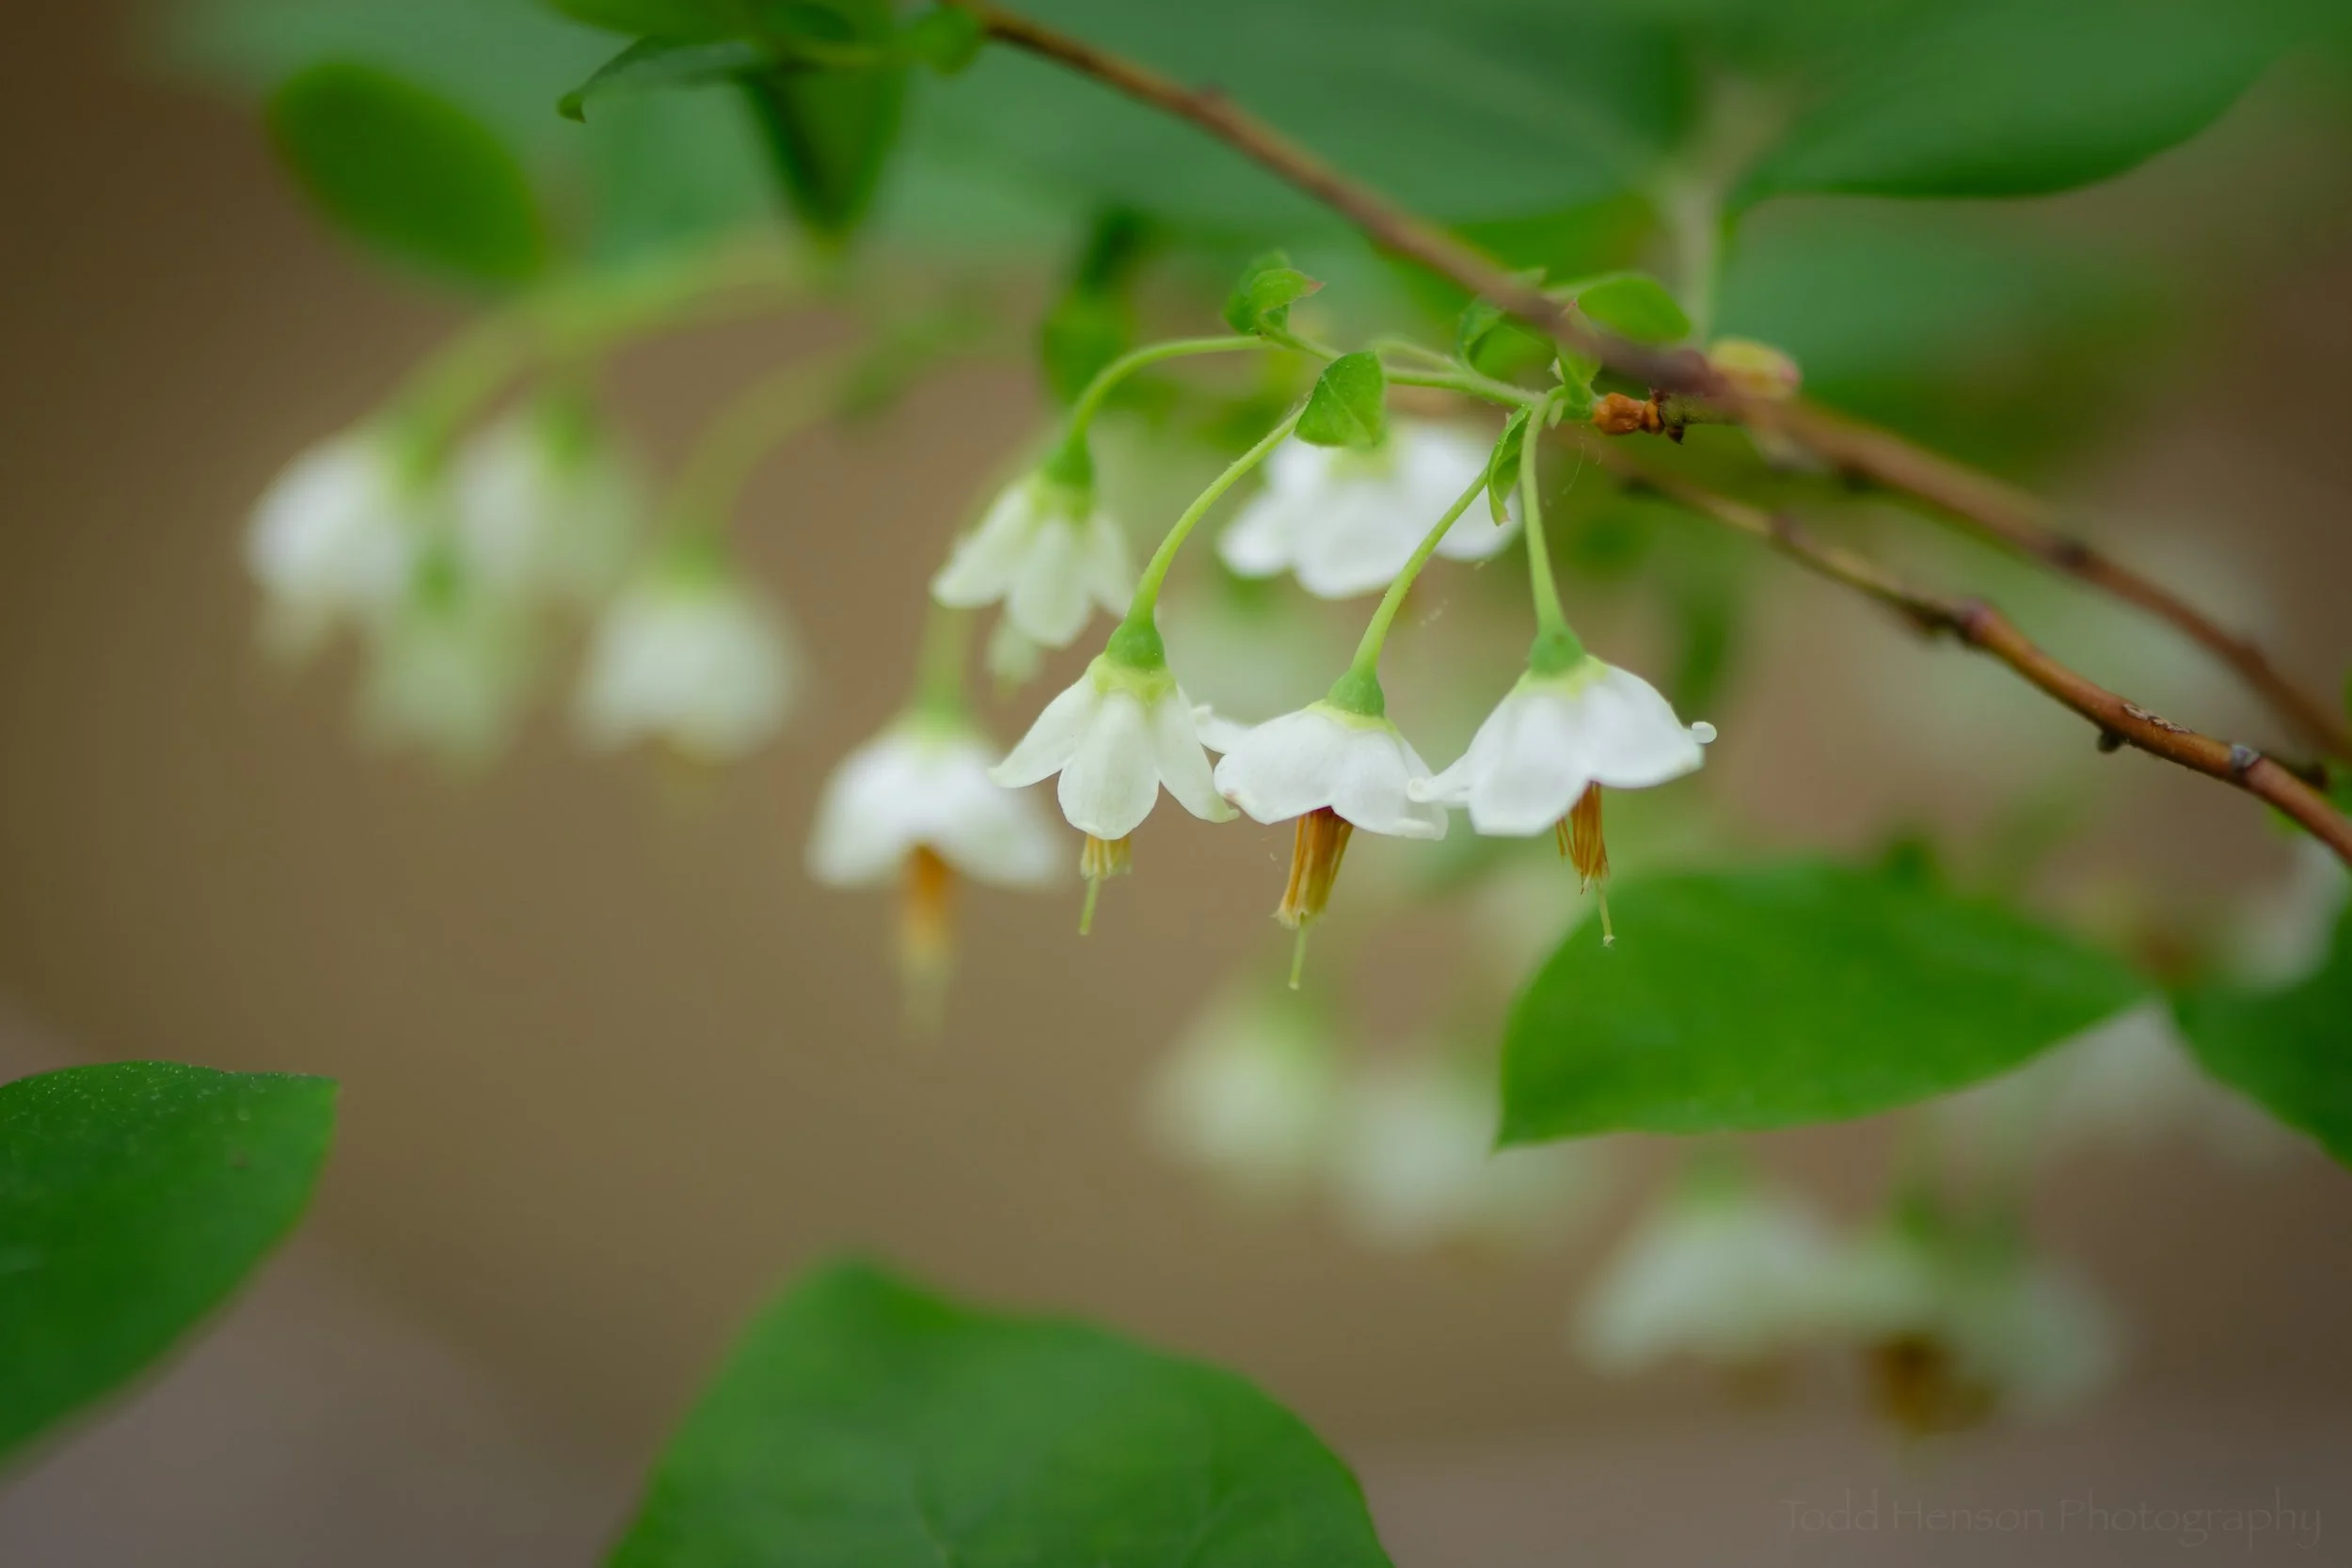
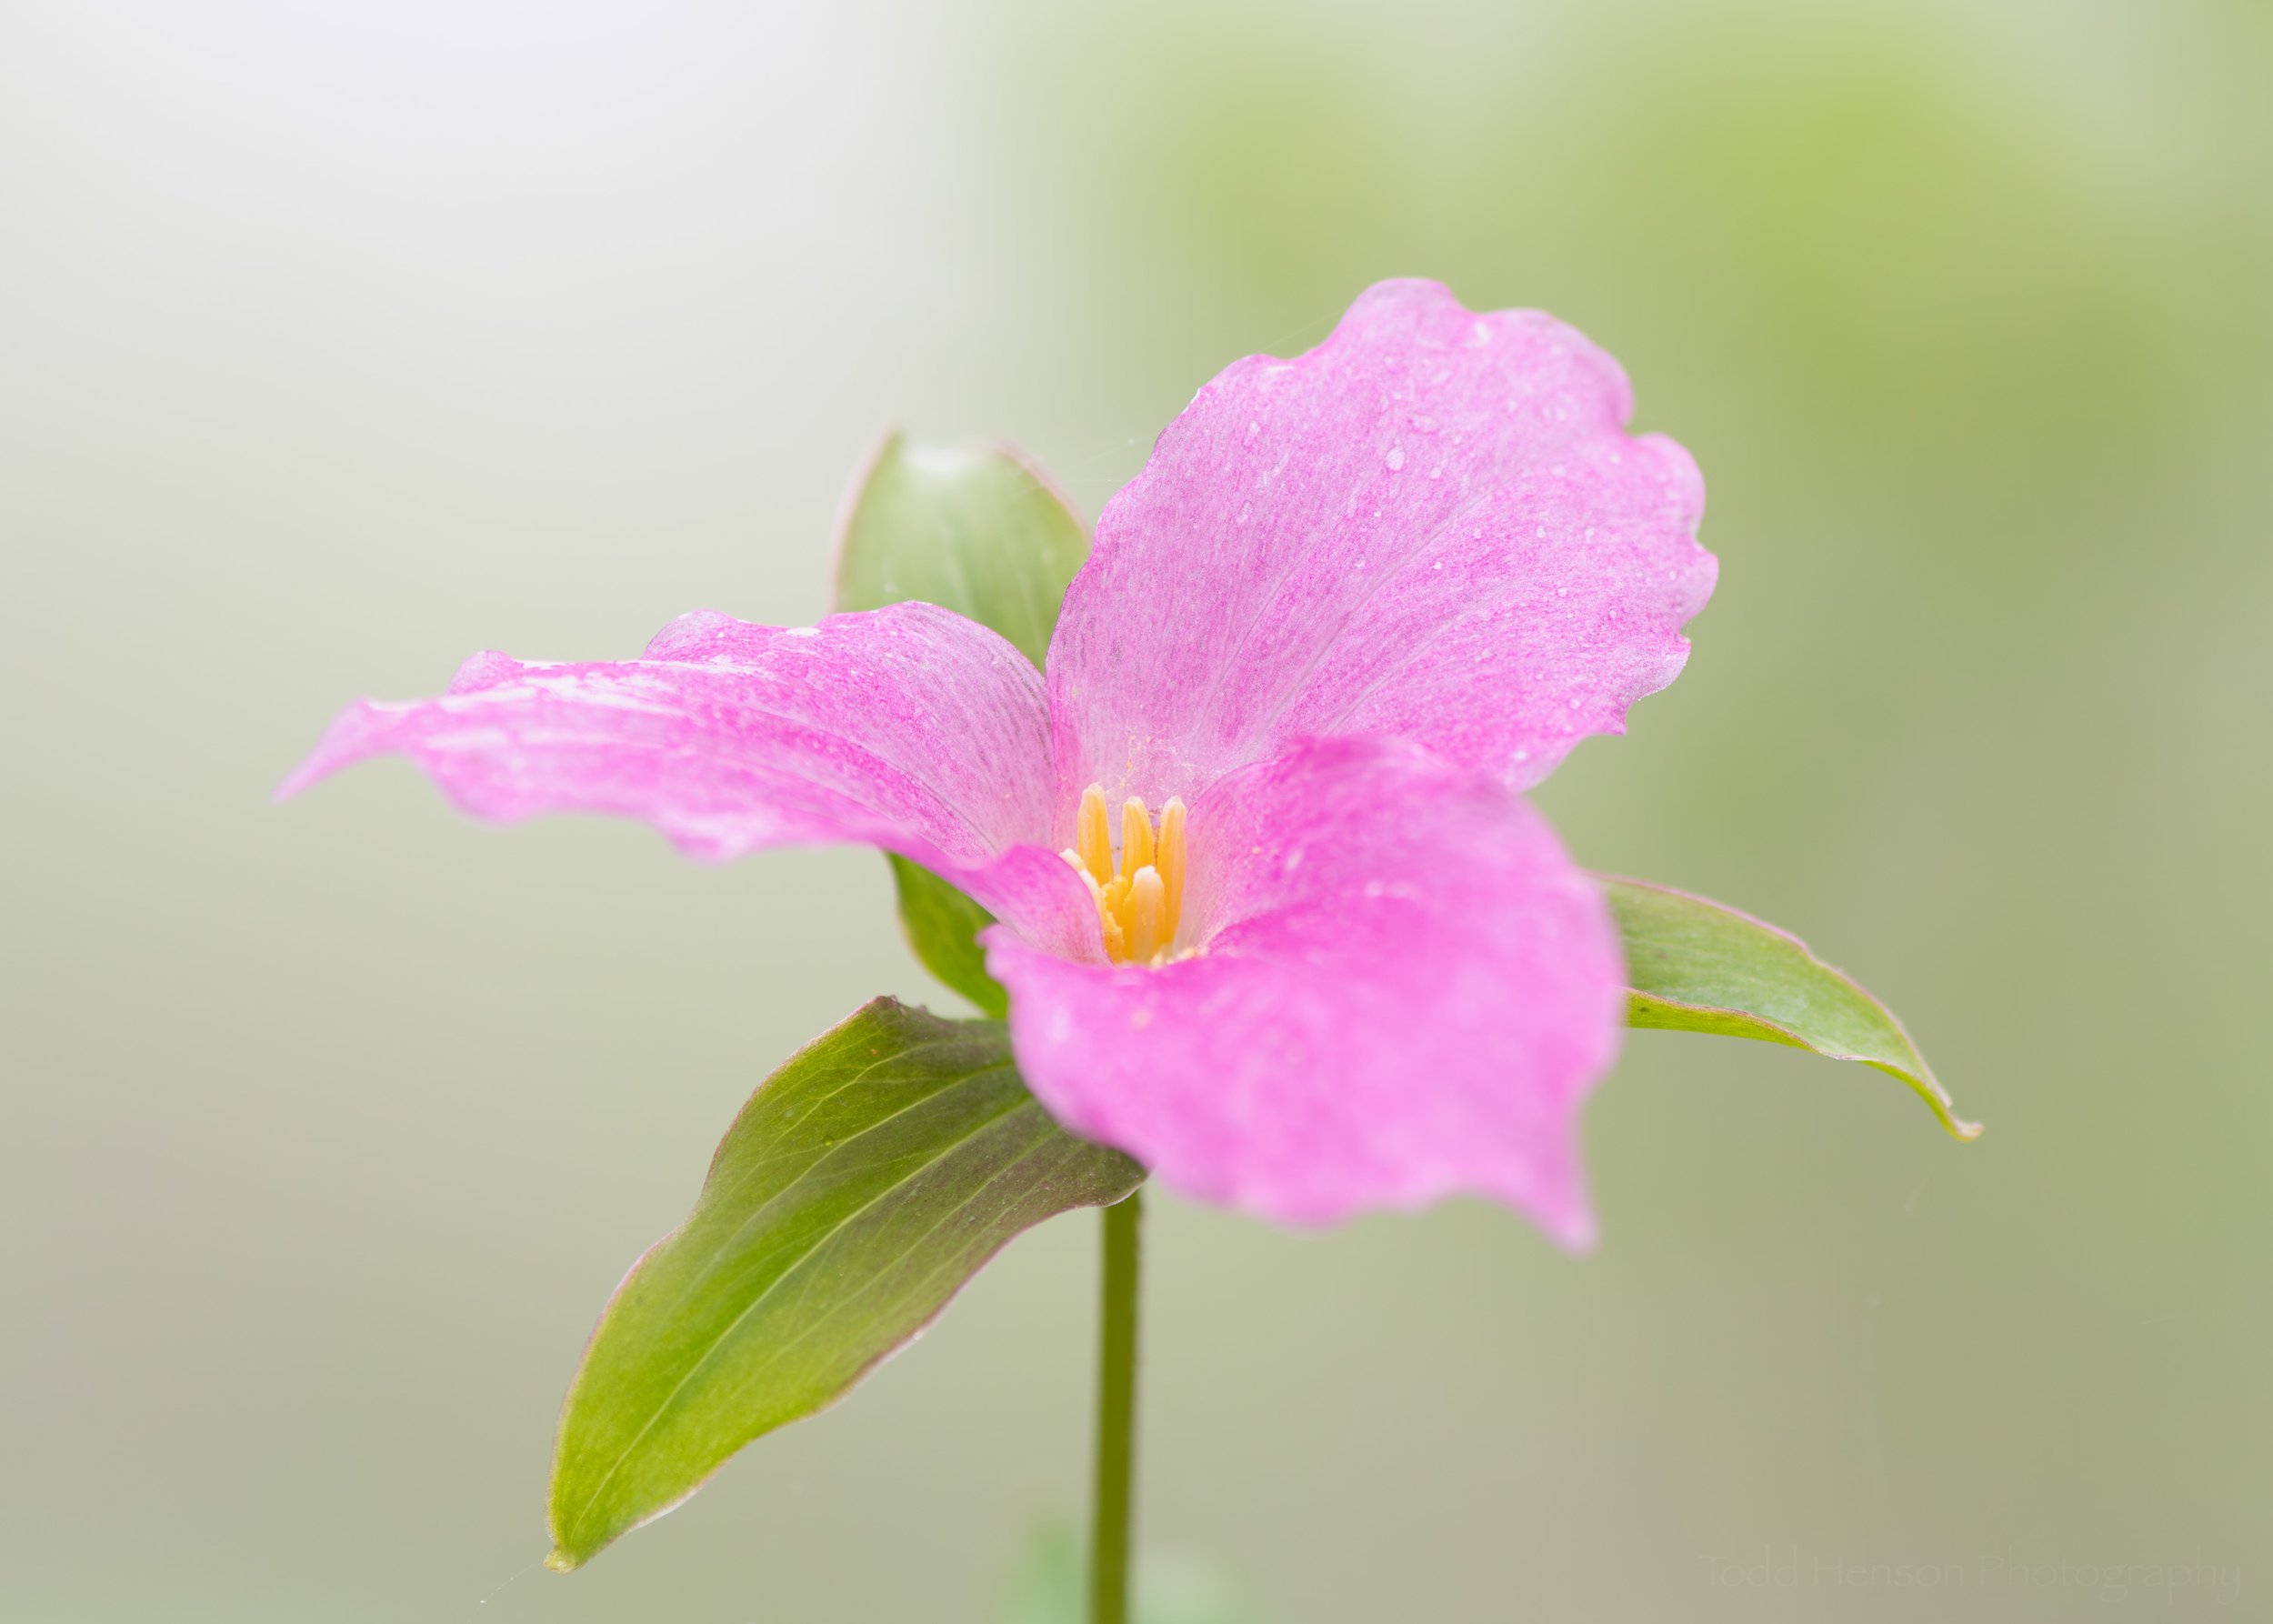
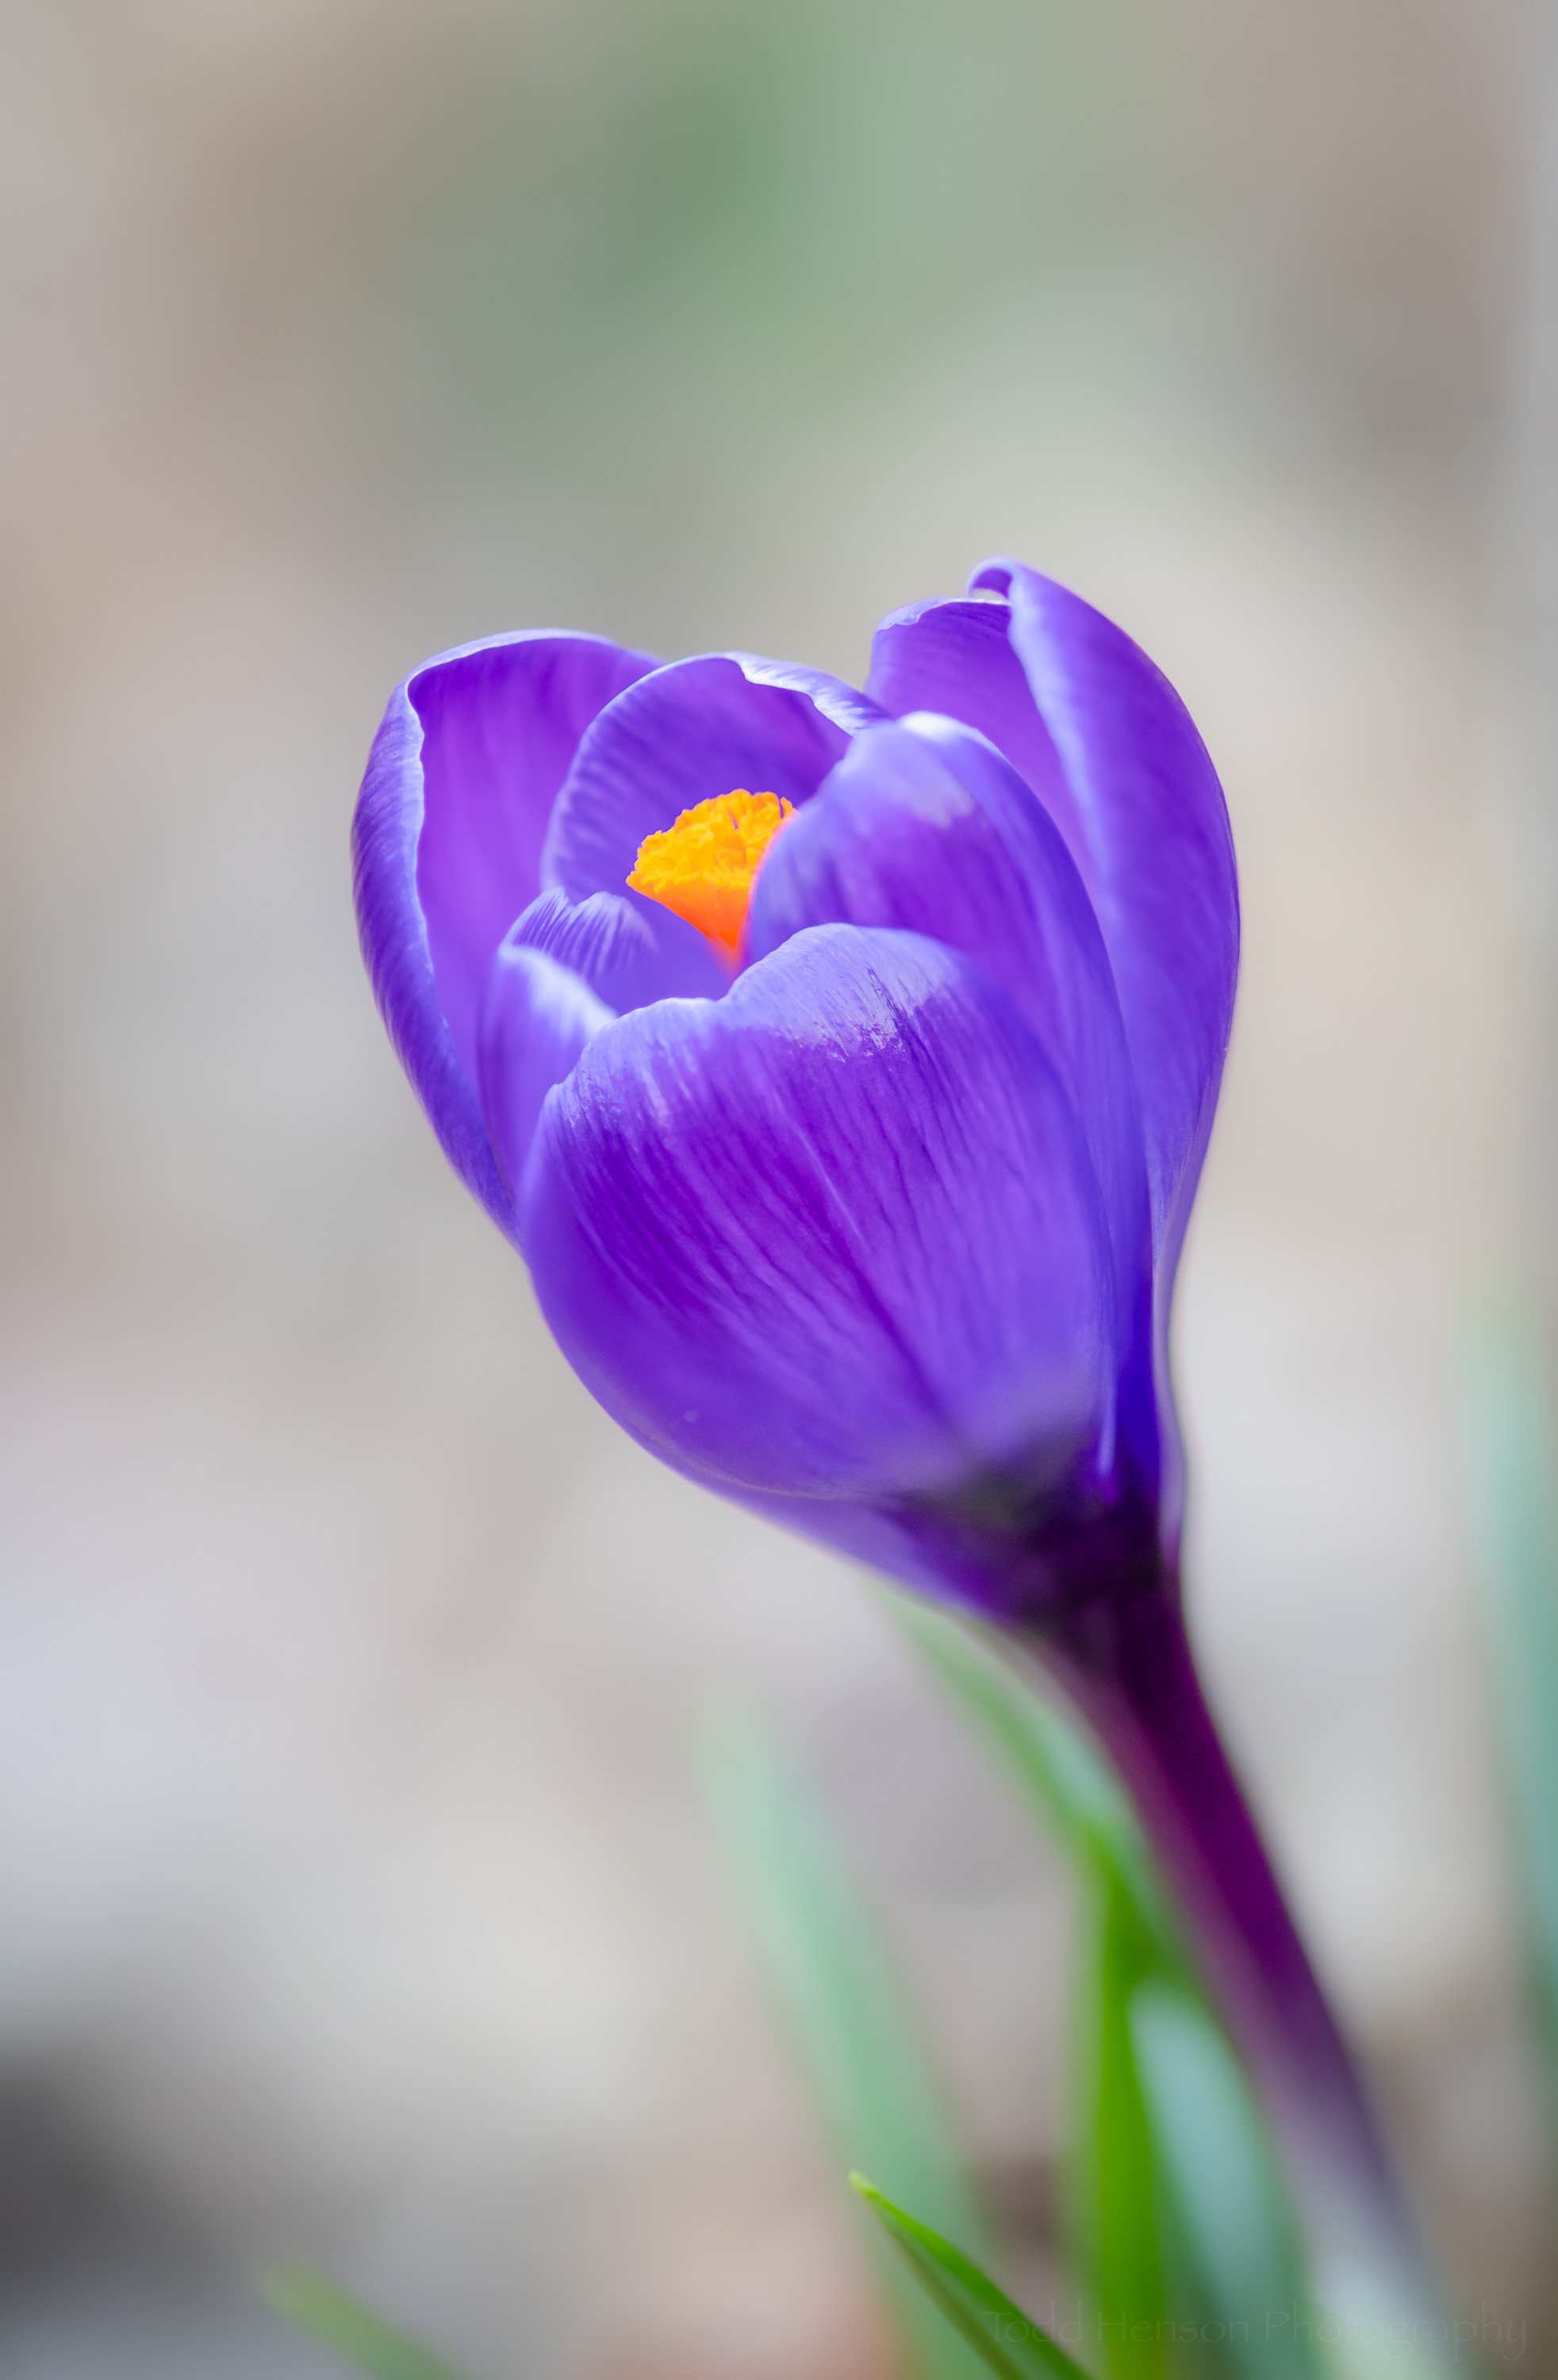
Floral accents at Beaver Brook Falls
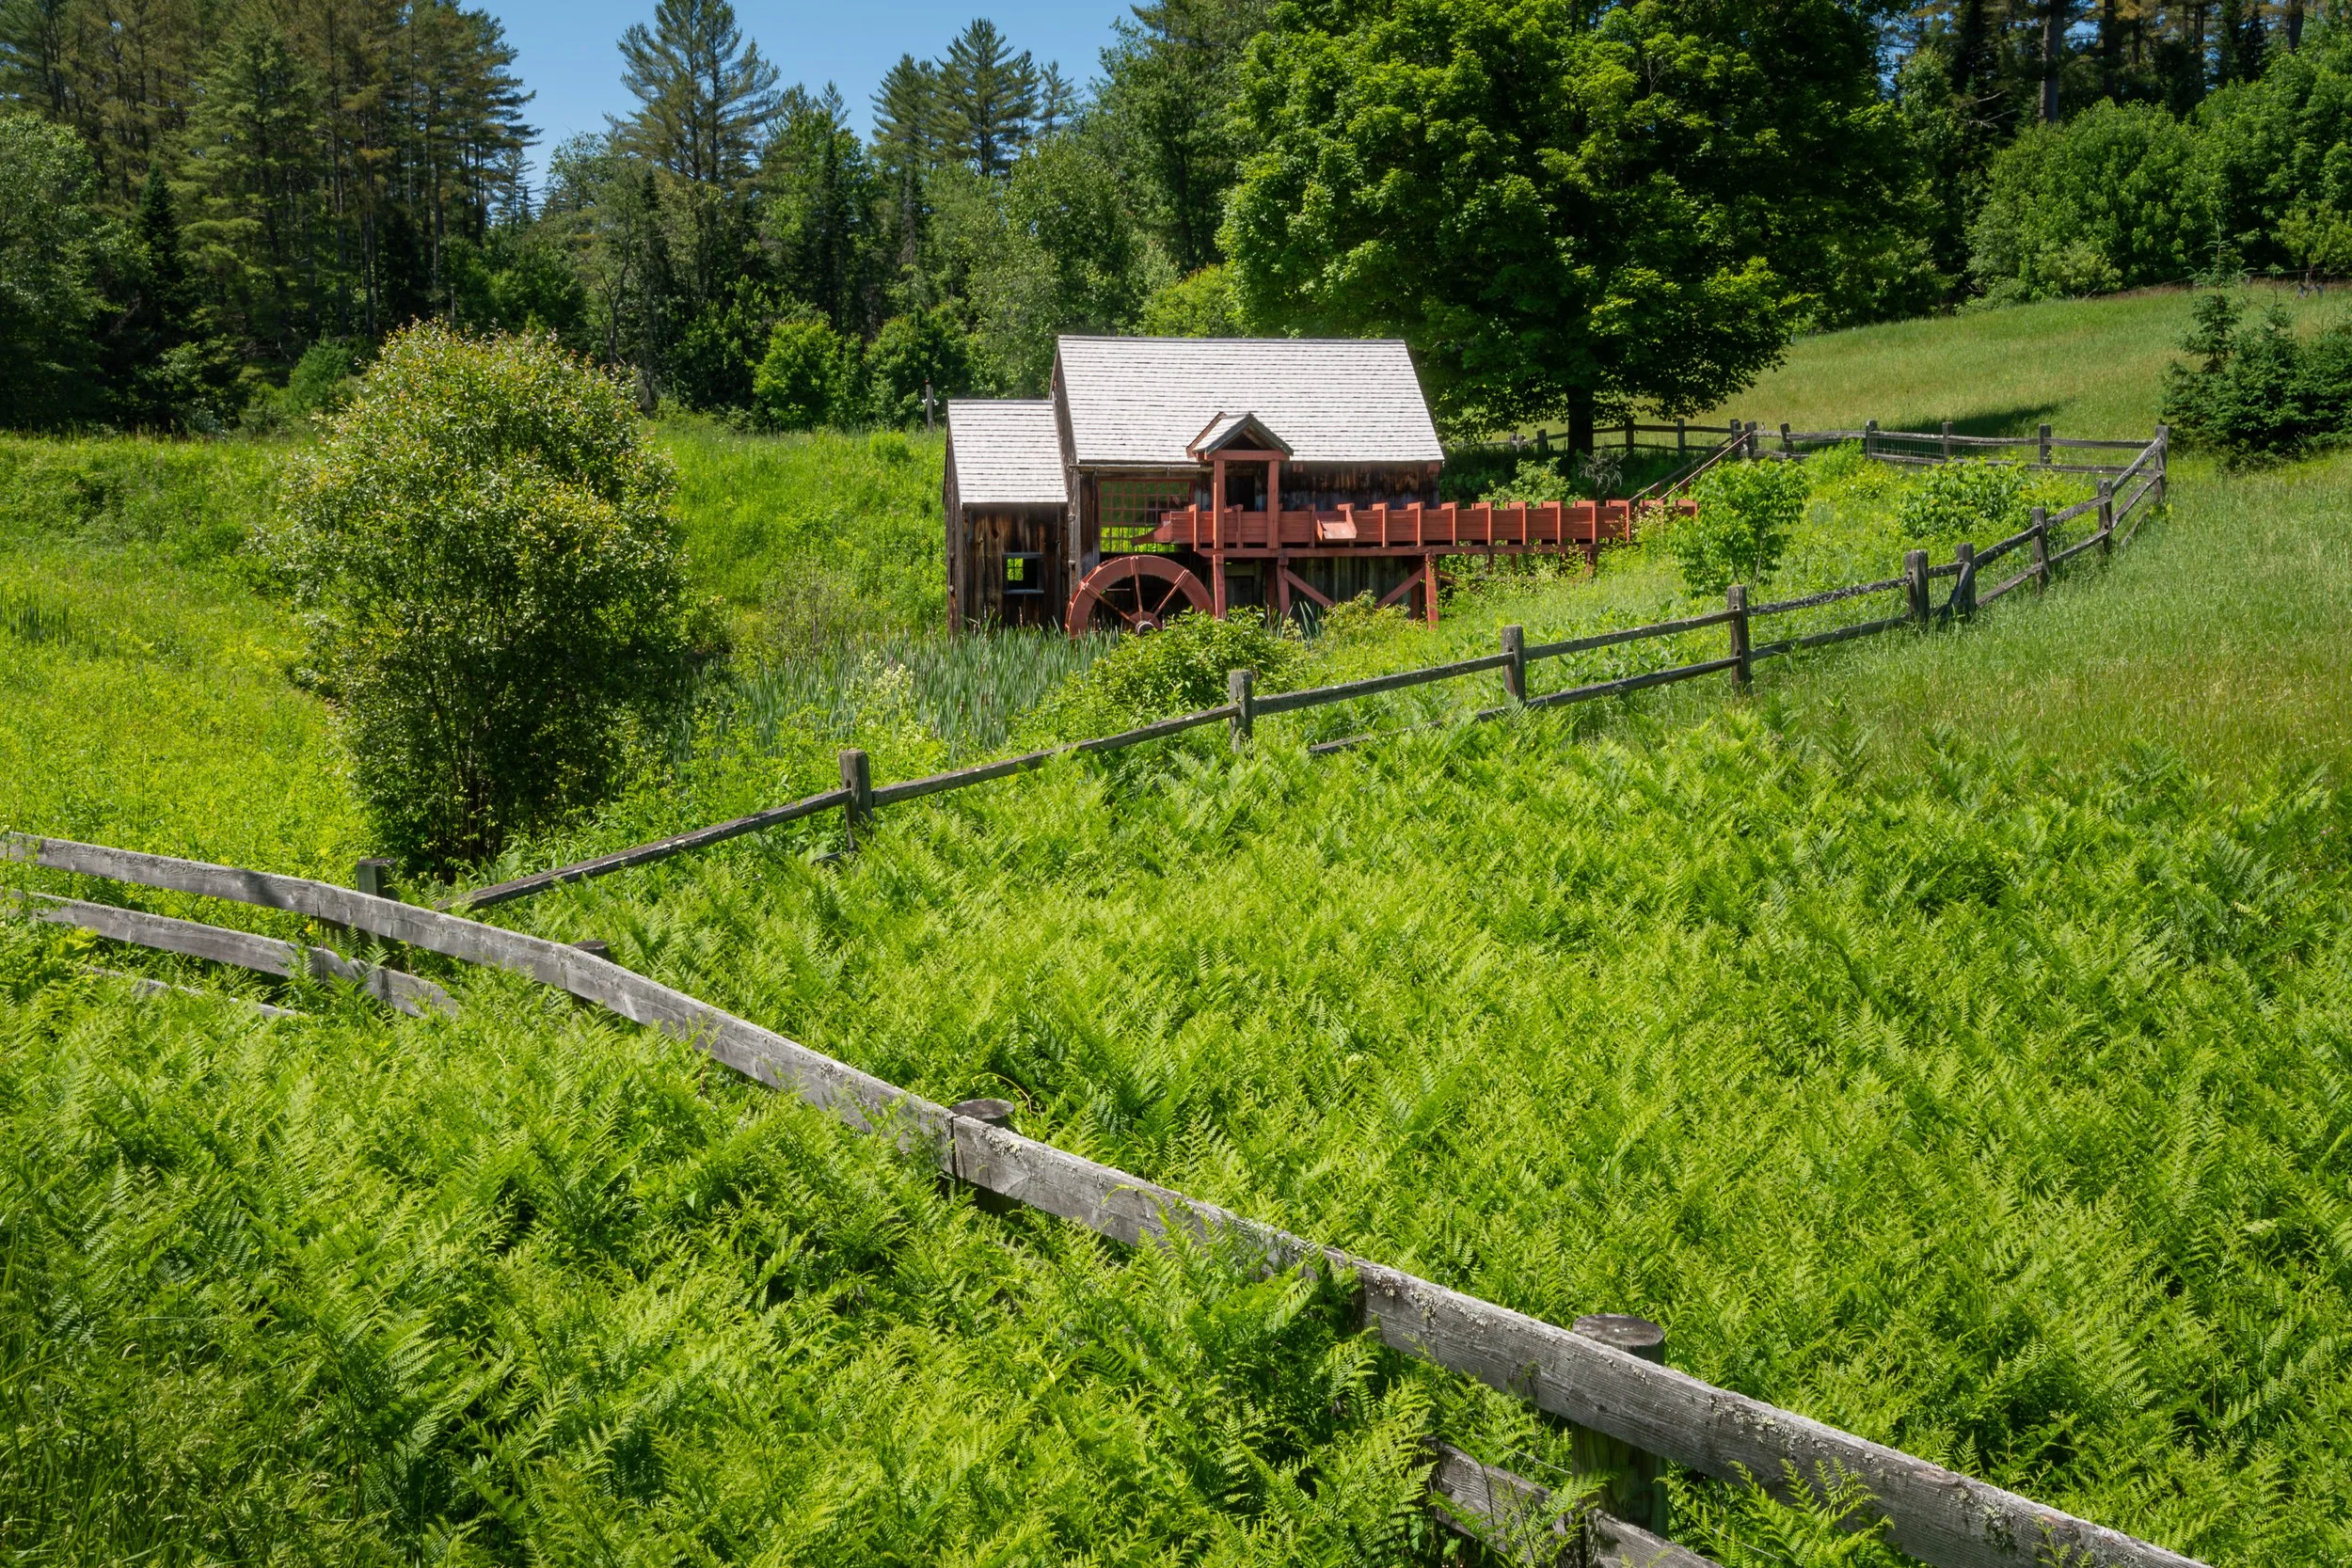
One of the best things about this location is its accessibility. It’s located along Route 145 north of Colebrook with the parking area right along the road and the falls easily visible from the road. There is a small area of mowed grass with some picnic tables and wooden fencing between this area and the water. There are trails on both sides that lead over wooden walking bridges and take you to the falls.
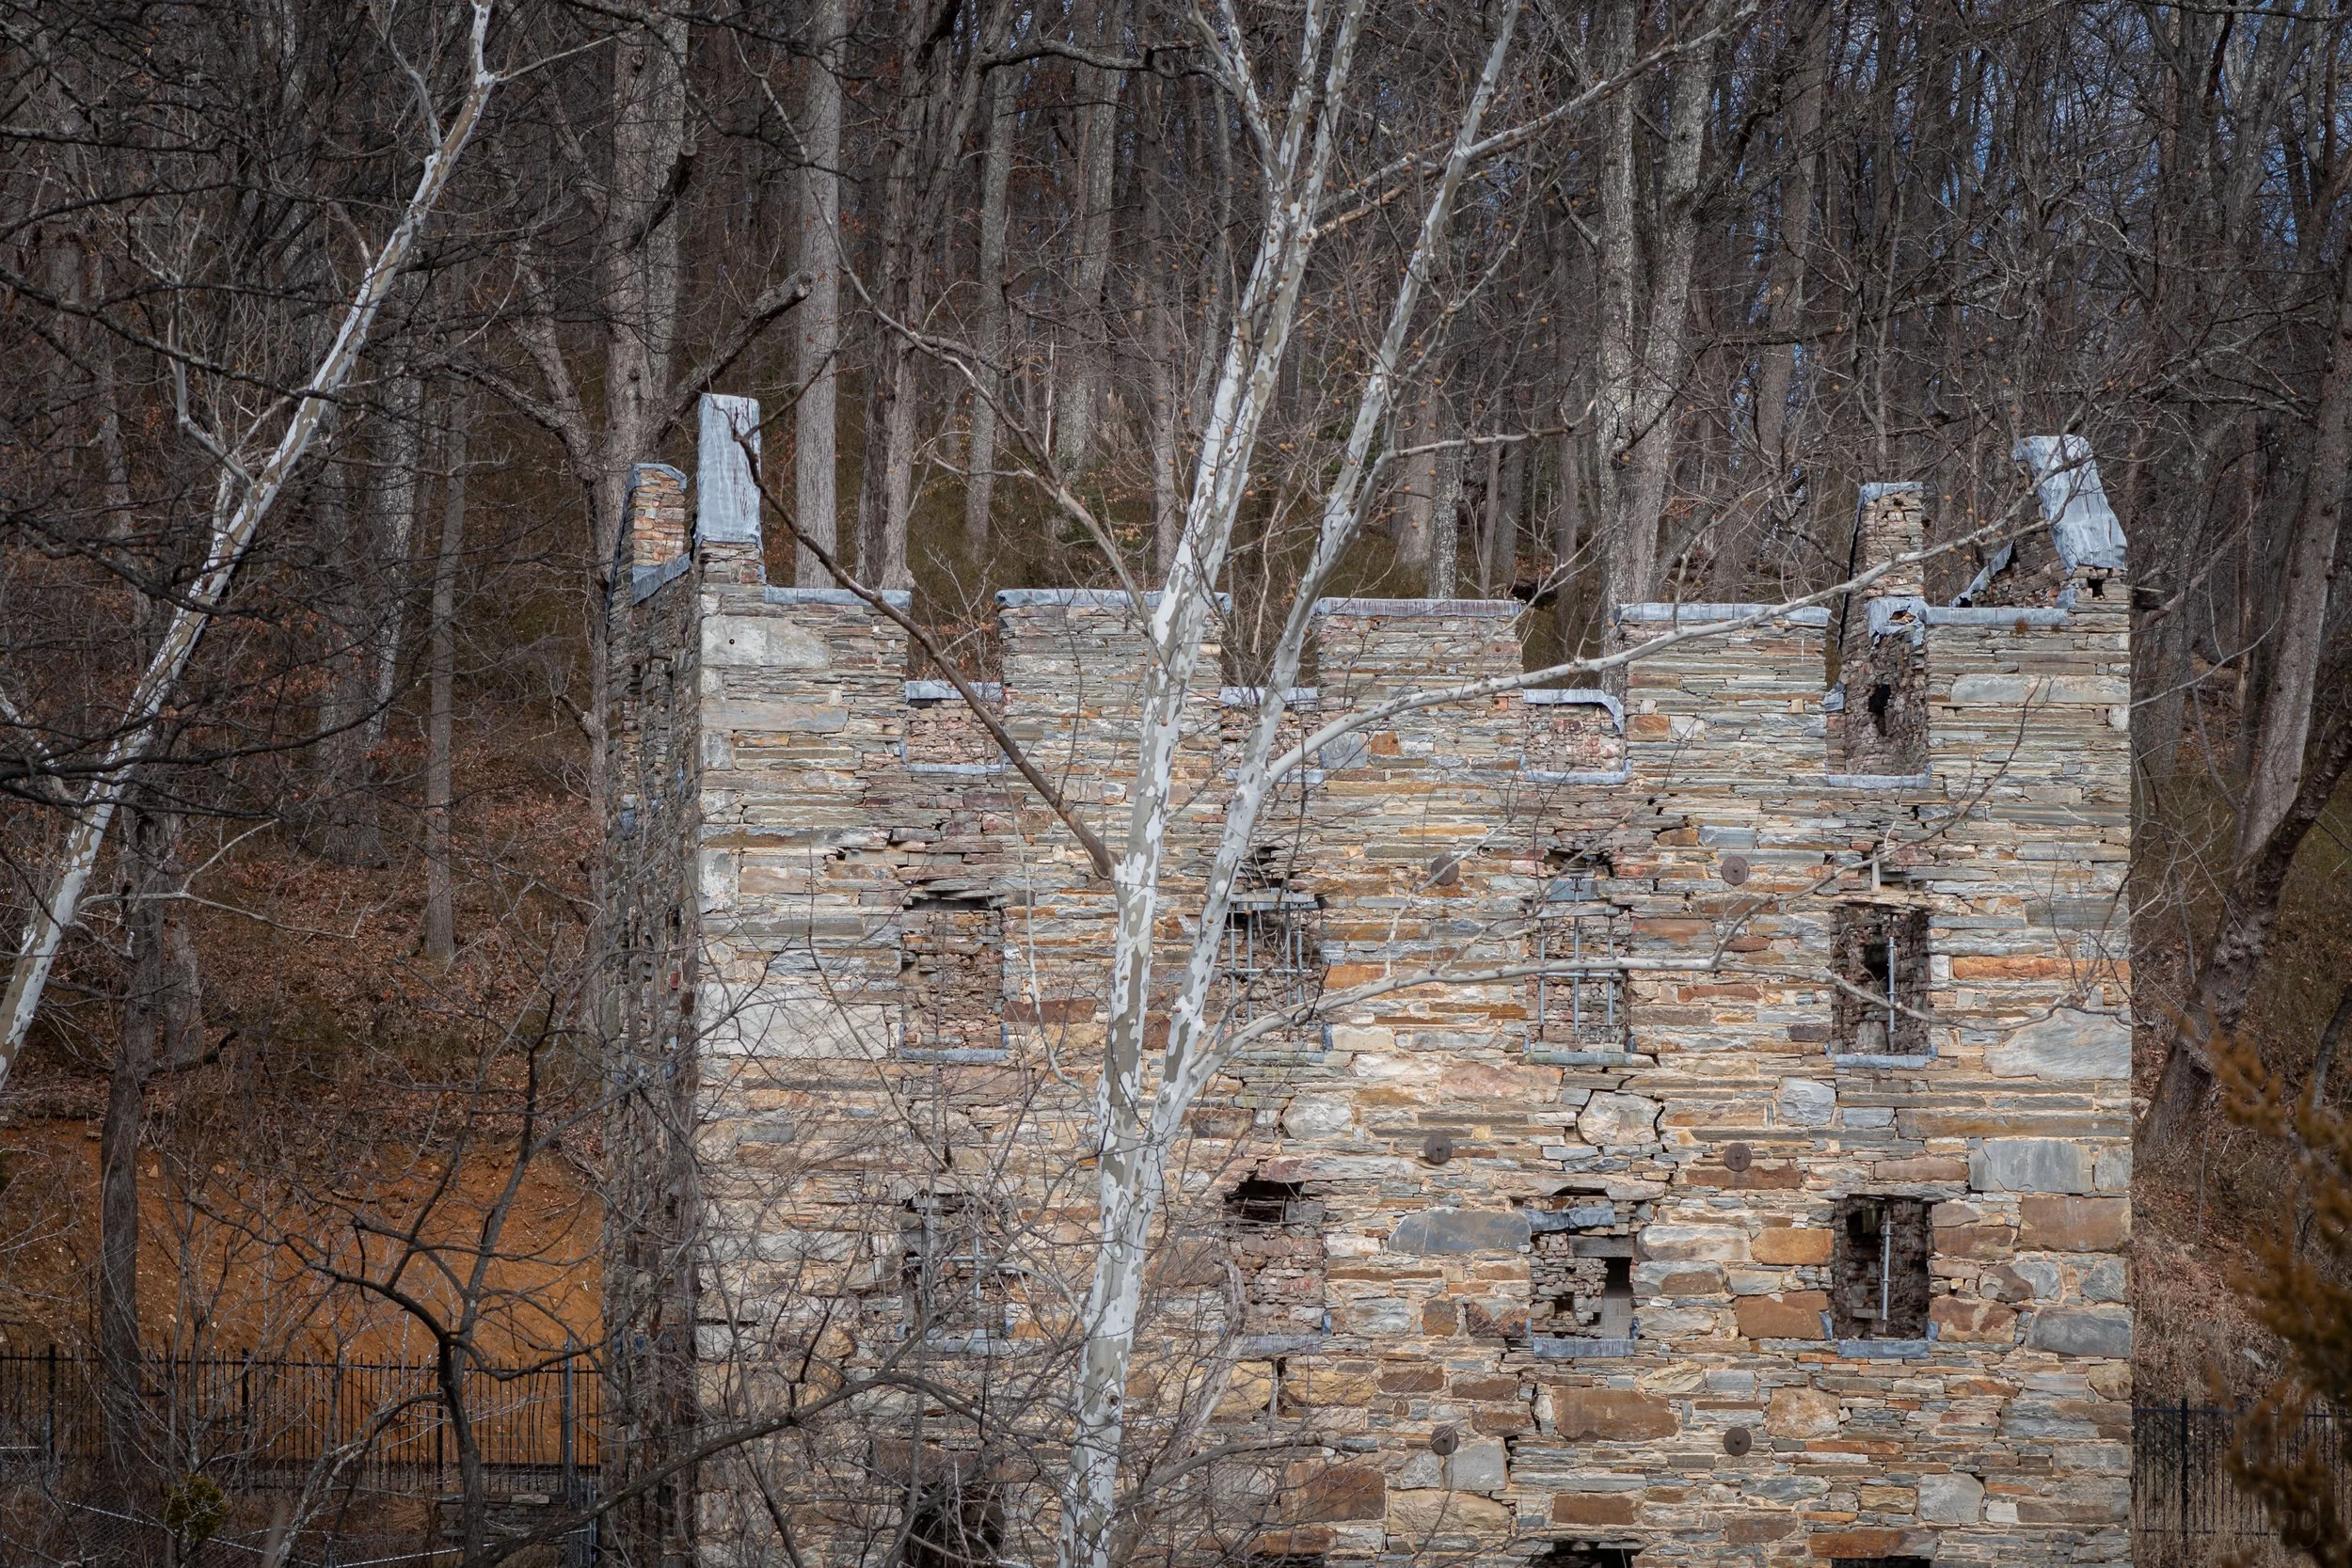
Beaver Brook Falls State Wayside, New Hampshire
Signage at Beaver Brook Falls State Wayside, New Hampshire
I’ve only been to this location once so I don’t have a feel for how crowded it can get, but given how beautiful it is, how easily accessible, and how many folks travel to this area for vacationing and outdoor adventure, I’d guess it can get crowded. The parking area is very small so it can only accommodate so many people. We saw several cars of people arrive and leave while we were there but for some periods of time had the area to ourselves. The rainy day likely helped with this. This is certainly a location I’d visit again if ever back in the area. And I can only imagine how beautiful (and busy) it might be during autumn with all the colorful foliage New Hampshire is known for.
Photographic Lessons Learned
As is often the case when reviewing my photographs I find things I would have done differently if I had the gift of hindsight in advance. And I find items I’m glad I thought to do. Here is a short list of lessons learned (or re-learned in most cases), as well as general comments based on my experience:
On rainy days, and when approaching strong waterfalls, don’t forget to check the front element of your lens or filter for water droplets, and carefully wipe them off when you find them. Do this OFTEN. It’s so easy to overlook these while looking at a small image on a viewfinder or LCD panel, but they become far more obvious when viewed on a larger screen or on paper, especially if you are using smaller apertures (larger f-stop numbers).
Even if you’re able to get slower shutter speeds just by adjusting your aperture (because it’s a darker day) it’s still worth the effort of trying a polarizing filter because it can reduce glare and reflections on both the water surface and that of the green leaves.
When it’s windy try to keep track of when the breeze is blowing and when there are short gaps with less wind. This can help you create images with less movement of leaves, flowers, etc.
I don’t recall which photographer I learned this lesson from but it’s a gem. When is the best time to make a vertical image? Immediately after making a horizontal one. That way you have both a vertical and horizontal view of that scene and can choose which you prefer for which usage.
If possible it can be worth it to create some images that include slightly more of the scene so you don’t crowd in too much around the edges. Granted, this isn’t always possible. There are images here where I’d have liked to include a little more of the trees above the falls, though without including the washed out white sky. But even at the widest focal length my lens was capable of, 16 mm, I was constrained by what I included at top and/or bottom. I’d have loved to have owned a wider angle lens for this scene. I sort of wish I’d thought to try my fisheye, see how that worked. Granted, it would have been more difficult to shield it from any rain because of the extreme curvature of the outer glass.
Don’t forget when using a tripod with a locked down head you should almost always assure you’ve turned off any vibration reduction or image stabilization feature in your lens. There may be cases with newer cameras/lenses where this isn’t necessary, but it often is as the VR/IS features can sometimes actually introduce vibration when on a locked down camera. Read your camera/lens manuals to better understand the capabilities and limitations of your own gear.
Don’t forget to create images of the wider scene to show more context of the location.
Don’t forget to zoom in and create some detail images to show the depth and variety of the location.
Can you think of any other lessons worth learning from this sort of experience? Have you ever visited Beaver Brook Falls in New Hampshire? Do you have any similar falls in your area? Leave a comment below and let me know.
Do you enjoy these posts?
Sign up to receive periodic emails with updates and thoughts. Don’t worry, I won’t spam you. And please consider purchasing artwork or products from my online store, and using my affiliate links in the sidebar to the right when shopping online.
I appreciate your support!