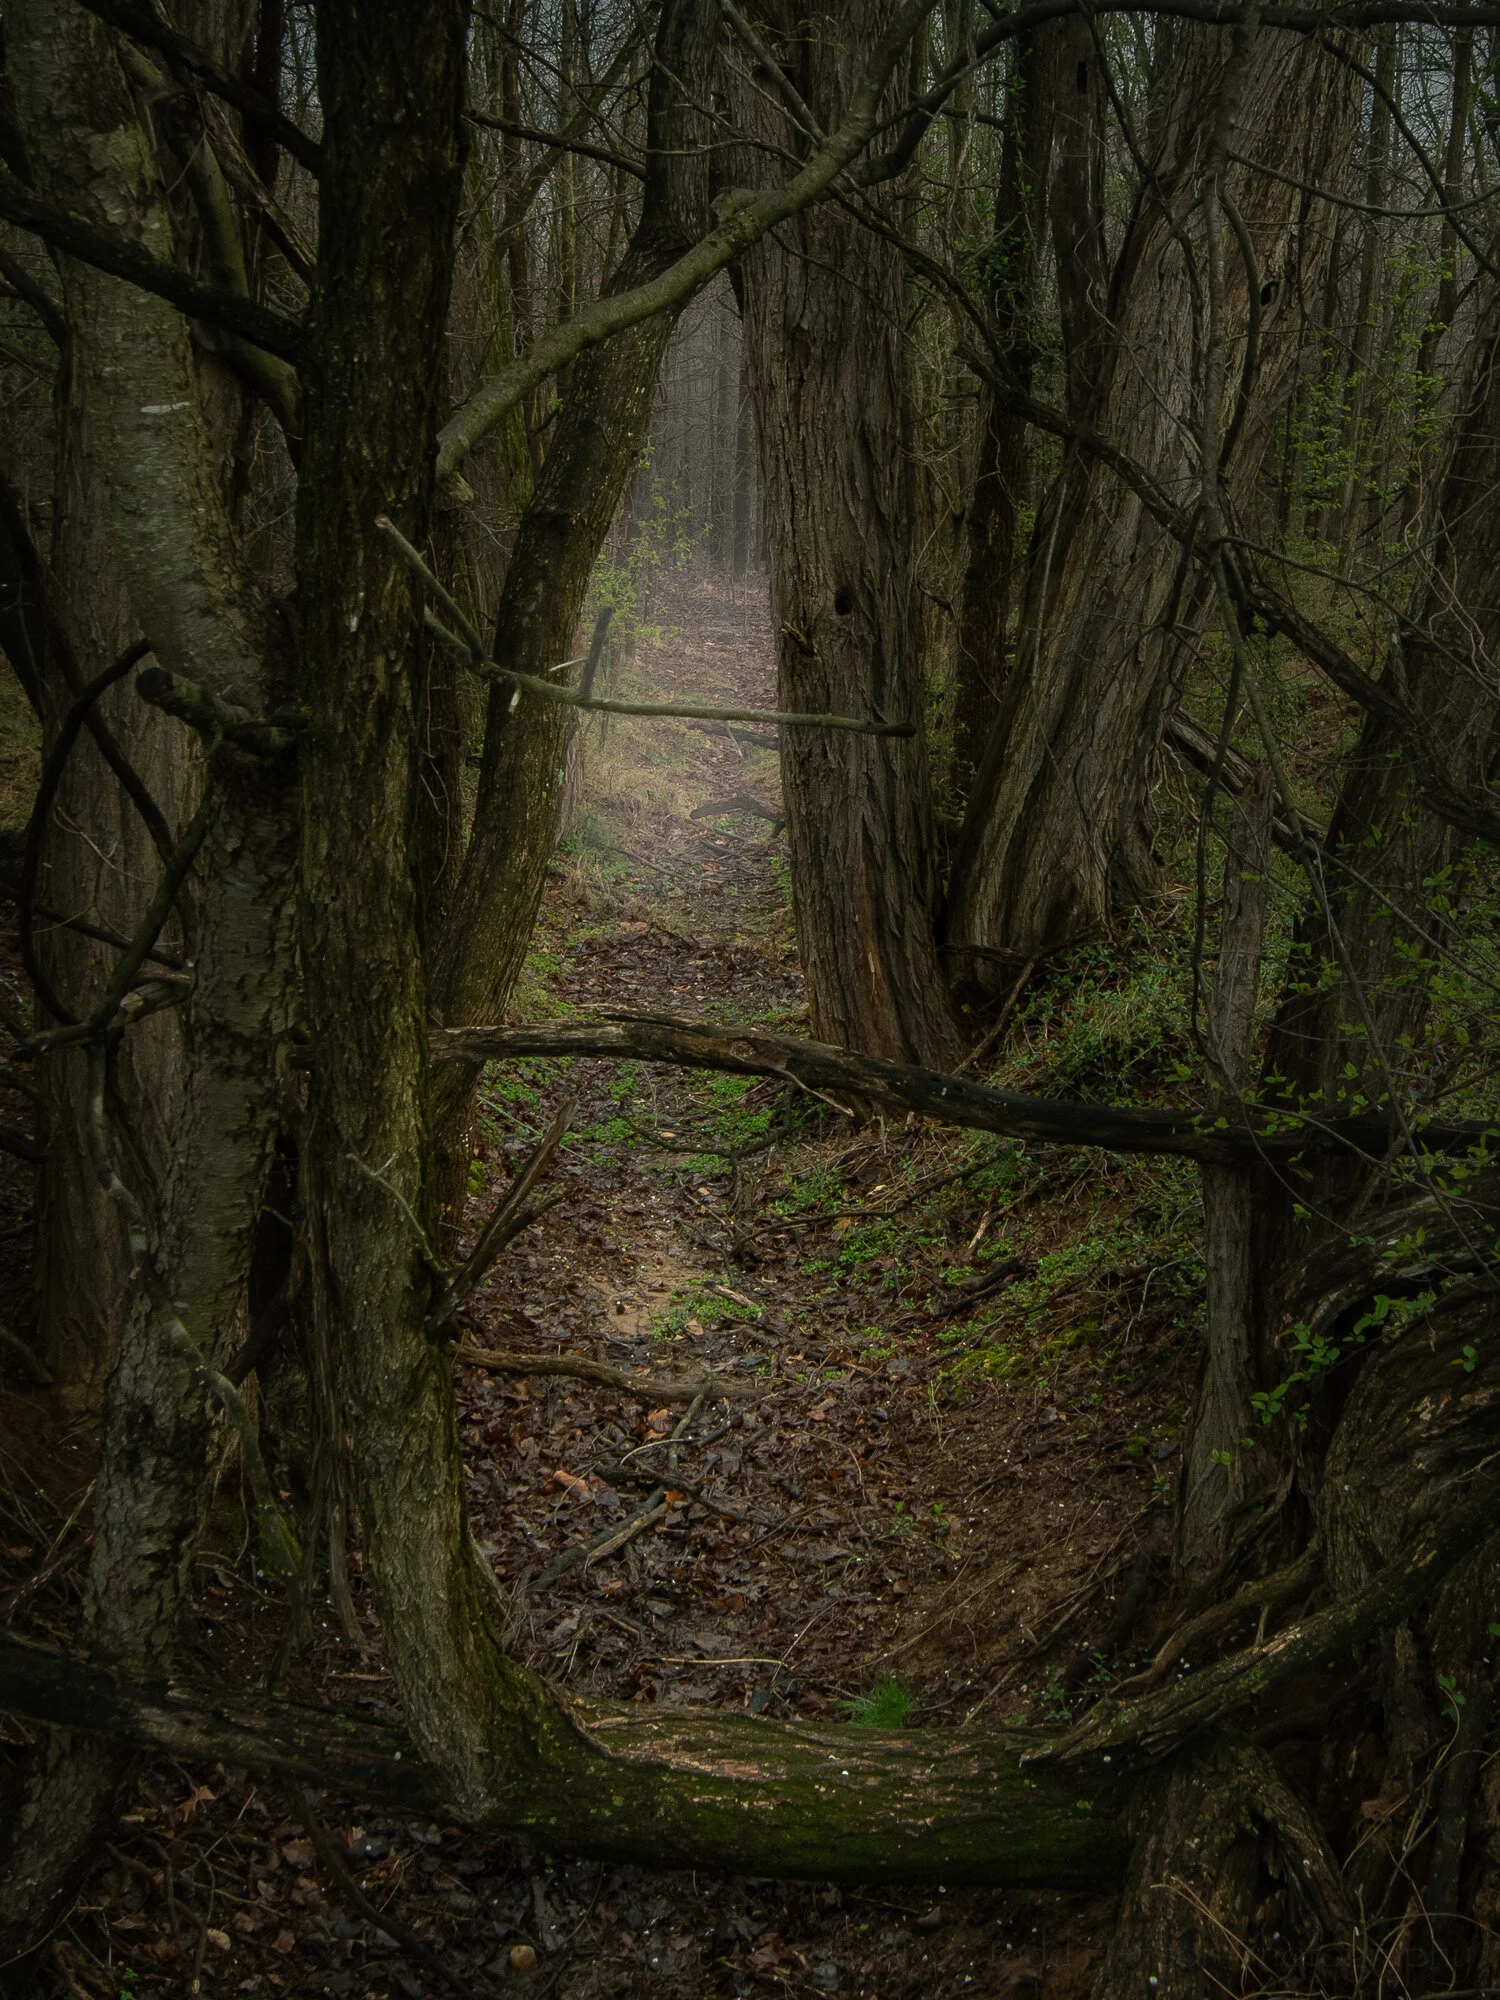
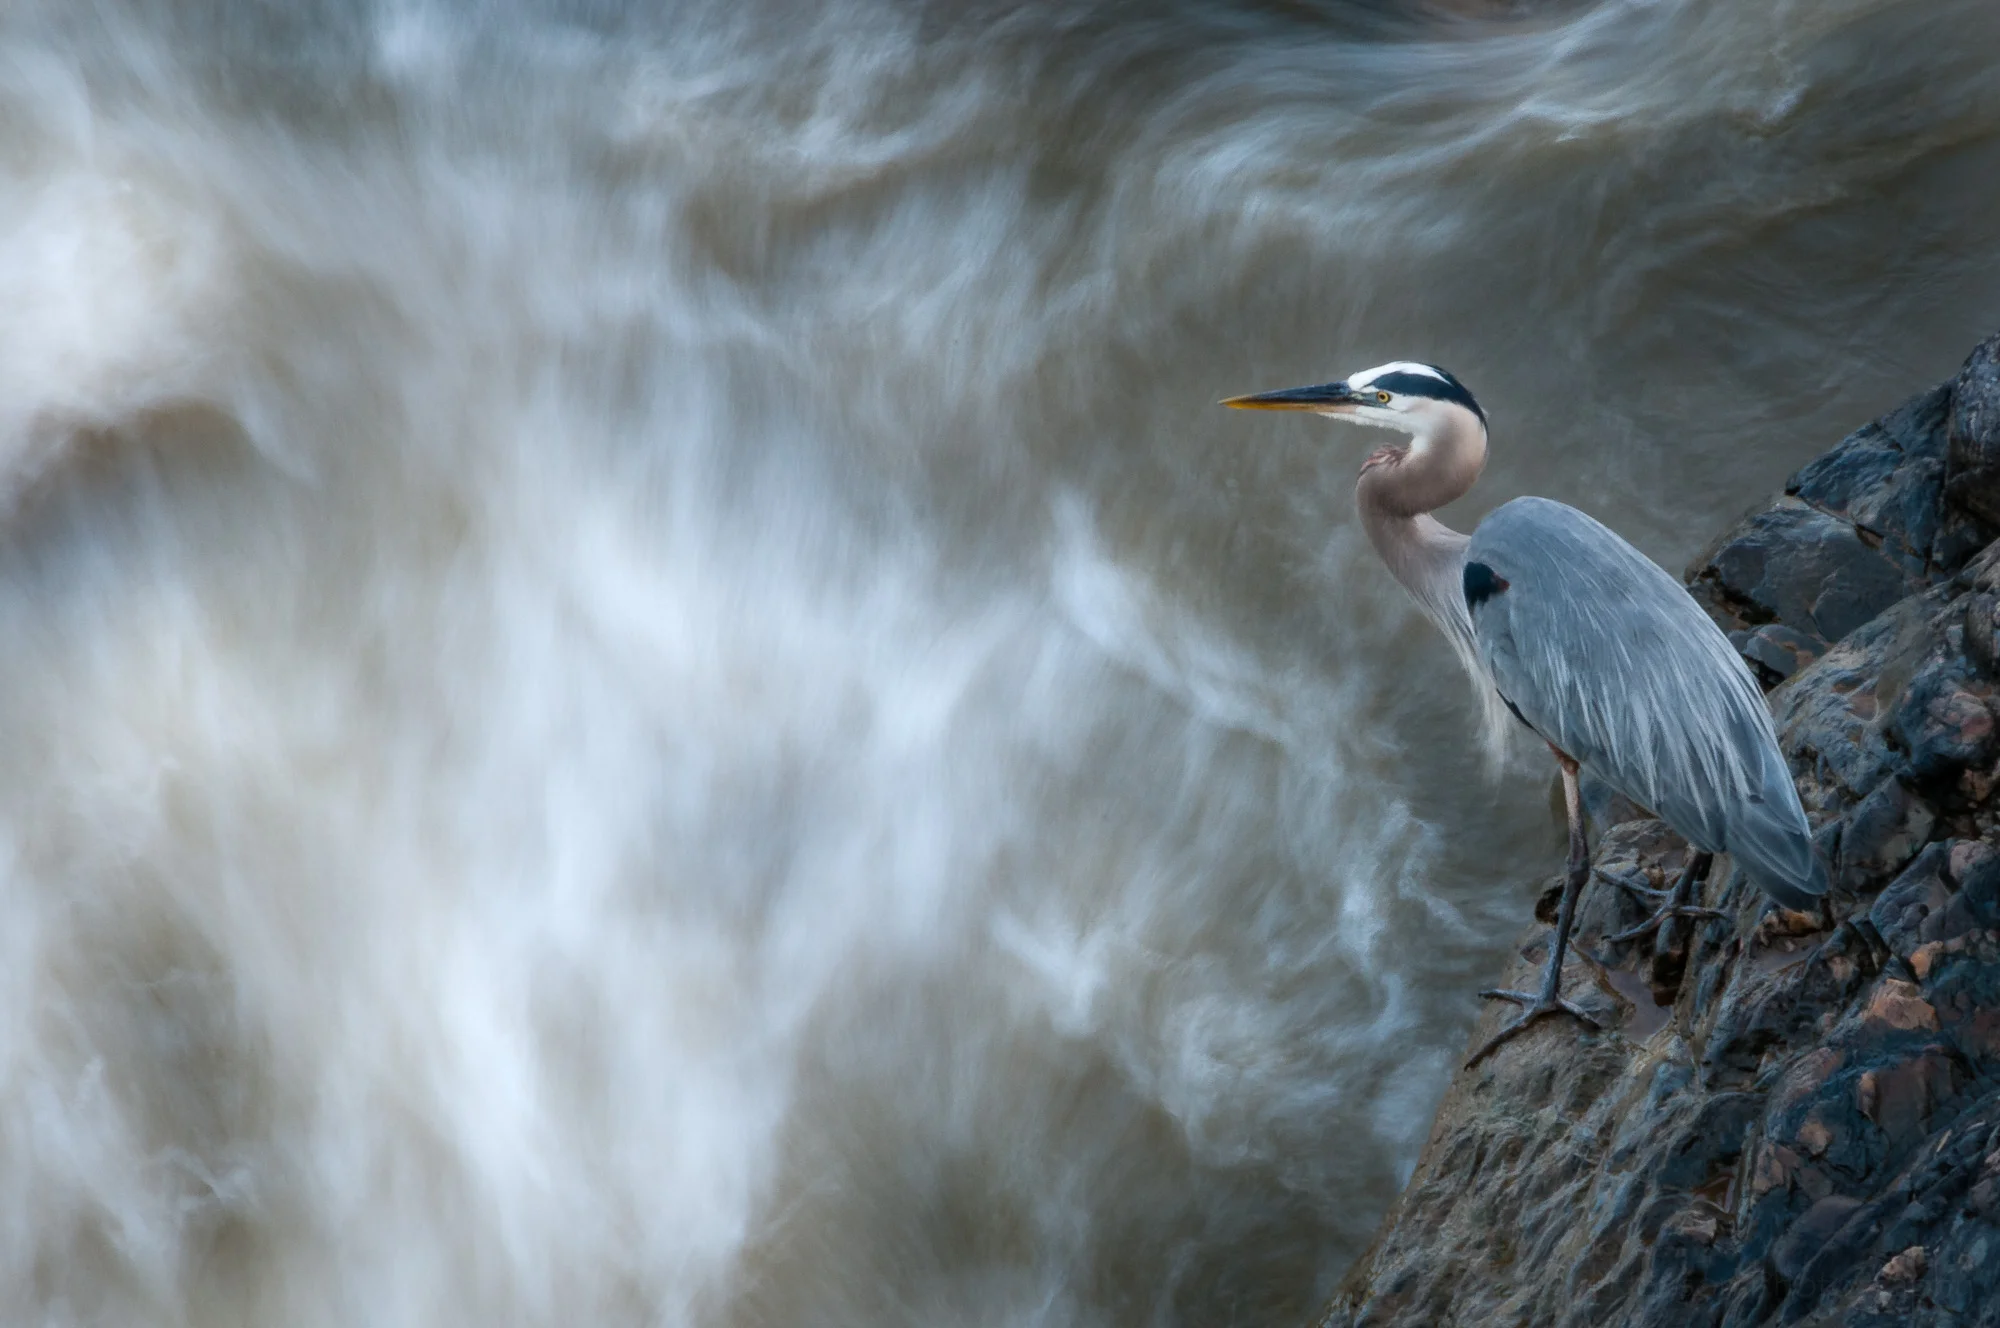
Best Photos of 2020: Newly Processed From Years Past by Todd Henson

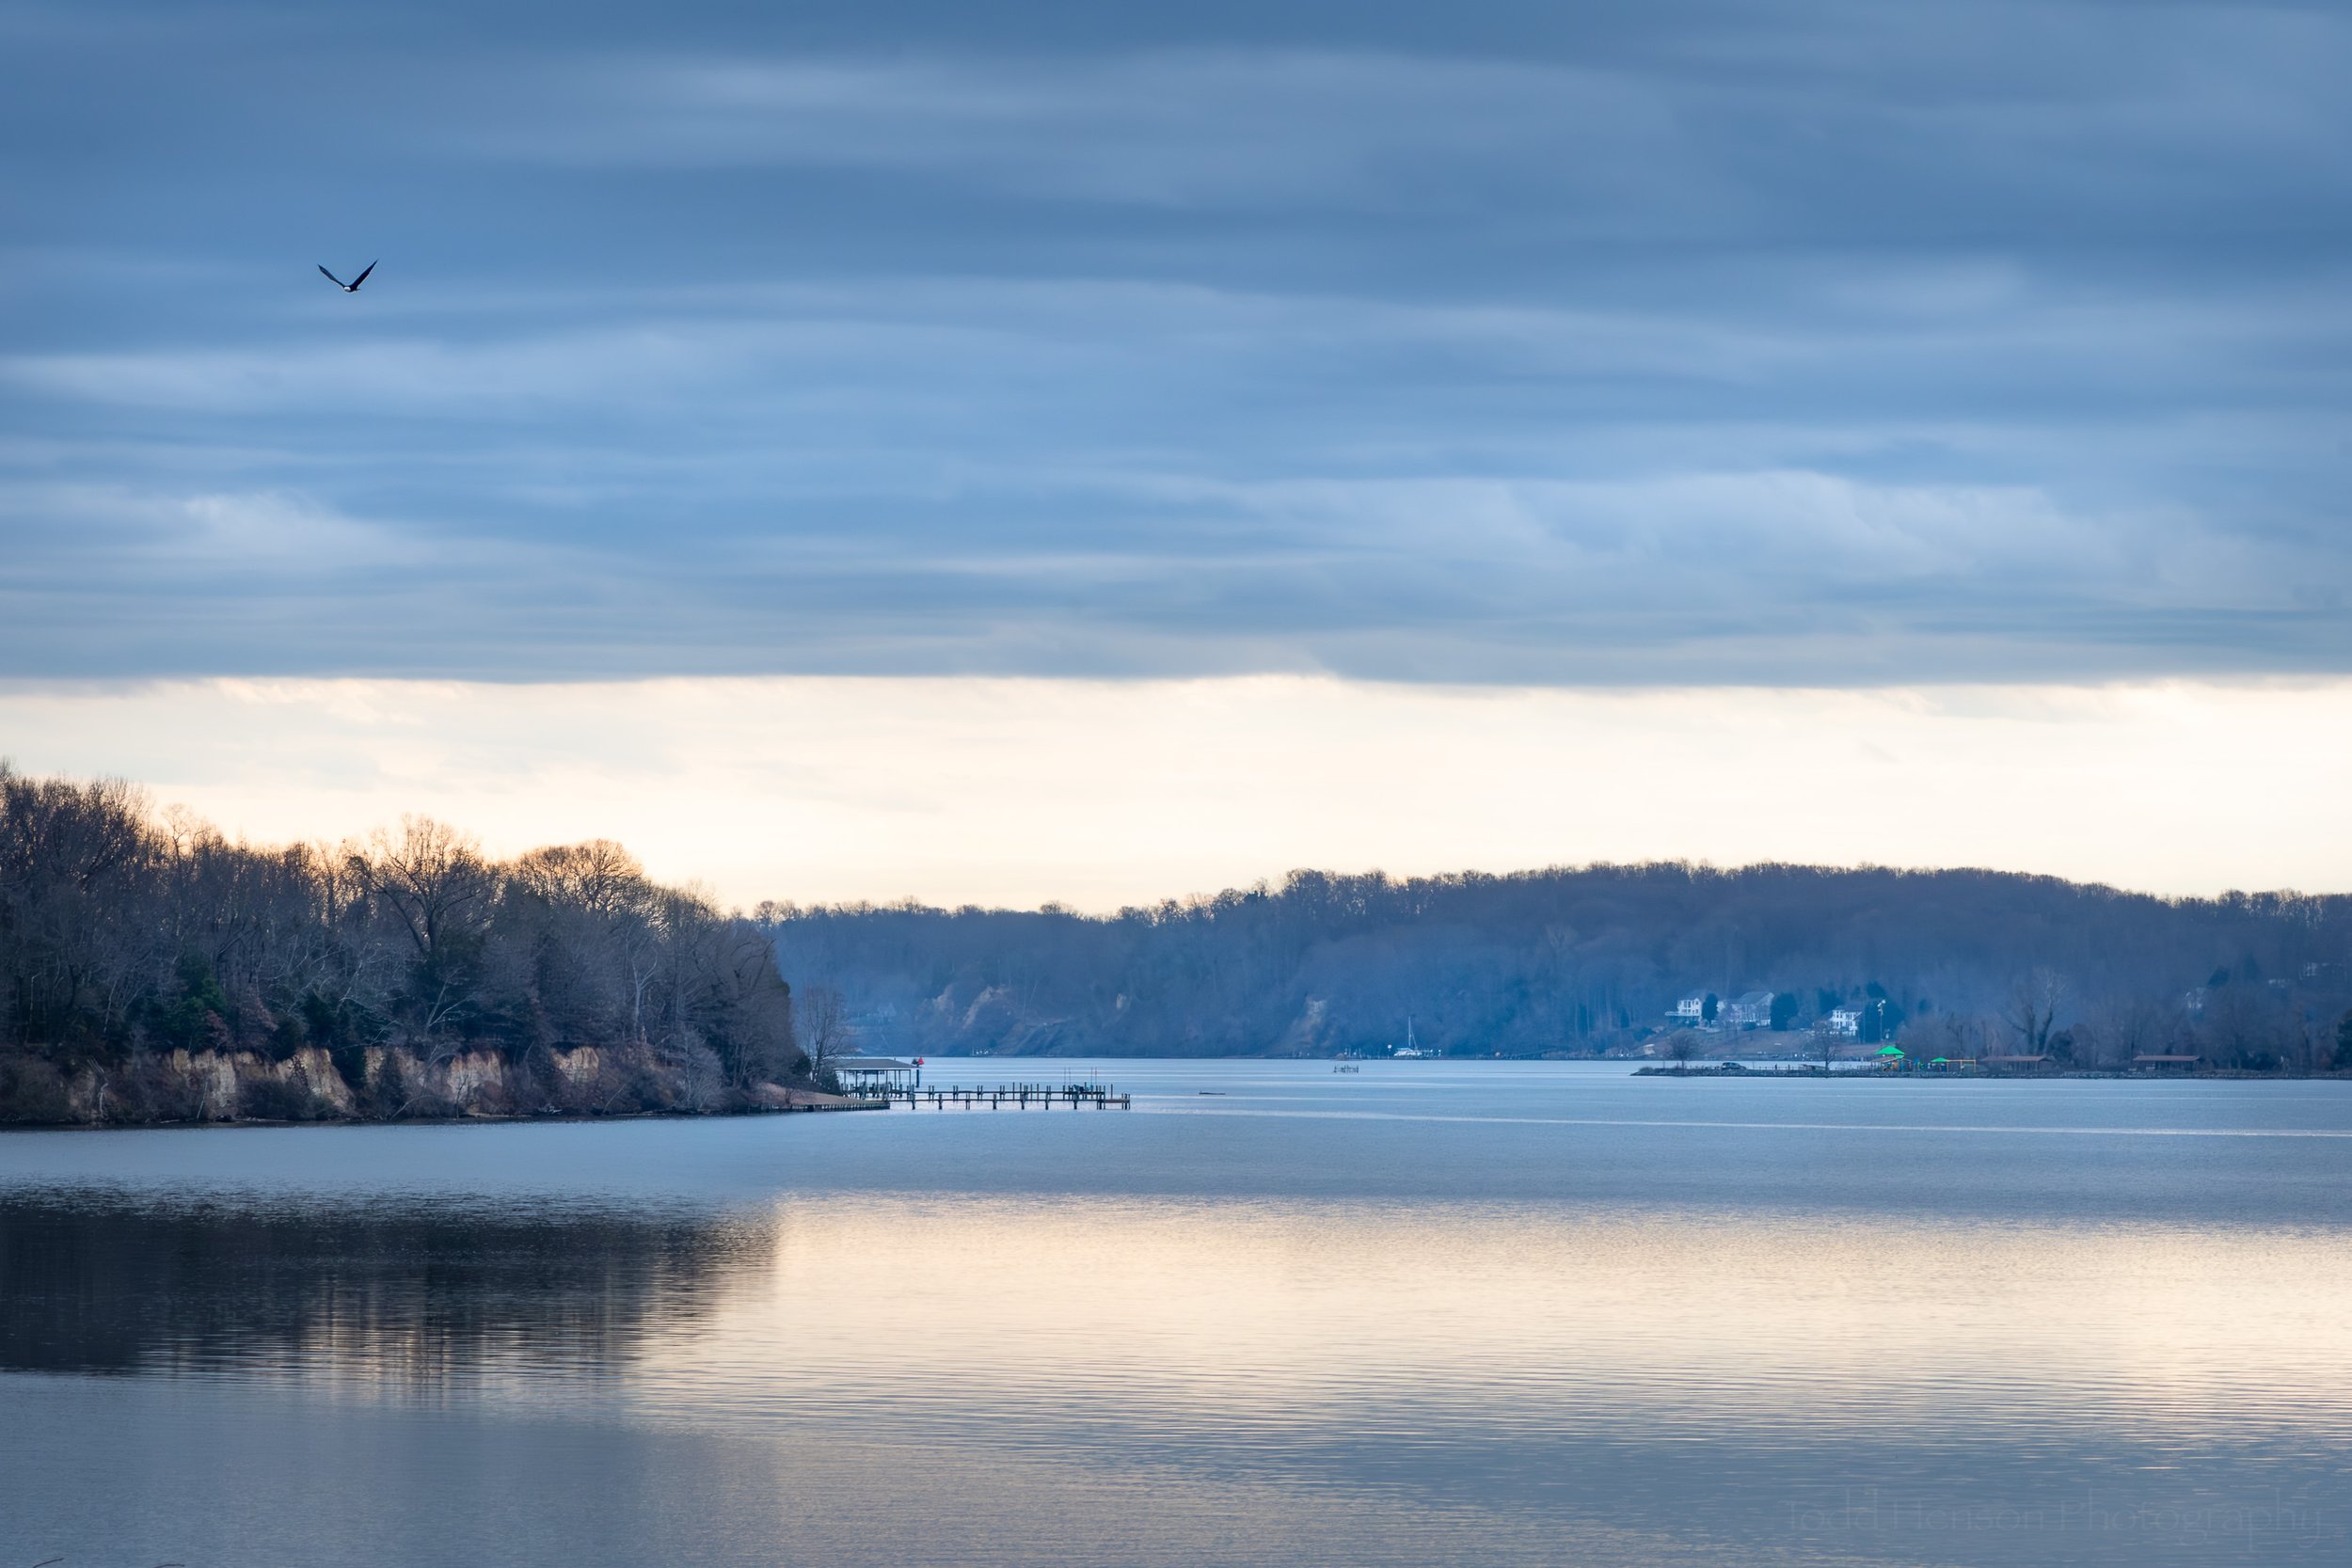
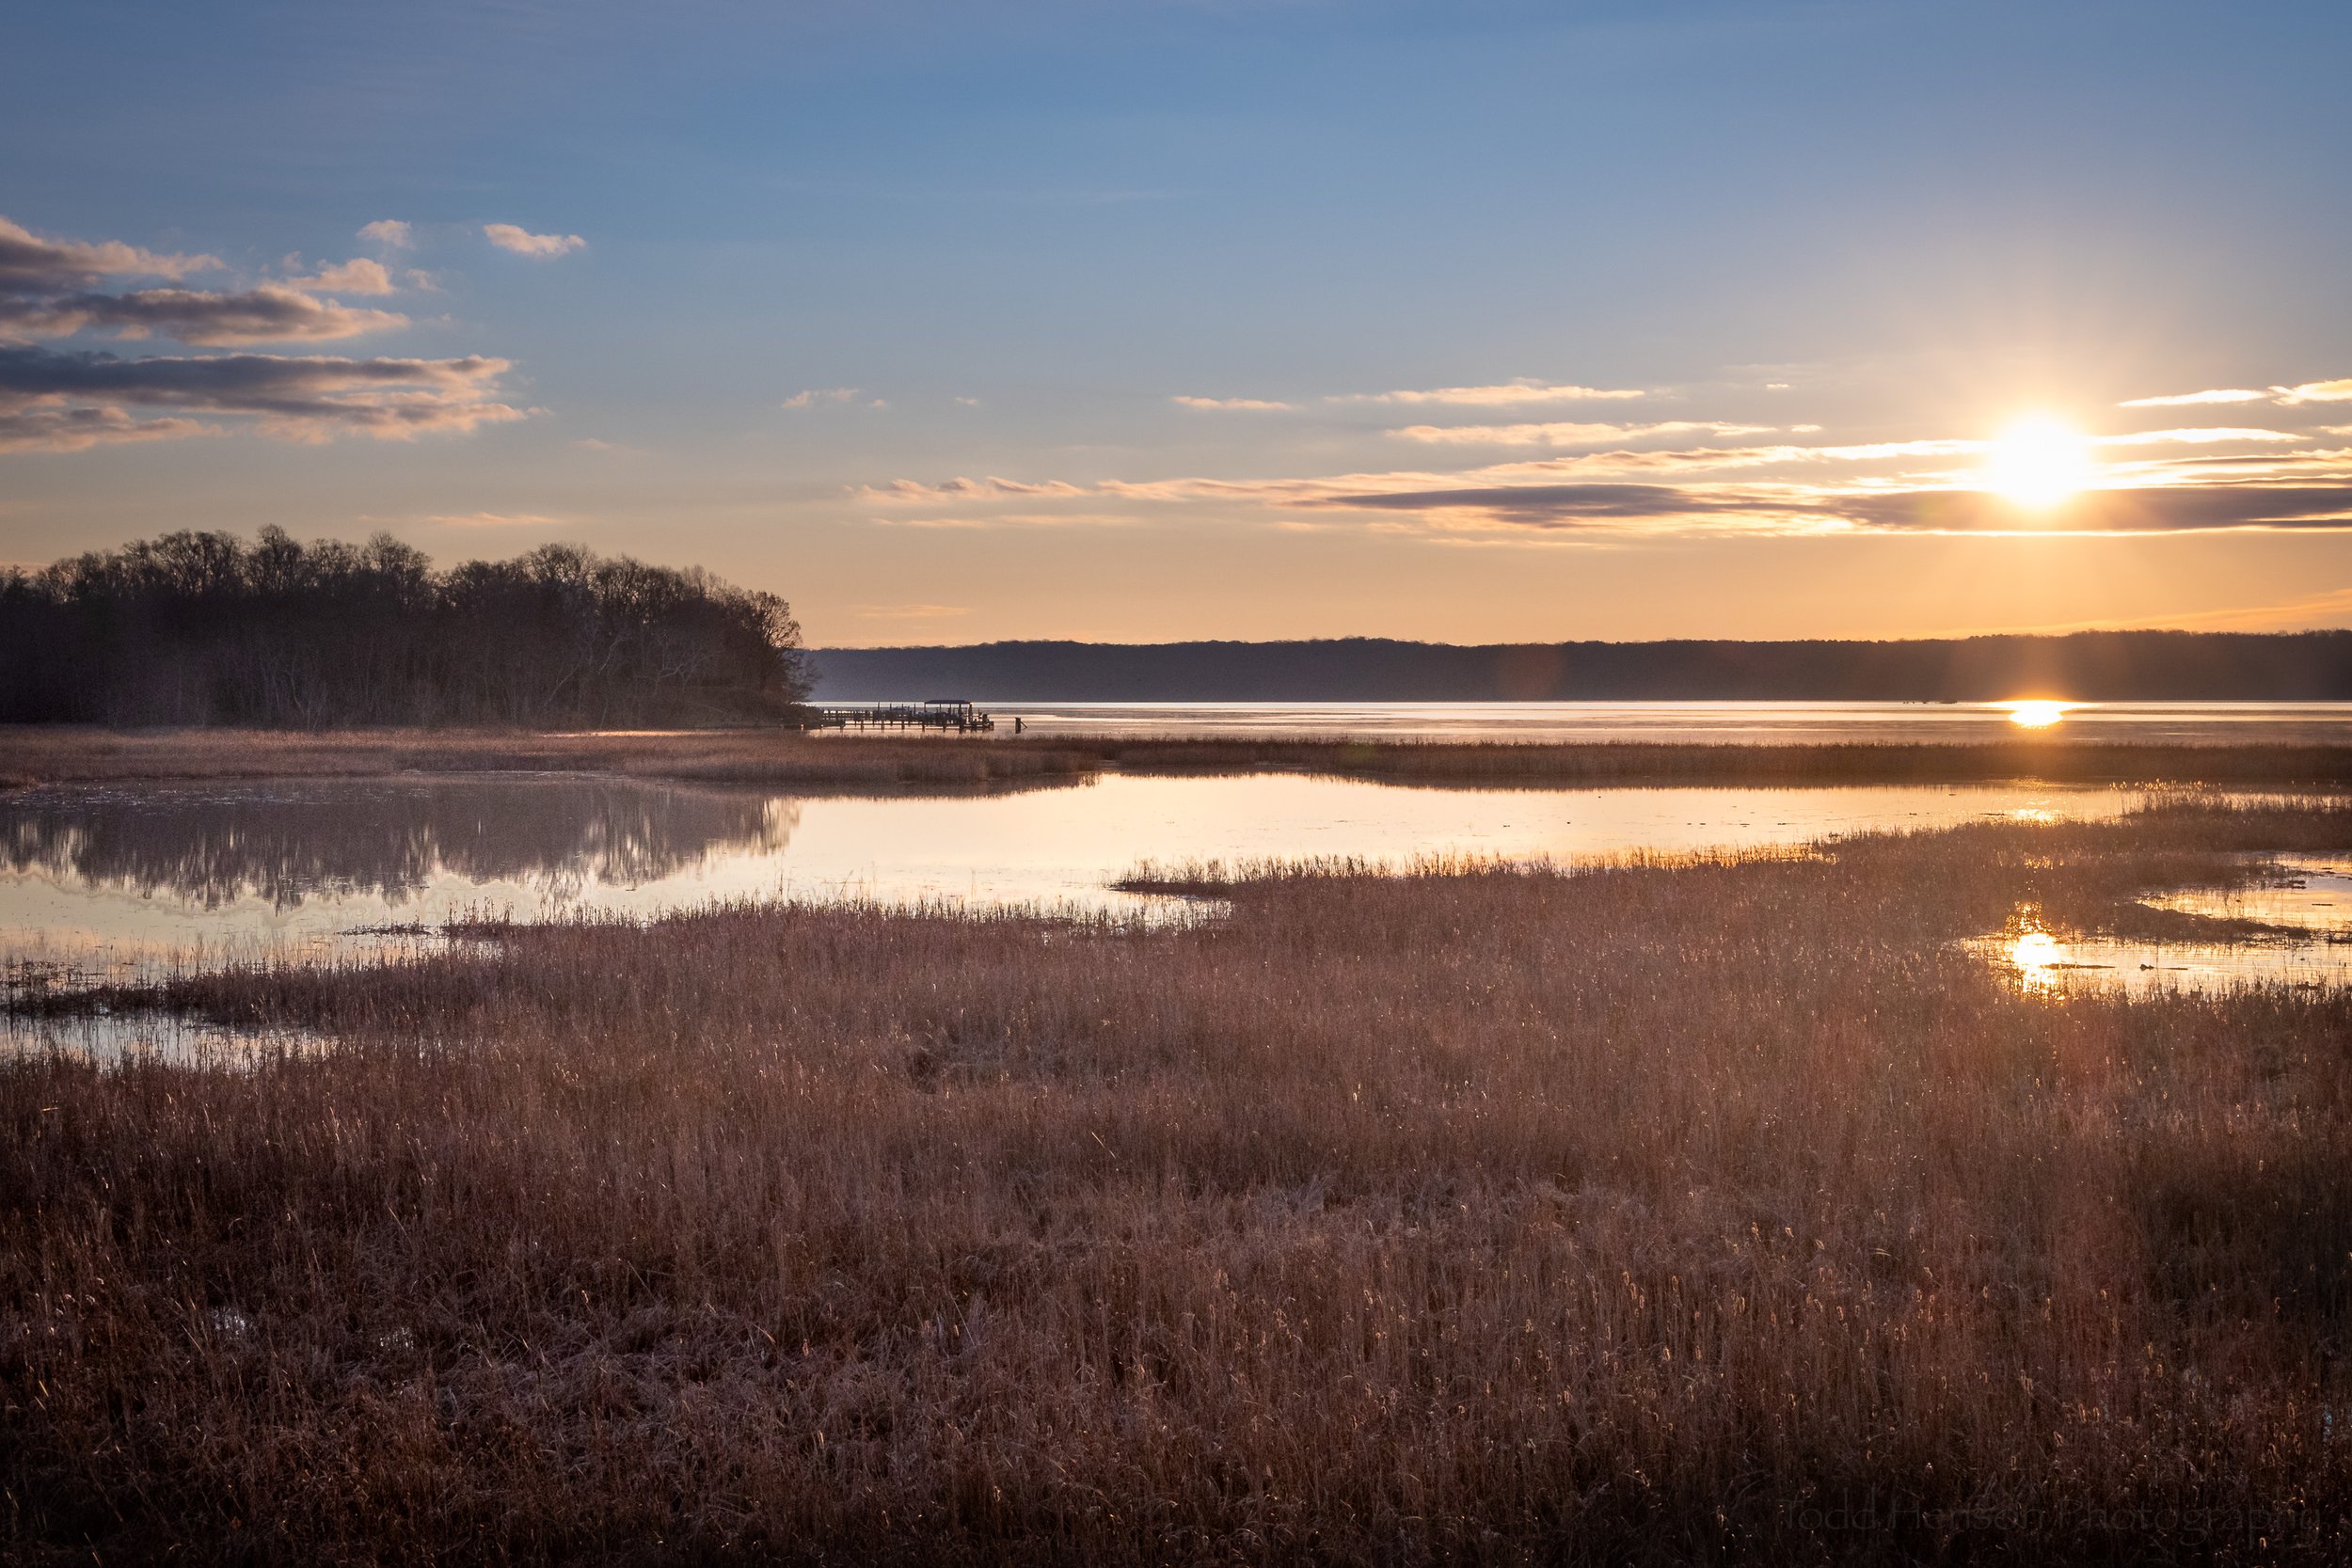
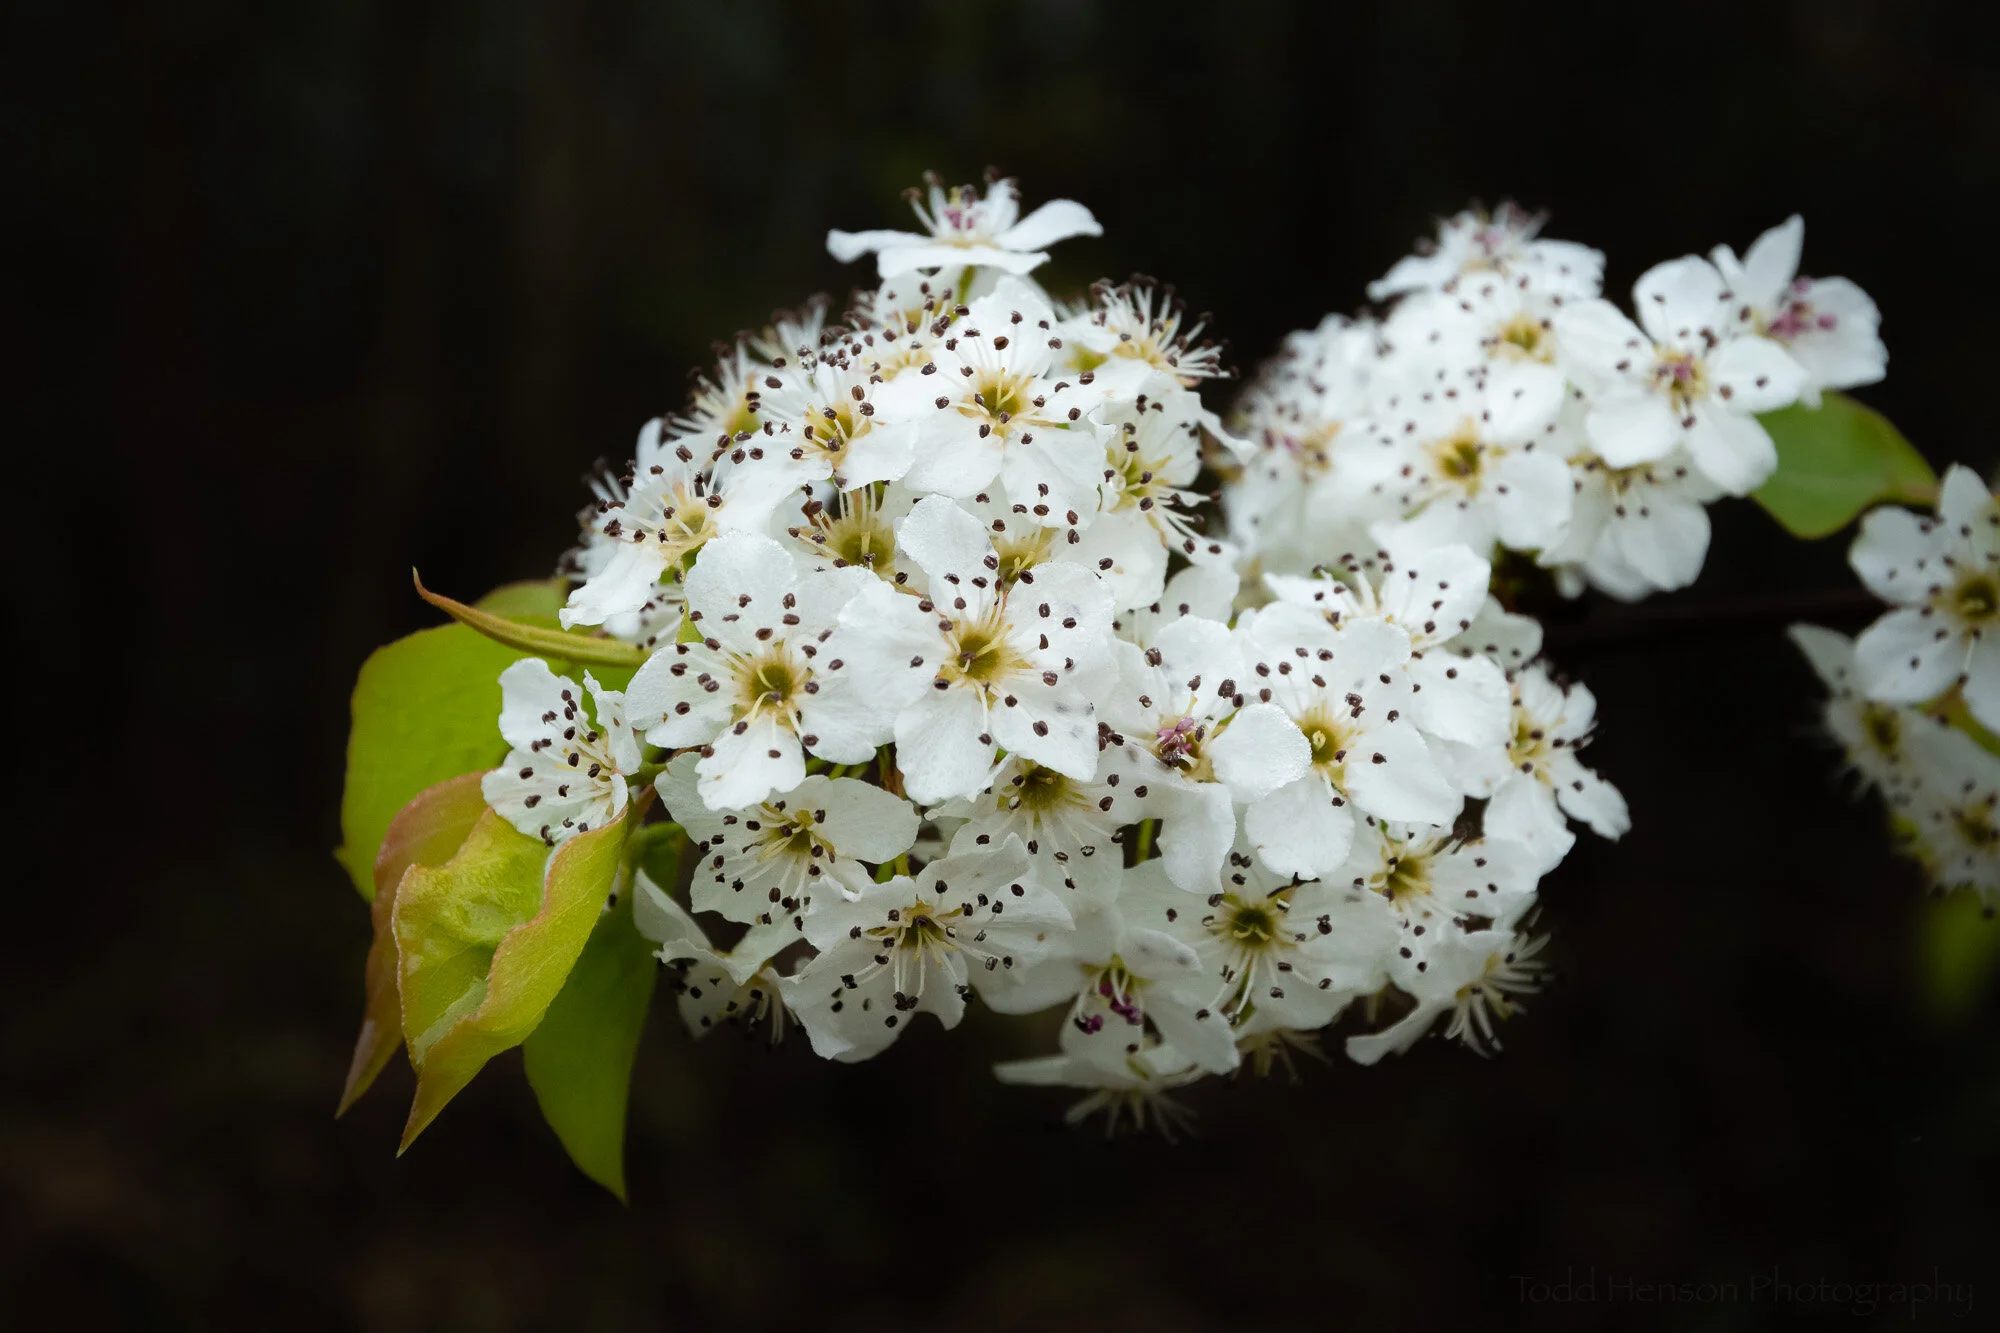
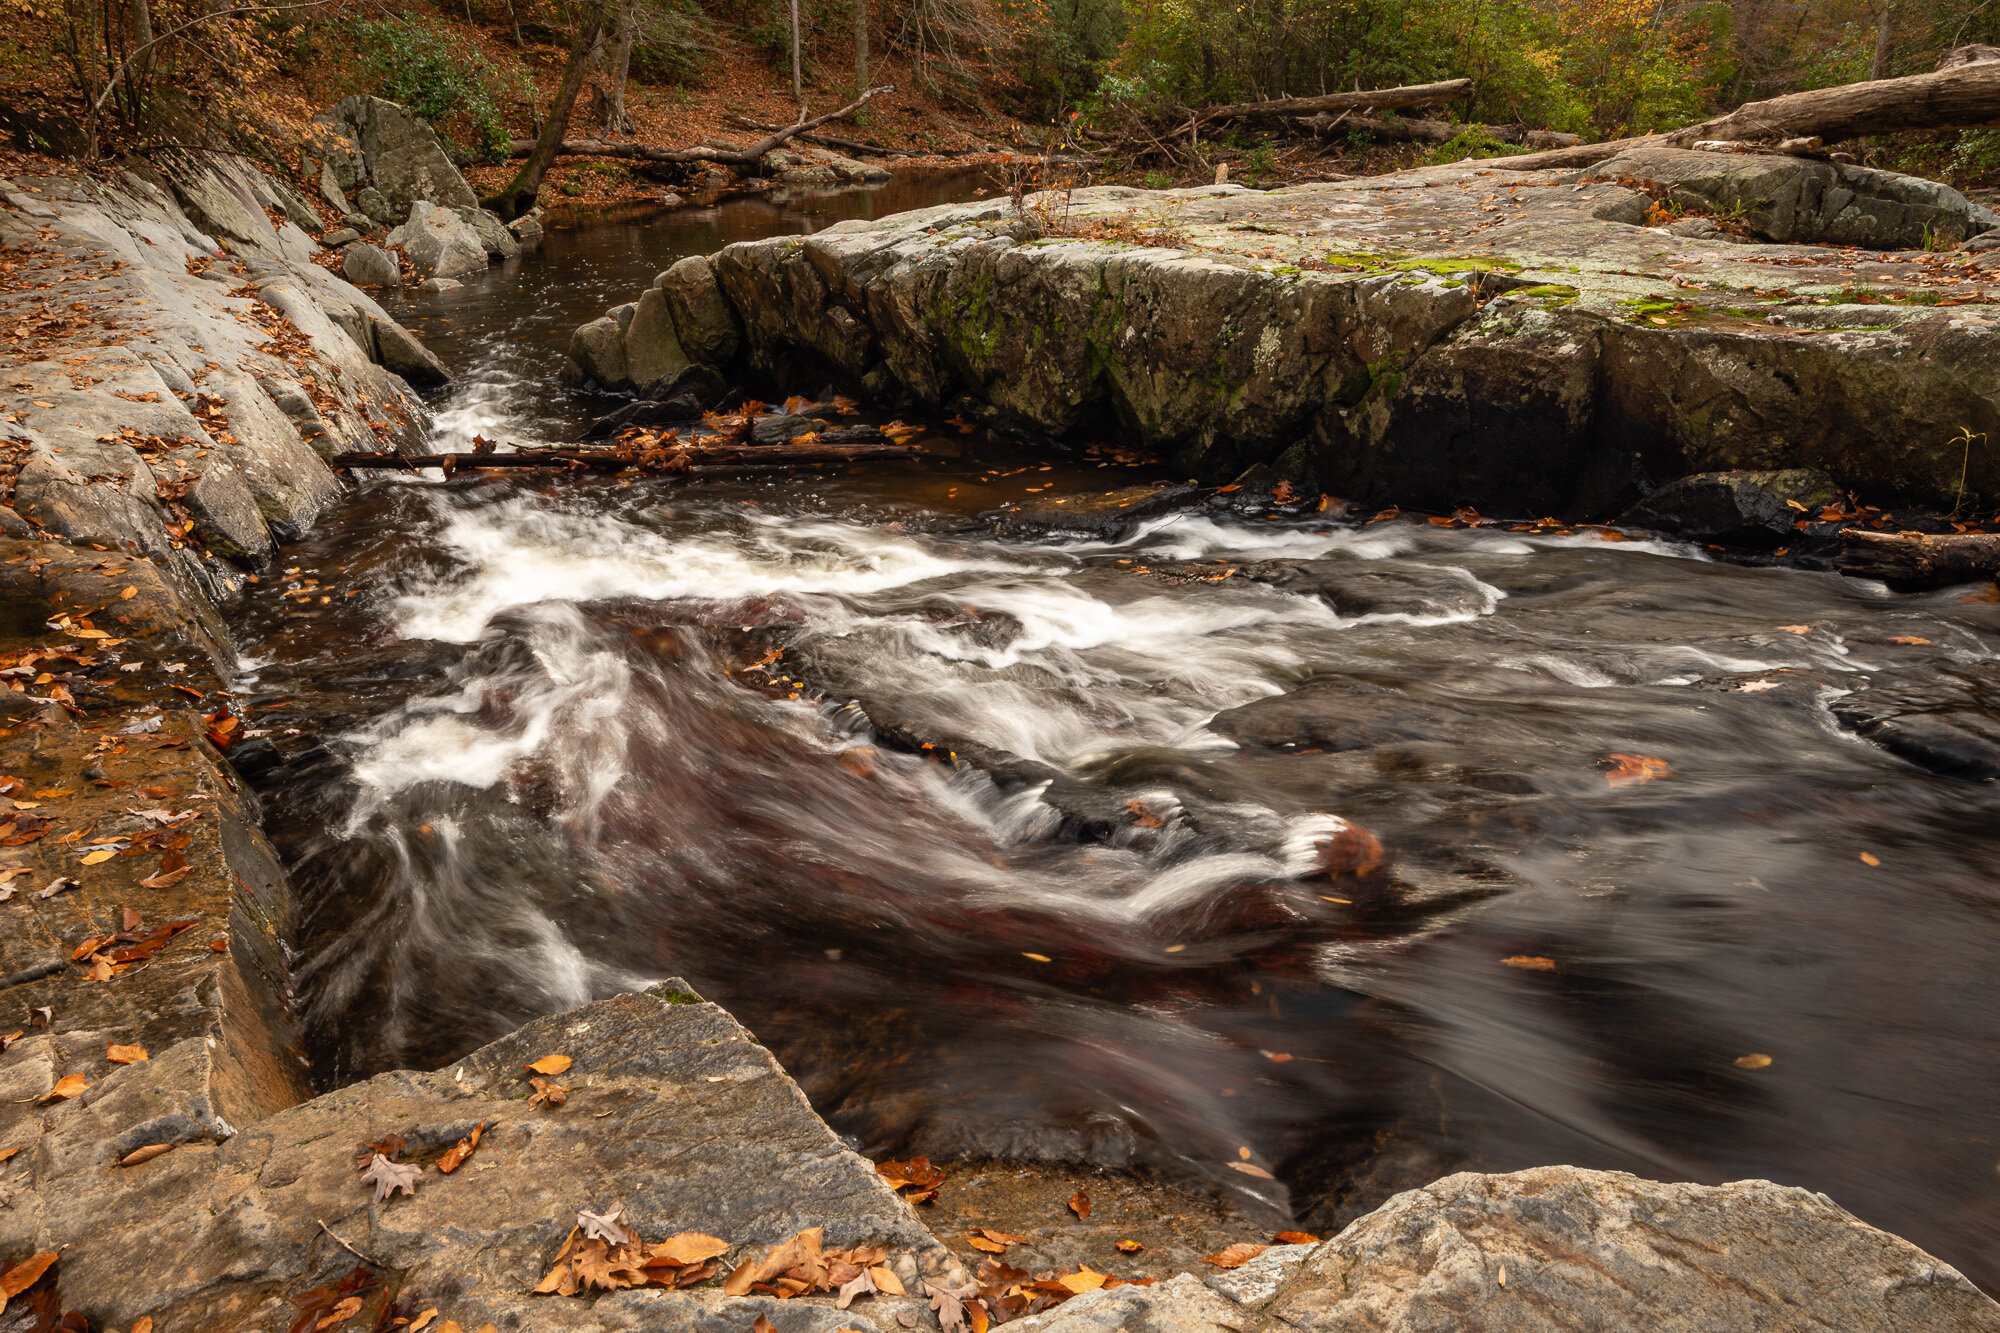
It’s that time of year to look back on what we’ve accomplished. In this post I’m focusing on my favorite photographs originally shot in previous years, but newly processed this year. It’s not at all uncommon for me to let a photo sit for quite some time before I finally create something from it. And sometimes I’ll go back and reprocess an old photo. As I age I learn more and my tastes change so I may create something different today than I would have years ago.

Included below each image are links to the post where it appeared this year, the year I first shot the image, and in some cases a link to my online store where you can purchase the image as wall art or on a variety of products. Please check them out.

I hope you’ve enjoyed this brief look back. Next week I’ll follow this up with my favorite photographs created in 2020.


Do you enjoy these posts?

Sign up to receive periodic emails with updates and thoughts. Don’t worry, I won’t spam you. And please consider purchasing artwork or products from my online store, and using my affiliate links in the sidebar to the right when shopping online.

I appreciate your support!

South Fork Flow by Todd Henson

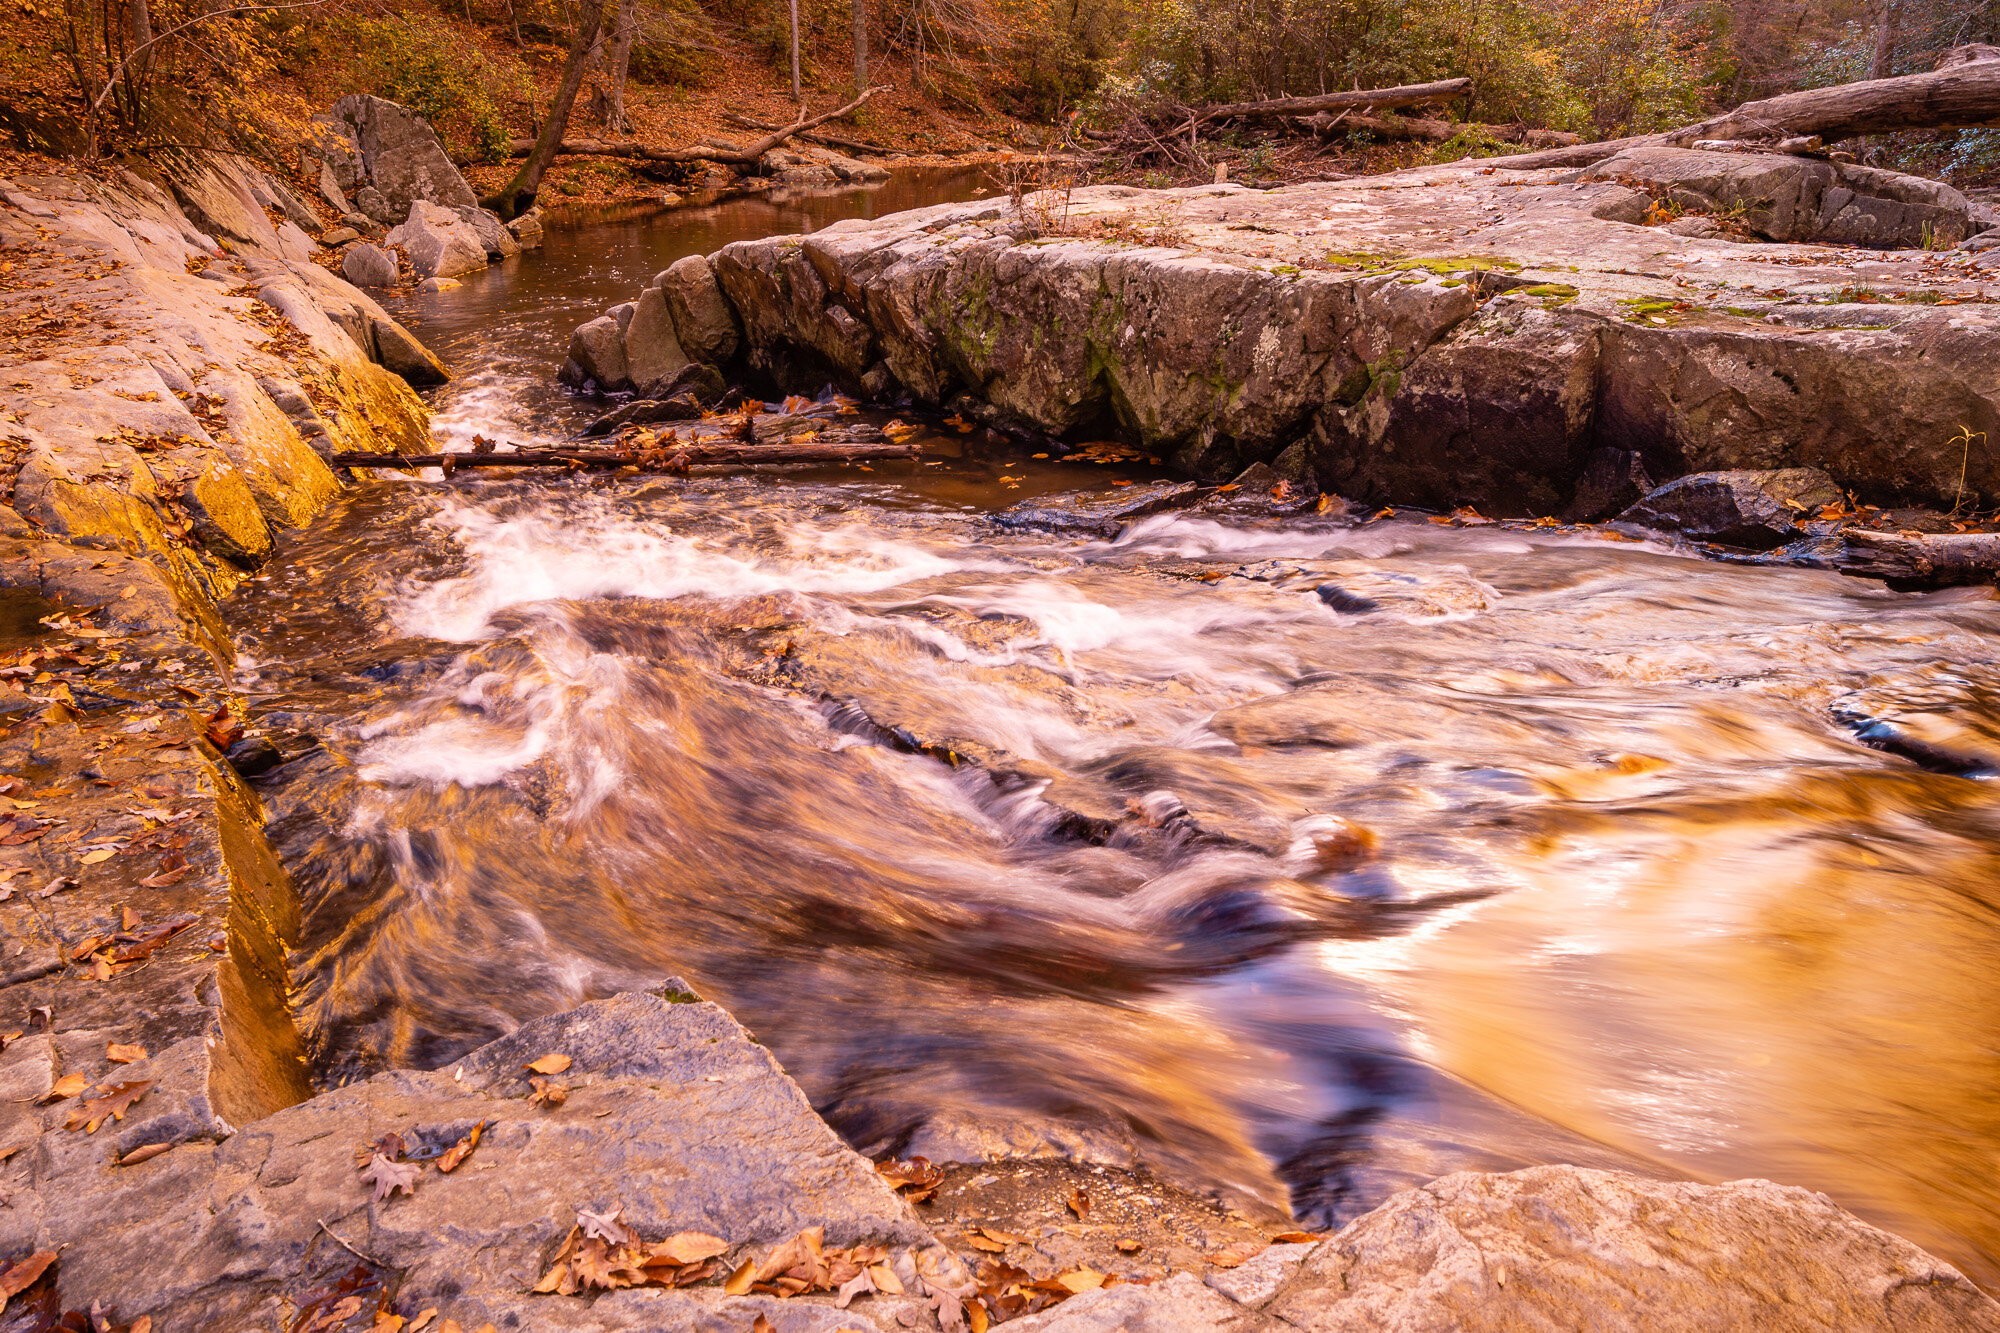
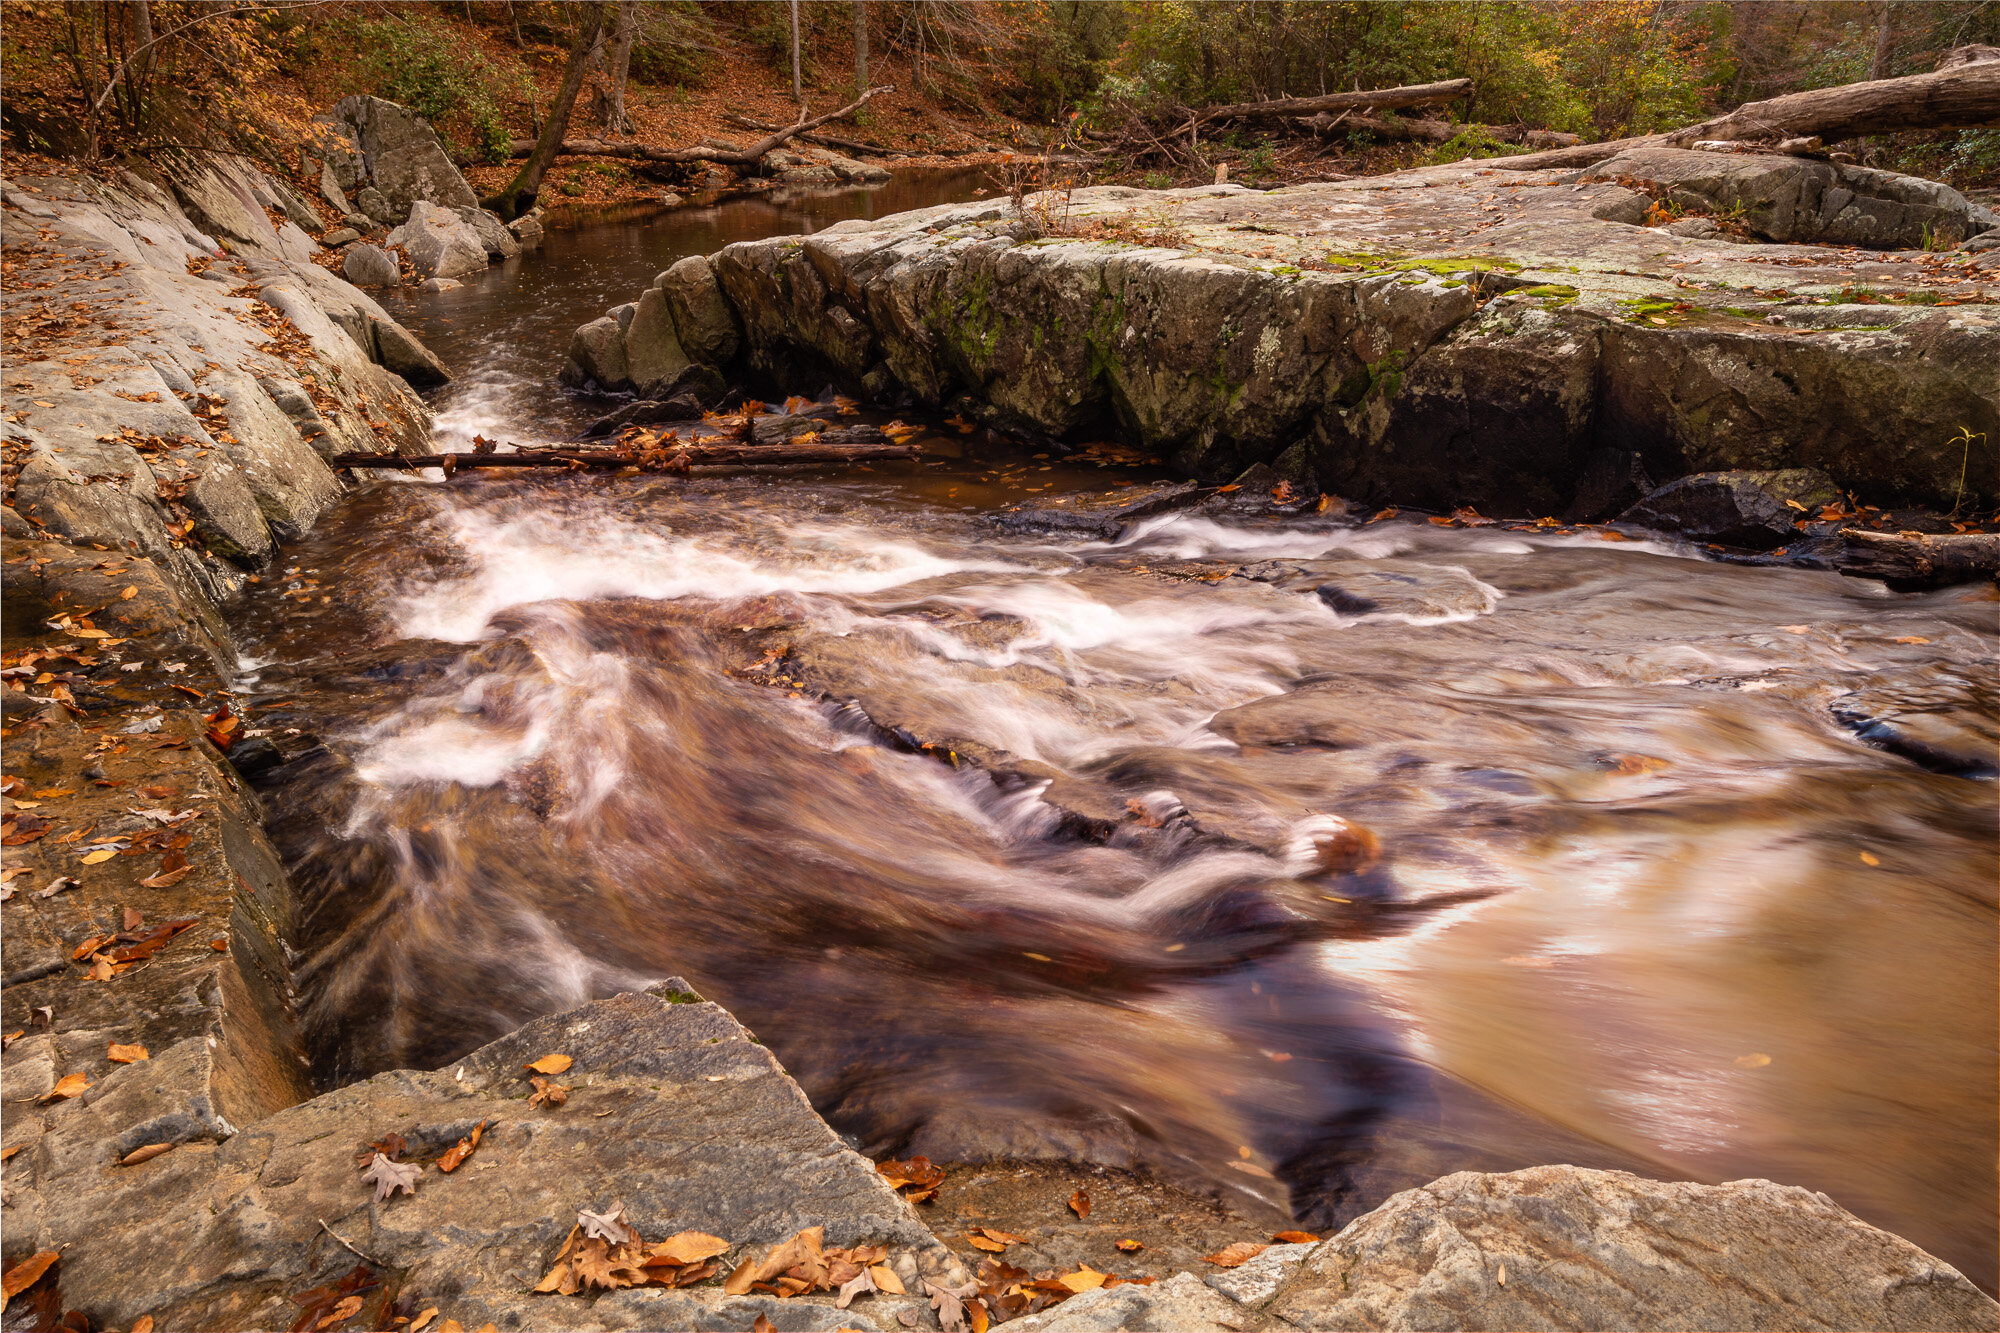
Today I wanted to look at a few different versions of another photo I created along South Fork Quantico Creek. It was on the same outing as some of the others I’ve recently shared, so I was again experimenting with filters on the lens. This time around I created a version without any filter, a version with a very strong filter effect, and then combined the two in Adobe Photoshop to create a third version.

The location was an interesting one. The water was flowing through a rock channel that narrowed as it dropped slightly in elevation, causing the water to increase speed through the channel. It’s not a very deep creek but it’s also not a section I’d want to slip and fall into.

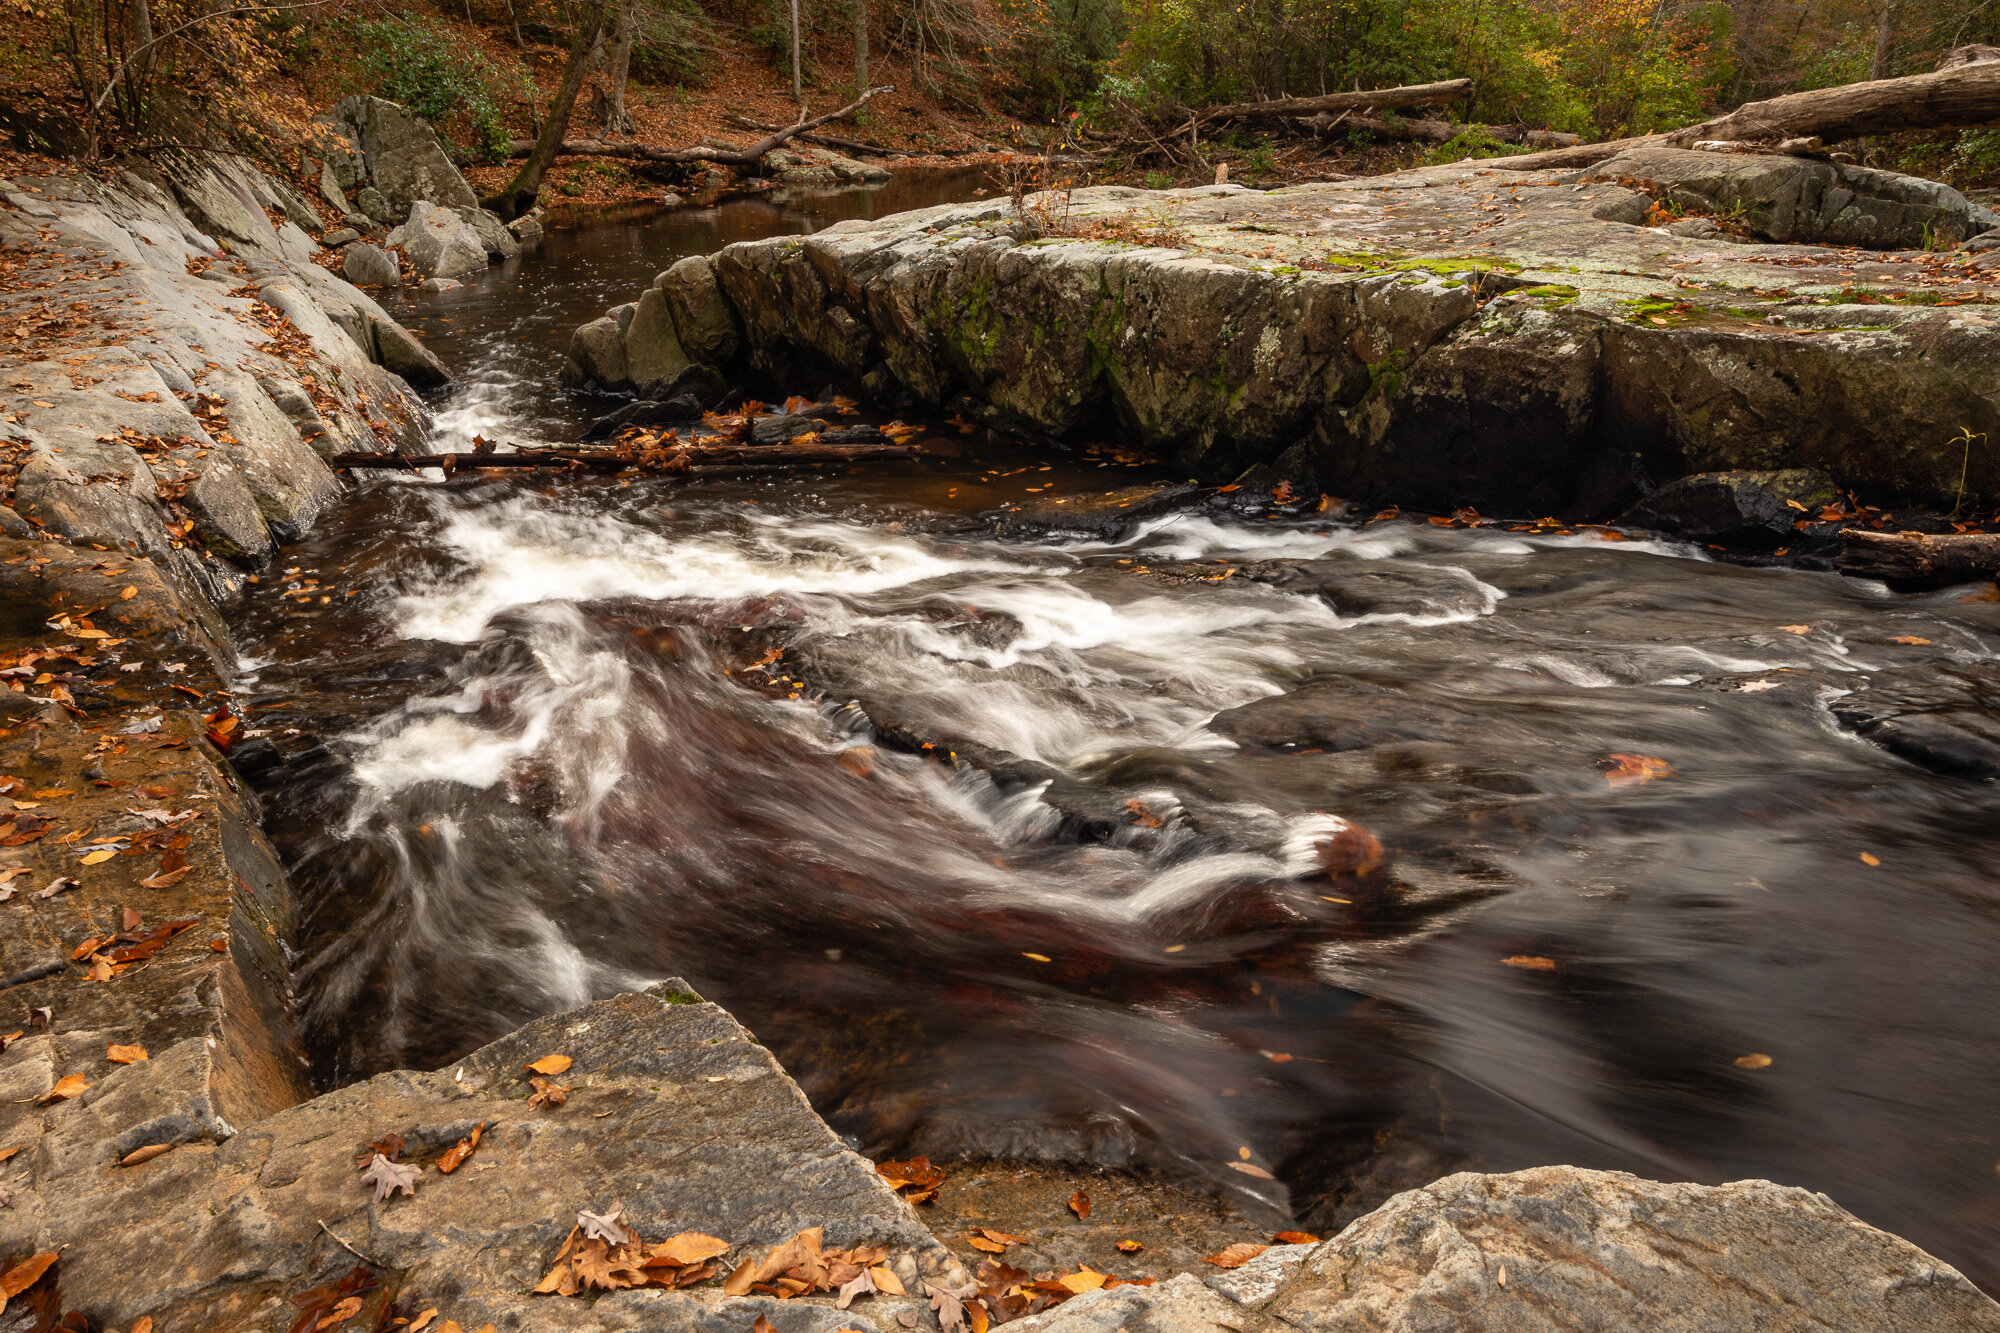
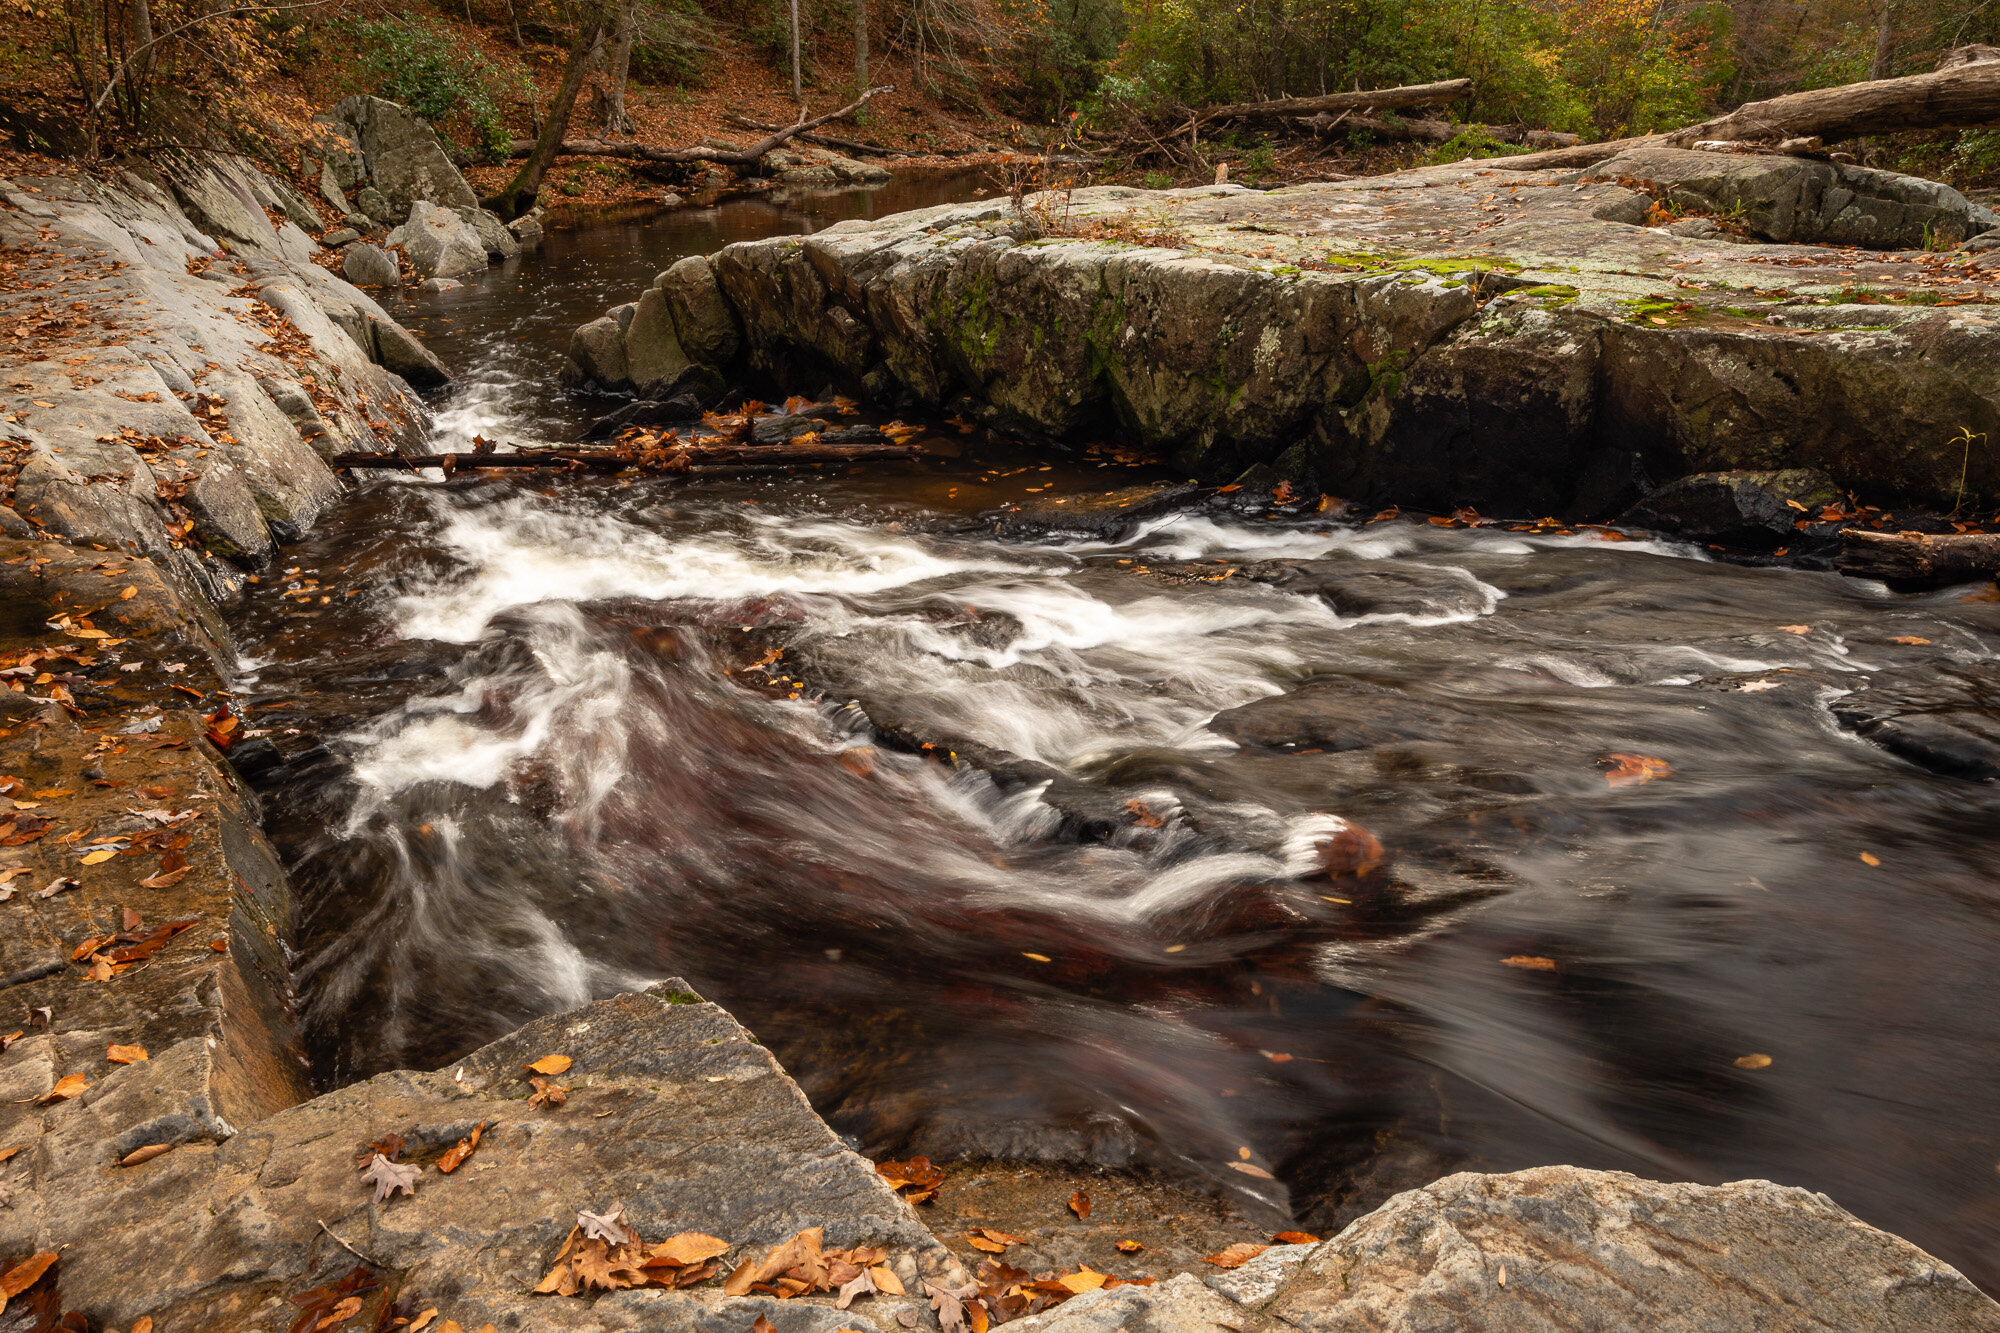
South Fork Flow - Unfiltered

South Fork Flow - The unfiltered version

This first view was created without any filters over the lens. You can see a lot of leaves had fallen from the trees and many were being swept down stream. Perhaps that’s partly why the water sometimes has an almost reddish tint, though it’s also possible this has something to do with the rocks and silt.

I tried to find a perspective that helped convey the speed and force of the water as it flowed into this narrowing channel. I wanted to get close to the water without tipping into it. I didn’t quite trust placing any of my tripod’s legs in the water, preferring the stability of the stone.

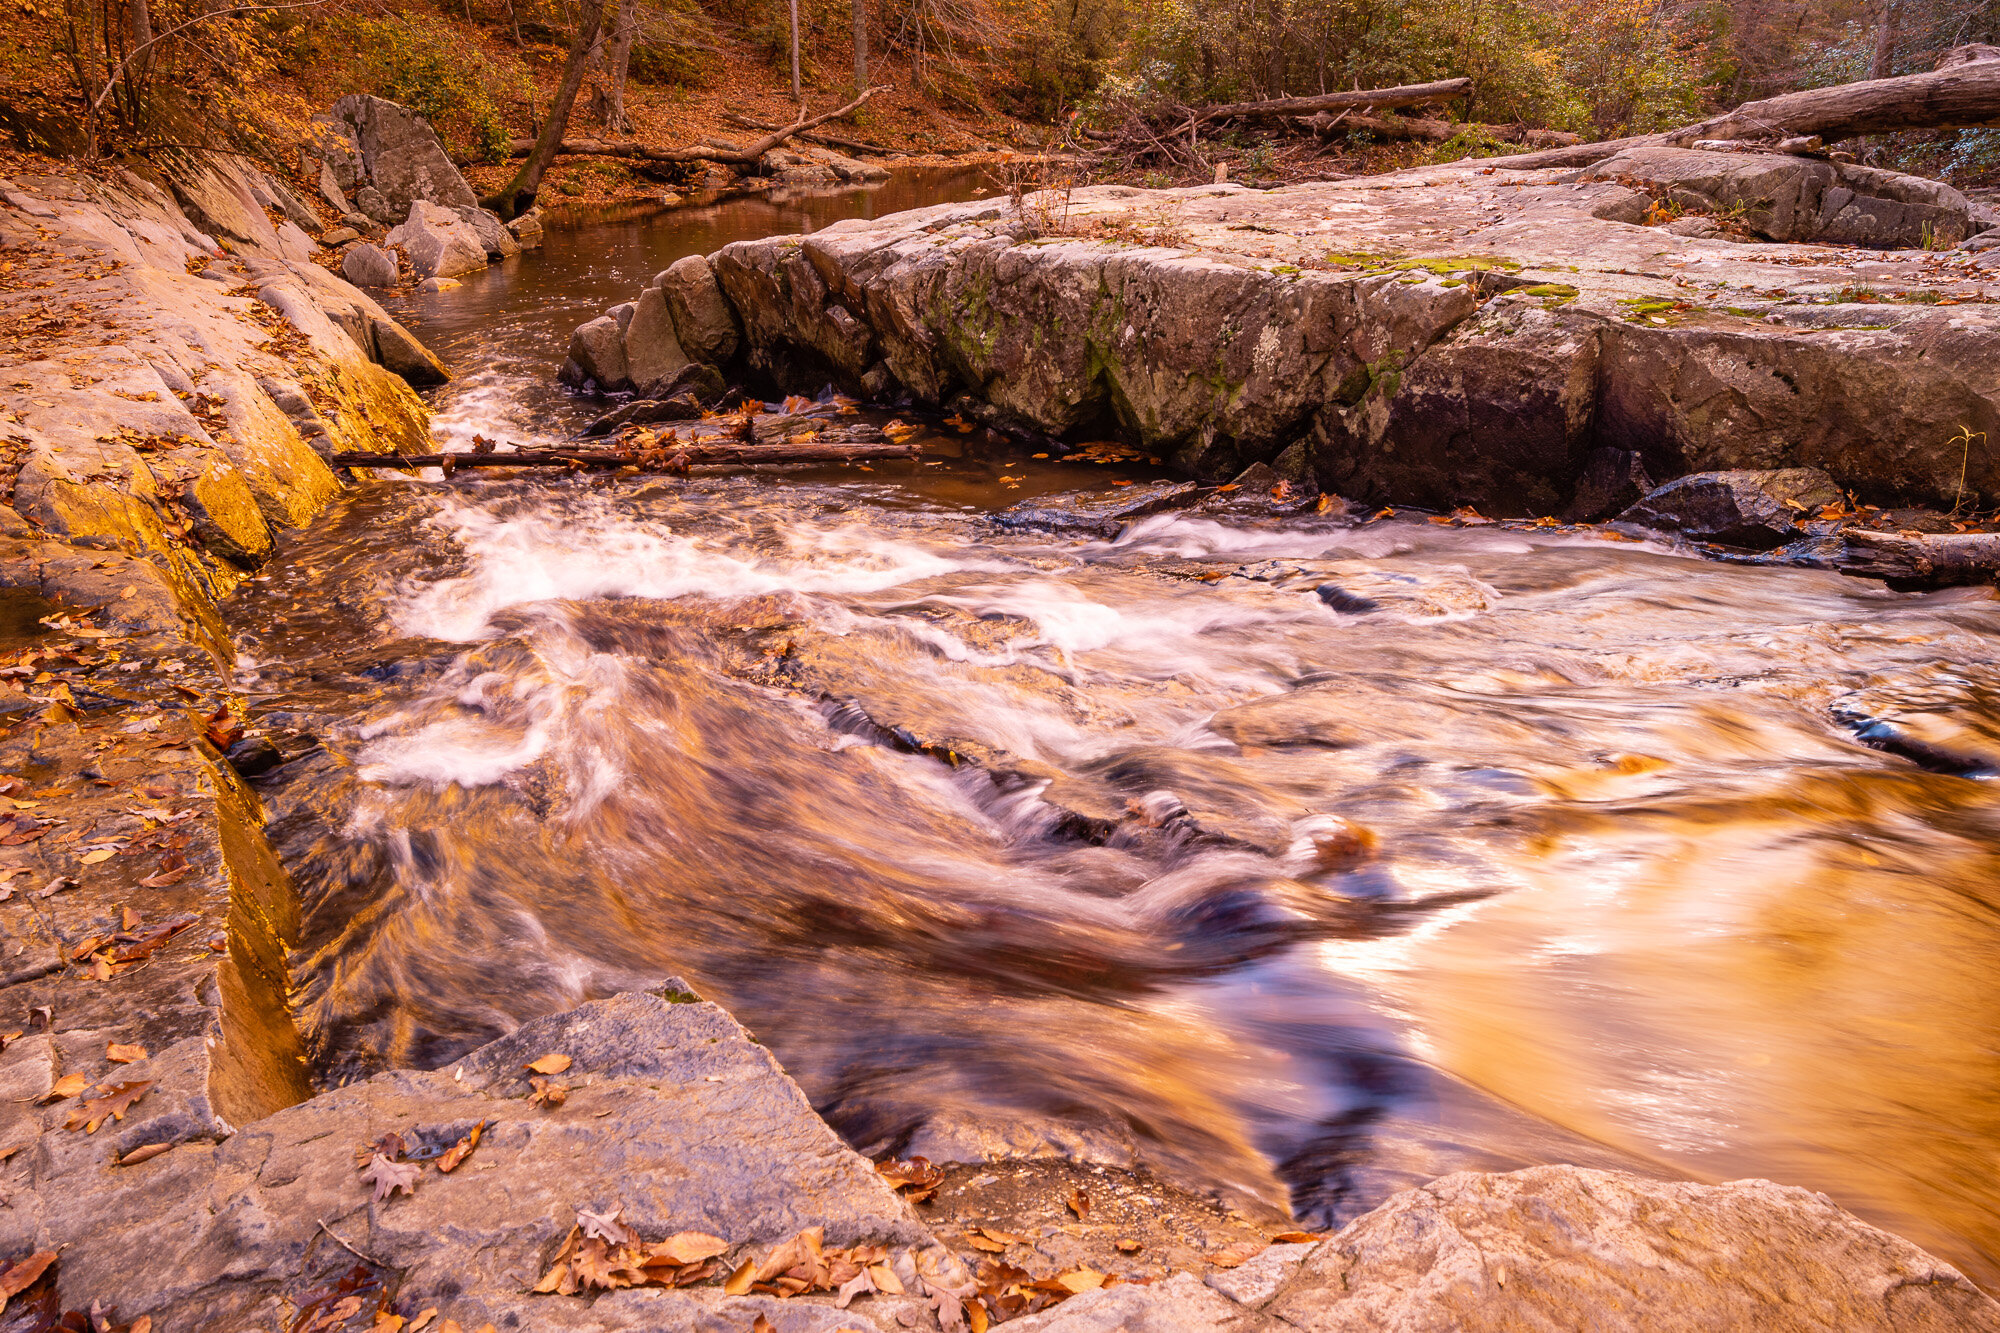
South Fork Flow - Gold-N-Blue

South Fork Flow - The Gold-n-Blue version, leaning heavily towards the gold

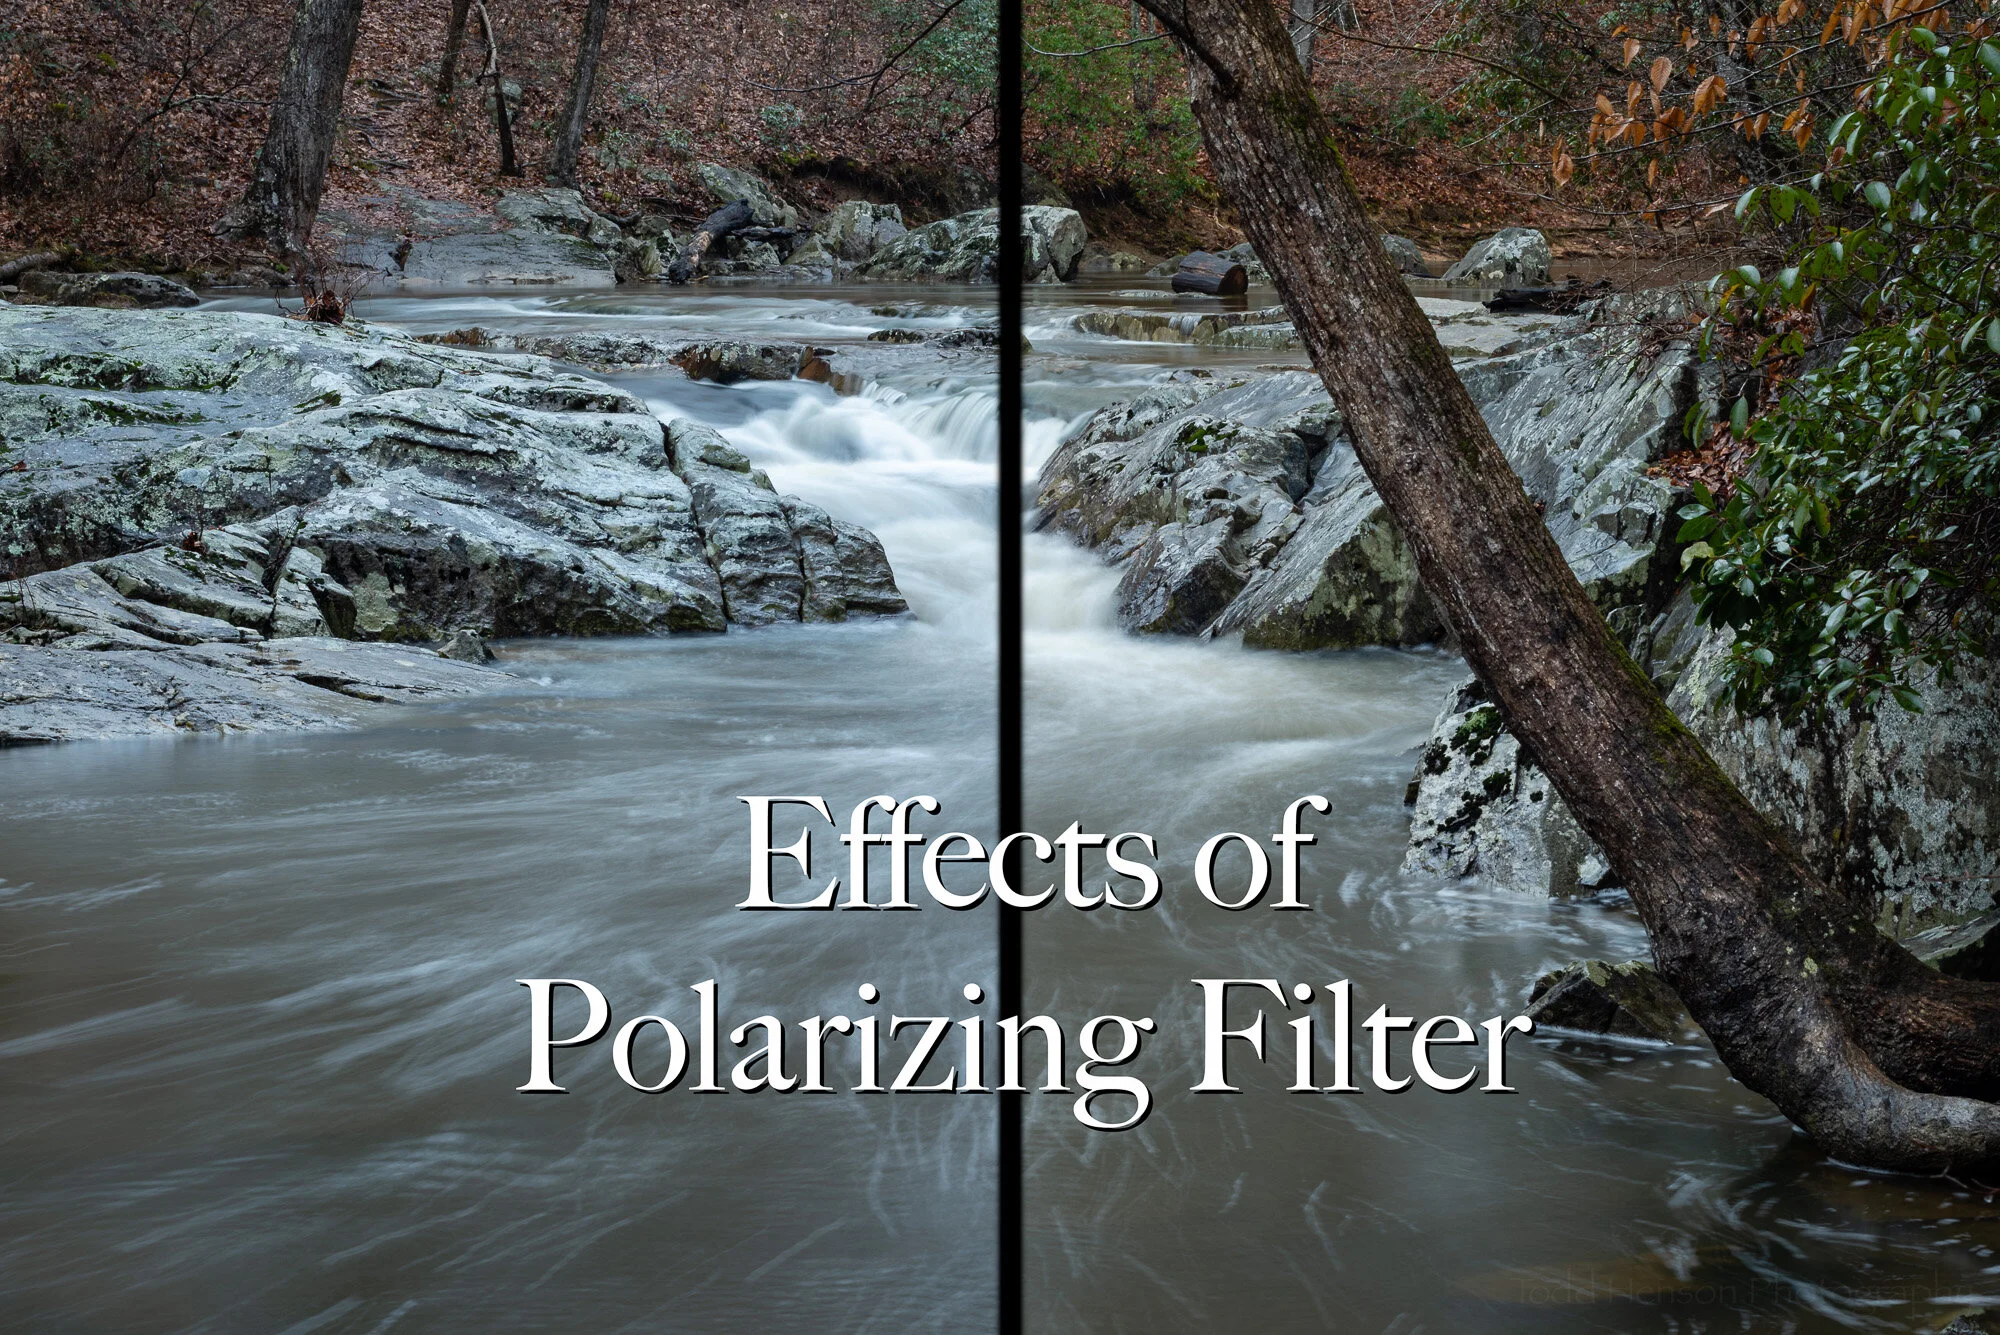
I did a lot of experimenting with my Singh-Ray Gold-N-Blue Polarizer that day. In this particular image I had it turned very much into the gold side of the filter. I think this image does a good job showing some of how the filter works and why it might not be easy (or possible) to duplicate in software.

It is a polarizing filter, so turning it affects how the camera sees the light, restricting it to certain polarizations. This is how a polarizing filter is able to remove or lessen reflections from the surface of water and leaves, and is the reason many photographers still carry these even though they’ve stopped using many other filters.

This particular polarizer, though, changes the colors of the polarized light, adding in blue and/or gold tones. You can see this in how it adds a very strong gold tone to many of the sections of water, and even to the stone where light is reflected back at the camera.

Click on the image below to compare the unfiltered with the filtered images.

In this particular image I think I went too far with the gold effect. If I had taken more time in the field I might have created a different image, perhaps one closer to the final image below, one that has only a touch of the added gold tone.

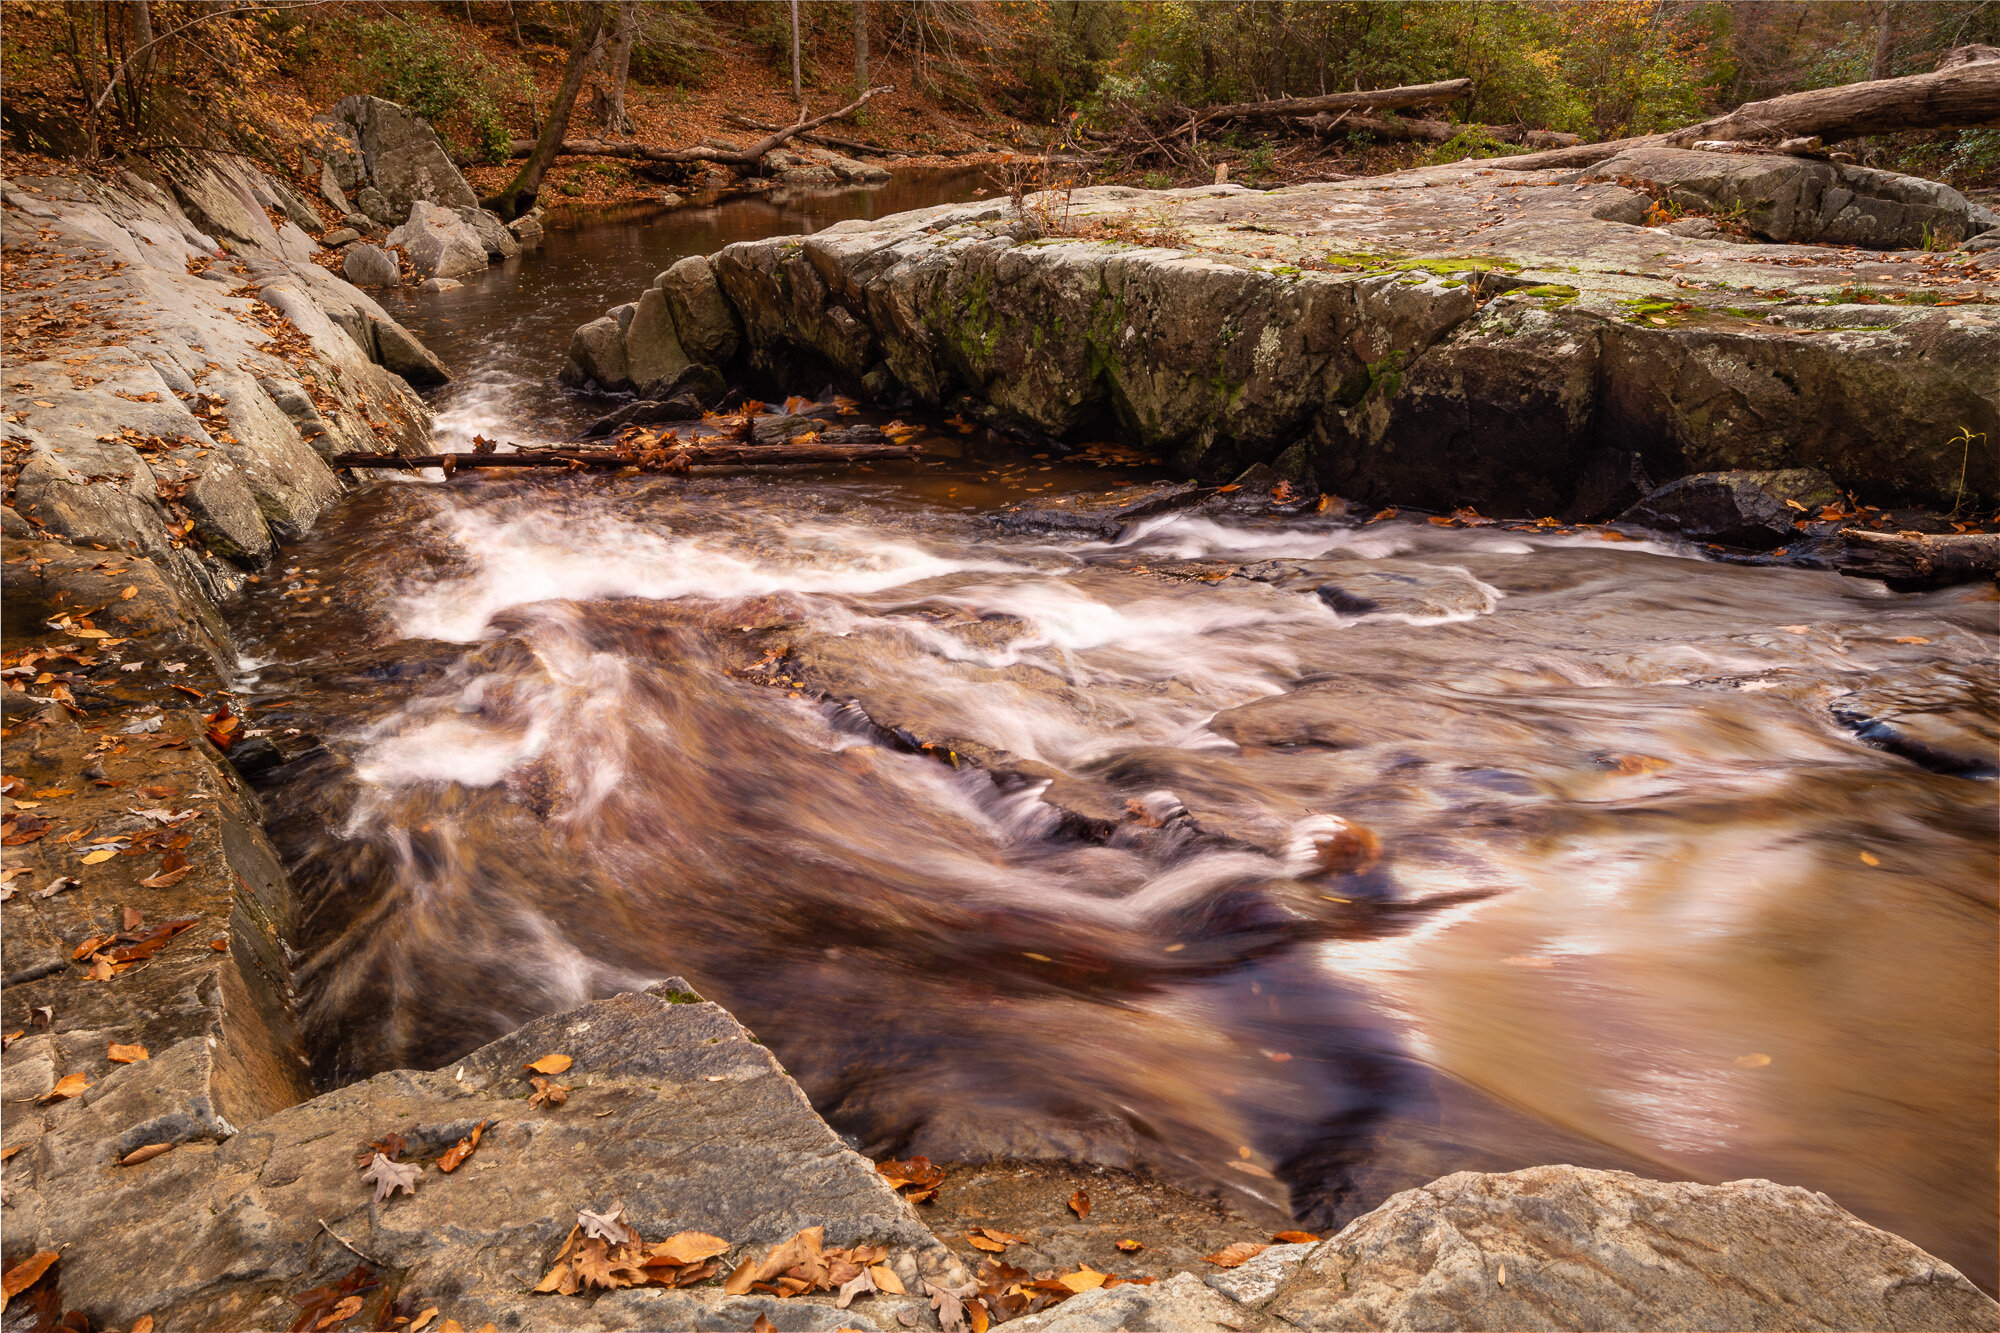
South Fork - Final Image

South Fork Flow - The final image, a composite of the first two

I liked the original unfiltered image. But I also liked “some” of the gold tone in the filtered image. What did I do about that? I started up Photoshop and opened both images as layers. Then I painted a very small amount of the gold image onto all of the original image. This added just a touch of extra warmth to the rocks, water, and foliage.

Then I painted even more of the gold image onto the water, adding some of those interesting gold reflections. I went back and forth, painting on more, then removing some, adding more to once section, taking some away from another section. Eventually, I decided I was finished (at least for now) and the end result is the image you see.

Click on the image below to compare the unfiltered with the final composite image.

Final Thoughts

So what do you think? Do you have a preference? Personally, I’m still going back and forth. I’m not sure yet which I prefer. But I do know I had a lot of fun out in the field creating the source images, and later at home working on them in Lightroom and Photoshop. And I hope you’ve enjoyed viewing the results.

Click on the image below to cycle through all three versions.


Do you enjoy these posts?

Sign up to receive periodic emails with updates and thoughts. Don’t worry, I won’t spam you. And please consider purchasing artwork or products from my online store, and using my affiliate links in the sidebar to the right when shopping online.

I appreciate your support!


Crossing Powell’s Creek by Todd Henson

Crossing Powell’s Creek

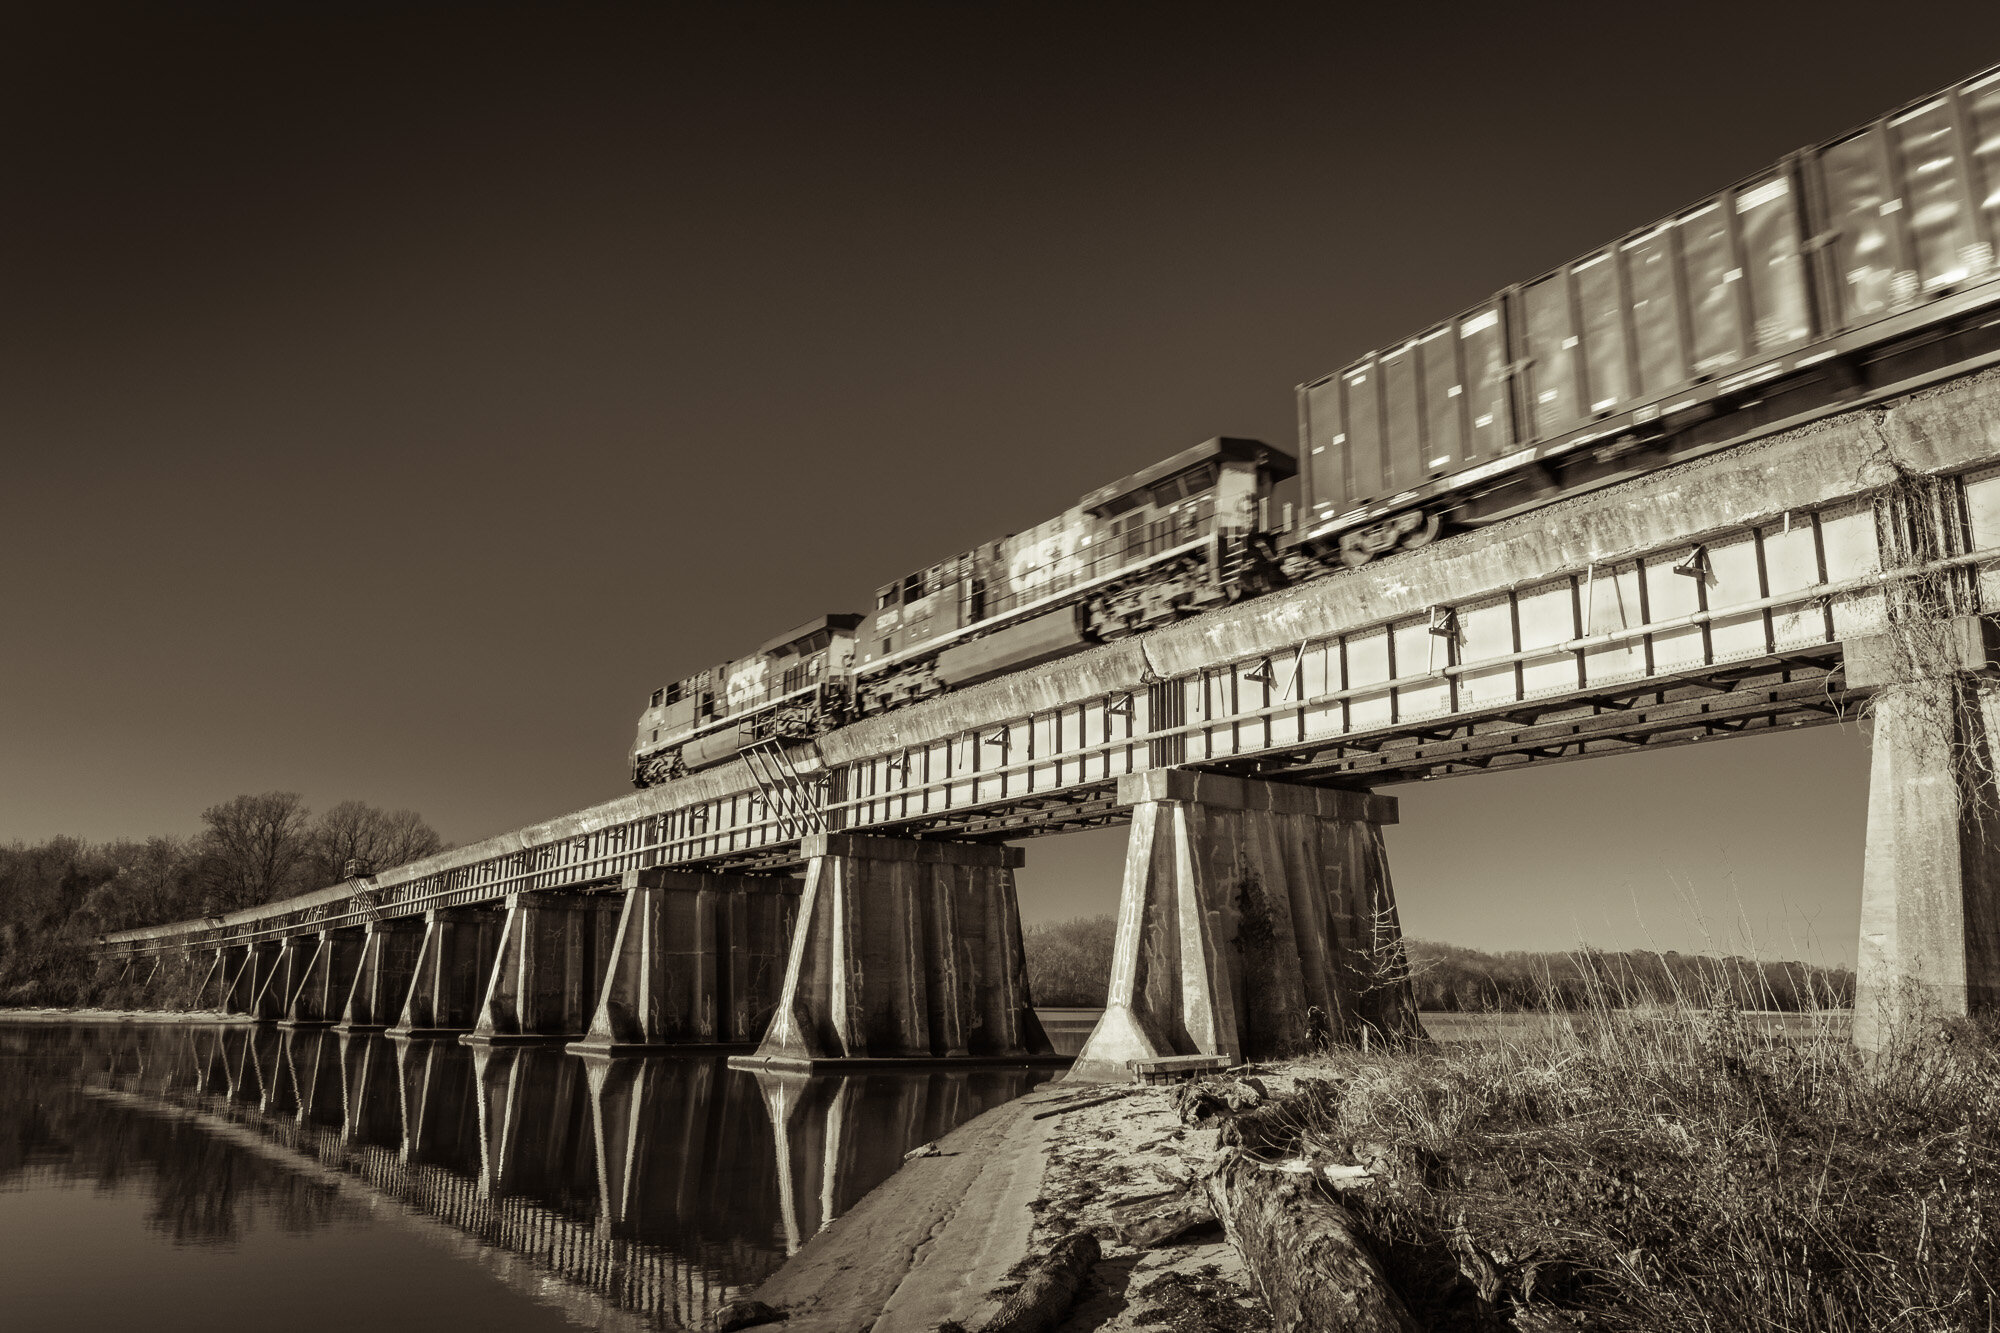
At the end of November I met my father in Leesylvania State Park to go for a morning hike. The park is crossed by a north-south railroad line and you can sometimes watch as trains traverse Powell’s Creek Crossing, a bridge over the creek. We had just passed under the bridge and were about to enter the woods when we heard the rumbling of an oncoming train. I didn’t think I’d get back to the bridge in time to photograph it but decided to try anyway. And as luck would have it I arrived in plenty of time to stand and photograph the train as it crossed the bridge. This ended up being a fairly long train pulled by two CSX locomotives.

The History

Powell’s Creek Crossing, a concrete deck railway bridge over Powell’s Creek

The history of this rail line stretches back to 1864, when they began constructing it, and in 1872 it opened for service. At the time it was a wooden trestle bridge, but in 1928 they replaced it with the current concrete deck bridge to allow for larger and faster trains. Previously the trains were limited to 20 miles per hour in this stretch due to the wooden trestles and curves in the line. So they straightened the curves and replaced the wooden trestles. Powell’s Creek Crossing was the last wooden trestle bridge on the line.

The Photograph

On this particular morning the sky was completely clear and the sun was shining from behind me, illuminating the bridge and the train as it crossed. I had on my wide angle zoom lens so I was able to photograph a large part of the bridge, showing a bit of the shoreline on each side. I often like showing a bit of motion blur with moving trains to show they are, in fact, moving. I didn’t have my tripod with me on this hike, but the train was moving fast enough that a shutter speed of 1/50 second was still enough to capture a small amount of blur while holding the camera steady enough to keep the bridge sharply in focus. And because I was using a wide angle lens and the train was moving away from me the front locomotive, which is further away from the camera, appears to have less motion blur than the car closest to us, which I also like.

The Processing

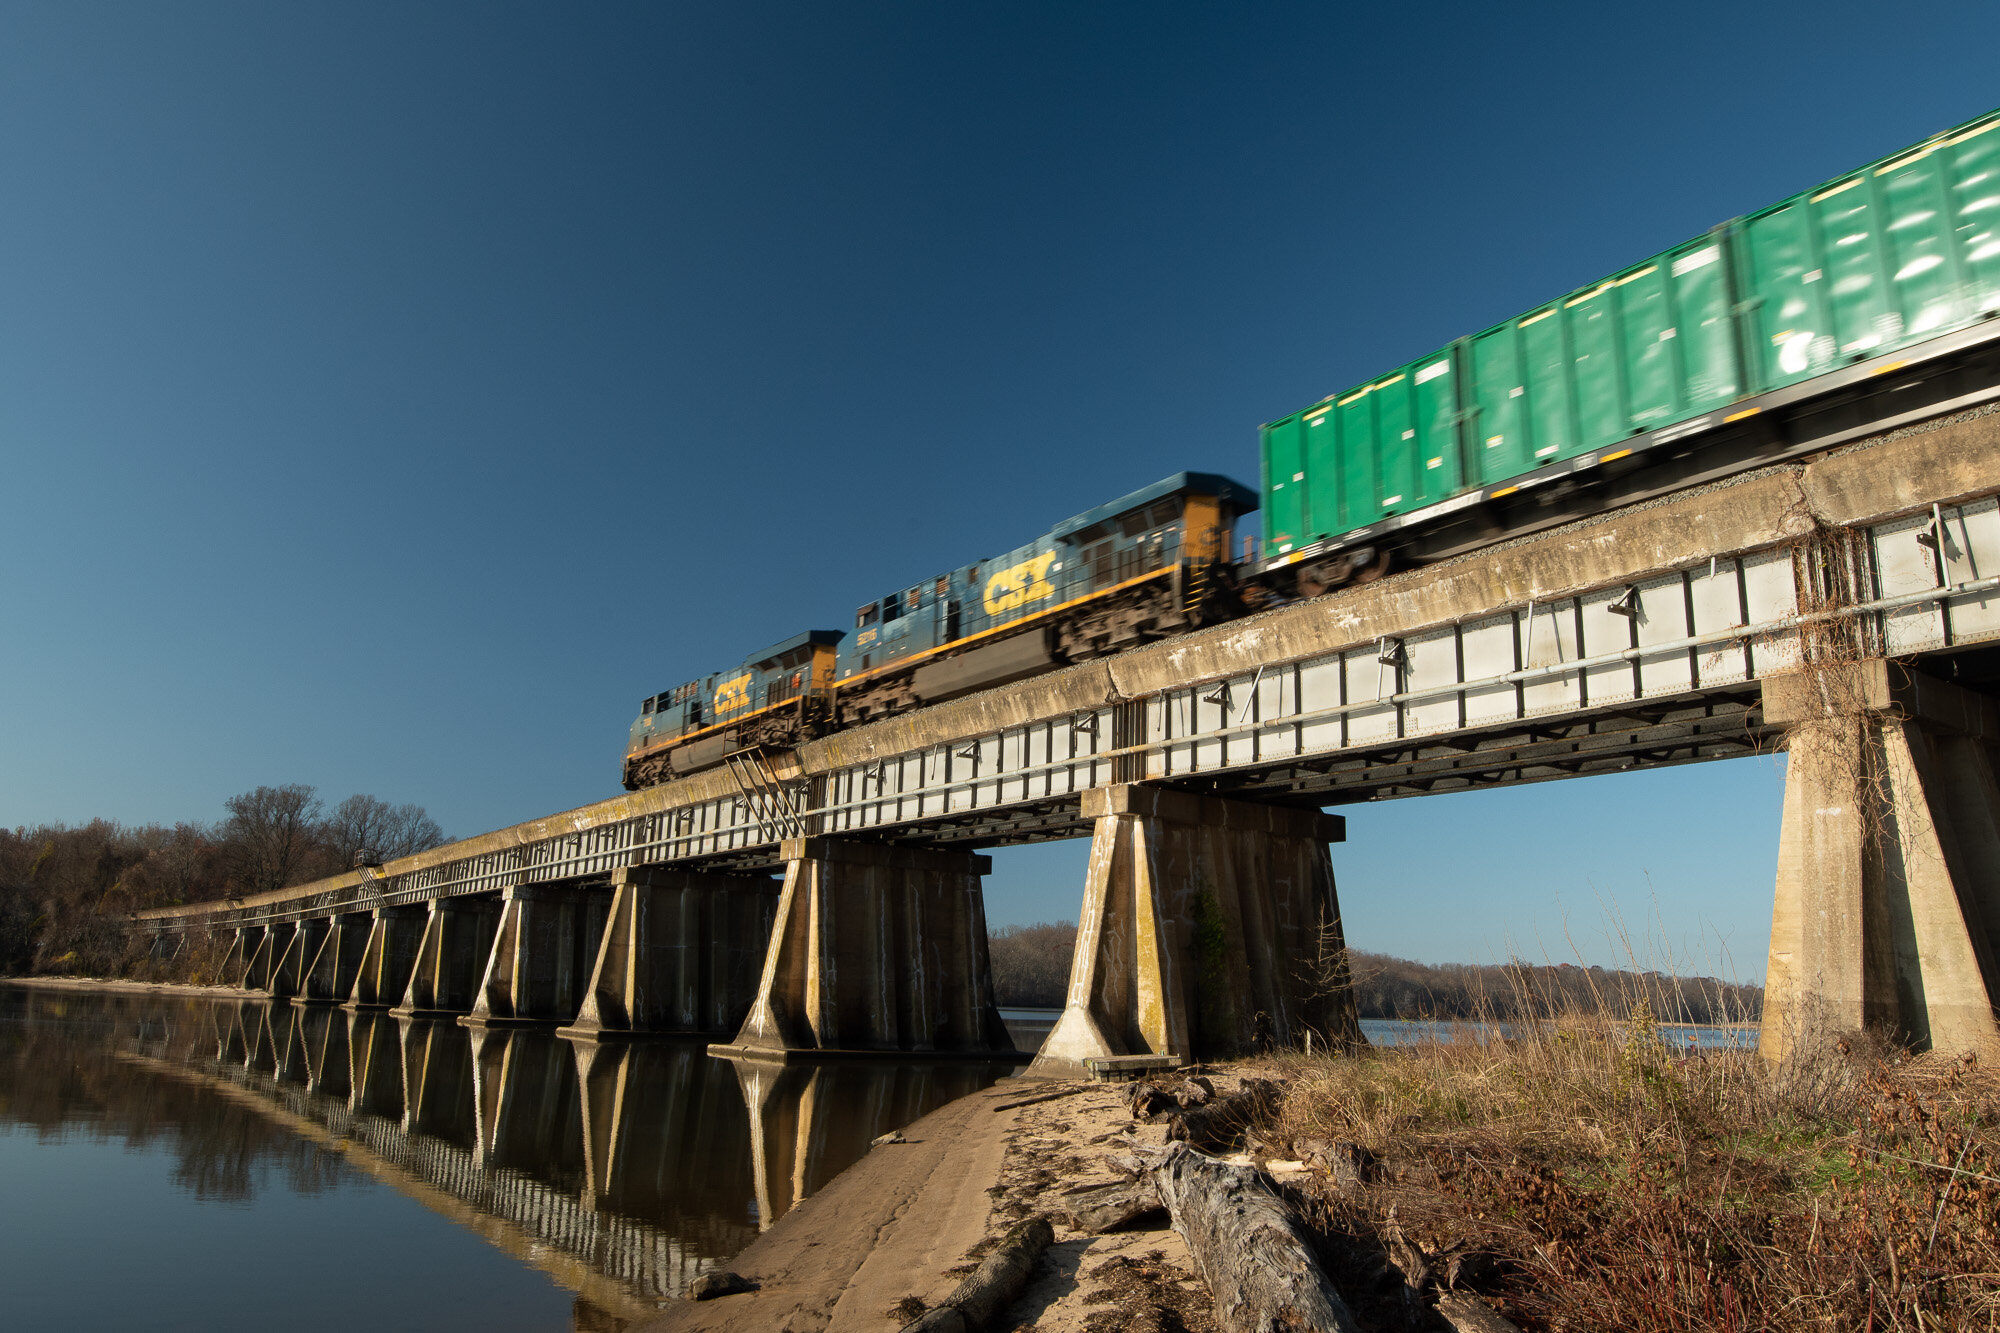
As I mentioned, it was a perfectly clear day, not a cloud in the sky, and it was still early enough to show a nice blue sky. I was hoping for a little punch to the photograph with contrast between the sky and the train so I had on a circular polarizing filter to darken the sky and make that blue even richer, as well as possibly reducing any reflections from the train. However, I made a very common mistake. I didn’t take into account the wide angle I was shooting at (16mm on a cropped sensor) and my angle from the sun. If you look at the original unprocessed color version below you can see the result of this mistake. Notice how the blue in the sky changes, very rich and dark in the central portion but getting progressively lighter on the left and right. Sometimes circular polarizing filters create this effect when shooting very wide angle. I won’t get into the technical details of why, but it’s something you should be aware of. Try it sometime if you have both a very wide angle lens and a circular polarizing filter. Change your angle to the sun and see how the tones in the sky change.

The unprocessed original color version of the photo

The color, itself, didn’t do much for me in this photograph so I decided to convert it to a monochromatic image. In Adobe Lightroom I converted it to black and white and did my typical post-processing. Then I added a split tone to give it just a touch of color, to warm it up a bit. This involved adding a yellowish tone to the highlights and an orangish tone to the shadows. I also corrected the sky tones caused by the polarizing filter, trying to create a more consistent tone in the sky that gradually lightened towards the horizon. I think this monochromatic treatment really helps the train and the bridge stand out.

Click on the image below to cycle between the final monochromatic and original color versions.

What do you think? Did the monochromatic treatment add something to the photograph? Or do you prefer the color version?


Do you enjoy these posts?

Sign up to receive periodic emails with updates and thoughts. Don’t worry, I won’t spam you. And please consider purchasing artwork or products from my online store, and using my affiliate links in the sidebar to the right when shopping online.

I appreciate your support!