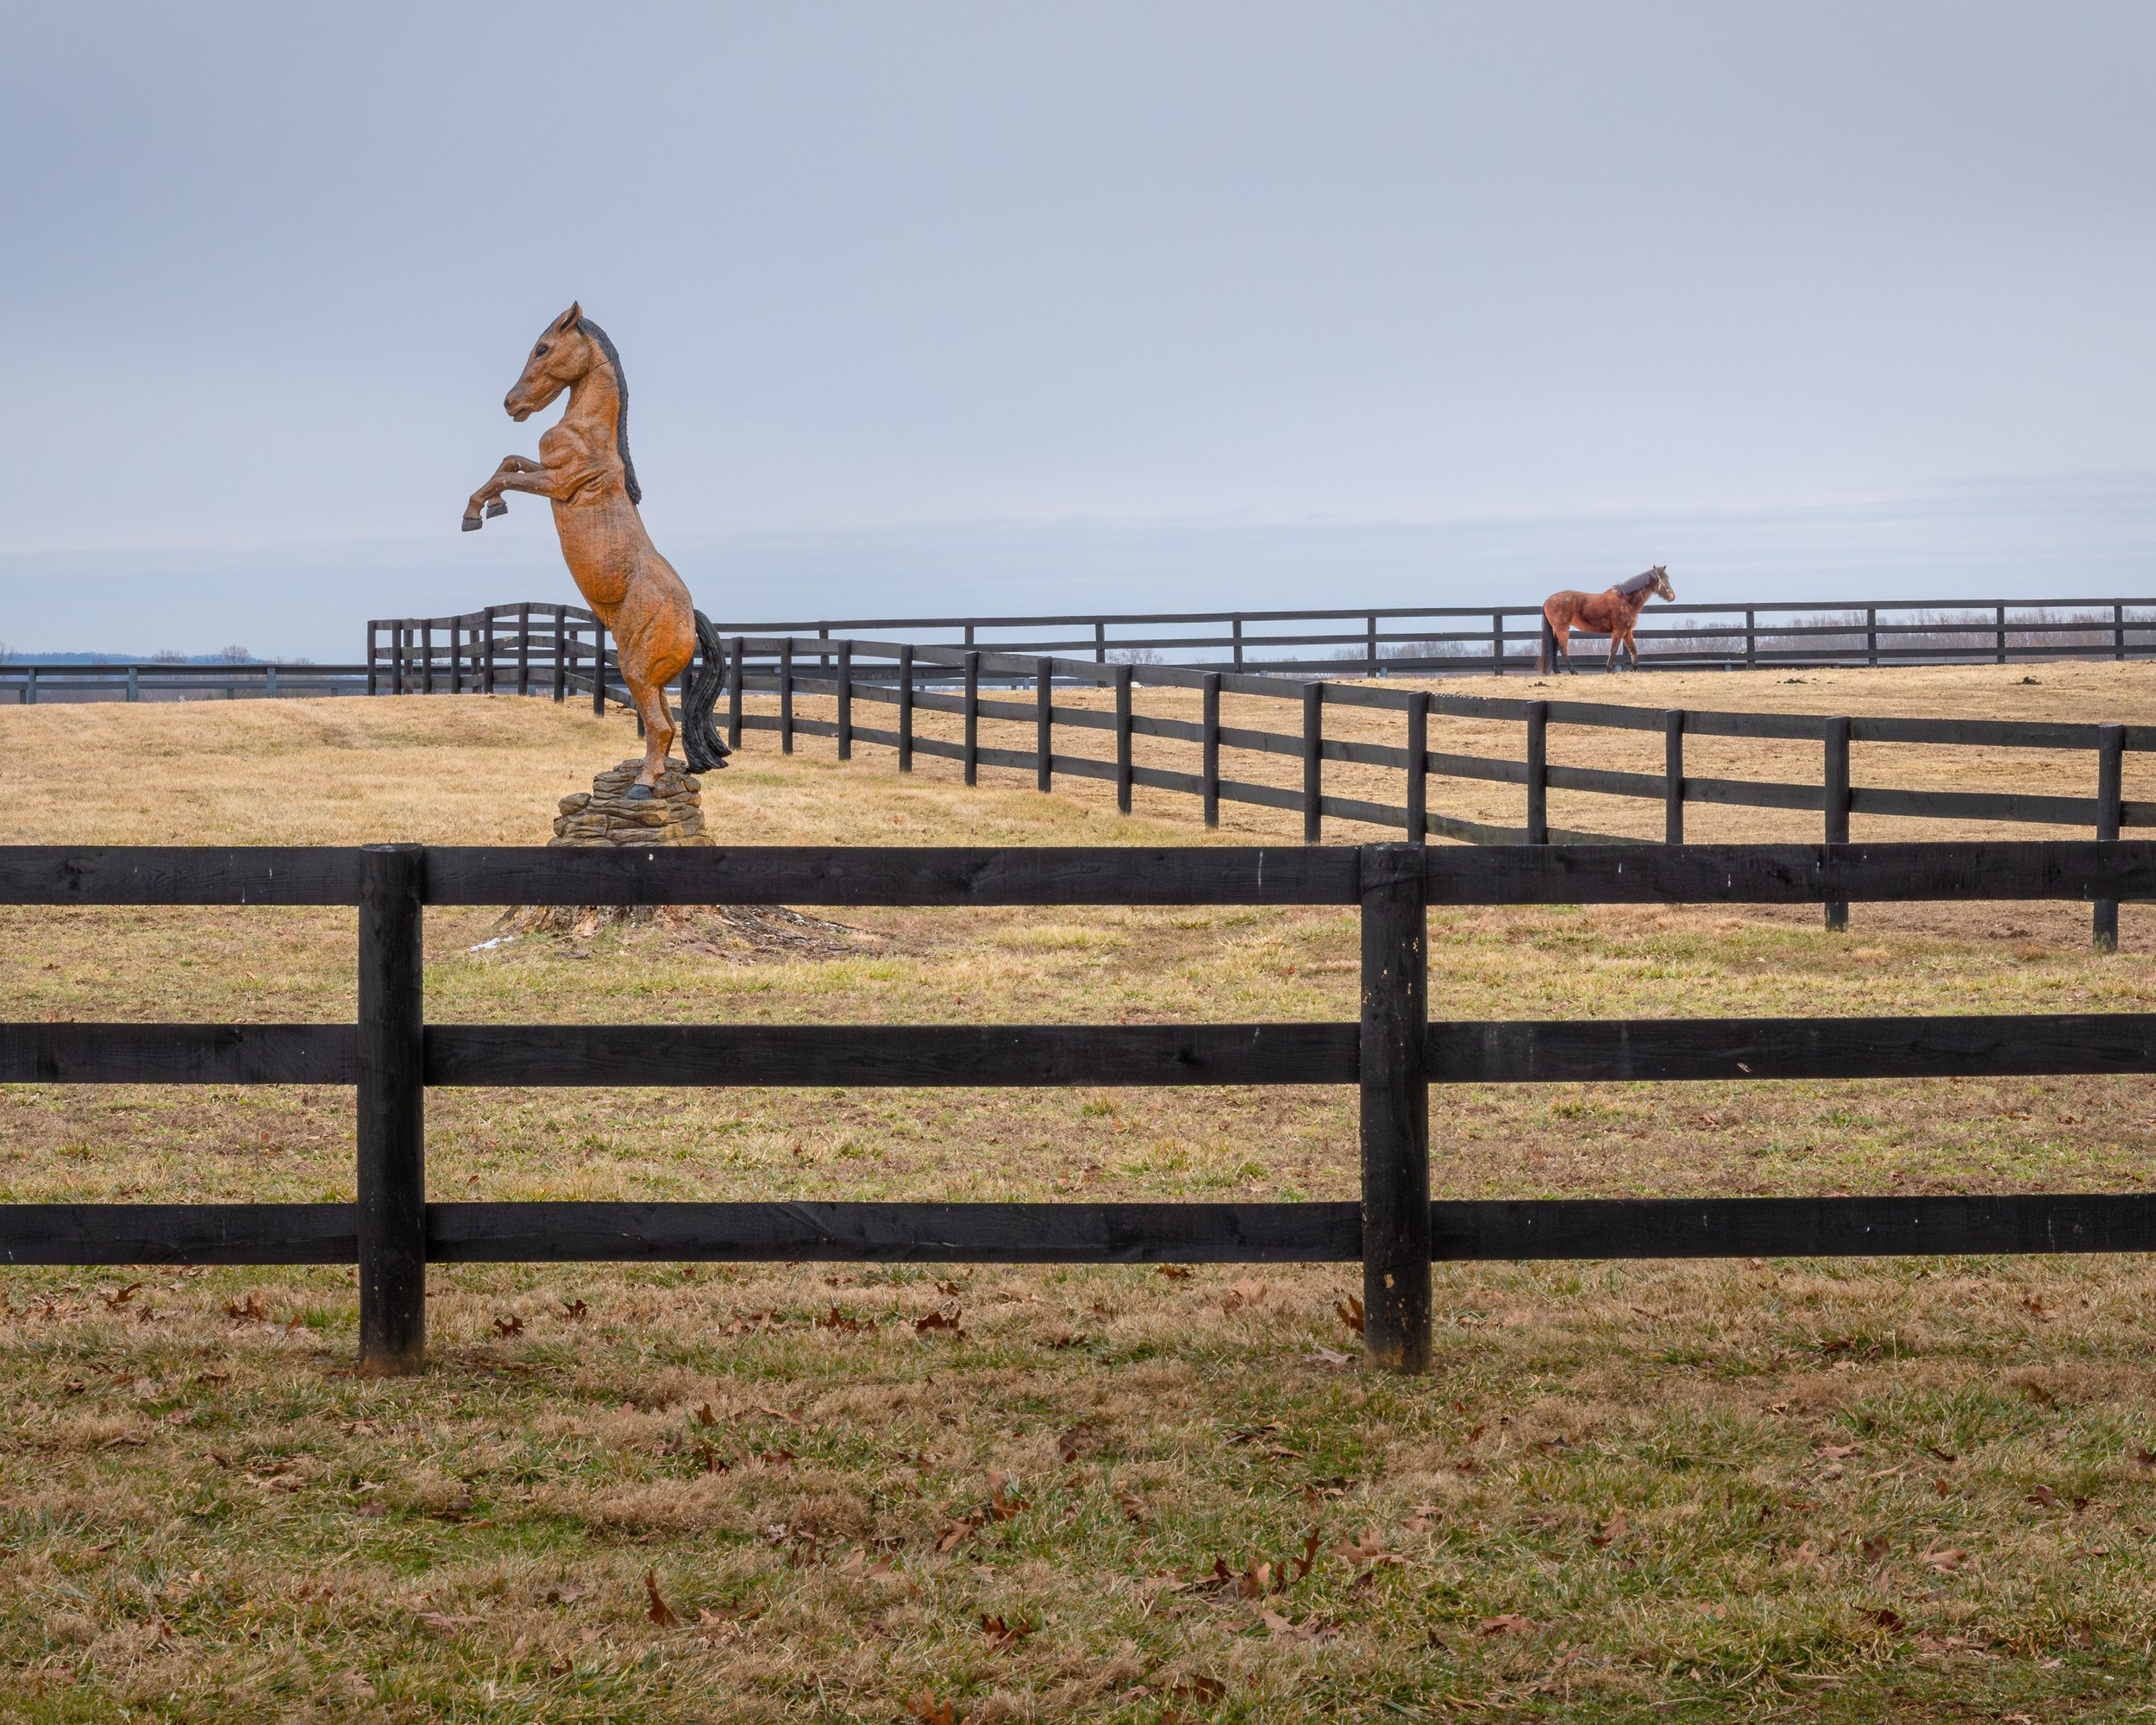
They’re Here!
Putting a lot of serious effort into crafting intentional and meaningful photographs is a worthy pursuit. But sometimes it’s a good idea to just relax a bit, to let go, have a little fun. Make time for playtime.
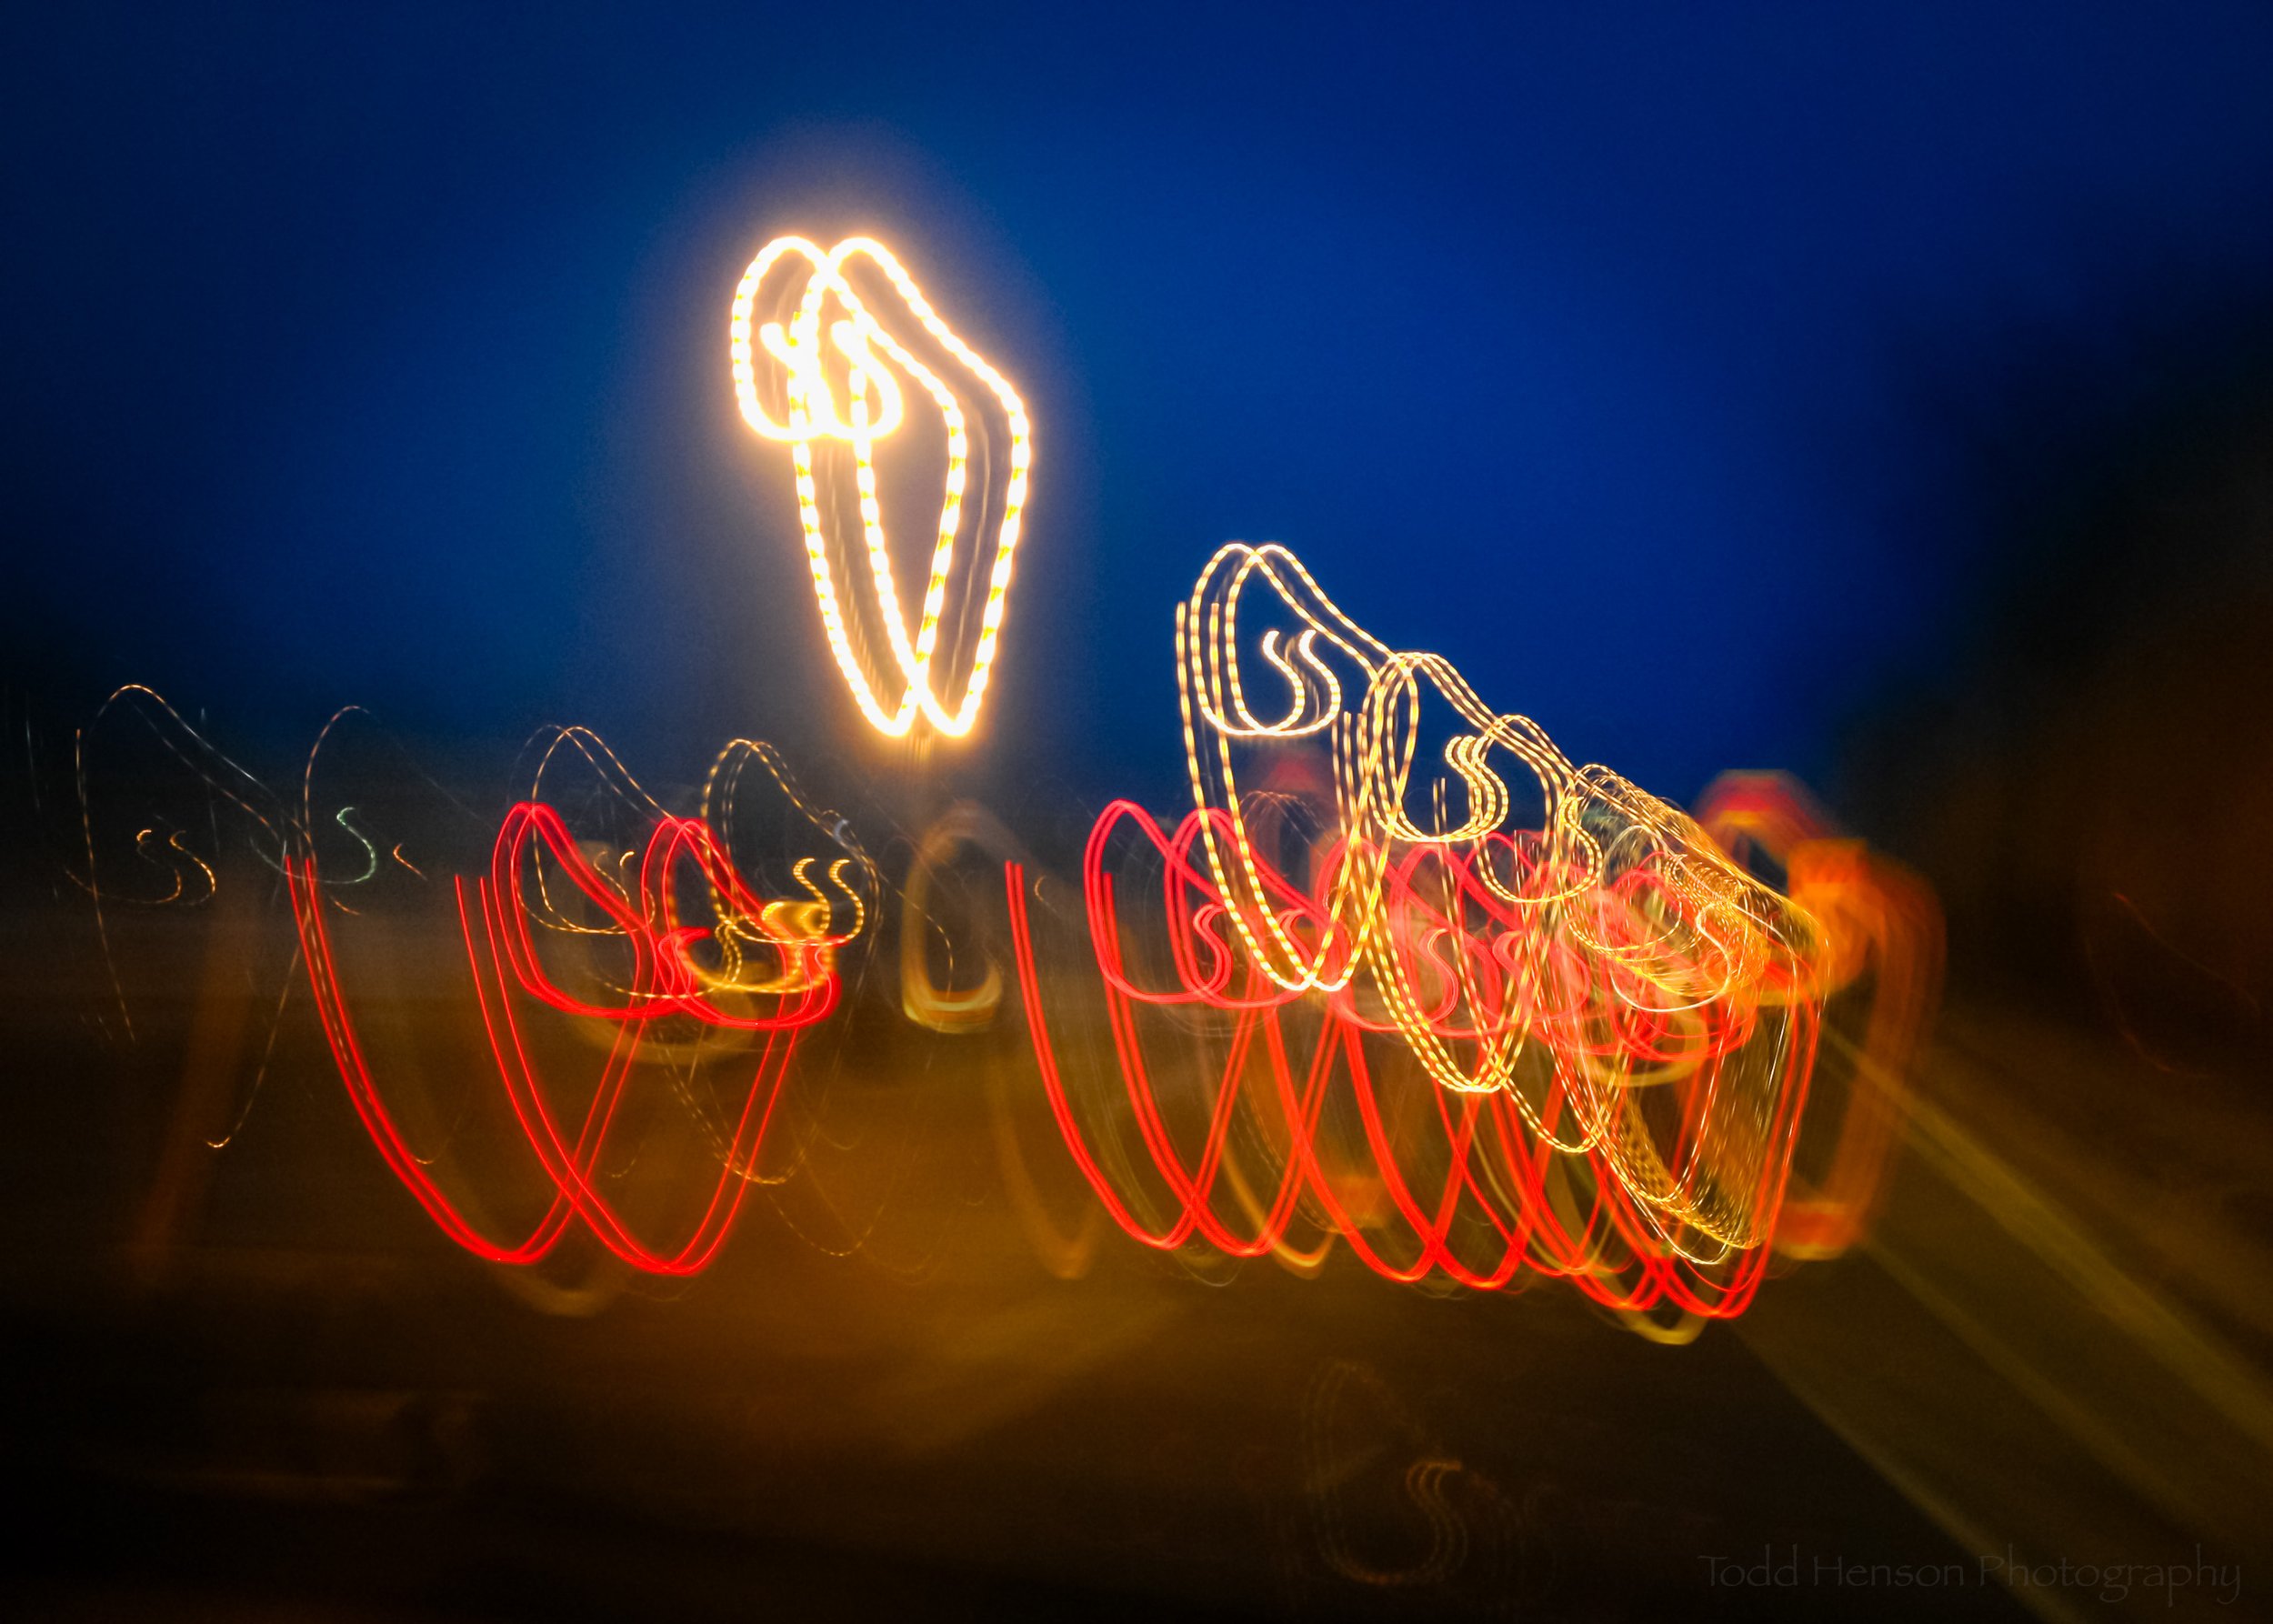
A shaky drive down 95
The photos in this post may not be spectacular in any way. But they’re an example of not taking what I’m doing too seriously, of just experimenting a little, having fun, trying things I doubt will work and sometimes realizing I’m right but still trying it anyway.
Being light painted by passing cars
Stitches in the sky
Specifically, each photo is part of a drive south on Interstate 95 after dark (yes, I was a passenger, not a driver). They are each from a phone using an app that allowed for longer exposures, most between half to a full second. Then I moved the phone/camera around during the exposure. Because of this each photo will be unique and unlikely to be duplicated (of course the question stands whether anyone would ever want to duplicate them! 😅)
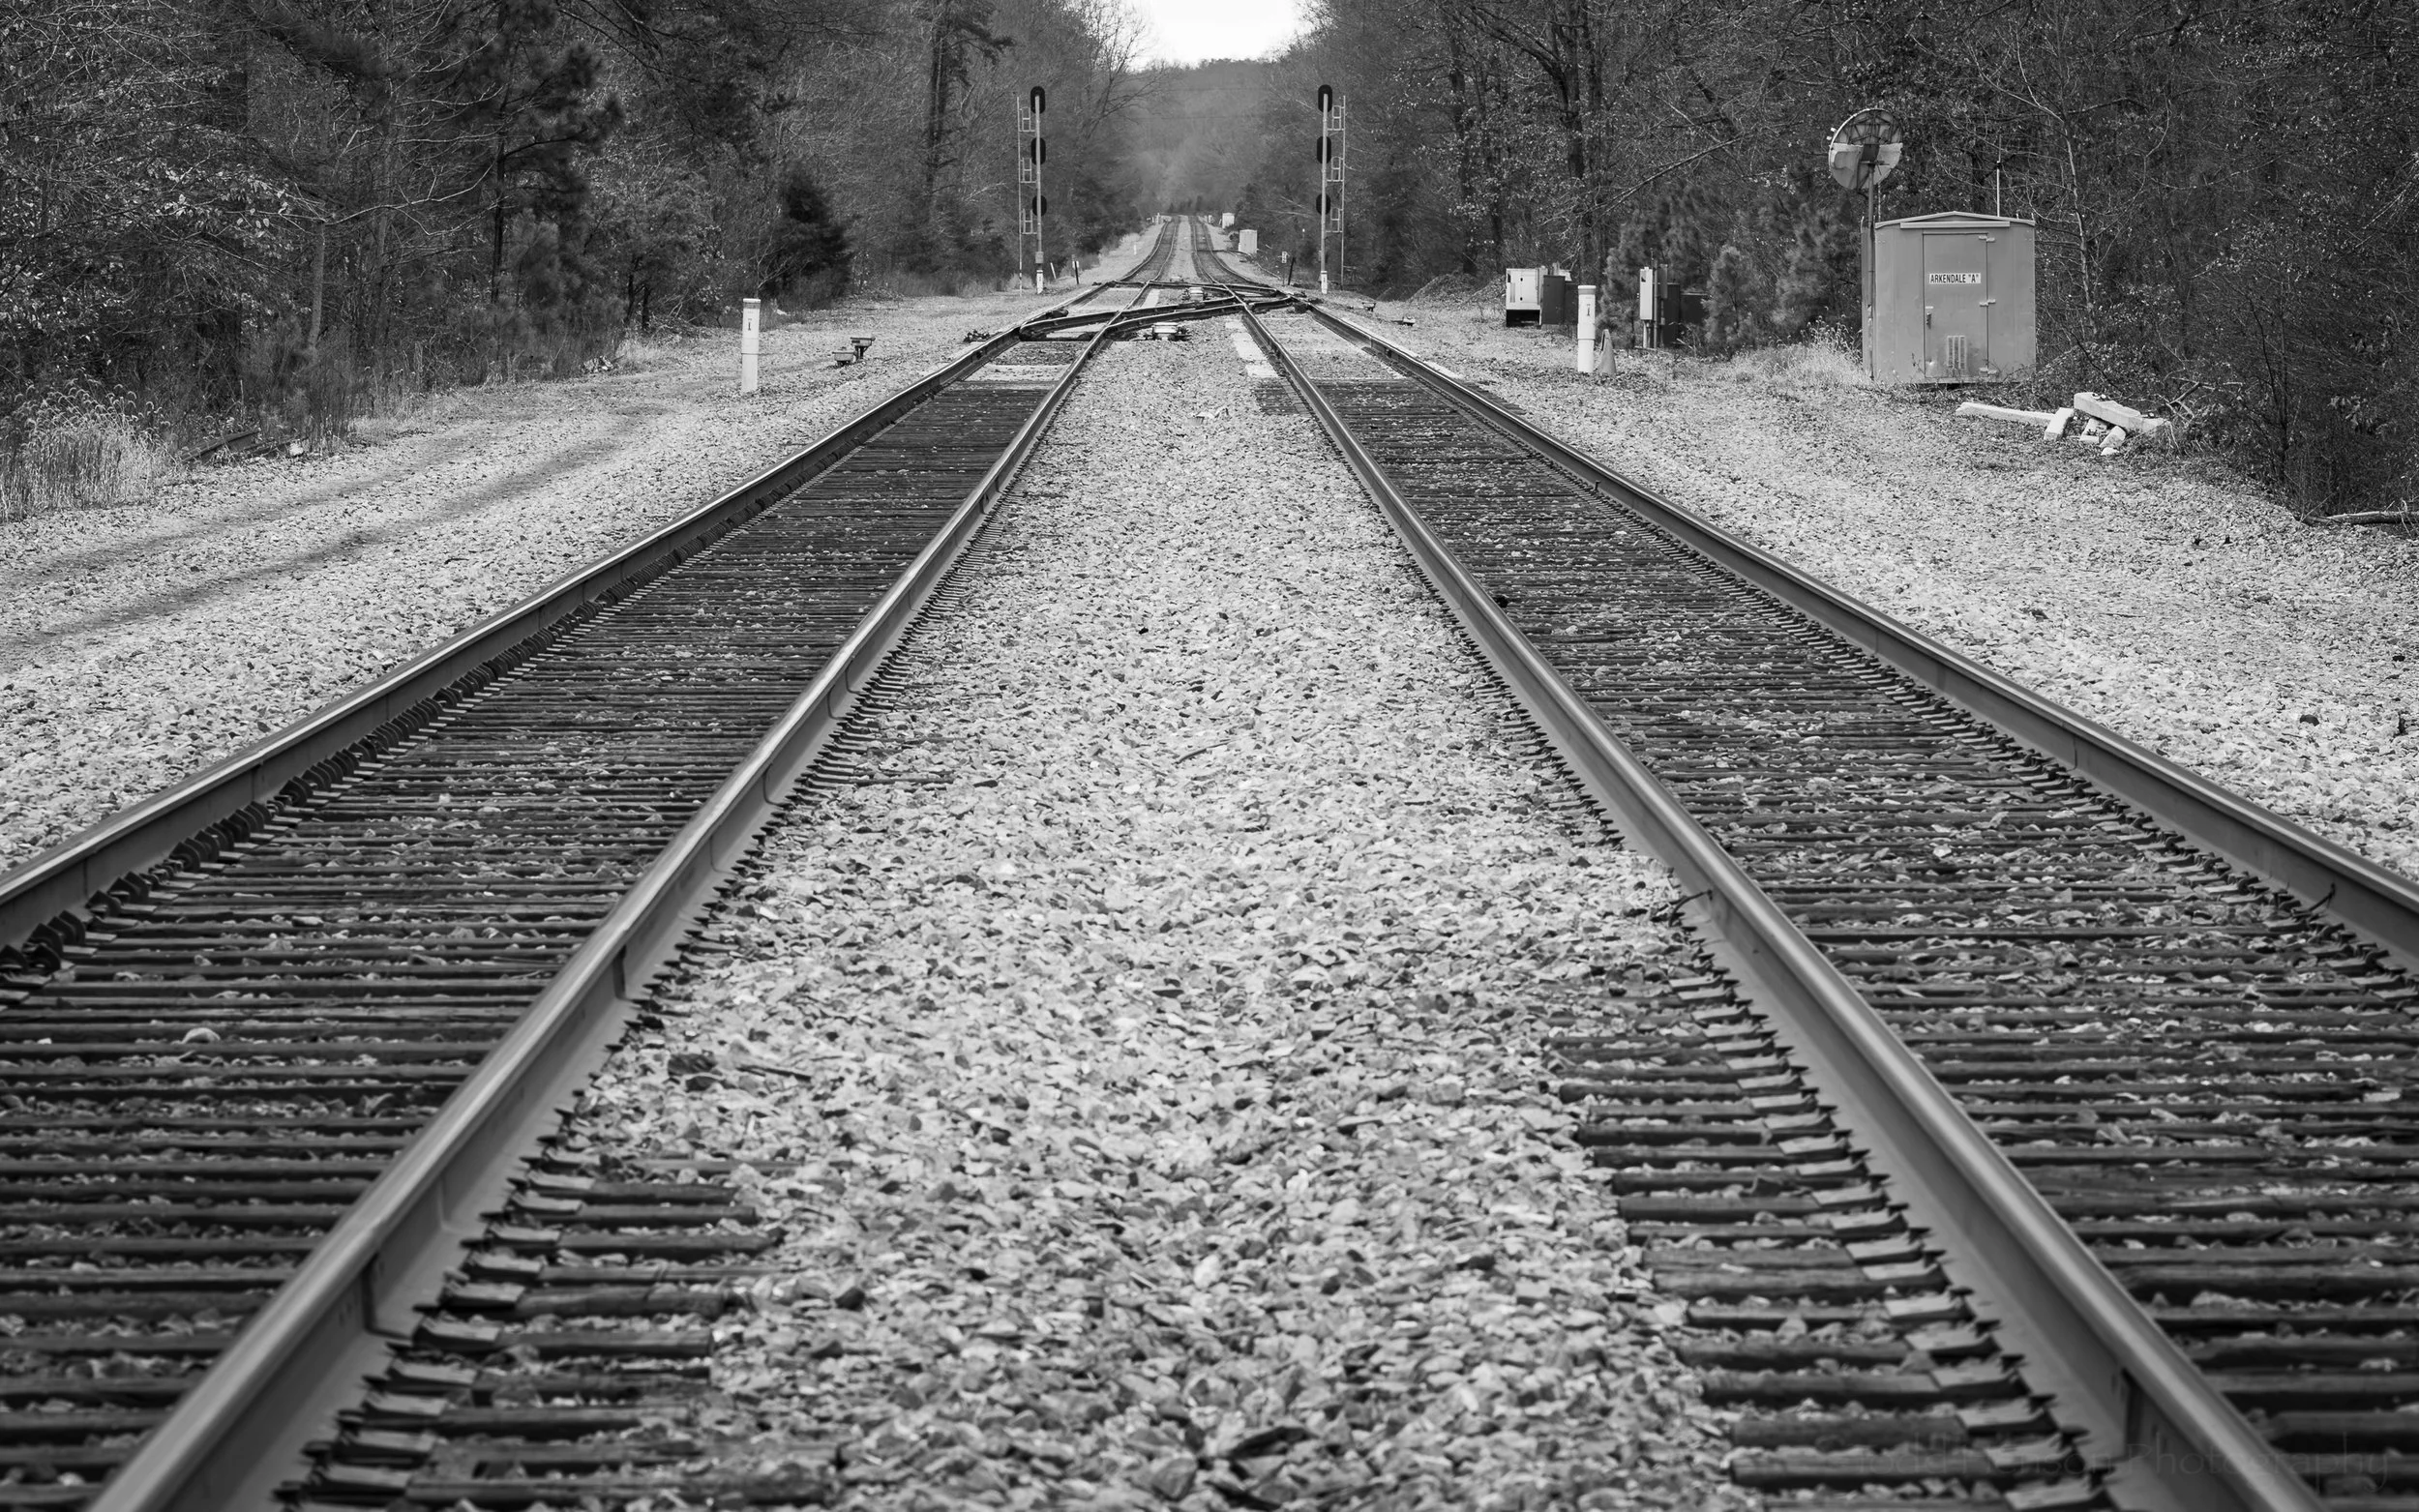
The glow below the overpass
Though it was almost 13 years ago I still fondly remember creating these that night. And I still wonder what some of the people in nearby cars thought of the crazy guy moving his phone all around as he drove by? Or were they too absorbed in their own phones to notice? 😊
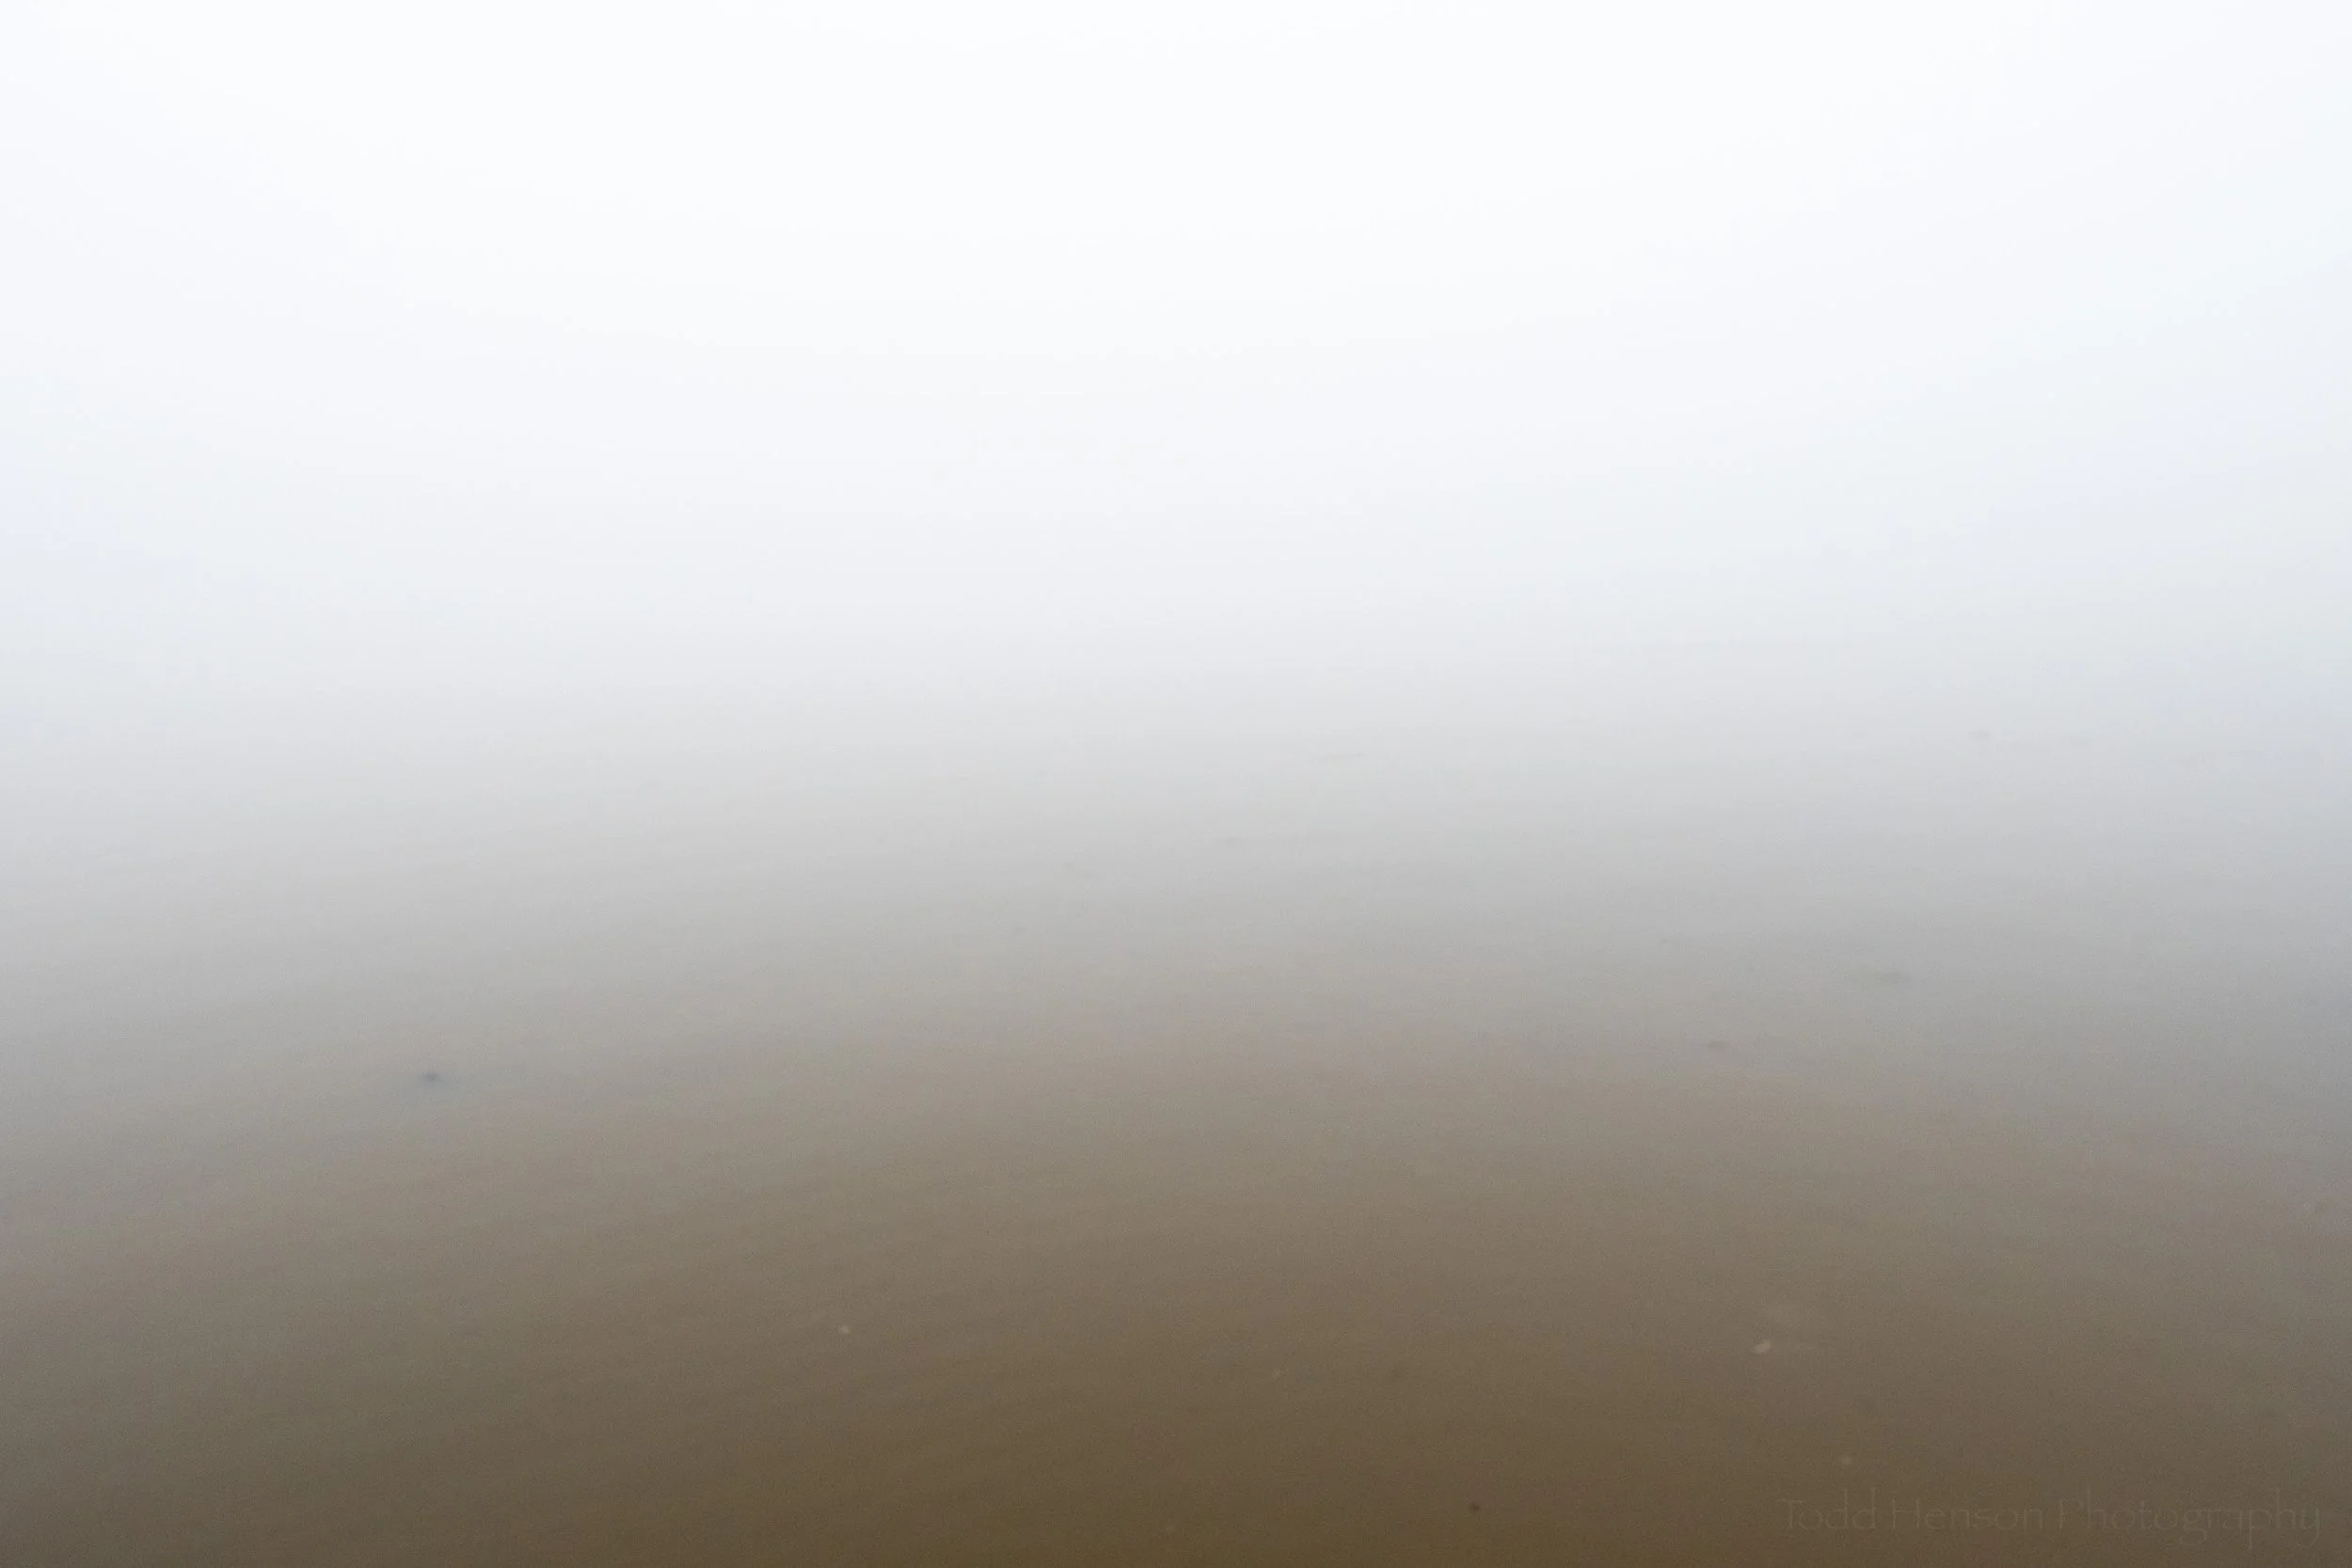
Ribbons of light
Do you enjoy these posts?
Sign up to receive periodic emails with updates and thoughts. Don’t worry, I won’t spam you. And please consider purchasing artwork or products from my online store, and using my affiliate links in the sidebar to the right when shopping online.
I appreciate your support!