green frog

Before & After: Portrait of a Green Frog by Todd Henson

Before & After: Portrait of a Green Frog

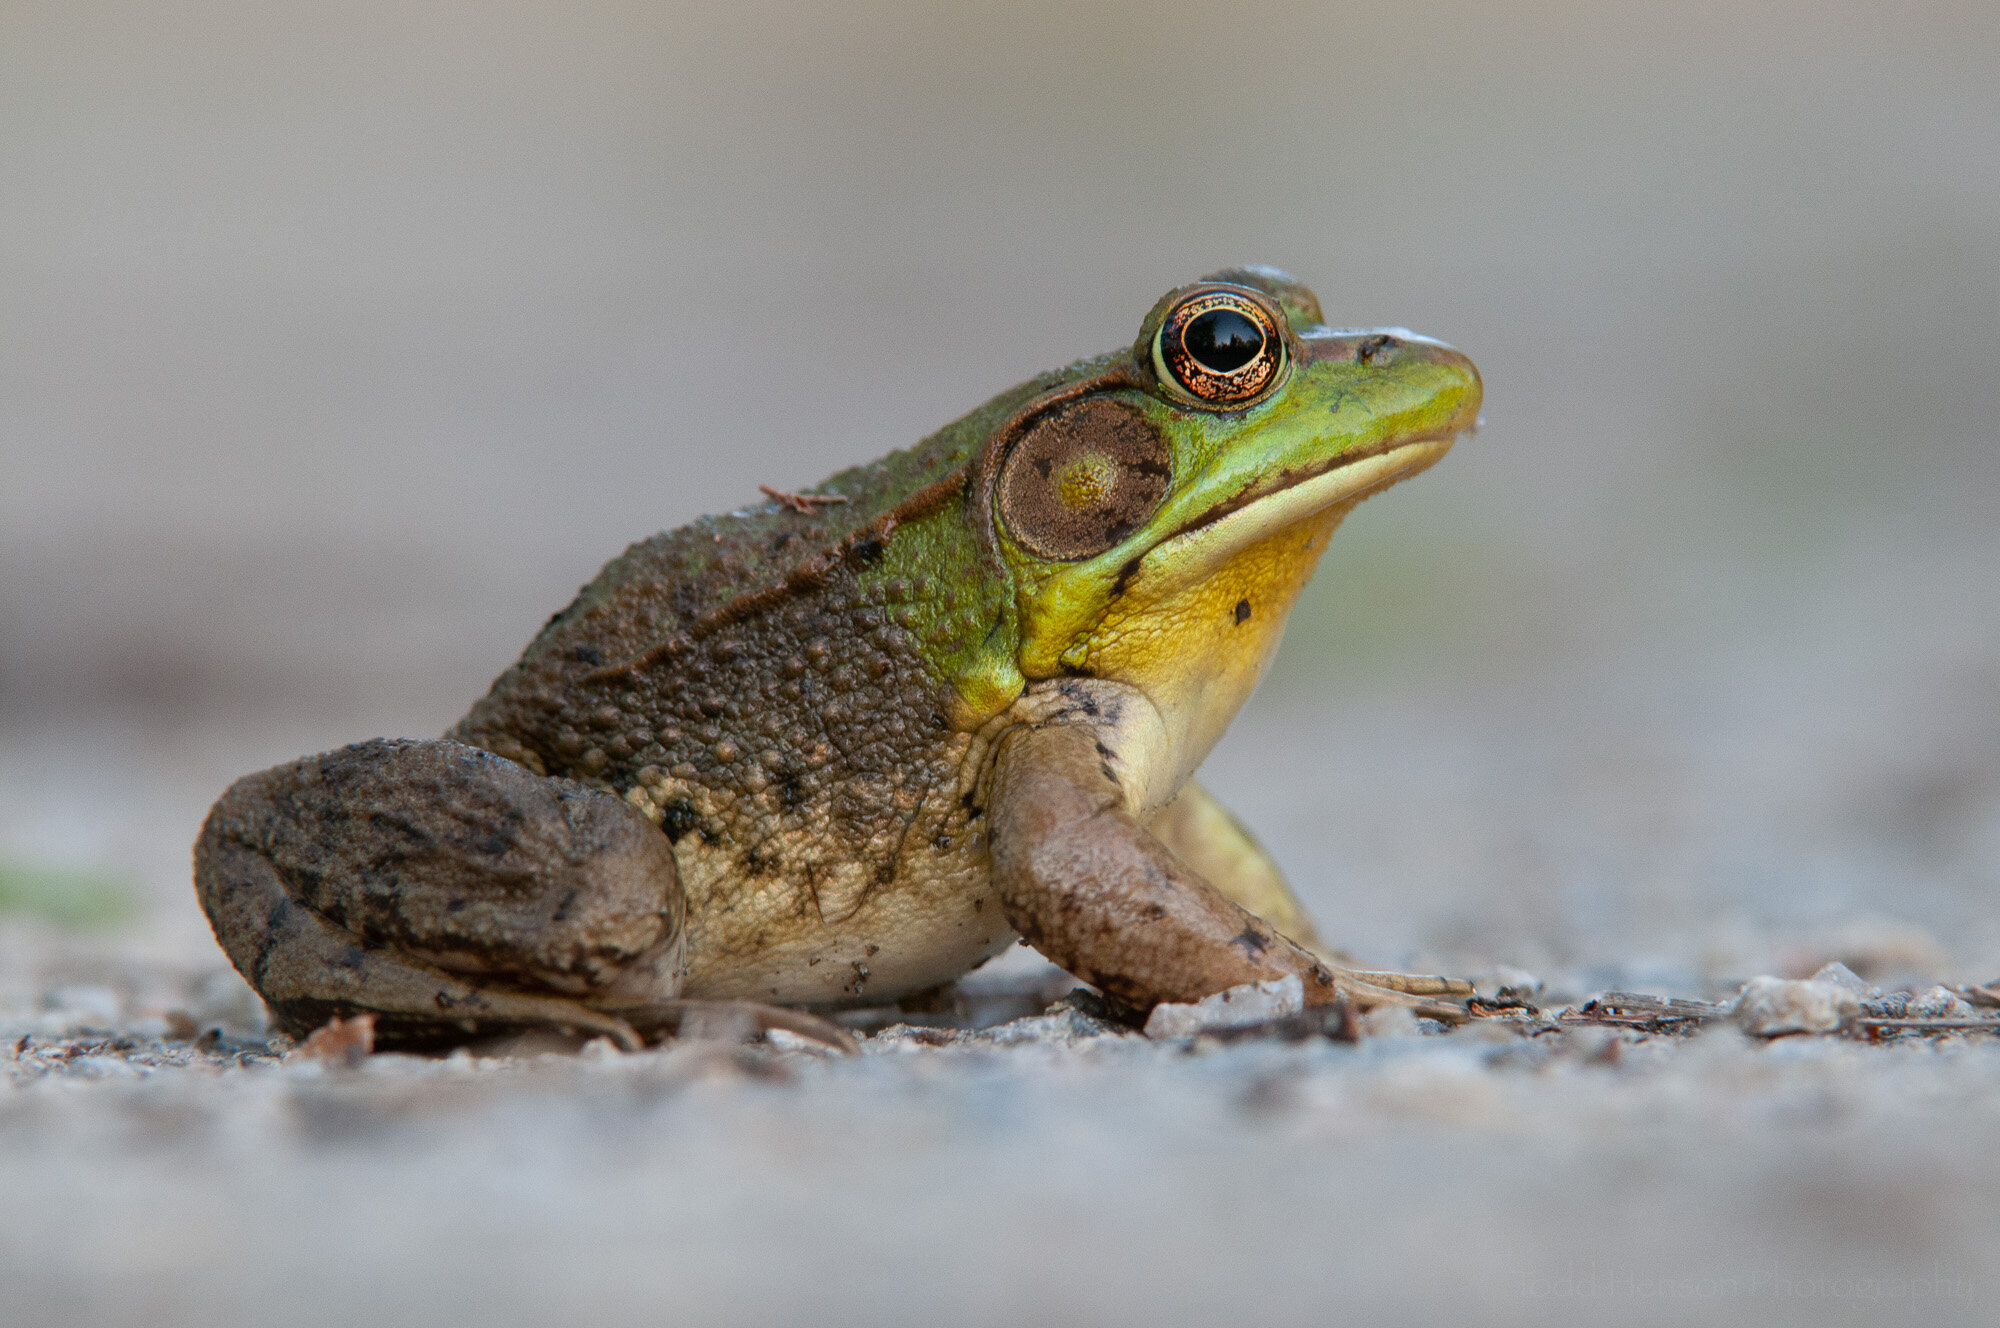
It’s time for another before & after session, where we look at an image as it came out of the camera and see what I did in post-production to arrive at the final image. When thinking about which photograph to use I realized I’ve yet to show a before & after for any form of wildlife, a subject I’m very fond of. So I picked an older photograph I’ve always liked, both for the image itself and for the experience I had creating it which you can read about in another post: Green Frog - The Story Behind the Image.

All of the post-production work for this photograph was done in Adobe Lightroom. And before we get into the processing steps, below is a capture of the image out of the camera showing the baseline settings, including white balance, before they were adjusted.

Before making any adjustments

Step 1: Basic Global Adjustments

Basic global adjustments

I usually work in the Basic tab first. These are global adjustments that affect the entire image. These days I tend to avoid some of the settings in the Basic tab, such as Texture and Clarity, and instead apply them using other tools such as an adjustment brush so they only apply to certain areas of the image. But when I processed this image I was still largely using the Basic tab.

You can see which settings I adjusted, tweaking the white balance just a touch, and increasing exposure and contrast just a bit. I adjust highlights, shadows, whites and blacks in most images (though sometimes only locally), and I adjusted all but highlights here. These settings help affect the contrast within the image, but also control how much detail we can see in darker or lighter areas. I also bumped up clarity a bit to increase contrast, something I still sometimes do, but these day I find myself using texture more often. And I bumped up the vibrance just a bit, which increases color saturation but only to the less saturated areas so it doesn’t go overboard.

Step 2: Adjustment Brush on the Eye

Adjustment brush on the gold ring of the eye

I wanted the viewer to be drawn to the frog’s eye, so here I used an adjustment brush to select the lighter golden ring of the eye and increased both the exposure to brighten it and the saturation to add a little bit of richness to that beautiful metallic gold. The image shows the selected area with a light red mask, which extends around the gold band of the eye.

Step 3: Graduated Filter at the Top

Graduated filter at the top of the image

One way to help guide the viewer’s eye toward a subject is to adjust the exposure in different areas causing some areas to get darker and others lighter. Here, if I lighten the background and then darken the top and bottom edges the eye will tend to move toward the darker subject at the center. Above, in the Basic tab, I’d increased the overall exposure a bit, so in this step I created a graduated filter at the top of the image, dropping the exposure to darken the top edge. Because it’s graduated it will begin darker at the very top and gradually lighten further below. You can see this in the red, which shows the masked area, how the red lightens as it approaches the frog.

Step 4: Graduated Filter at the Bottom

Graduated filter at the bottom of the image

And here we add a matching graduated filter at the bottom. Now we have a darker top and bottom and a lighter background that the frog stands out nicely against.

Step 5: Spot Removal on the Neck

Spot removal on the neck

This may seem a subtle thing, but the frog had a dark spot on its yellow neck, perhaps something stuck to the neck. It wasn’t a big deal but I kept getting distracted by it, so I decided to use the spot removal tool to remove that spot, or at least lighten it significantly such that my eye didn’t keep returning to it.

Step 6: Post-crop Vignette

Post-crop vignette to dry the eye inward

The last step was adding a post-crop vignette, something I often do to help keep the eye in the frame. This darkens the edges of the image. I’d already darkened the top and bottom, so this will darken those a big more but will also darken the sides and corners.

Final Image

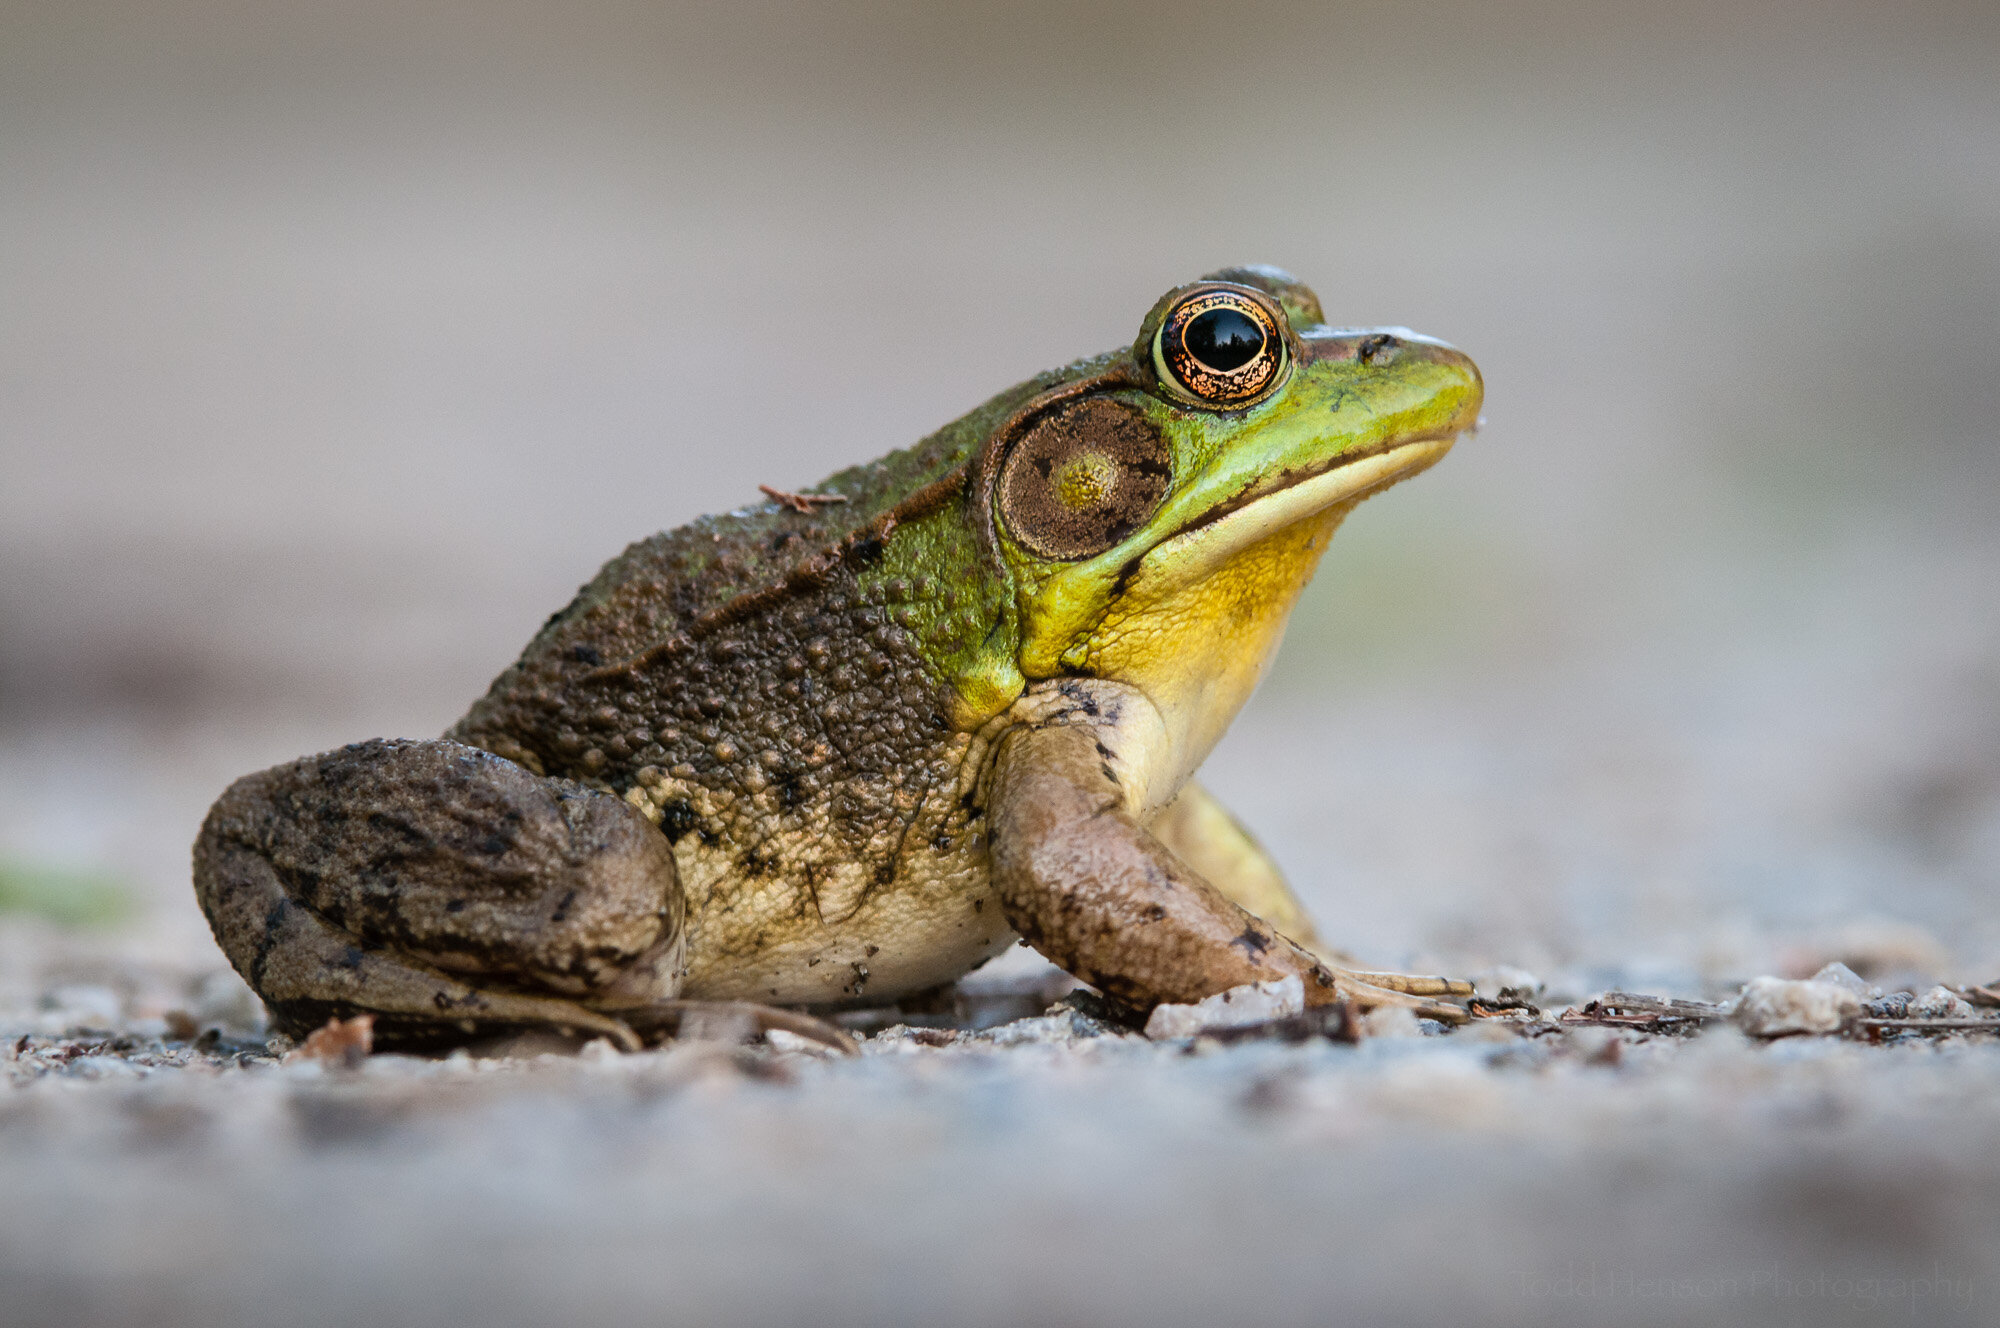
Portrait of a Green Frog: Final Image

And that’s all there was to this image. Most of my wildlife images are fairly simple when it comes to editing. I want to show the wildlife as close as I can to how it really looked, but I’m also trying to create an aesthetically pleasing image. So there’s a balance I consider when processing. Raw files straight out of the camera tend to be a little dull, lacking in contrast and saturation, so they require a little processing to make the image look real. If you set your camera to create JPEG images you may not have to do these steps as the camera will make those decisions for you, but you’ll lose control over how it’s done. And after that there are also small things we can do to help bring attention to the subject and coax the viewer’s eye where we want it, such as the vignetting, graduated filters and exposure adjustments.

I hope you’ve enjoyed this look behind the scenes at how I processed this particular photo. Click on the image below to see a comparison of the before and after images. This will make it easier to see the changes.
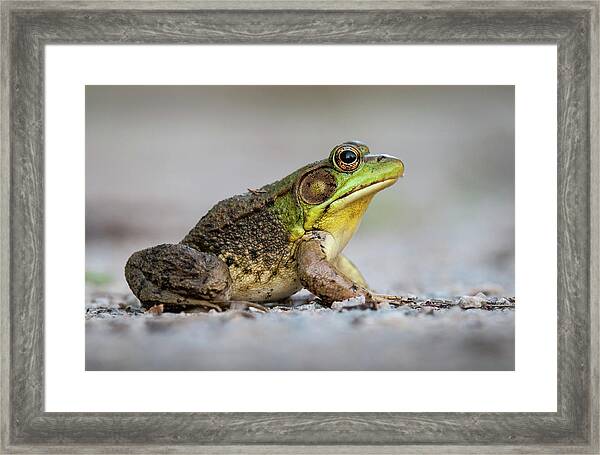
Portrait of a Green Frog is available for purchase as wall art or on a variety of products at my online store.

Photography Prints by Todd Henson


Do you enjoy these posts?

Sign up to receive periodic emails with updates and thoughts. Don’t worry, I won’t spam you. And please consider purchasing artwork or products from my online store, and using my affiliate links in the sidebar to the right when shopping online.

I appreciate your support!

Green Frog - The Story Behind the Image by Todd Henson

Portrait of a Green Frog

I was hiking through Occoquan Bay National Wildlife Refuge on a late April afternoon with a group of friends. We were there to photograph a pair of nesting osprey who had built a nest atop a duck blind in the bay just off one of the trails. It was a great location that provided very good views of the osprey and the nest, and it worked for both morning and afternoon light. Morning light lit up one side of the nest and afternoon light lit up the other.

When we’d finishing photographing the osprey we continued down the trail. These types of locations can be hit or miss, you never really know what you might encounter. Before the osprey nest we’d found a northern black racer snake moving from the brush towards us on the trail. After the osprey nest we watched and photographed a pair of red-breasted merganser diving for fish in the bay. But the next encounter, a lone green frog, is the subject of this story.

We were walking along one of the trails heading back to the parking lot, as it was getting close to the time the gates of the refuge automatically close for the night. The trail splits two wetland areas and runs along marshy terrain. This stretch is often more humid and bug-ridden than some of the other trails, with flying biting bugs and ticks on the grass along the trail. The trail itself is a service road with a patch of grass between the two tire trails. Halfway along this trail we ran into a lone green frog sitting in the middle of one of the tire trails. Honestly, I didn’t even notice the frog. I’d been watching the treeline for birds. But one my friends spotted the frog and started photographing it.

One of the early lessons I learned in wildlife photography is to capture an image early if the shutter sound won’t scare off whatever you’re photographing. This assures you get a shot, even if it’s not the best shot possible. I like to both document wildlife and try to produce the most pleasing photographs I can. So I document first, then take the time to create a pleasing image if the wildlife decides to stick around.

The green frog proved very accommodating. The first photograph I made was from full tripod height looking down on the frog. This was the documentary shot. Even if the frog hopped back into the brush I had an image. I was using a Nikon 200-400mm f/4 lens with a 1.4x teleconverter on a Nikon D300 camera body. With the teleconverter the lens has a focal range of 280-560mm. For the first shot I had the lens zoomed out to 550mm at an aperture of f/8. The ISO was at 500 giving me a shutter speed of 1/100 sec. That’s a little slow for 550mm but the subject was not moving and I was on a tripod.

Green Frog. First attempt, assuring I can at least document having seen the species.

When the frog continued to pose, never moving, I took my camera off the tripod and got down near the ground to try to capture a more pleasing image. Being lower and at less of an angle allowed me to capture more of the frog in focus. I also stopped the aperture down to f/11 and raised the ISO to 640 giving me a shutter speed of 1/80 sec. The photo is still angled slightly askew, but I like the image better than the first one.

Green Frog. Second Attempt. Getting better.

I felt I could still do better. So I lay down on the grass in the middle of the trail and placed my camera and lens on the gravel, as low as they could possibly go. I also inched a little closer to the frog and made sure the frame was level. This put me at 330mm, still at ISO 640 with an aperture of f/8 and a shutter speed now at 1/160 sec. This resulted in the third and final image, the one I’m most pleased with. Being parallel to the frog allowed me to keep most of the frog in focus. Being at the same level as the frog, ground level, allowed me to throw the background completely out of focus which helps the frog really stand out.

Portrait of a Green Frog. Final Image.

Having captured what I felt was a really nice image I put the camera back on the tripod and we all headed towards the parking lot. Remember how I mentioned the bugs along the trail? I was so engrossed in photographing the green frog I never thought to look for ticks in the grass I was laying in. When we reached the parking lot one of my friends stopped me and came over to look at my face. He found a tick right between my eyes. Thankfully, it hadn’t been there long so he was easily able to remove it. I was amazed I hadn’t felt it, but then again, I’ve never felt any of the ticks that’ve bit me.

So when the day was finished I’d had a very enjoyable hike with a group of friends and created at least one photograph I was very happy with. And I was able to learn a couple lessons along the way, which is always a good thing. First off, always check yourself for ticks when returning from a hike. If you can remove the ticks quickly you’re far less likely to contract any of the diseases they can carry. The second lesson was related to the final photograph. If I were to do it again I would likely stop down the aperture a bit more, perhaps to f/11, to try to capture a little more depth of field, giving me more of the frog in focus.

The final version of Portrait of a Green Frog is available for purchase as wall art or on a variety of products.


Do you enjoy these posts?

Sign up to receive periodic emails with updates and thoughts. Don’t worry, I won’t spam you. And please consider purchasing artwork or products from my online store, and using my affiliate links in the sidebar to the right when shopping online.

I appreciate your support!