Quantico Cascades by Todd Henson

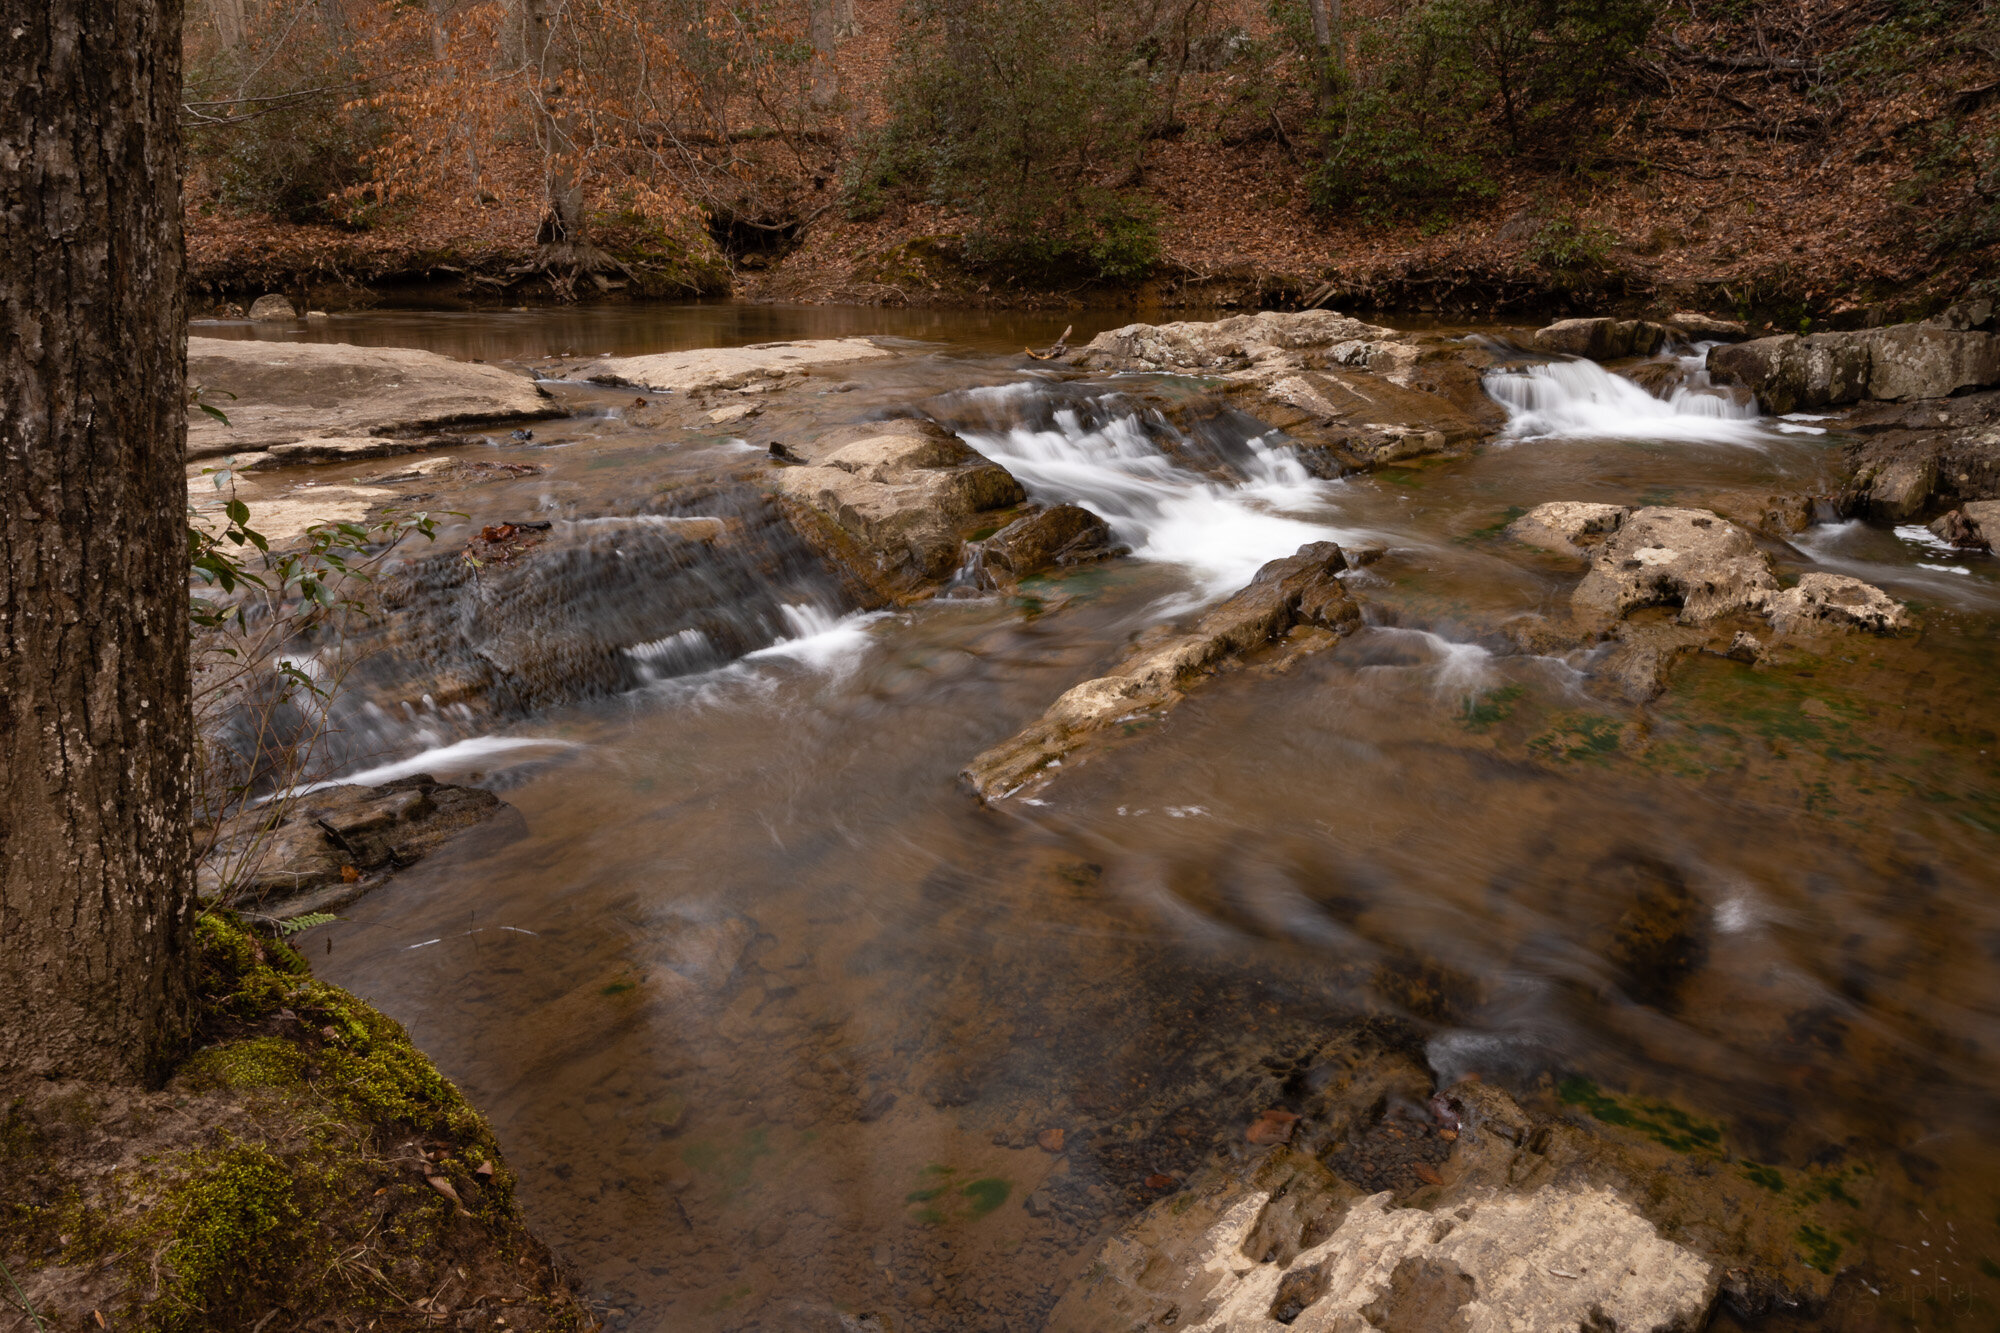
Lower Quantico Cascades

When the trail map calls out waterfalls you know that stretch of trail will become popular, at least during the warmer months. But it’s sometimes possible to visit in relative peace when it’s colder out or the weather isn’t so nice. These photos were created in early February when there was still a very noticeable chill in the air, though not cold enough to freeze any of the water.

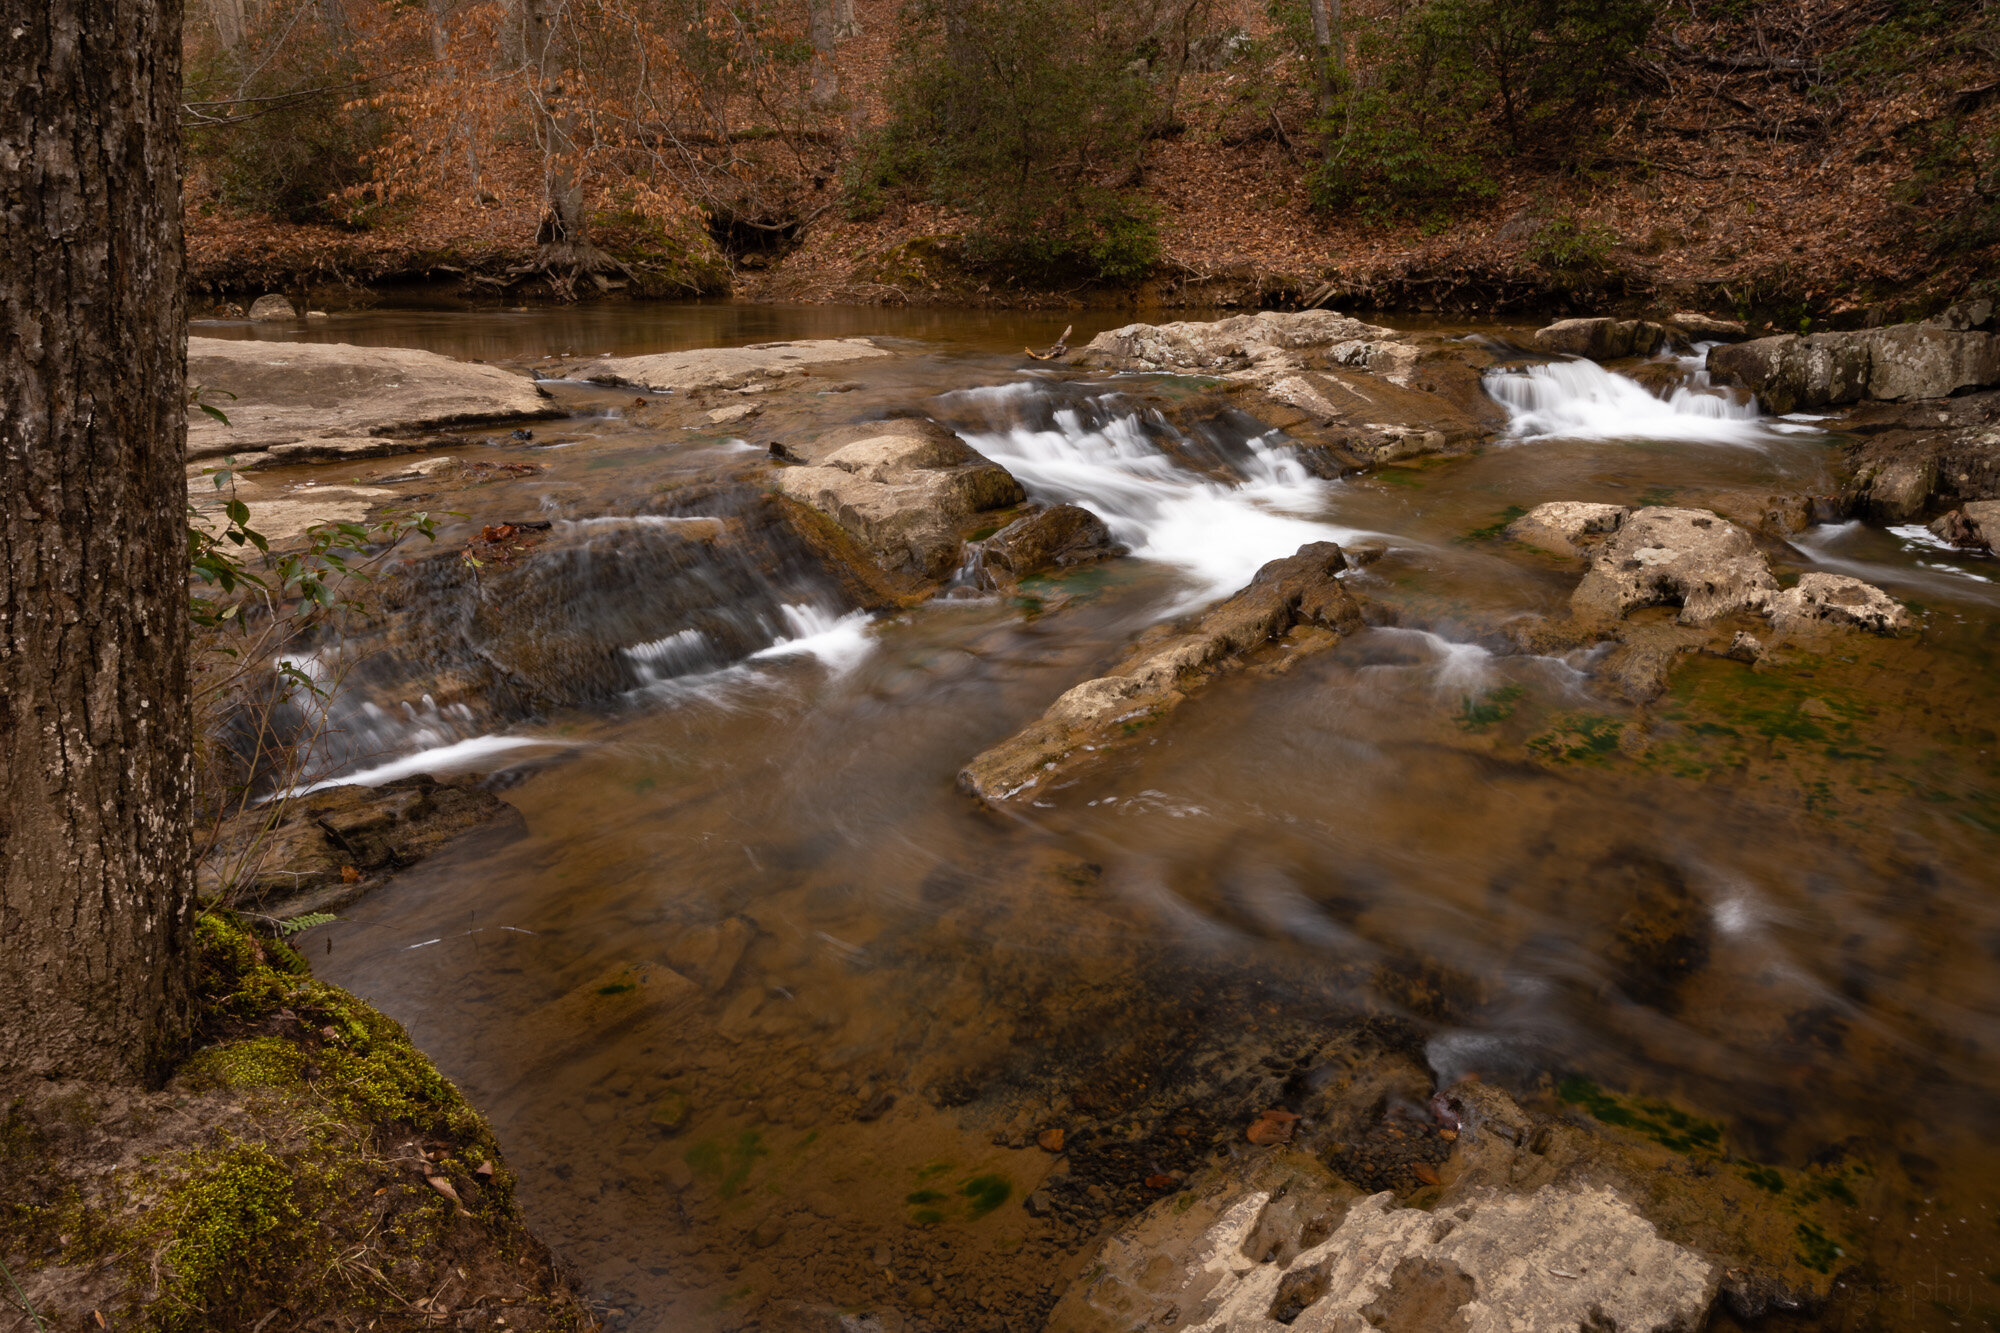
This section of creek has two small groups of cascades where the water flows over rock shelves. It’s a beautiful and relaxing location when not crowded. You can walk out onto some of the rock shelves if the water level isn’t too high and just sit and watch and listen as the water flows by.

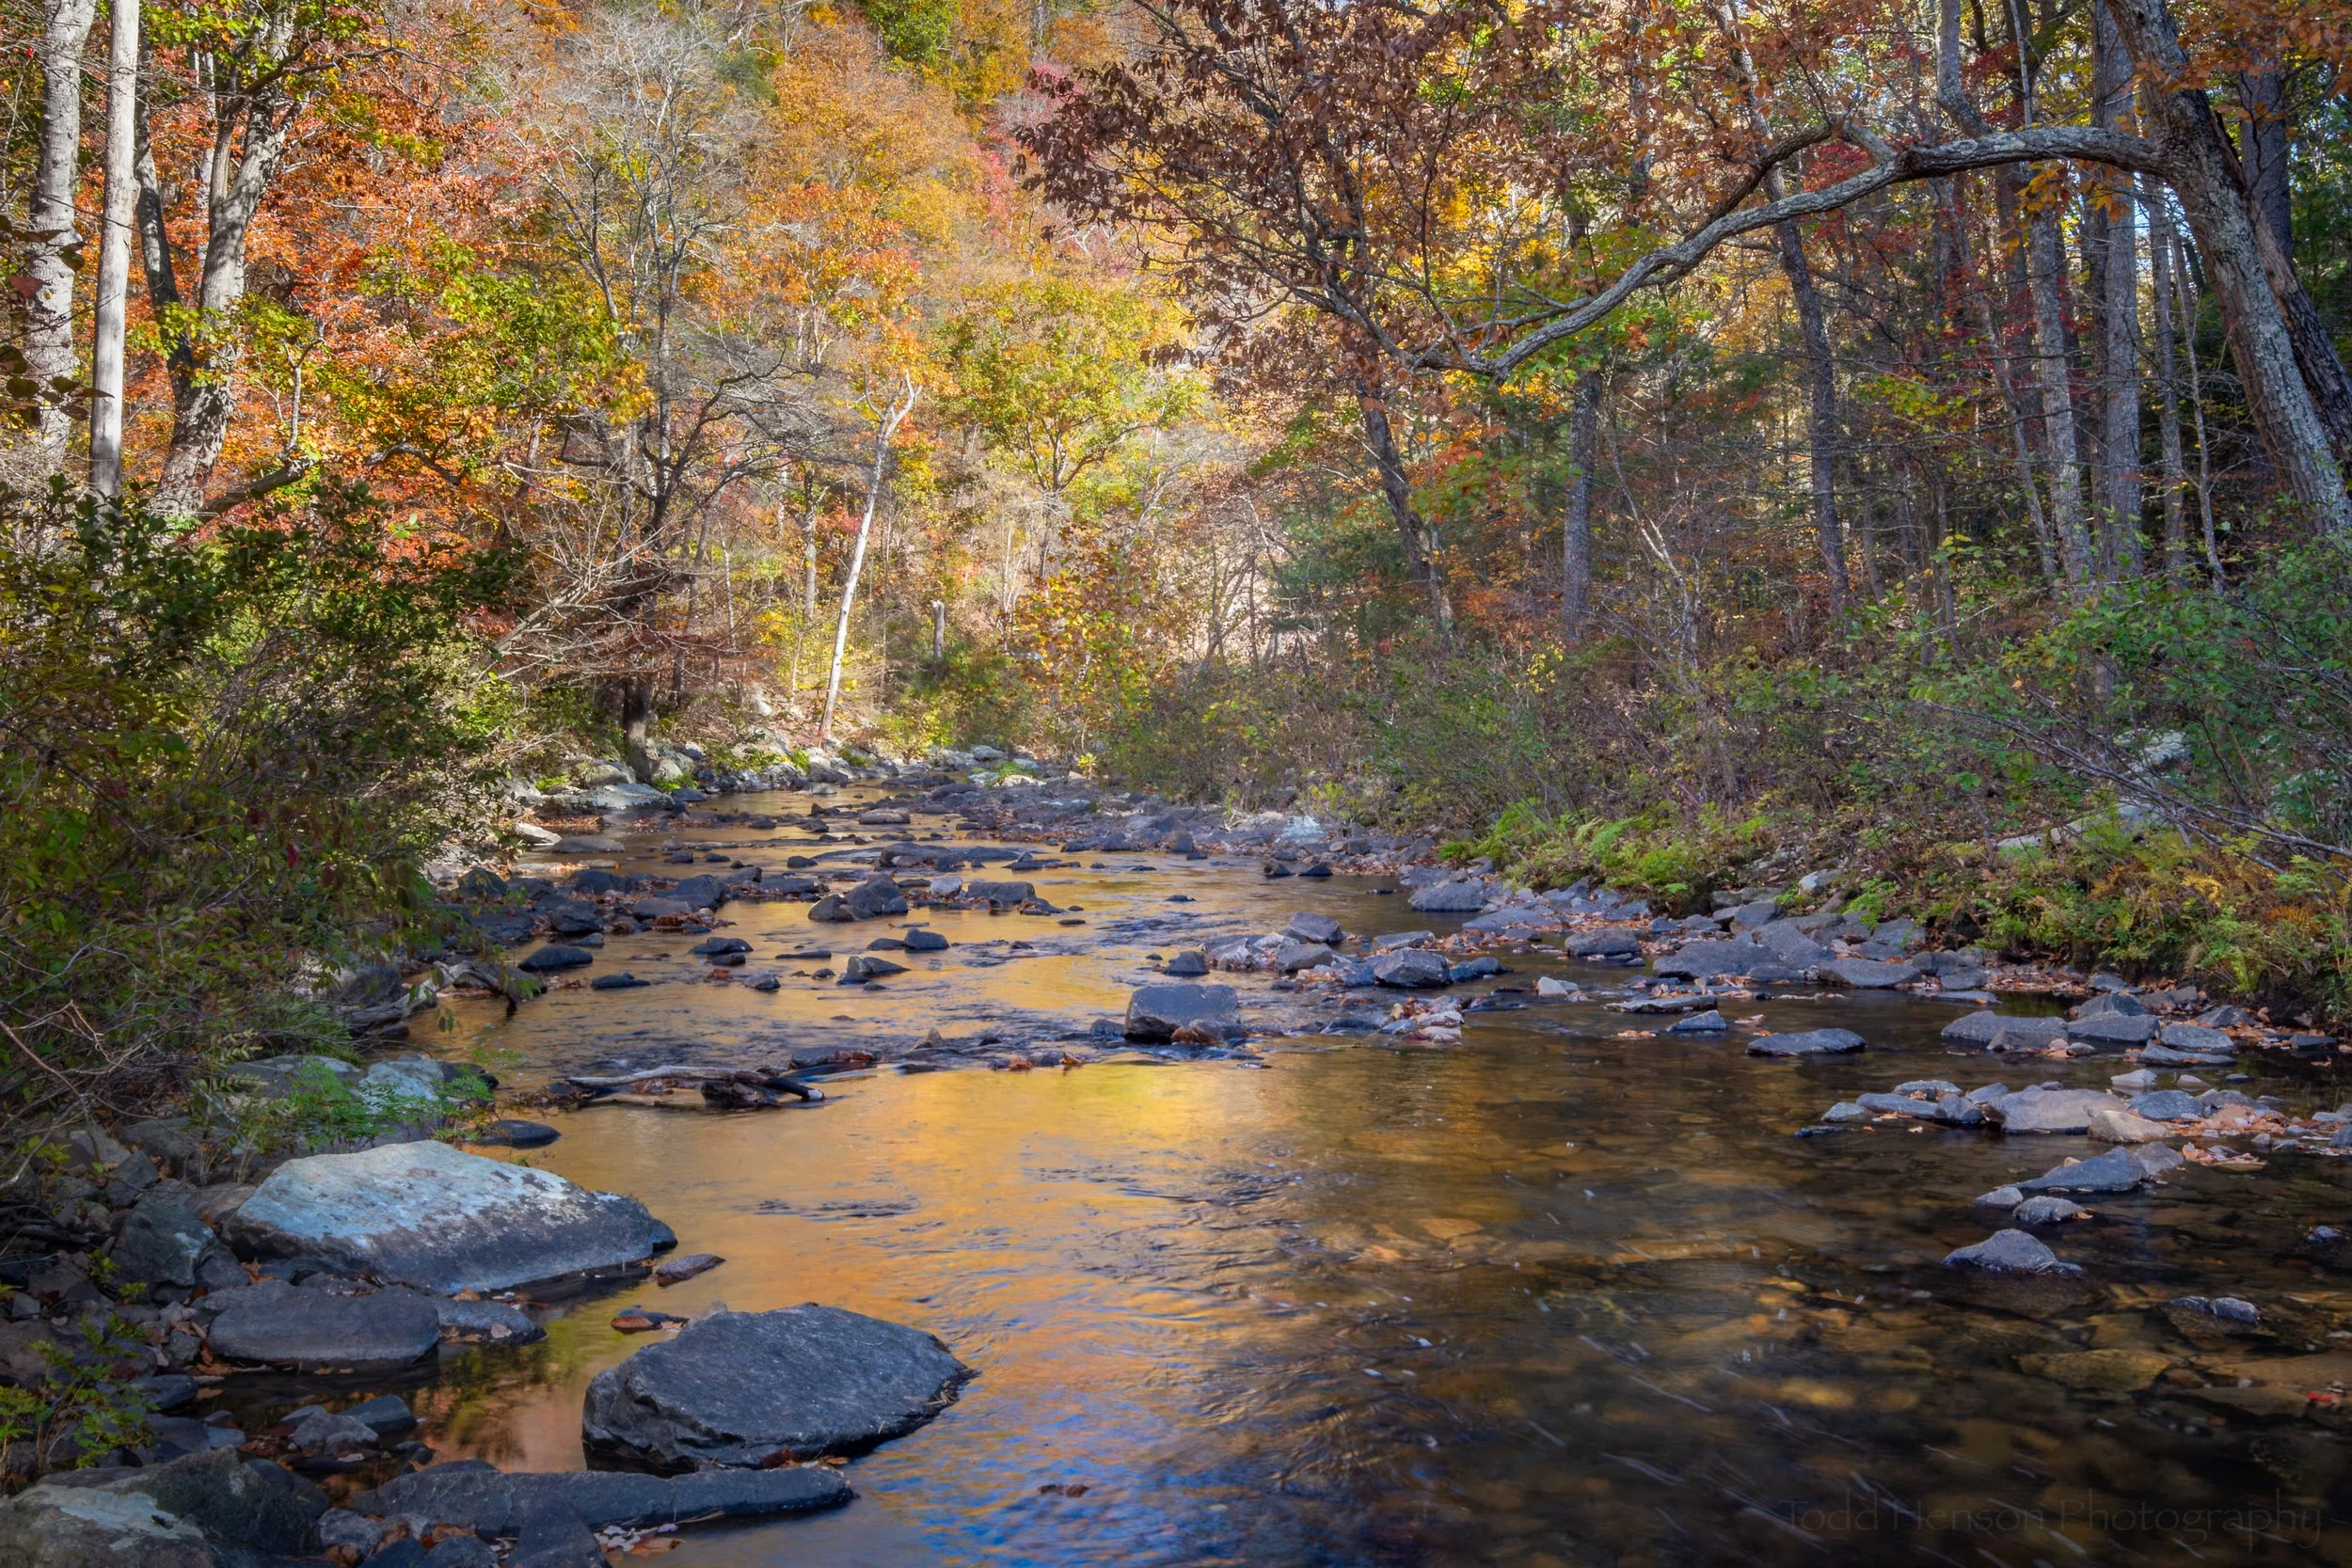
The image at the top of this post is the downstream section of cascades. There’s a large tree at a bend in the creek, visible on the left side of the photo. I climbed down to the waters edge, being careful with my footing as many sections of the creek floor were covered in slippery green growth. But I wasn’t quite careful enough. I’d stepped into the creek at one point and when I walked back onto a flat section of dry rock my wet boots either had picked up something slick from the water or the dry stone became slick when wet. I slipped and fell straight onto my back, camera and tripod in hand, held up high trying not to let them crash onto the rock or water. I felt a little guilty about this as I was hiking with my father and when he saw me go down he rushed over to be sure I was ok. I was, though I did end up with a sore bruise on my back for a couple days.

It was after the fall I walked up close to the tree and found the composition you see above. At first I tried composing without the tree, but I ended up liking the interesting shape of it even though you can only see a small section.

Just a little ways upstream is the first set of cascades, interestingly also with a tree right at the edge, though not as large or curiously shaped. But this one had a nice bit of green moss growing about its base which I really liked. I’m curious to return later in the year and see how this develops.

For this cascade I decided to try another experiment with the polarizing filter. I created one image with lots of reflections and one with the filter eliminating almost all reflections. Then I combined the two, keeping some reflections in some sections and eliminating them from others.

Upper Quantico Cascades (lots of reflections)

Upper Quantico Cascades (minimal reflections)

Upper Quantico Cascades (merged exposures)

What drew to me to conduct the polarizer experiment were the reflections close to the tree. There was a somewhat bright spot, which then faded to a wide line with no reflection, as the tree blocked the light from the sun. That seemed a little off to me. But I did like the bit of reflection between the mossy land and the water just below. I also liked the shapes the reflections created a little further in. So I created the two versions knowing I could combine them in software when I got home.

Click the image below to cycle through each version for comparison:

Let me know which of these versions you prefer in the comments below.


Do you enjoy these posts?

Sign up to receive periodic emails with updates and thoughts. Don’t worry, I won’t spam you. And please consider purchasing artwork or products from my online store, and using my affiliate links in the sidebar to the right when shopping online.

I appreciate your support!


Turbulence in Motion by Todd Henson

On a recent walk through the woods I felt the pull to try something different, to experiment with a style of photography I don’t often practice, something more abstract and dynamic. I decided to use intentional panning of the camera to create motion blurred images of static scenes, something I’ve seen other photographers do but haven’t very often tried myself.

Horizontal panning, where you move the camera in a relatively straight line left and or right, is sometimes used to create beautifully abstract images of shorelines where there’s nothing distinct or recognizable in the photo but instead just a blur of lines and colors. The closet I can easily come to shoreline is along a creek or river, so that’s what I decided to try first. I experimented using longer or shorter shutter speeds, and I tried moving the camera both left and right during an exposure, as well as just moving left or just moving right. It was fascinating seeing all the various effects this created.

Inside Saturn

In this first image I swung back and forth very quickly, never stopping my motion. I was using a wide angle lens, 16 mm, and I was fairly close to the creek, so when I panned back and forth it created curved instead of straight lines. At first I’d considered trying to straighten them in software, but instead I decided to accentuate the curves by distorting them even more. To do this, instead of choosing my specific lens in Lightroom’s profile section I chose a GoPro lens profile, which created a more fisheye view. I also adjusted some of the colors, making them more saturated. I figured, there’s nothing real or recognizable in this, so no reason to stick strictly to what I saw.

Another fascinating effect you can create is when you’re panning but you slow down enough, or even stop for brief moments during the exposure. This created the image below, where there is still plenty of motion blur, but you can also see some of the scene, the creek below, the far banks and the trees of the forest beyond. Using the same techniques in slightly different ways can give vastly different results.

Creekside Flashbacks

Focusing downward, on the moving water of the creek and small sections of disturbance, while still panning horizontally, created the following image. I imagine it as a closeup of the storms on Jupiter with the beautiful bands of colored clouds, storms raging within. The browns at the top are from the bank on the other side of the creek. They are very streaked and blurred from the motion. Interestingly, the moving water has a very different look than the bank. Some of the water closest to the lens seems to have very little motion blur to it, while a small section of disturbed water flowing over rocks takes on the form of the white storm clouds.

Storms on Jupiter

You can also pan vertically, up and down. As with the horizontal panning, you can pan both up and down in a single exposure, or pan just upward or just downward, each creating different effects. How fast you pan and when and where you start panning also make a difference. Below are two examples of panning vertically at a stretch of trees. The first includes some of the sky, whereas the second is of the forested hillside but stops just as it hits the sky.

Dancing Trees

Hillside

Finally, on the way out I decided to try the horizontal panning technique with the road. I love this effect. It gives the feel of being in a car looking out a window at the road and scenery flying by. And yet here, I was standing in one place and panning my camera along the road. With most exposures the road was blurry, but in this one I managed to capture the painted lines relatively well focused. It might have been interesting to do this as a car went by, panning with the car.

The Road in Motion

If these techniques are new to you then give them a try sometime. The key is creating slow enough shutter speeds to let you move the camera during the exposure. To do this you can lower your ISO as low as your camera allows and stop down your aperture until you get slow enough shutter speeds. In the case of these images I used ISO 100, apertures between f/18 and f/22, and shutter speeds of 1/20 to 1.3 seconds. The rest is all about moving your camera. And you don’t need to restrict yourself to horizontal or vertical movement, you could also rotate it or move it in various directions. Experiment!

One final comment on post-processing these. By using such small apertures you will begin to notice sensor dust in your images. That’s an unfortunate side effect of small apertures, the depth of field is so great you start to see actual dust accumulated on your camera sensor. This is easy enough to get rid of in software, but you should know to look for it. You’d think with photographs this abstract it wouldn’t be a concern, and yet it really stood out in some places.

I had a lot of fun creating these images. Sometimes experimenting and using techniques you usually don’t can be an exhilarating experience, giving you new ways to look at the world around you, new ways to visualize the sorts of photographs you’re capable of creating. I hope you’ve enjoyed this, and I hope it inspires you to try your own experiments.


Do you enjoy these posts?

Sign up to receive periodic emails with updates and thoughts. Don’t worry, I won’t spam you. And please consider purchasing artwork or products from my online store, and using my affiliate links in the sidebar to the right when shopping online.

I appreciate your support!


Texture: Tree and Stone by Todd Henson

Exploring textures of tree and stone

What is it that draws our eye to a scene, that leads us to believe there may be the potential for a photograph? It can be any of an almost unlimited list of things, and we’re each different so that list might differ by person. But one item in many of those lists might be texture.

My father and I were hiking along a new trail in a familiar park, taking in the scenery that was new to us, enjoying this little bit of exploration. This particular trail was changing elevation more than some, and the trail was a bit narrow in places. Thankfully, we were almost completely alone. In fact, we only once ran into anyone else, and strangely enough we ran into each other from opposite directions but both decided we’d gone as far as we wanted for that day, so we all said hello and goodbye and turned around heading back the way we’d come.

At some point I’d noticed something out of the corner of my eye, just a little ways off the trail. It was a set of huge lichen encrusted boulders with a small tree growing right up against them. I can’t say exactly what it was that initially drew my eye to this, but when I saw the scene I knew it had potential, and I knew some of that potential involved the fascinating textures of the tree and stone.

I don’t know if this particular image realizes the potential of the scene, but it gives an idea of what I was seeing and thinking at the time. There was a large background boulder with lots of green moss or lichen growing all over it. Closer in was a boulder, also with some lichen, but the stone had a bluer cast to it. And finally, there was the tree growing against the boulder, as if hanging out with a friend. It was also covered in lichen.

Each of these elements has different textures, and yet there is some similarity as well. And I think that’s part of what drew my eye without me realizing it at first. I saw some patterns, and when looking closer I saw textures that melded into one another but also had their own unique characteristics. And I wanted to capture that.

I suppose I’d consider this a photographic sketch, similar to what I’d mentioned in a previous post about exploring a stretch of creek. Sketches are when I’m exploring a scene, when I know something’s there but maybe I’m not quite in the right mind yet to figure out exactly what that is. I will usually try to take a step back and photograph the larger area to give me more context when looking back at the images, but in this case I didn’t do that. I probably should have. But even so, this image is enough to push me to return to that part of the trail, to try to find this scene again, and to spend a little more time exploring its possibilities.


Do you enjoy these posts?

Sign up to receive periodic emails with updates and thoughts. Don’t worry, I won’t spam you. And please consider purchasing artwork or products from my online store, and using my affiliate links in the sidebar to the right when shopping online.

I appreciate your support!