Techniques

Piney Point Lighthouse (Black & White) by Todd Henson

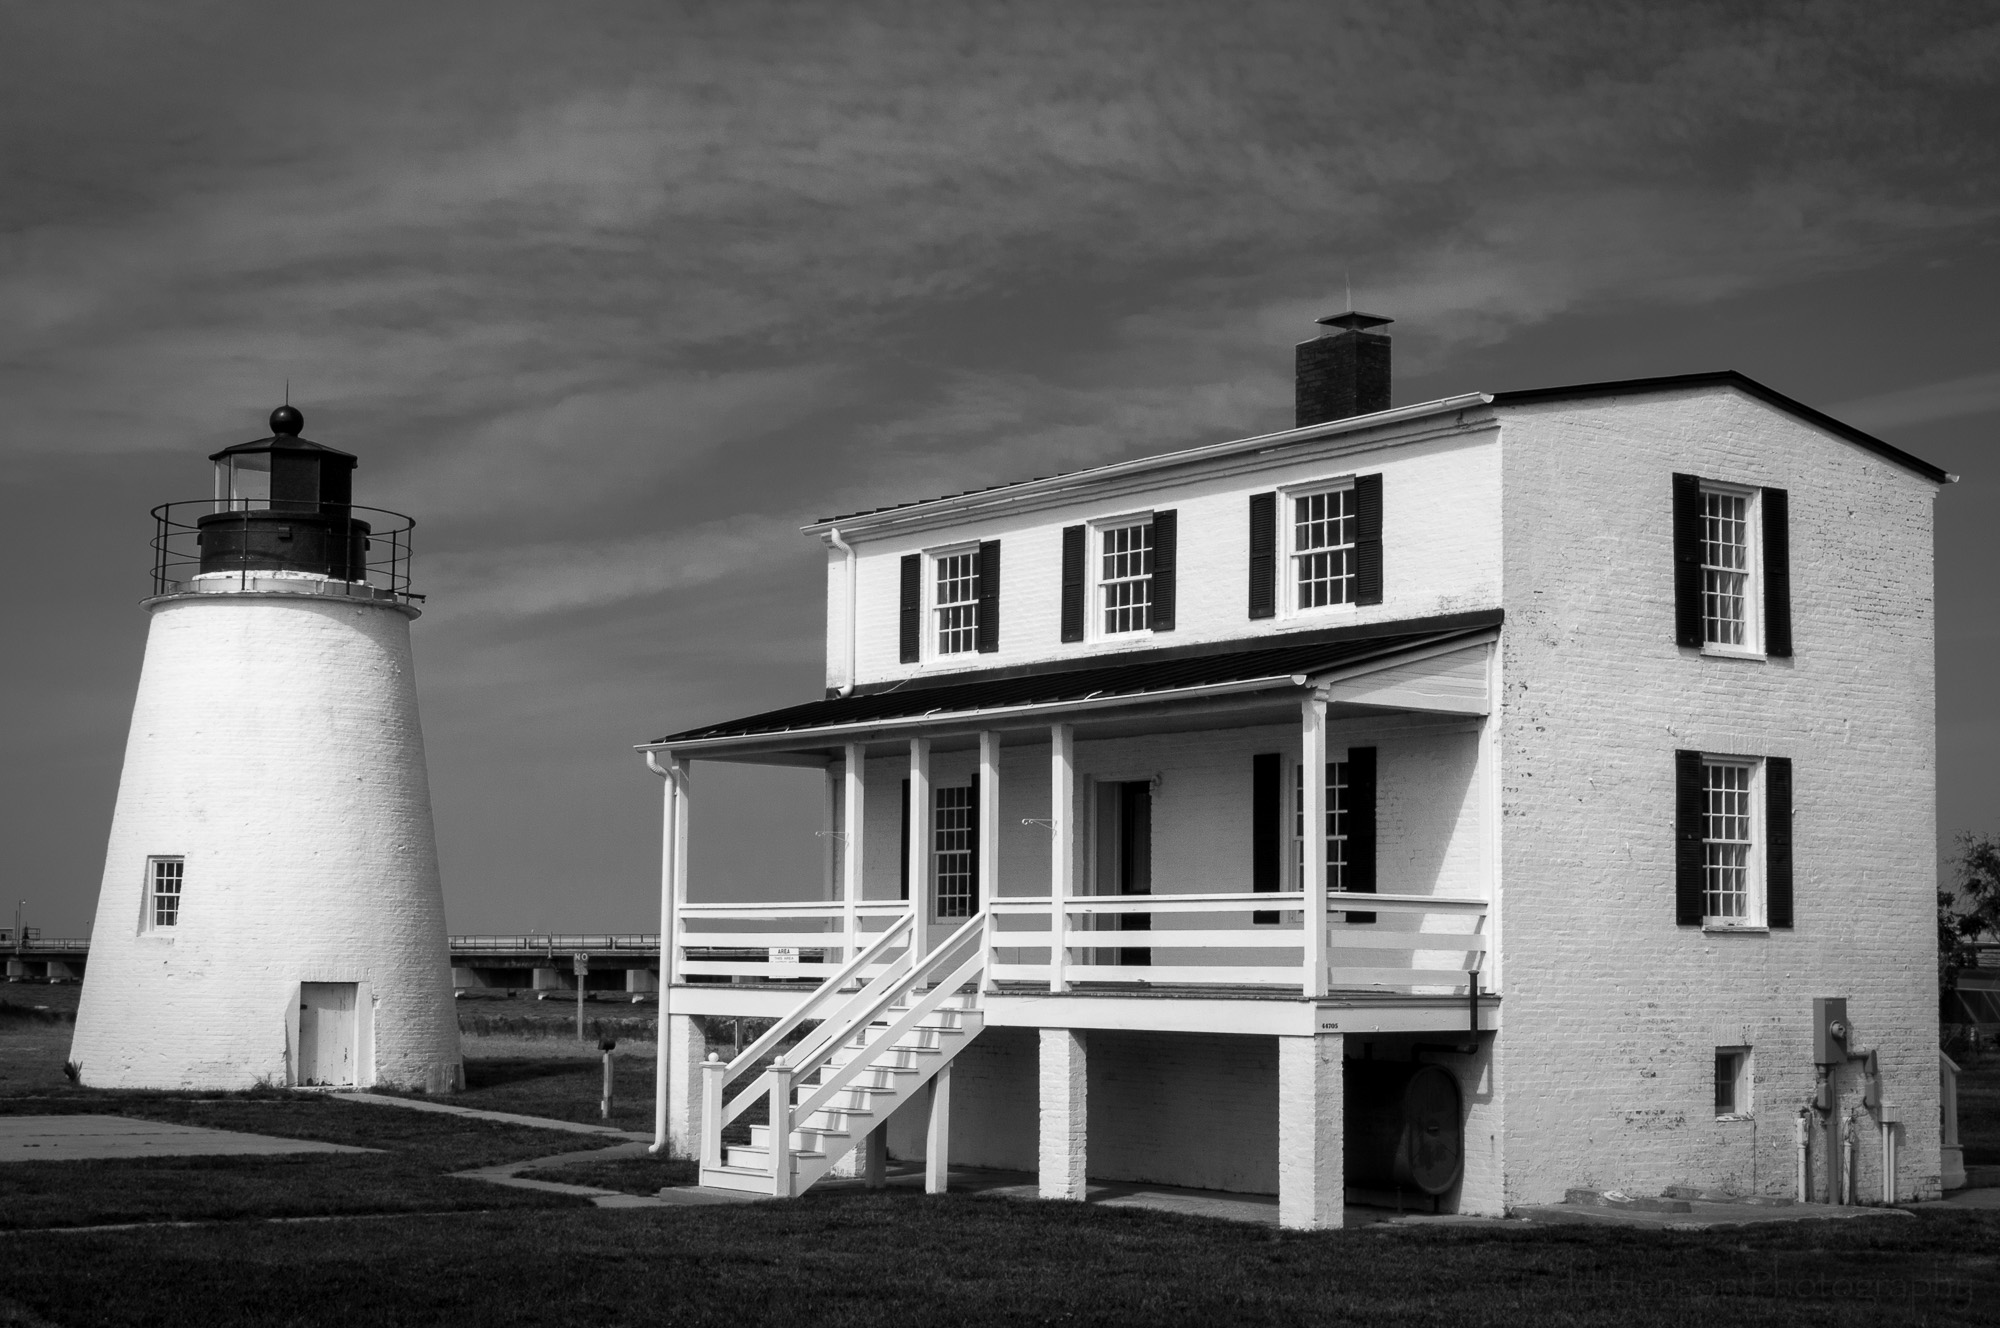
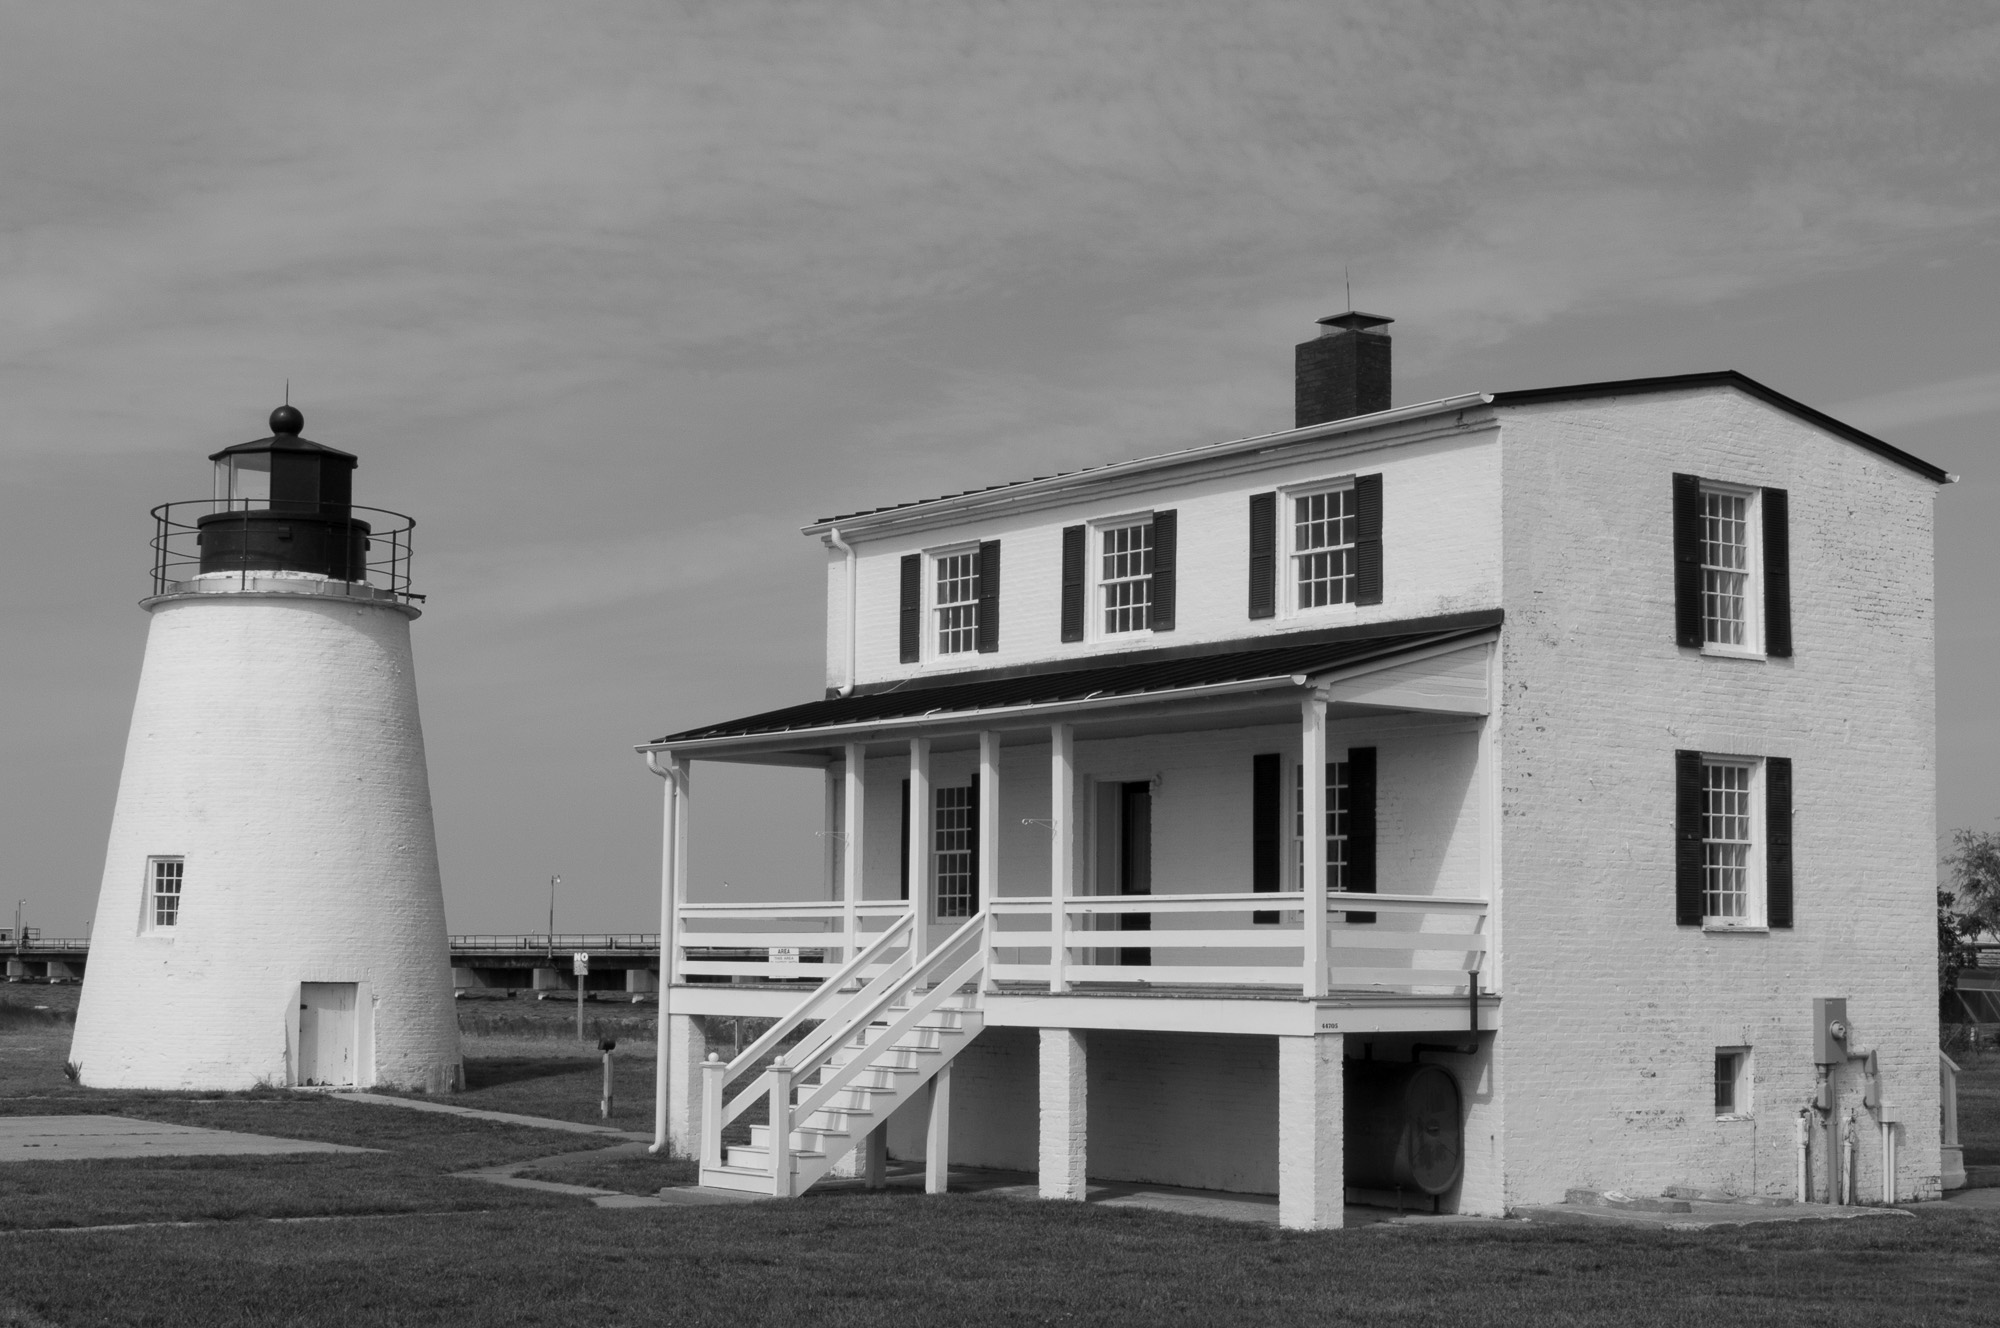
Black and white image of Piney Point Lighthouse in St. Mary's County, Maryland

Converting a photograph from color to black and white can sometimes bring new life to an otherwise ordinary image, as seen in this image of the Piney Point Lighthouse in Maryland. And some images just seem better suited to black and white. In the days of film you chose either color or black and white film and from there your decision was fixed. Shooting in digital gives much more flexibility.

The camera captures all the color information. You can then choose to either keep the image in color or convert it to black and white. And with the software we have today we’re able to use all the color information available to map colors in the color image to tones in the black and white image.

We don’t just drop the color and turn it greyscale. Software such as Adobe Lightroom makes this process very easy. This particular image of Piney Point Lighthouse in Maryland was processed completely in Lightroom. If you want more powerful options you can use Adobe Photoshop, perhaps taking advantage of layers and channels. Various plug-ins for Lightroom and Photoshop, such as Silver Efex Pro from the Nik Collection and ON1’s Perfect B&W, provide many presets and increase the ease of use. The digital workflow for black and white is very flexible, and you can keep it as simple as you’d like, or experiment with an almost endless array of options.

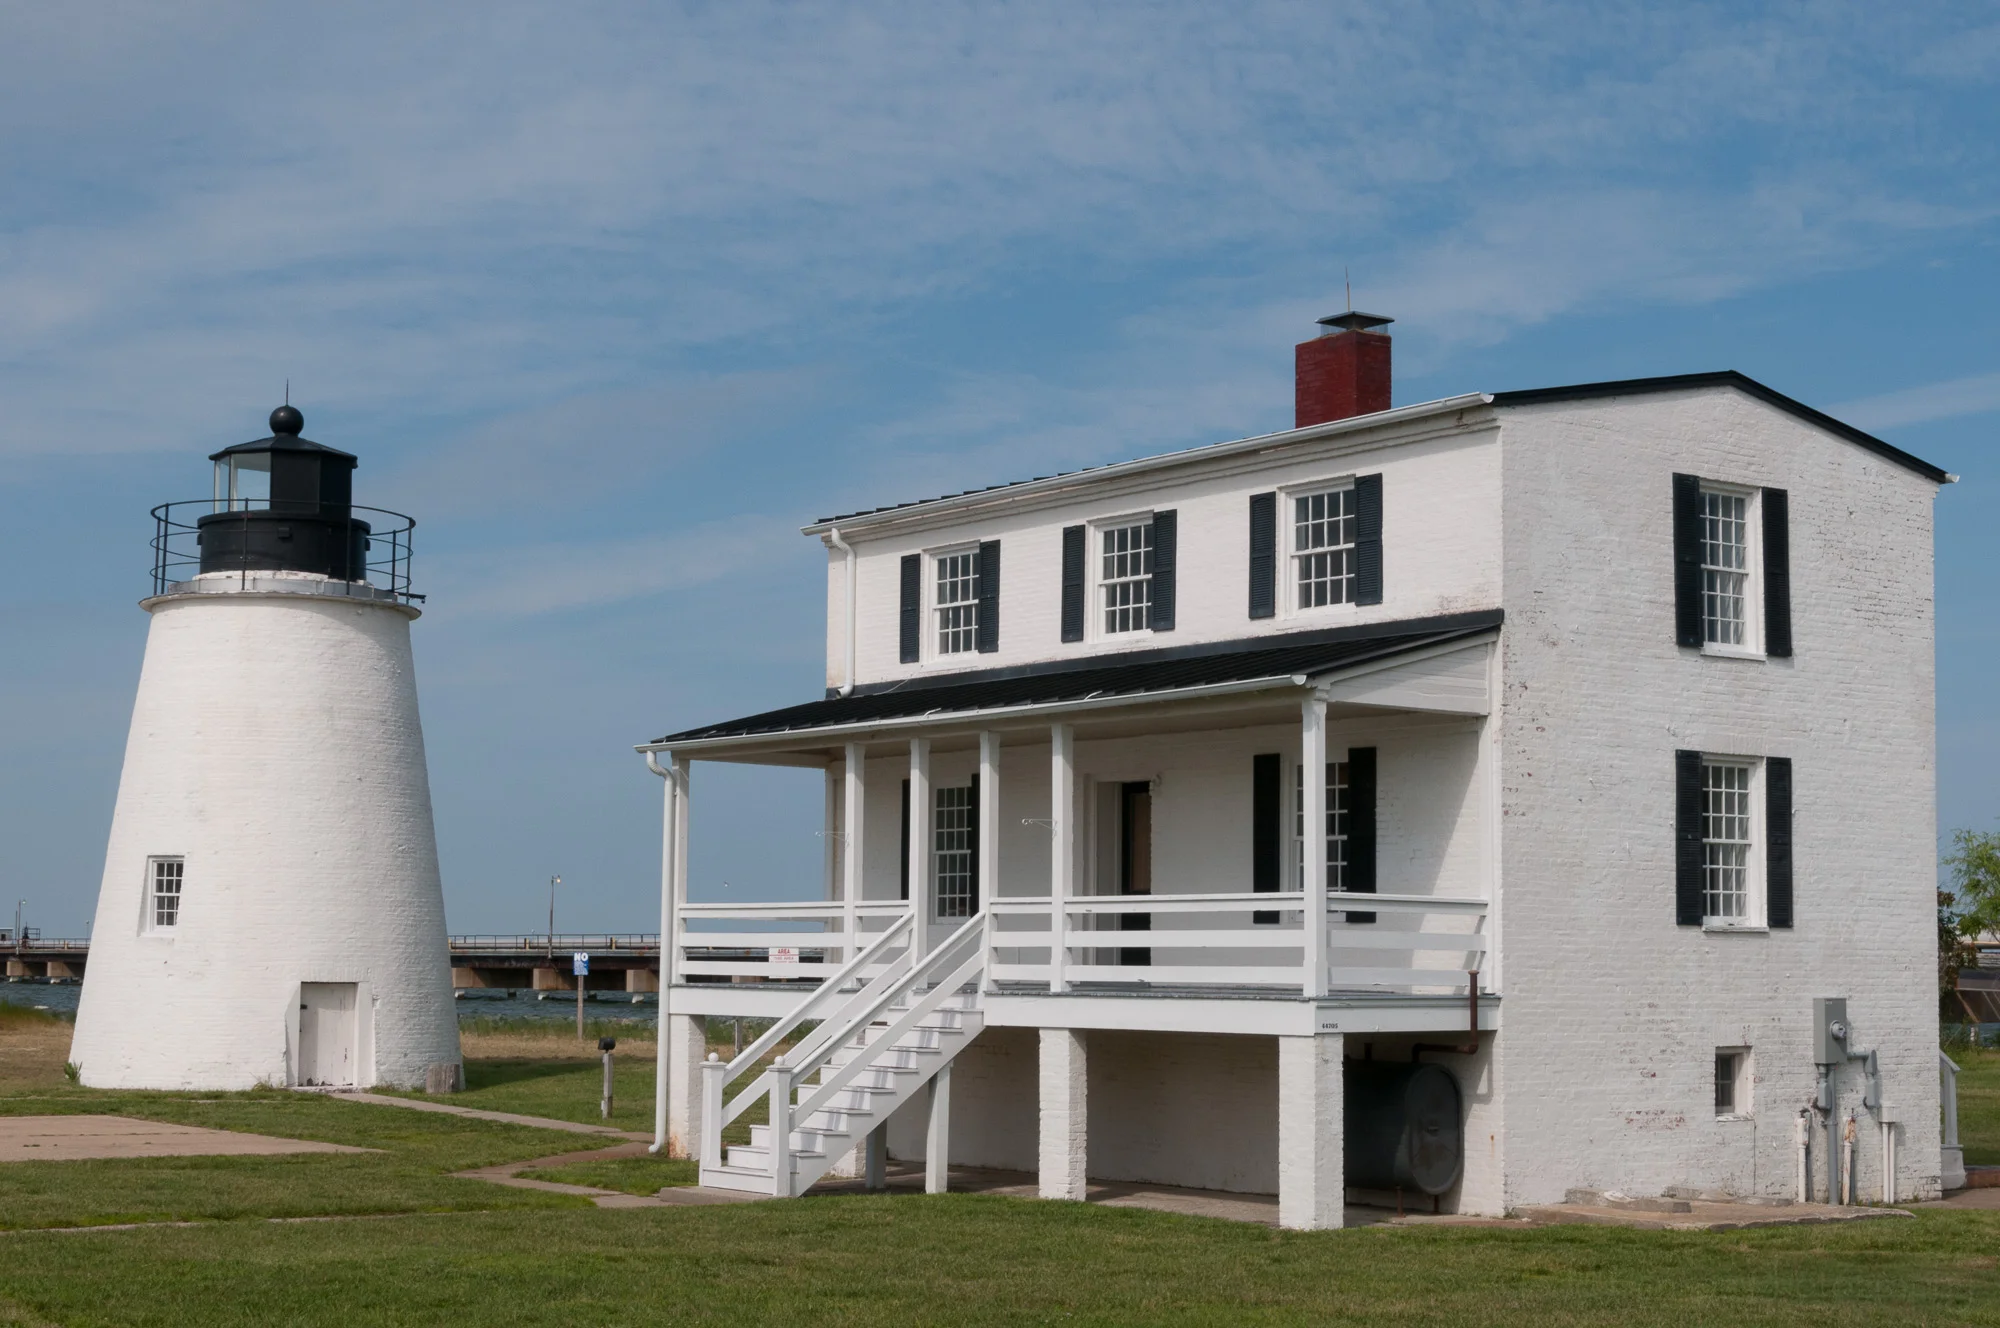
Color image of Piney Point Lighthouse in St. Mary's County, Maryland

The color version of this image is ok. It’s a decent documentary photograph, but it’s nothing special and the color doesn’t contribute much to the image. So I converted it to black and white to see what I could make of it.

Lightroom settings: Initial conversion before any tweaking.

Once it was in black and white I did many of my usual adjustments, tweaking whites and blacks, highlights and shadows, and various other global adjustments. The power of the black and white conversion is in the mapping of colors to tones. In Lightroom this is done with the Black & White Mix panel. This is where we can tweak 8 color channels (red, orange, yellow, green, aqua, blue, purple, and magenta), adjusting each of their tones, making them lighter or darker. This lets us choose what we’ll set to white, to black, and to the various levels of grey. We can adjust each slider, or we can click the little circle in the upper left corner of the panel, then click on an area of the image. This selects that color and lets us slide the mouse up and down to adjust the tonal mix of that color. This is a great way to quickly tweak all the tonal ranges.

Lightroom settings: Final conversion.

I selected the blue in the sky and darkened it, while selecting the clouds and keeping them a little lighter. This helped bring out a little texture in the sky, something I felt was missing in the color image. I darkened the green of the grass. I kept the whites of the house and lighthouse white, and darkened the trim, which was already black in the color image. I made a number of other minor adjustments, adding a vignette, applying lens corrections to keep straight lines as straight as I could, and applying various local adjustments. I also removed a light post from the bridge that bothered me. If this image were intended to be journalistic I would not have removed anything.

Click on the image or thumbnails below to see the color image, the initial black and white conversion, and the final black and white conversion:
Overall, I’m pleased with the results. I love black and white images, and I’m beginning to explore the conversion process in some of my older images. Next comes the process of learning to pre-visualize images in black and white when I snap the shutter, knowing I will later convert it to black and white. I have to think being intentional about the process can only lead to better images.

If you’re interested in the lighthouse, itself, it is located at Piney Point in St. Mary’s County, Maryland. And be sure to stop by the Piney Point Lighthouse Museum, as well.


Do you enjoy these posts?

Sign up to receive periodic emails with updates and thoughts. Don’t worry, I won’t spam you. And please consider purchasing artwork or products from my online store, and using my affiliate links in the sidebar to the right when shopping online.

I appreciate your support!

Comparing Infrared to Visible Light by Todd Henson

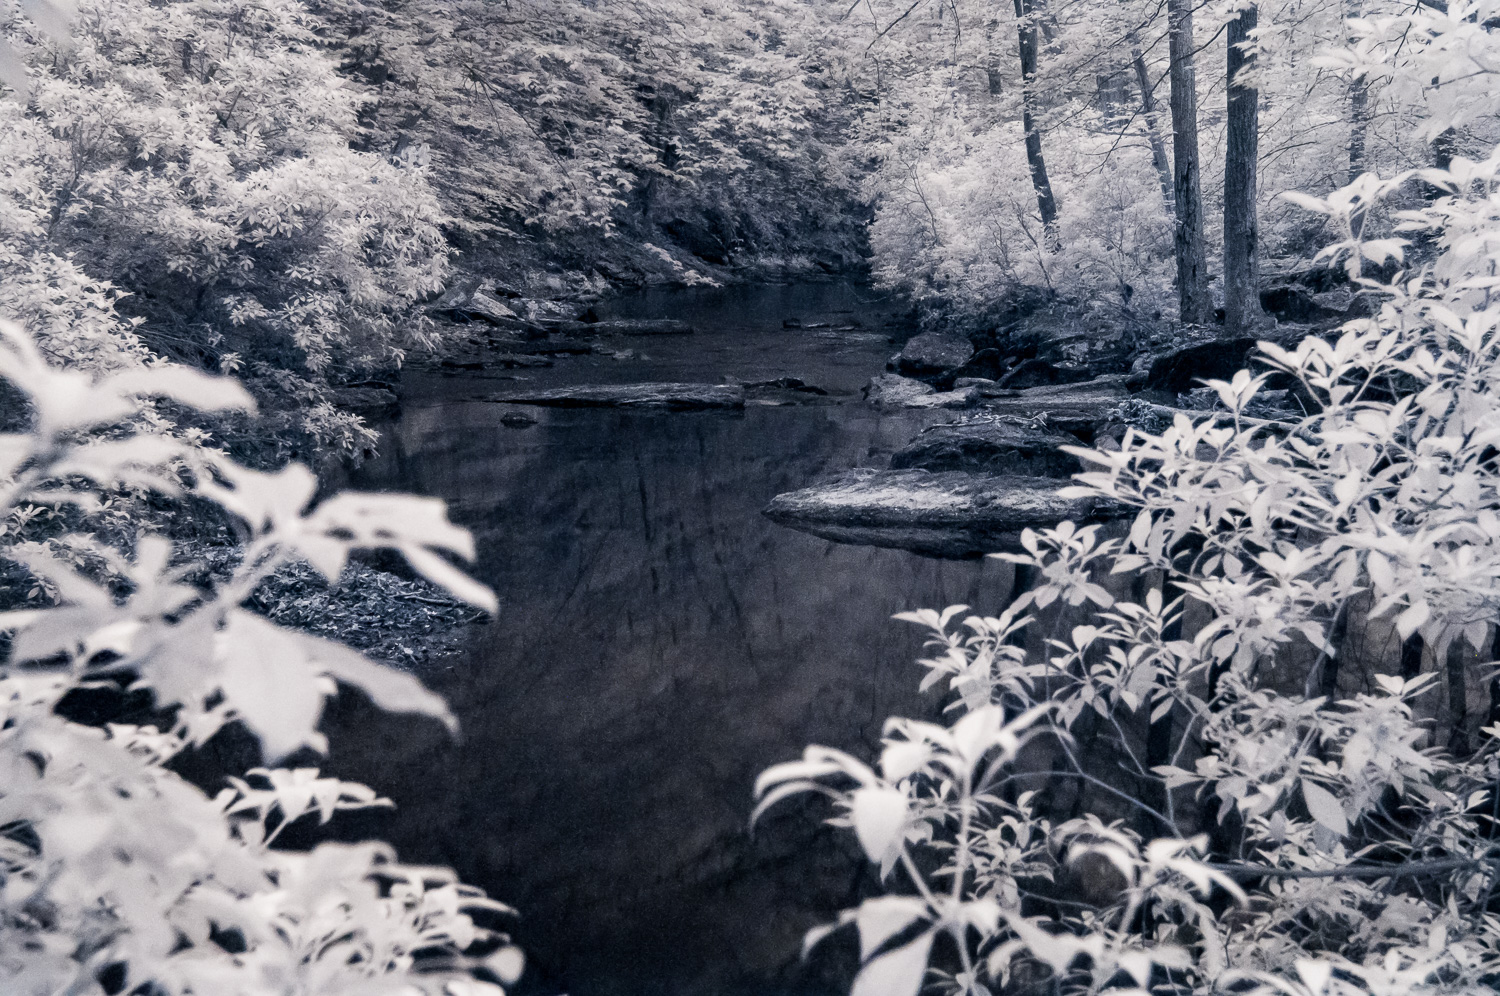
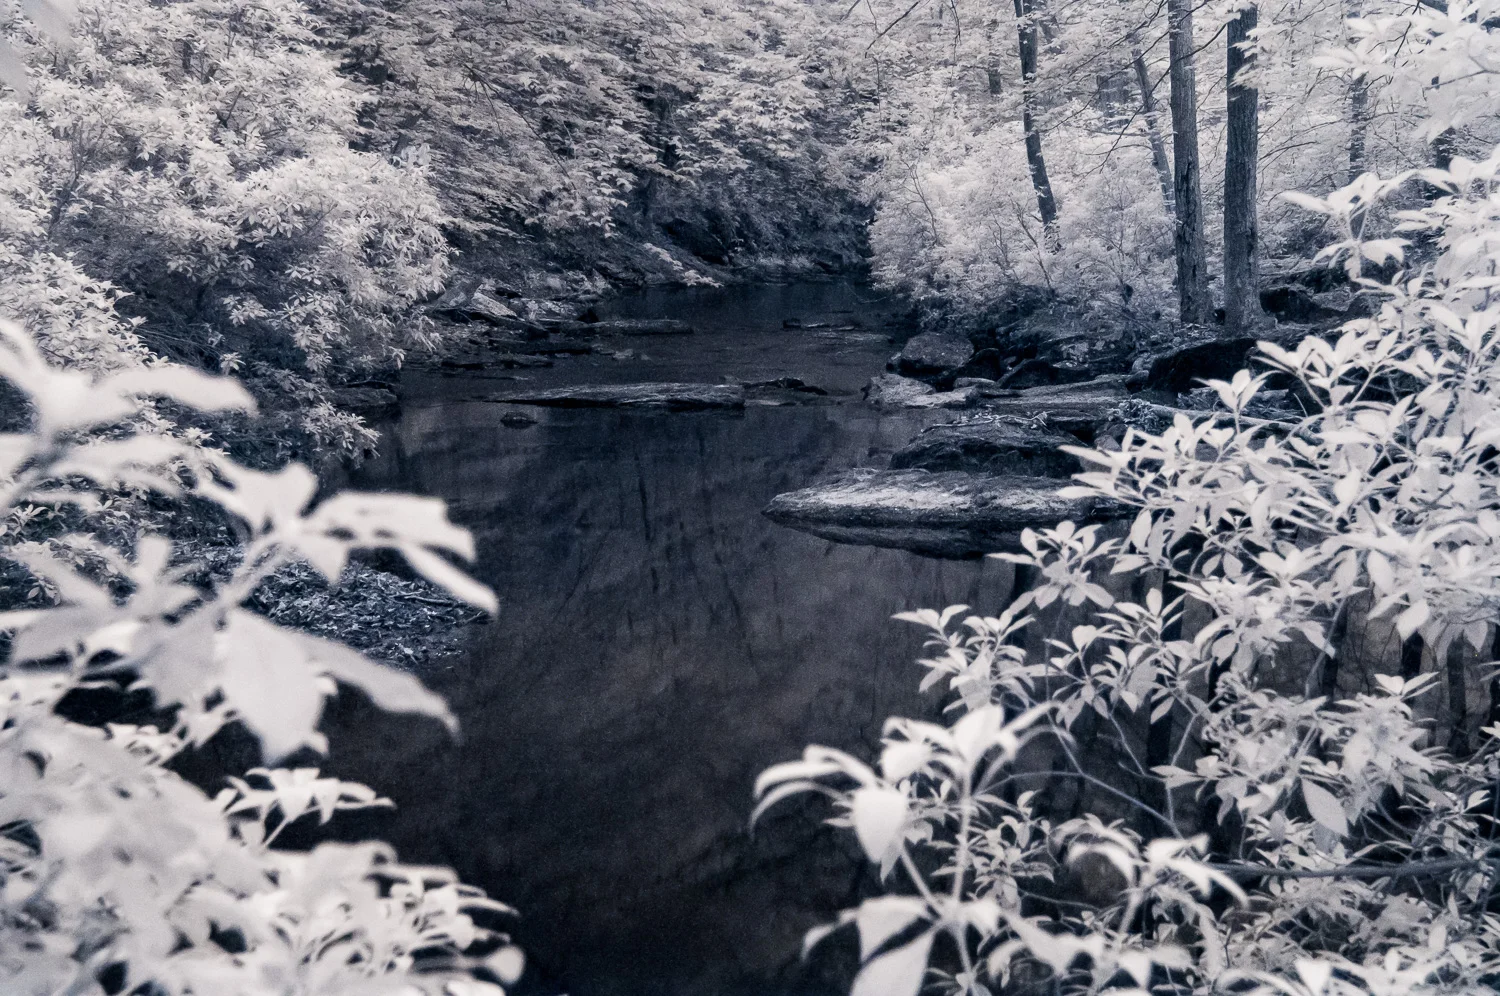
Infrared image of Quantico Creek along the Birch Bluff Trail in Prince William Forest Park

I continue to be fascinated by infrared photography, even though my setup isn’t ideally suited to it. To take the most advantage of infrared photography you likely should convert a camera, making it a dedicated infrared camera. But in my case I simply use a filter over the lens that blocks out virtually all visible light, leaving only infrared or near infrared. The problem with this approach is that most cameras come with an infrared filter right over the sensor. This is meant to block the majority of infrared light because infrared can cause fuzzy photos. So there’s not a lot of infrared light that actually makes it to my sensor, requiring long exposures to soak up enough light to make an image. My experiments in infrared usually require exposures of several minutes even with higher ISOs. This increases motion blur and contributes to noise, especially since my camera is not one of the more recent models with great high ISO capabilities (though it is decent).

But regardless of this, I’ve enjoyed using the add-on filter to see what I can do with it. I’ve started taking photos both with and without the filter so I can compare the two images, see how the infrared differs. Perhaps one of these days I’ll also try a composite image combining aspects of both visible light and infrared.

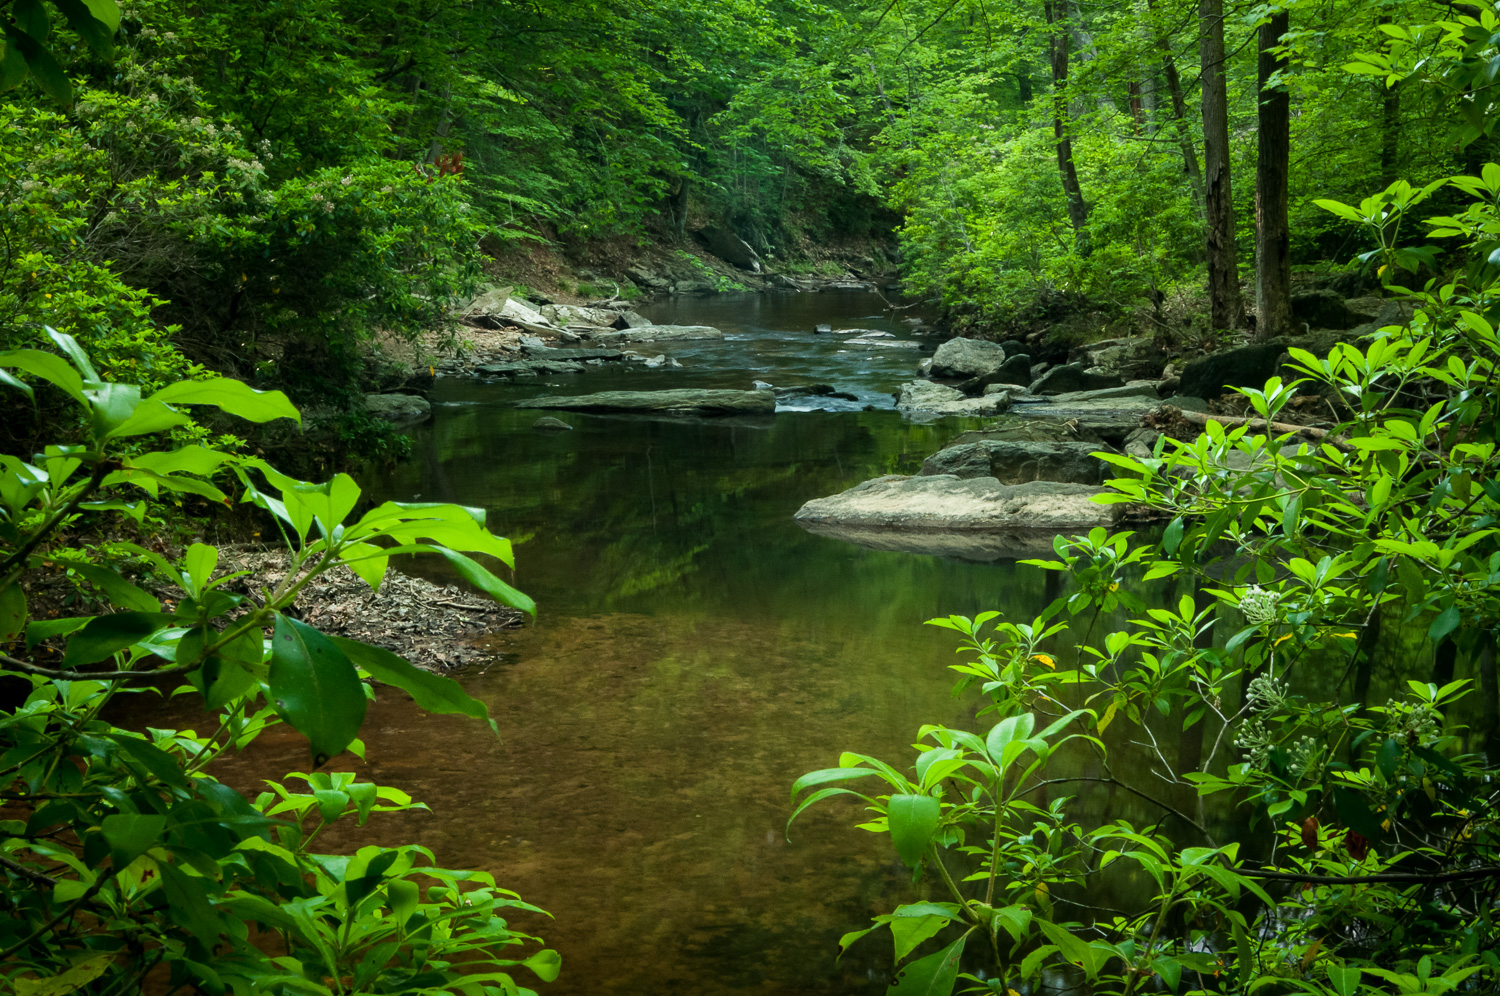
The images here were made along Quantico Creek on the Birch Bluff Trail in Prince William Forest National Park. They are not particularly remarkable landscape photos, but were made as experiments. It’s interesting to note how the infrared version differs. An obvious difference is the light glow of anything warm, such as the leaves and some small portions of the rocks. Being a several minute exposure the infrared photo has smoothed the water. The water is cool, so it stays dark and we can’t see much under the surface, but we do get a reflection of the trees and leaves.

Here is the natural light image

Here is the infrared light image

I’m enjoying infrared enough that I suspect one of these days I may go the expense of converting or purchasing an infrared dedicated camera. That would allow much faster shutter speeds, lower ISO, and reduce the noise.

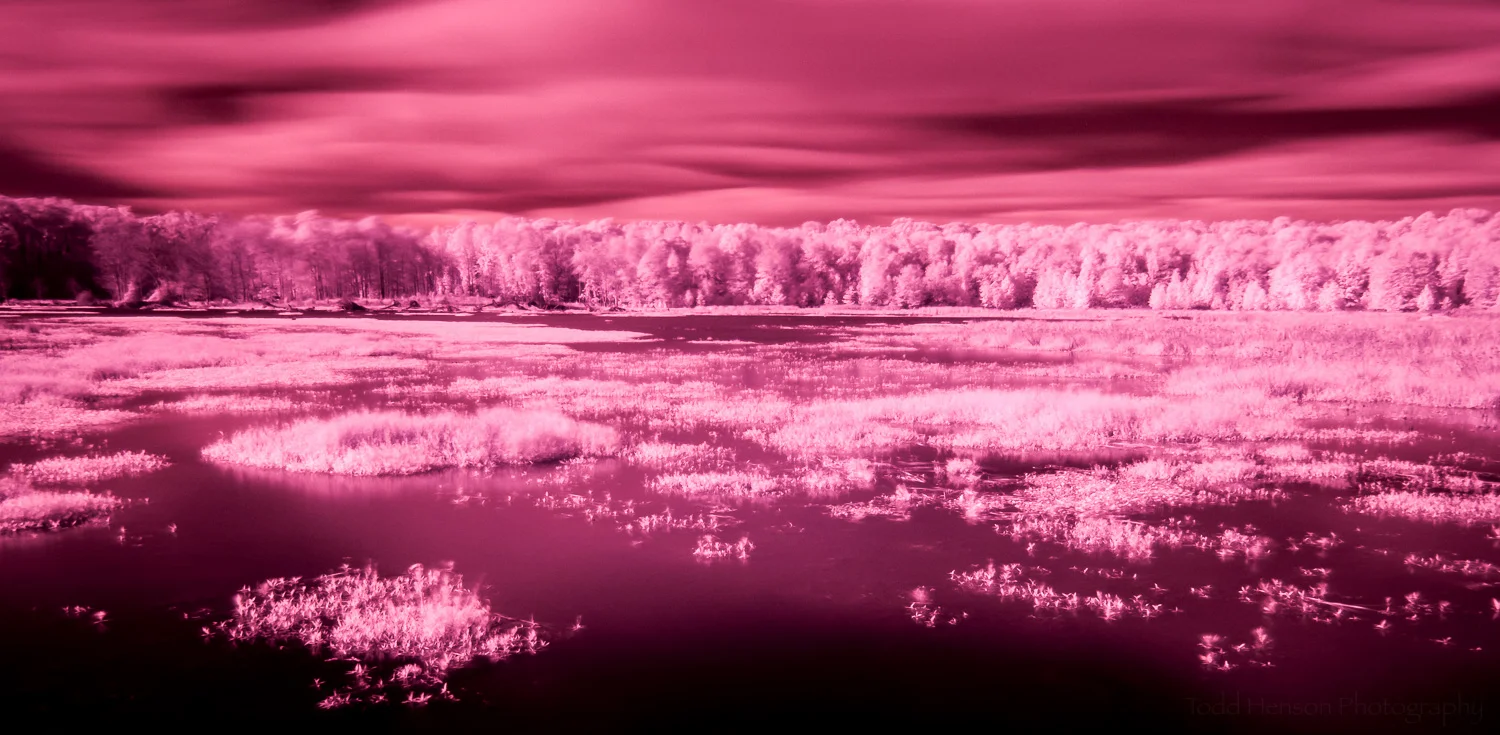
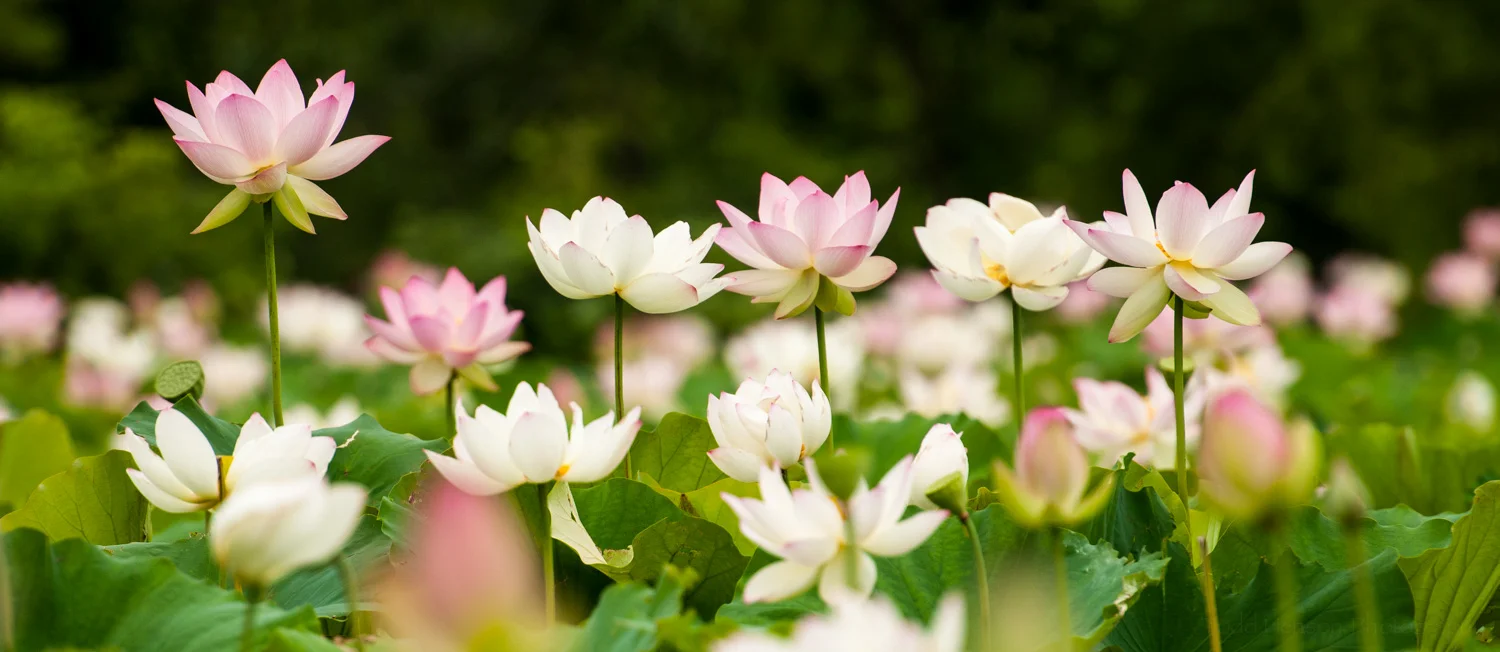
One of my past infrared experiments was at Kenilworth Aquatic Gardens, where I photographed their small bridge in front of the lotus ponds. And I made some infrared images of the Martin Luther King, Jr. Memorial and the Jefferson Memorial in Washington, D.C., during the Cherry Blossom Festival.

The infrared filter I used for this photograph is the Singh-Ray I-Ray 830, which completely blocks visible and ultraviolet light, letting through only infrared. I also have an I-Ray 690 that lets in a little more light, has a bit less of the pure infrared look, and allows for shorter exposure times.


Do you enjoy these posts?

Sign up to receive periodic emails with updates and thoughts. Don’t worry, I won’t spam you. And please consider purchasing artwork or products from my online store, and using my affiliate links in the sidebar to the right when shopping online.

I appreciate your support!

Focus Stacking Flowers by Todd Henson

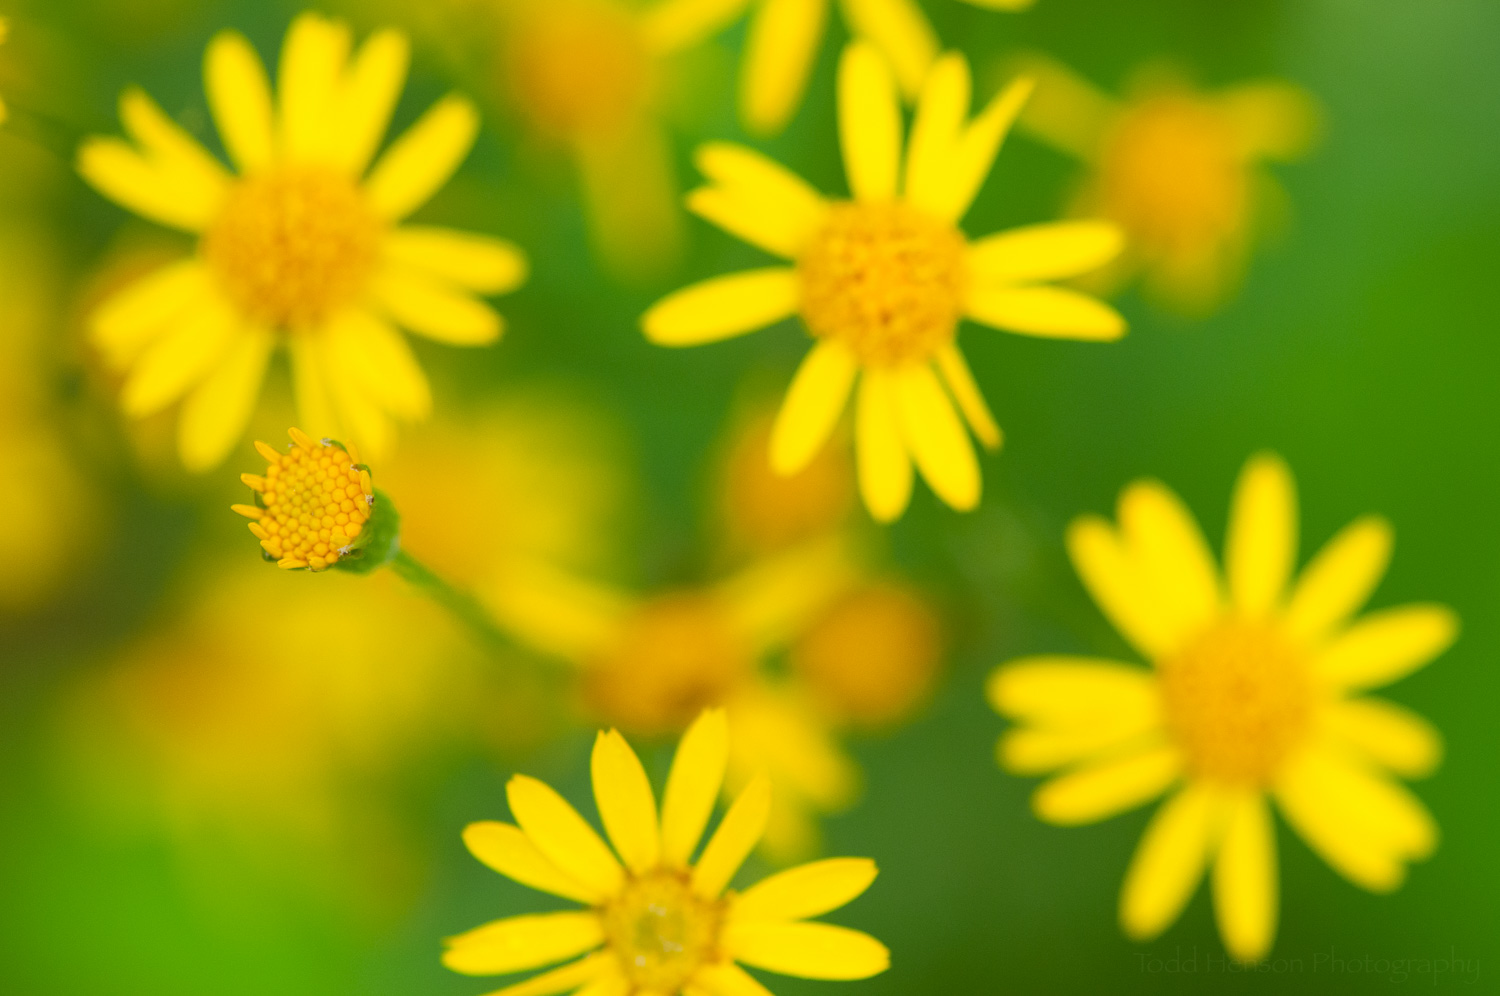
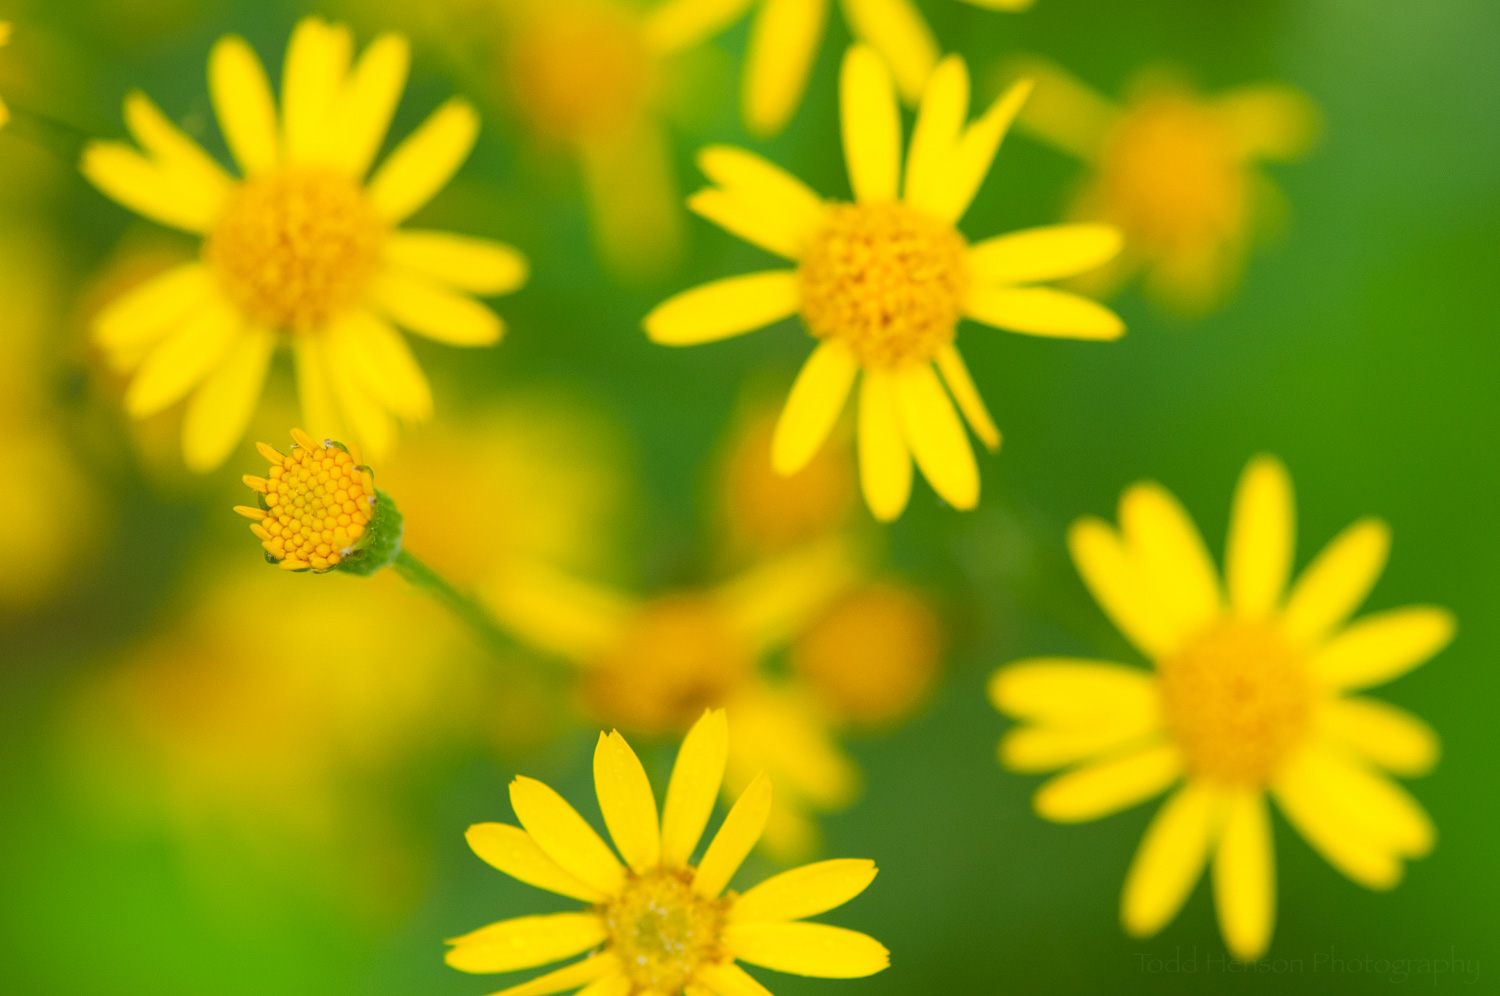
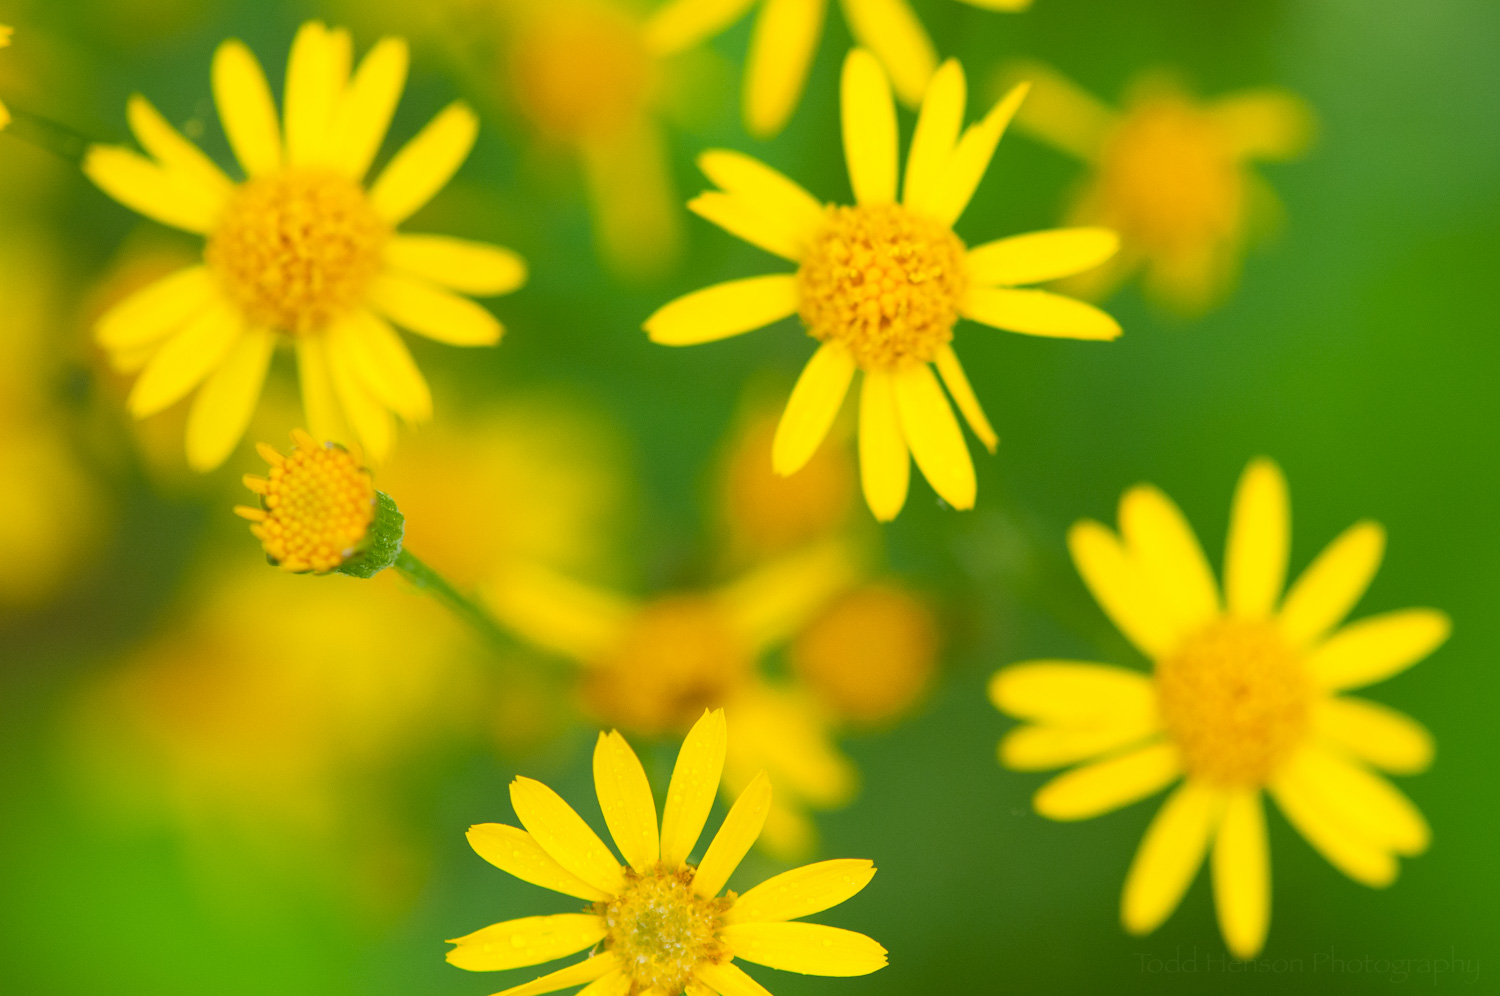
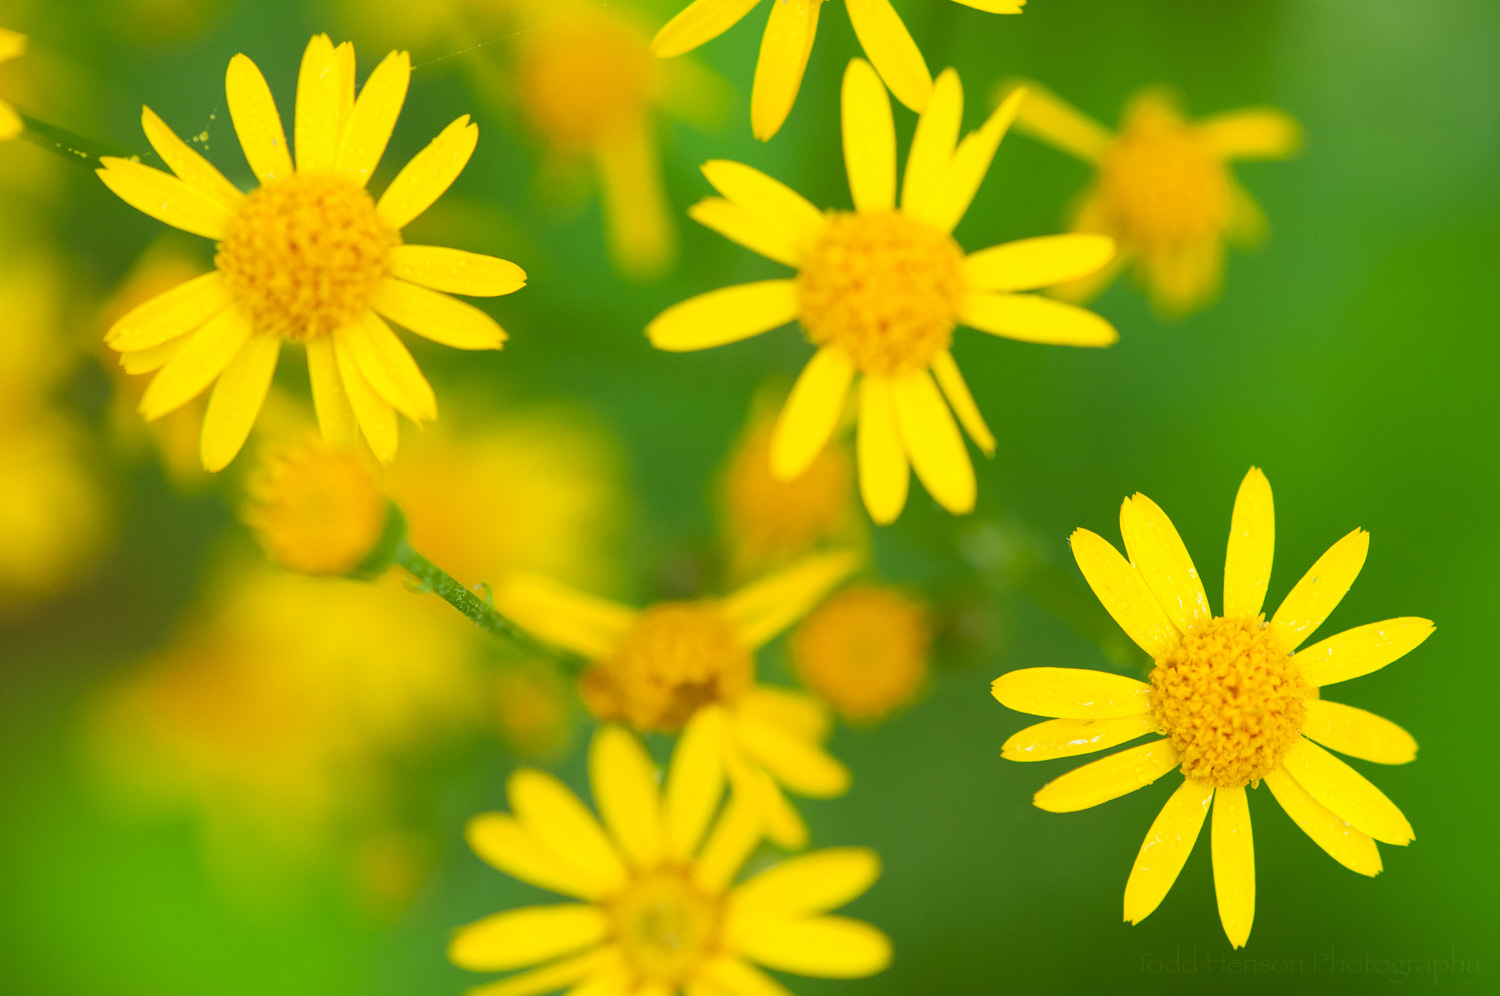
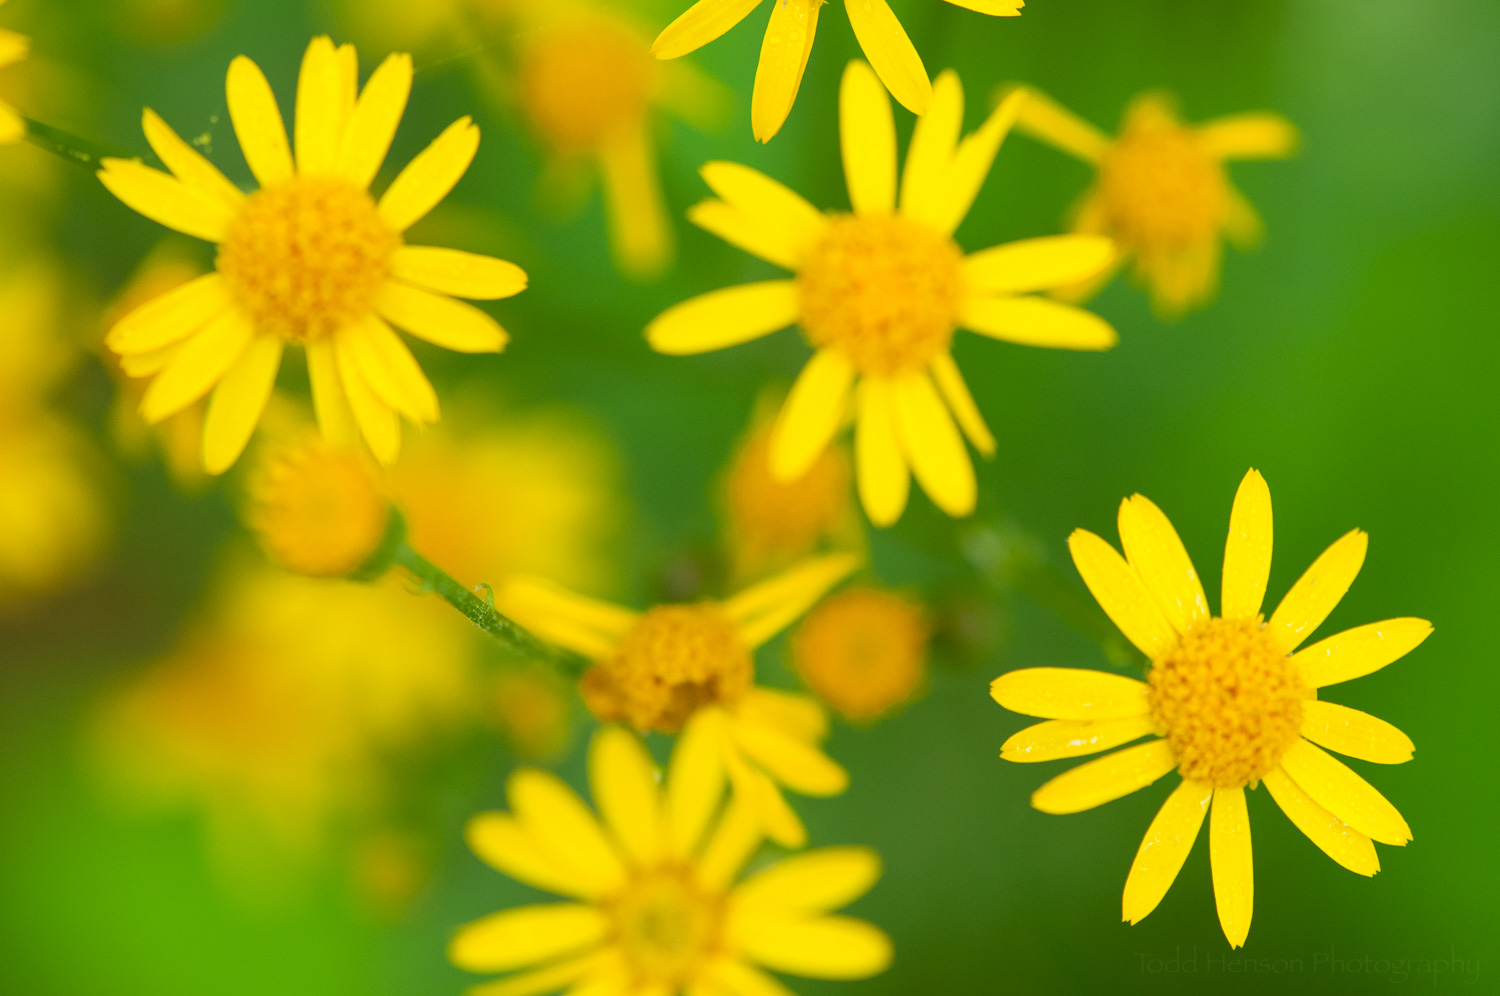
The final image, after focus stacking 9 images in Photoshop. Notice how each foreground flower is in focus.

I’ve just begun experimenting with the focus stacking technique in Photoshop. Focus stacking is used when you’re not able to capture everything you desire in the photo in sharp focus. To get around this limitation you make multiple exposures with identical settings, shifting the focus in each exposure. For example, if you have a landscape photo of a shell on a beach very close to the camera and a cliff in the far distance, perhaps you can’t get both shell and cliff in sharp focus. So you take at least two photos of the scene, one with the shell in sharp focus and another with the cliff in sharp focus, and then merge those exposures in Photoshop. Photoshop will allow you to combine the most in focus parts of each exposure into a single image.

In this particular experiment I was attempting to capture a number of small flowers in the forest, having each flower in focus but keeping the background out of focus. On my camera I set the ISO to 400, the aperture to f/5.0, the shutter speed to 1/40 second, and made sure the white balance was not on auto. I wanted the same settings for each exposure. I chose an aperture of f/5.0 to have a little depth of field in each exposure but keep the background blown out nicely. Then I focused on the closest flower, made an exposure, set the focus a little deeper into the frame, made another exposure, and continued this until I thought I had captured detail in all the flower parts of the image I was interested in. I made a total of 9 images.

From Lightroom I selected all 9 images, right-clicked and chose Edit In, then selected Open as Layers in Photoshop. This imported all the images into Photoshop as separate layers.

Once in Photoshop I needed to align the images. I had the camera mounted on a sturdy tripod and was using a cable release, but these were close-up images taken with a macro lens and I had no way to stop any swaying of the flowers that might occur. Thankfully Photoshop is really good at automatically aligning images. To do this I selected all the layers then clicked Edit and Auto-Align Layers. I chose the Auto setting in the Auto-Align Layers dialog. This took a bit of time. When it finished I cropped in just a little to assure I had clean edges.

The next step was to stack the images and have Photoshop choose the portions of each image that were most in focus, hence the term focus stacking. Once again I selected all the layers, clicked Edit and Auto-Blend Layers. I chose Stack Images and checked Seamless Tones and Colors in the Auto-Blend Layers dialog. This step took some time and was where most of the magic was performed. When Photoshop was finished I had a layer mask associated with each layer. It was interesting to click on each layer and see which portions of the image Photoshop chose to include. I saved the image and moved back into Lightroom to perform a little more tweaking.

I did notice that, as good as Photoshop is at choosing what to keep in the image, it is not perfect. There are some strange blurred areas on the petals at the top of the image, and the spider web with dew on the left side has a distinctly darker area around it. I don’t yet know how to fix these small areas, but will eventually. I’m always trying to learn more. Overall, I’m pleased with the process. It did a good job of allowing me to focus on multiple flowers, something I might not have been able to with a single image straight out of the camera.

Give focus stacking a try sometime. It can be one more tool to help you realize your creative vision.


Do you enjoy these posts?

Sign up to receive periodic emails with updates and thoughts. Don’t worry, I won’t spam you. And please consider purchasing artwork or products from my online store, and using my affiliate links in the sidebar to the right when shopping online.

I appreciate your support!