Painterly Aspects
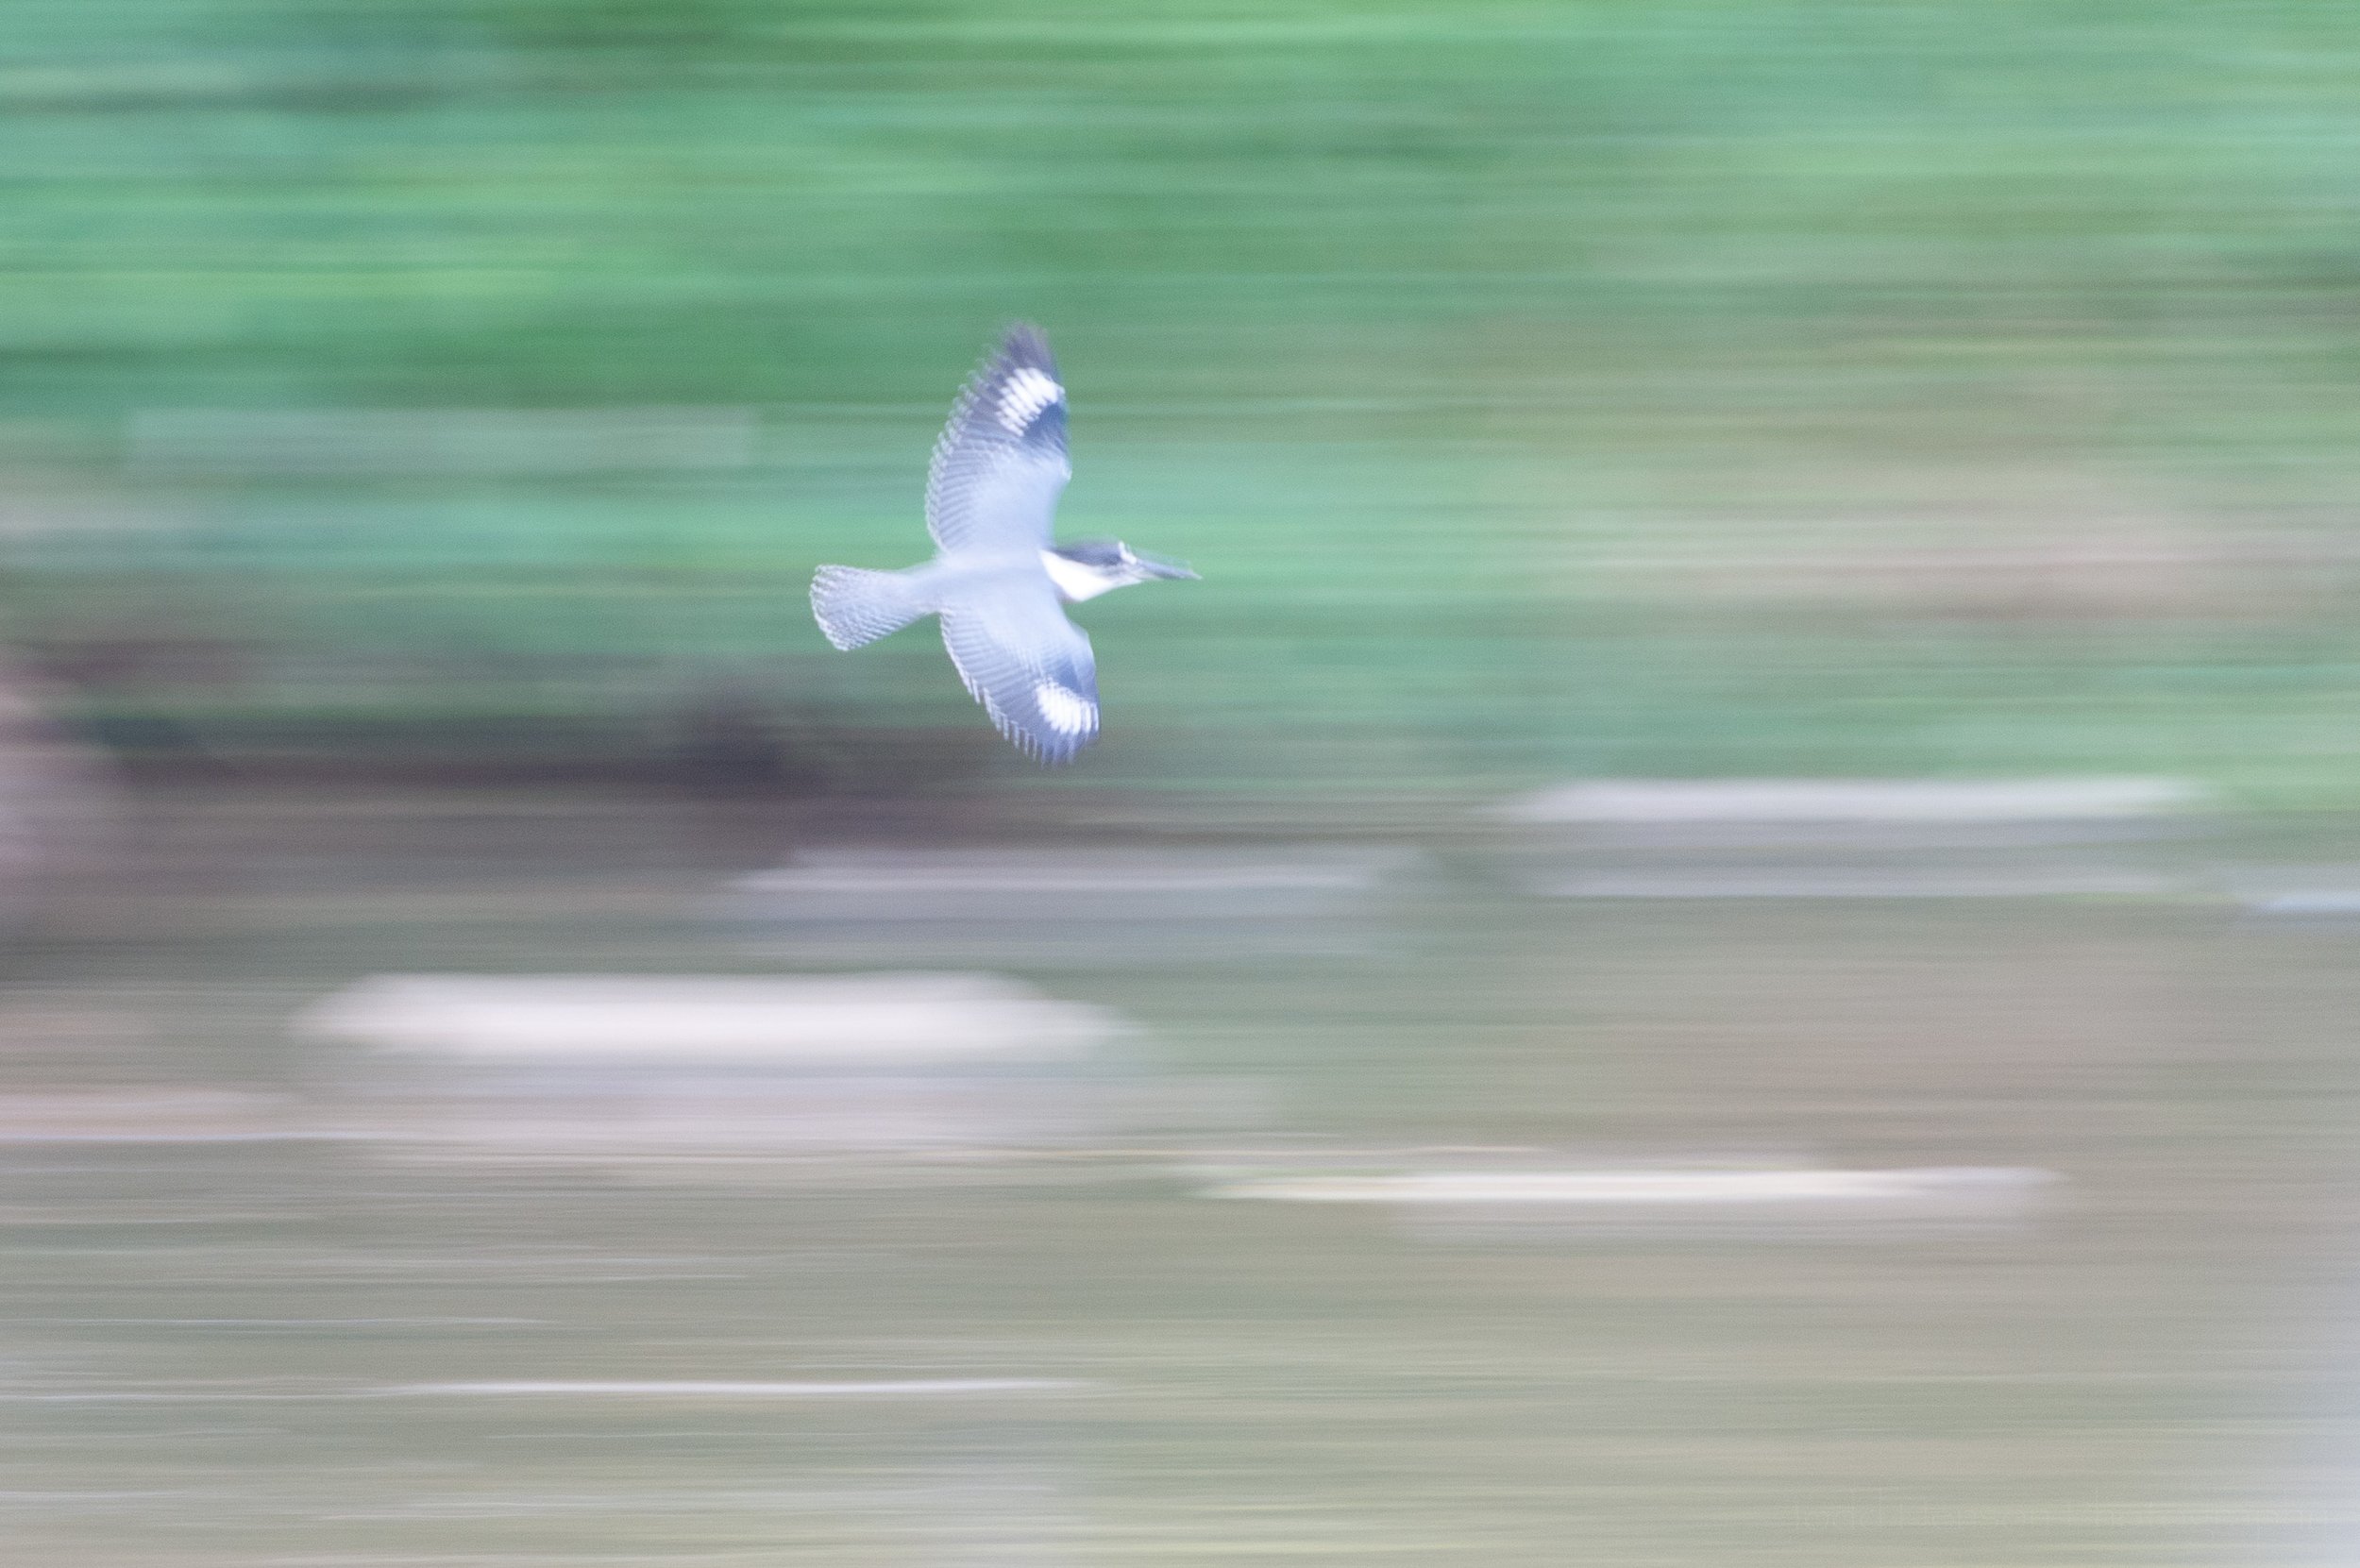
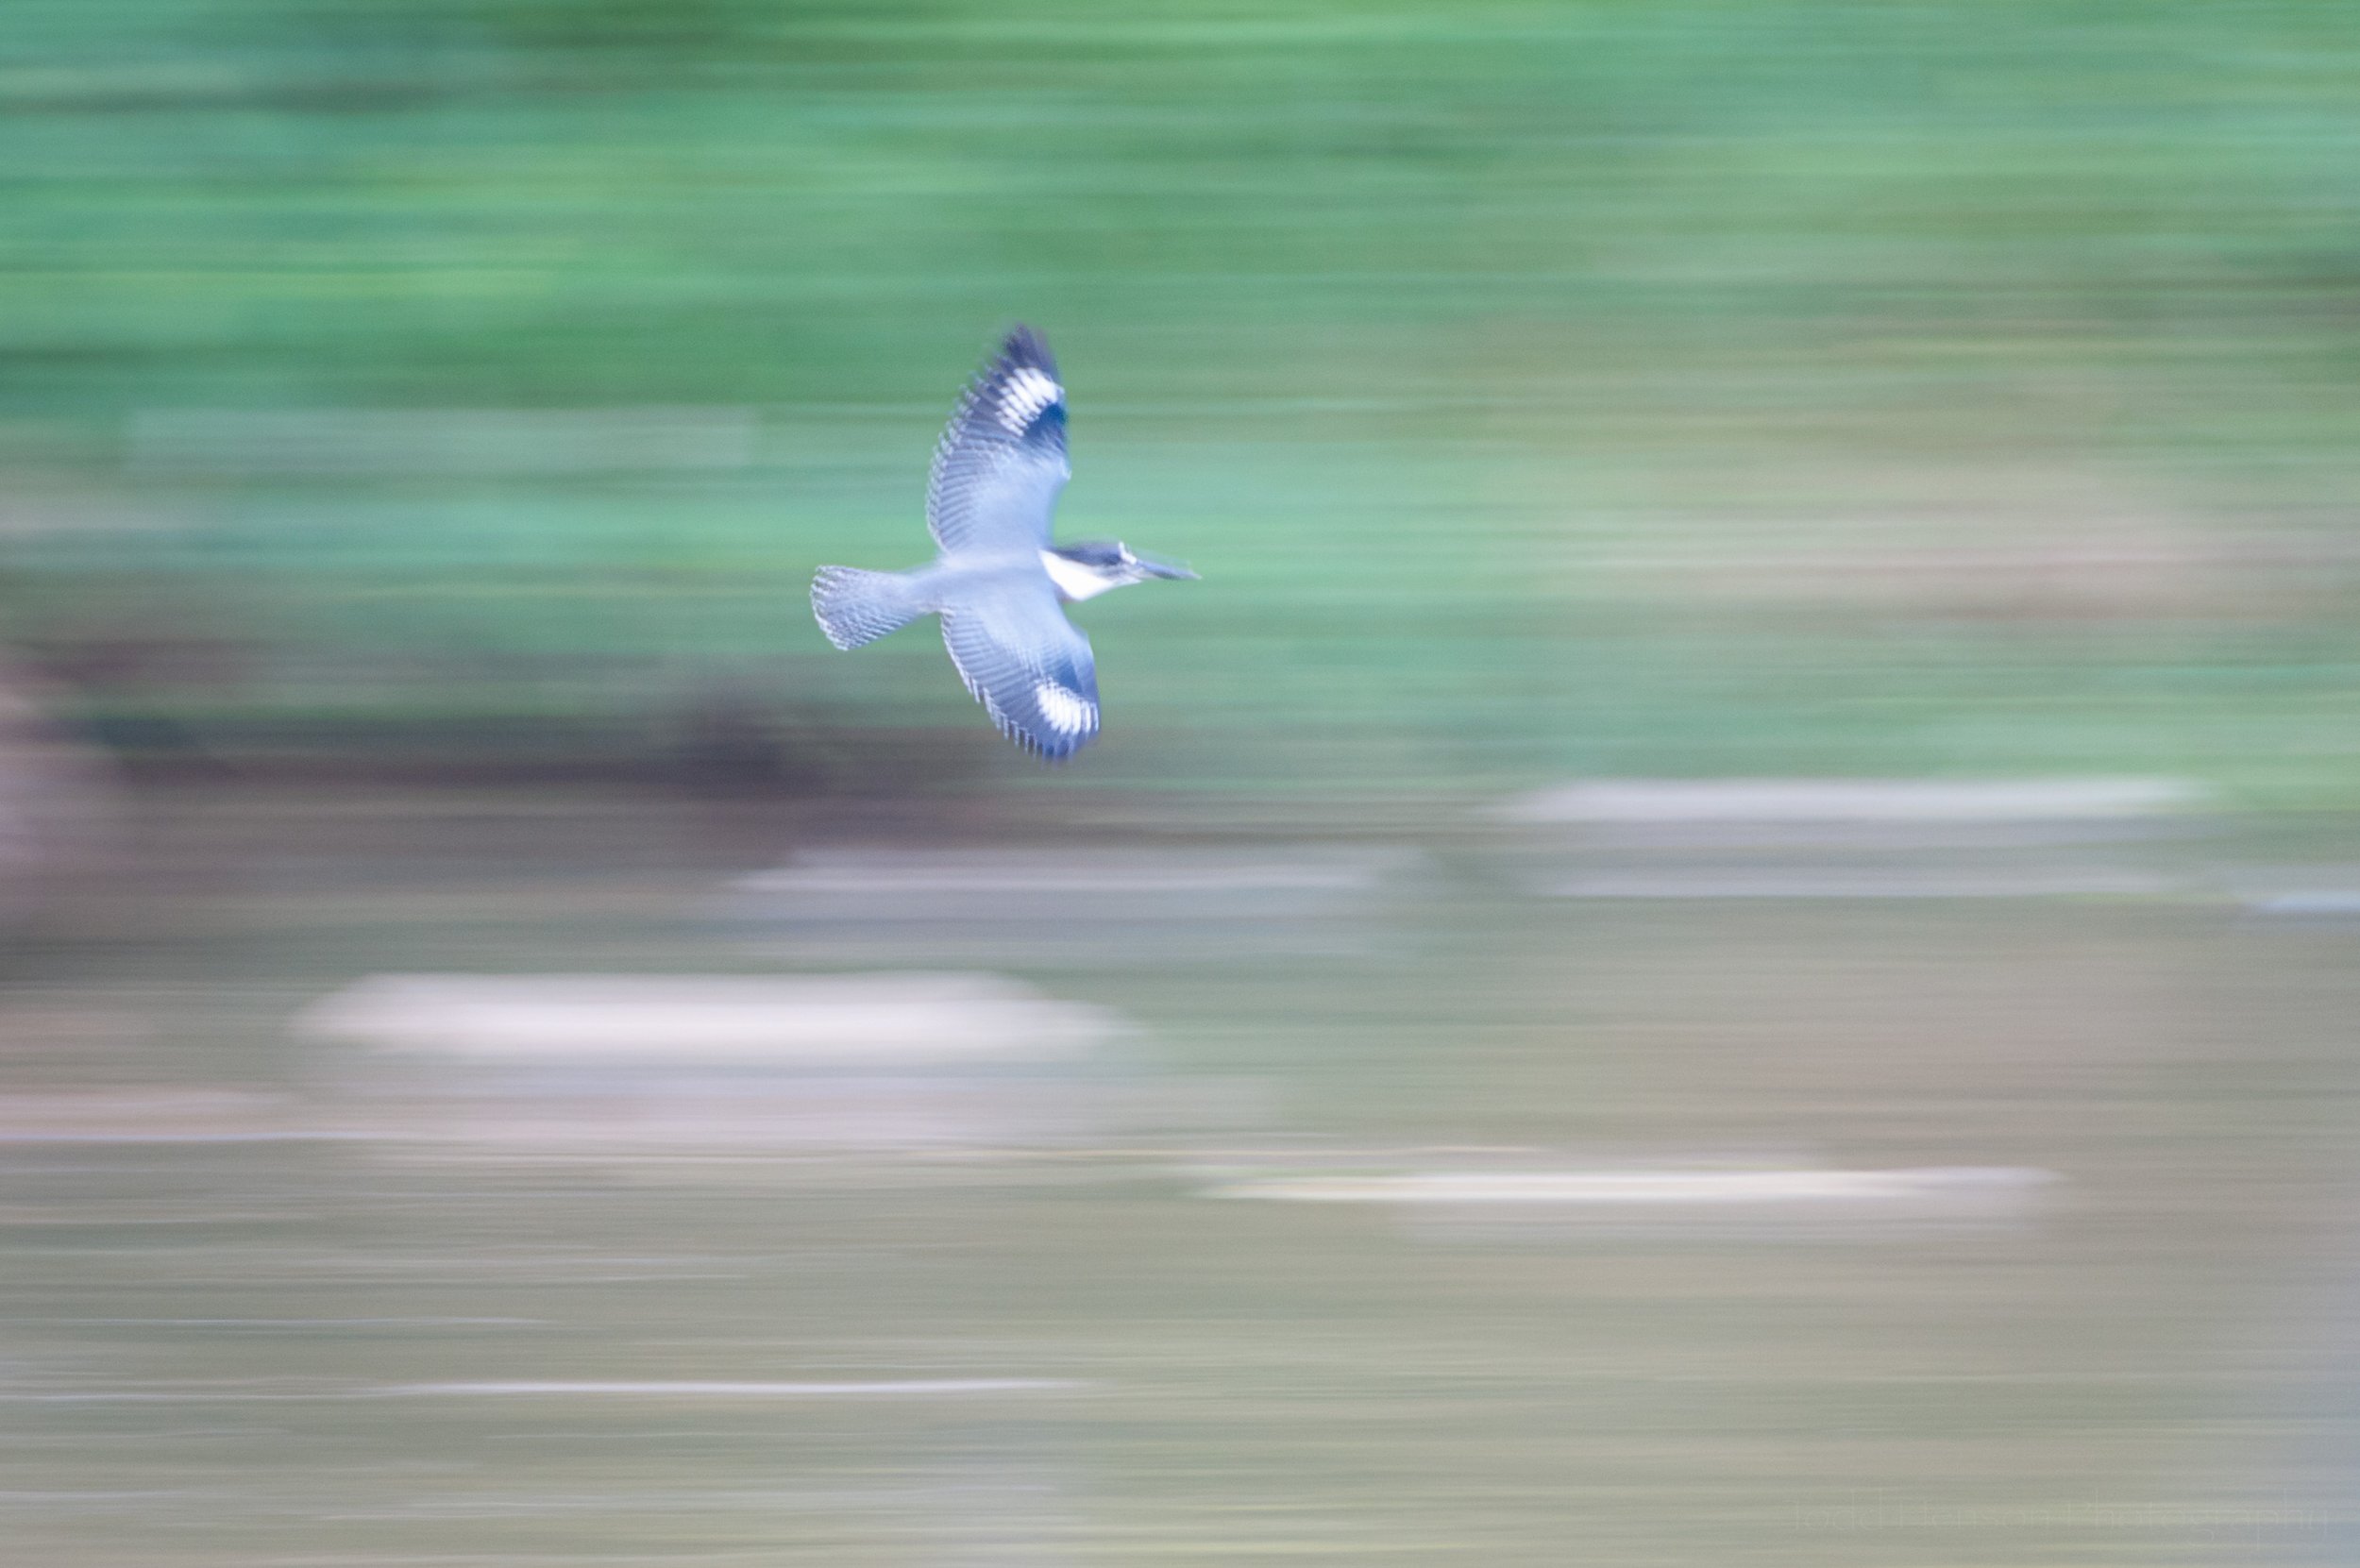
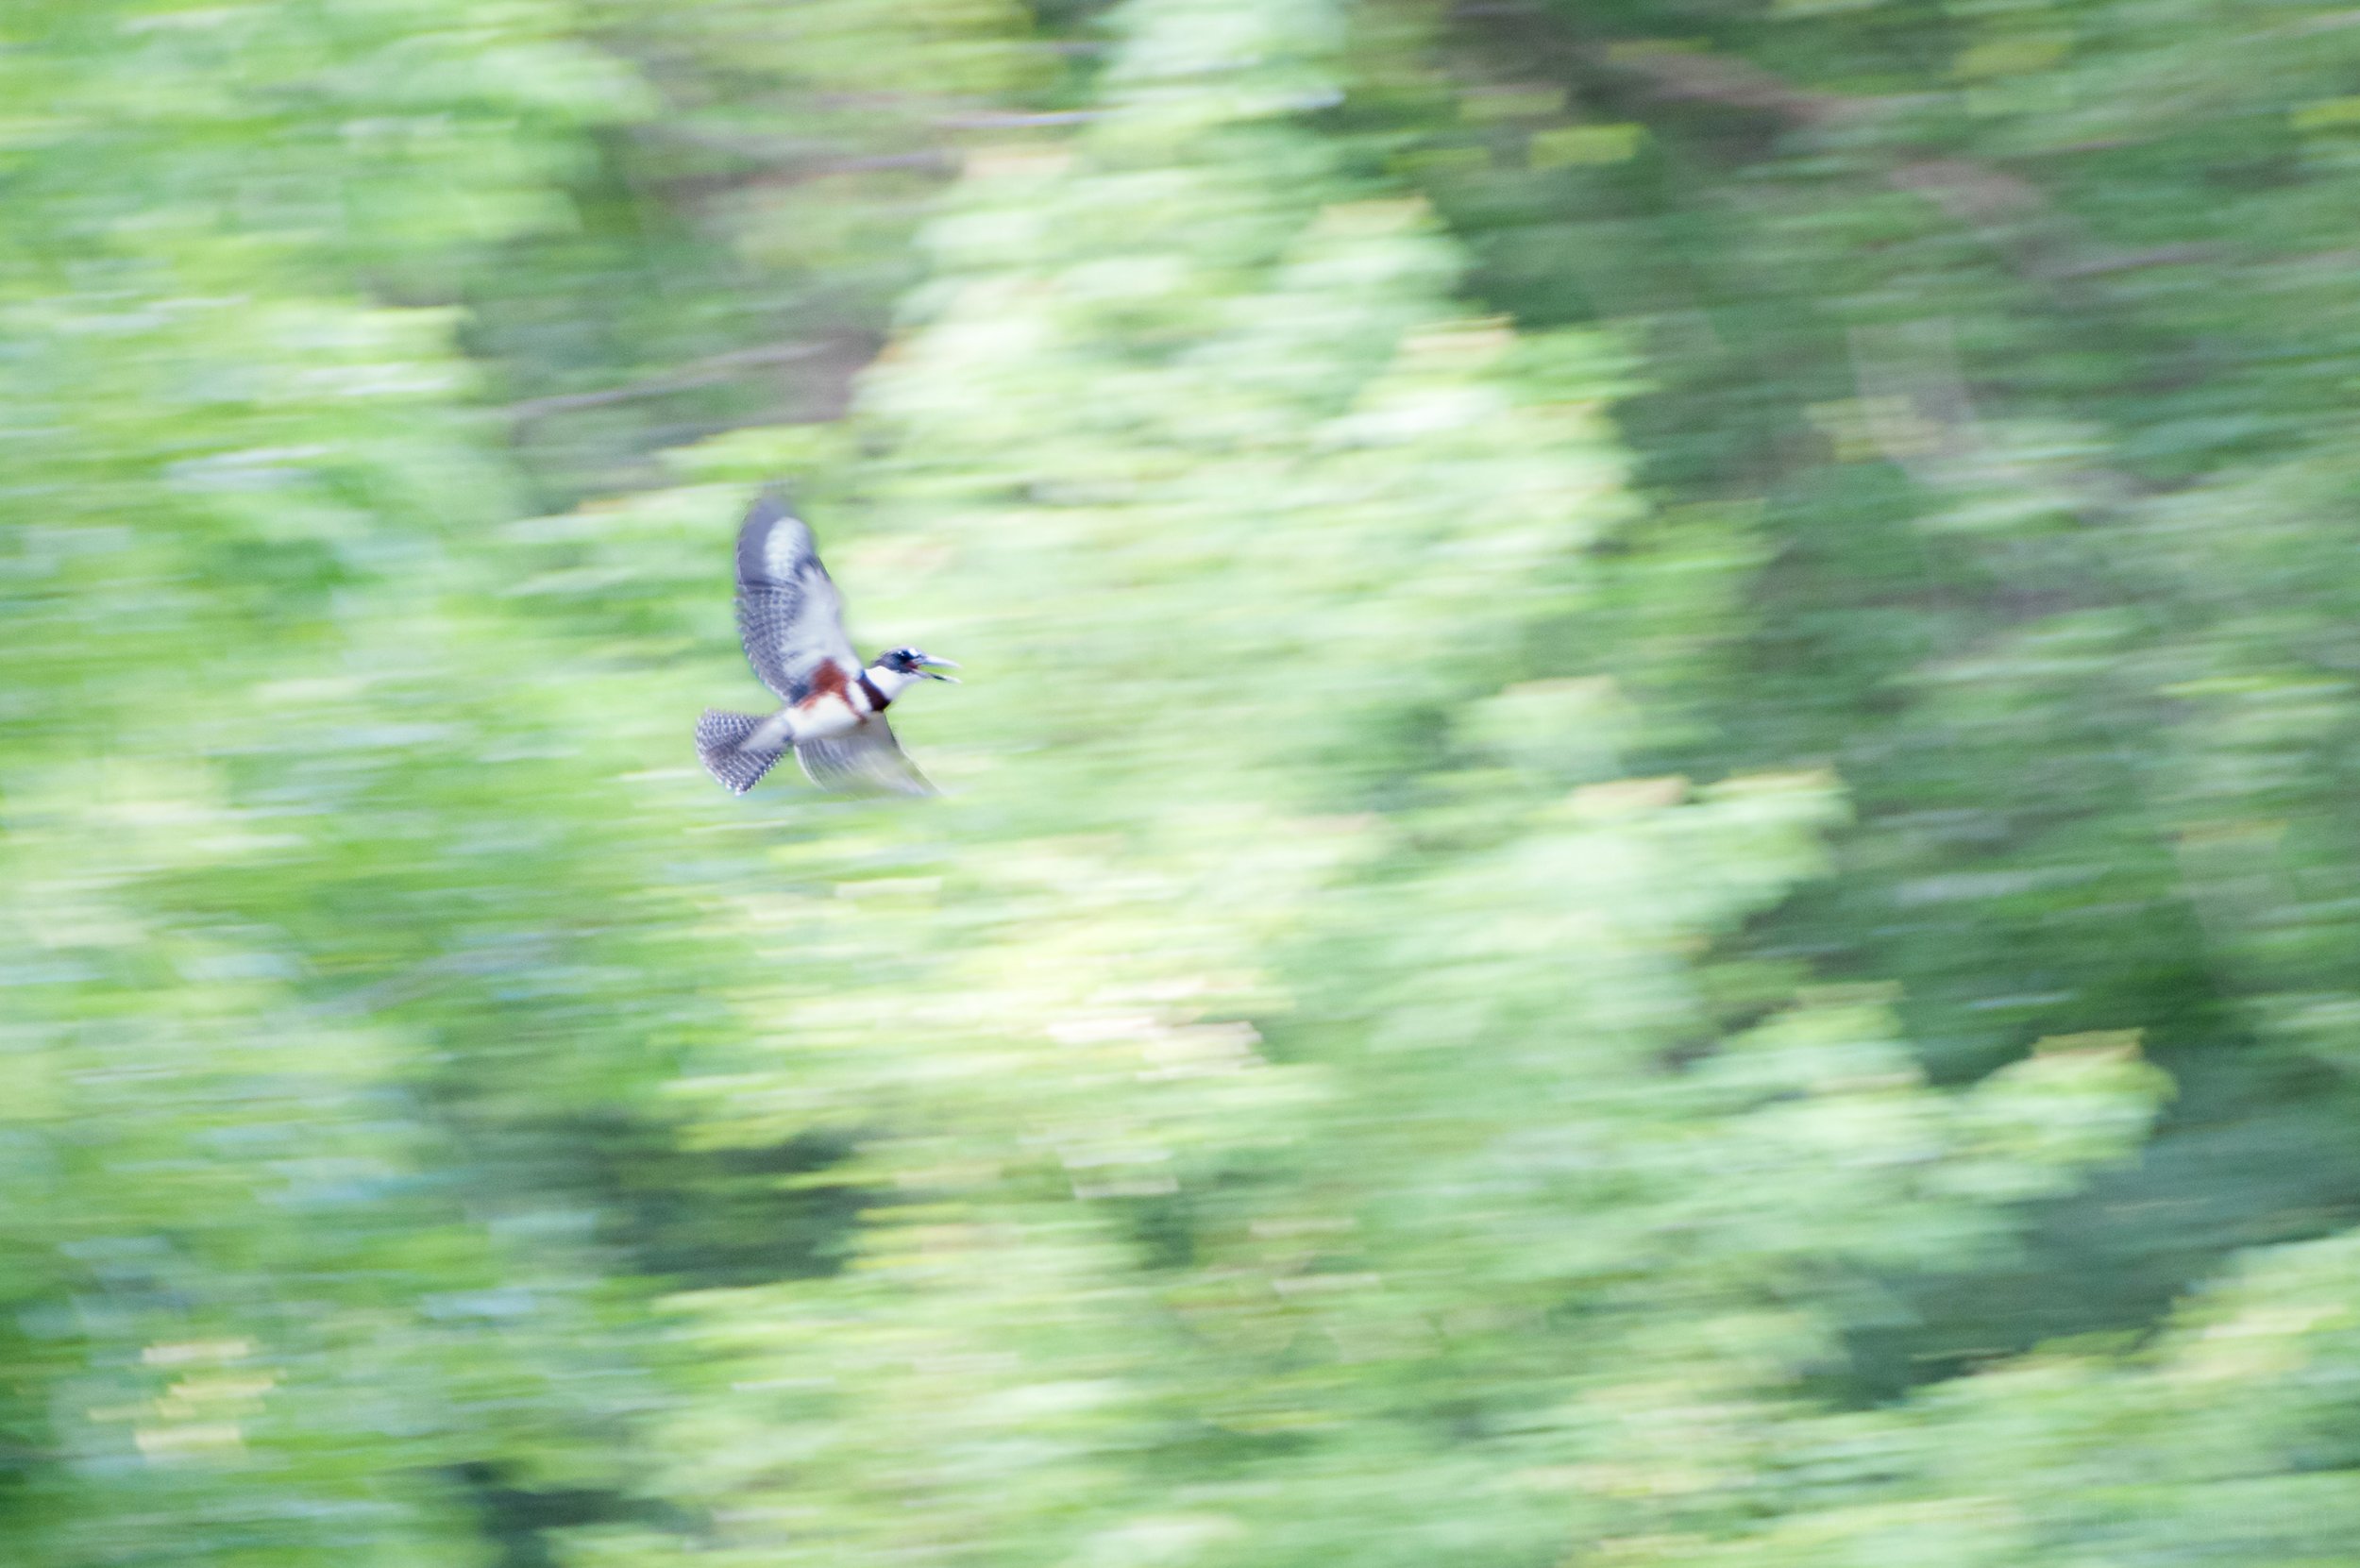
Notice how different each of the three photos here look. In the case of the first photo, Belted Kingfisher Flyby, the bird is moving very quickly so I’m panning very quickly which creates a complete blur to the background. The shutter speed is 1/15 second so there’s plenty of time for the background to blur. You can see how far the bird, and my camera, moved in that time by looking at the length of the lighter colored lines in the photo.
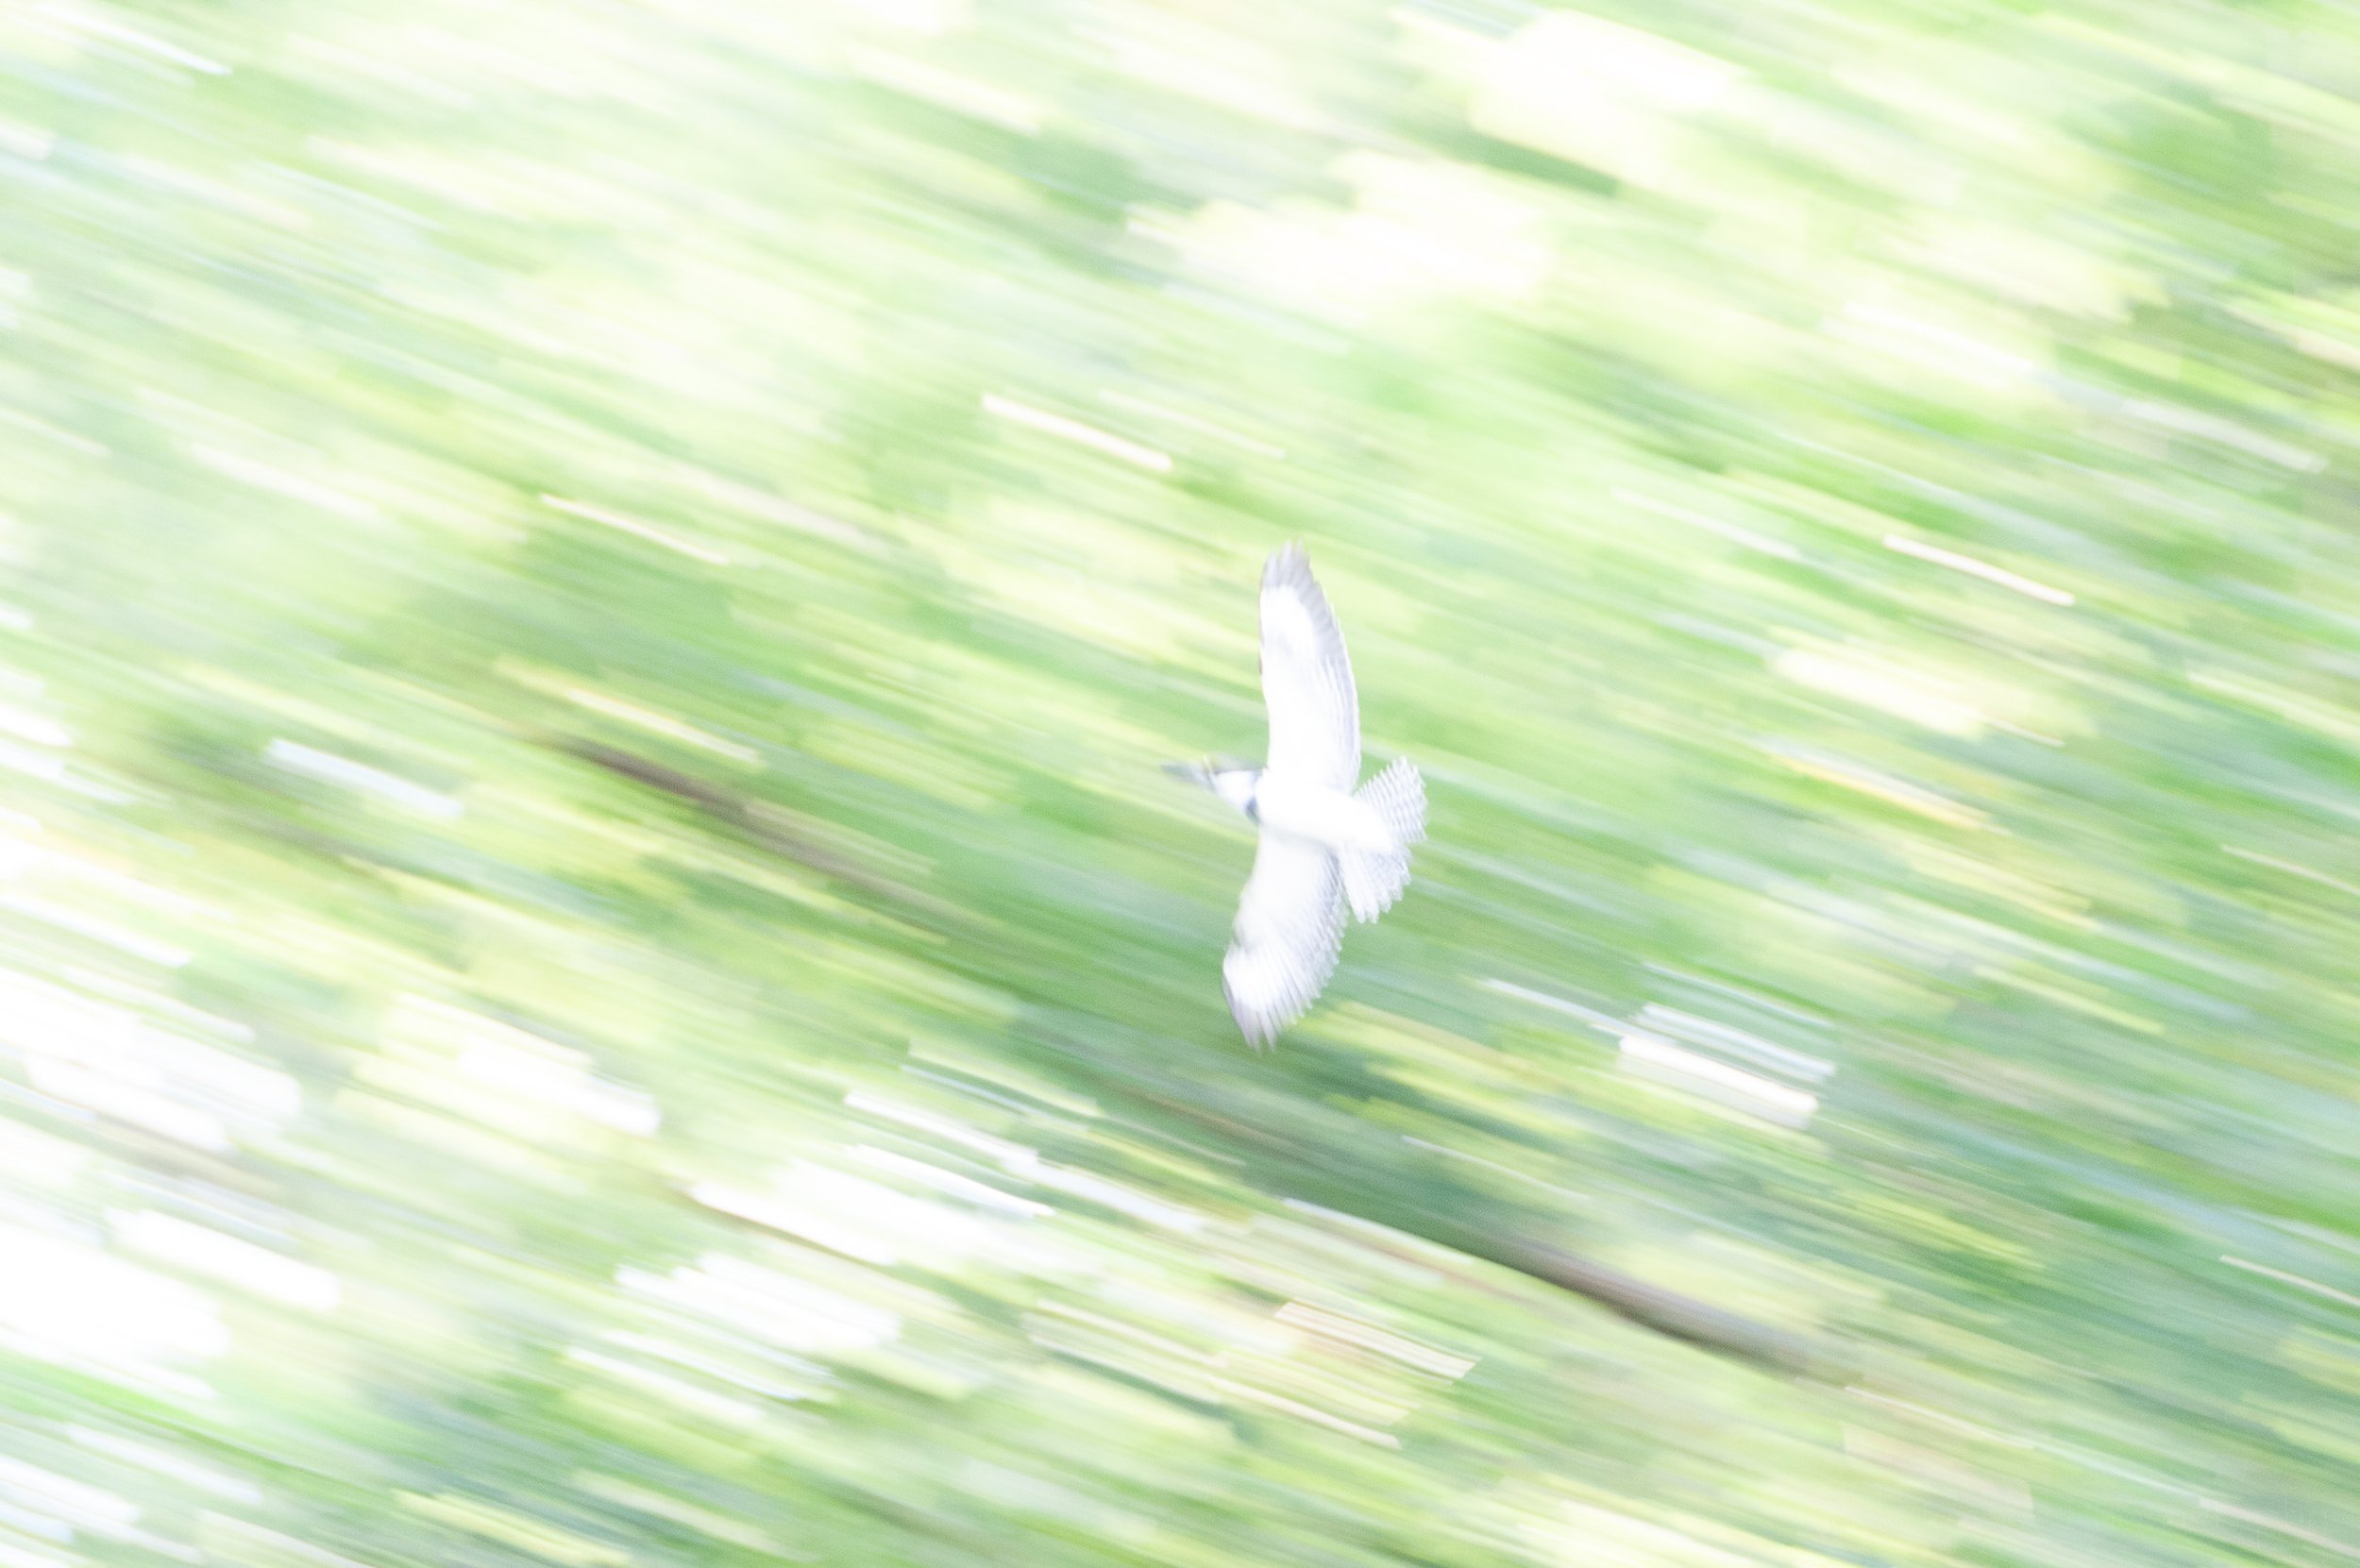
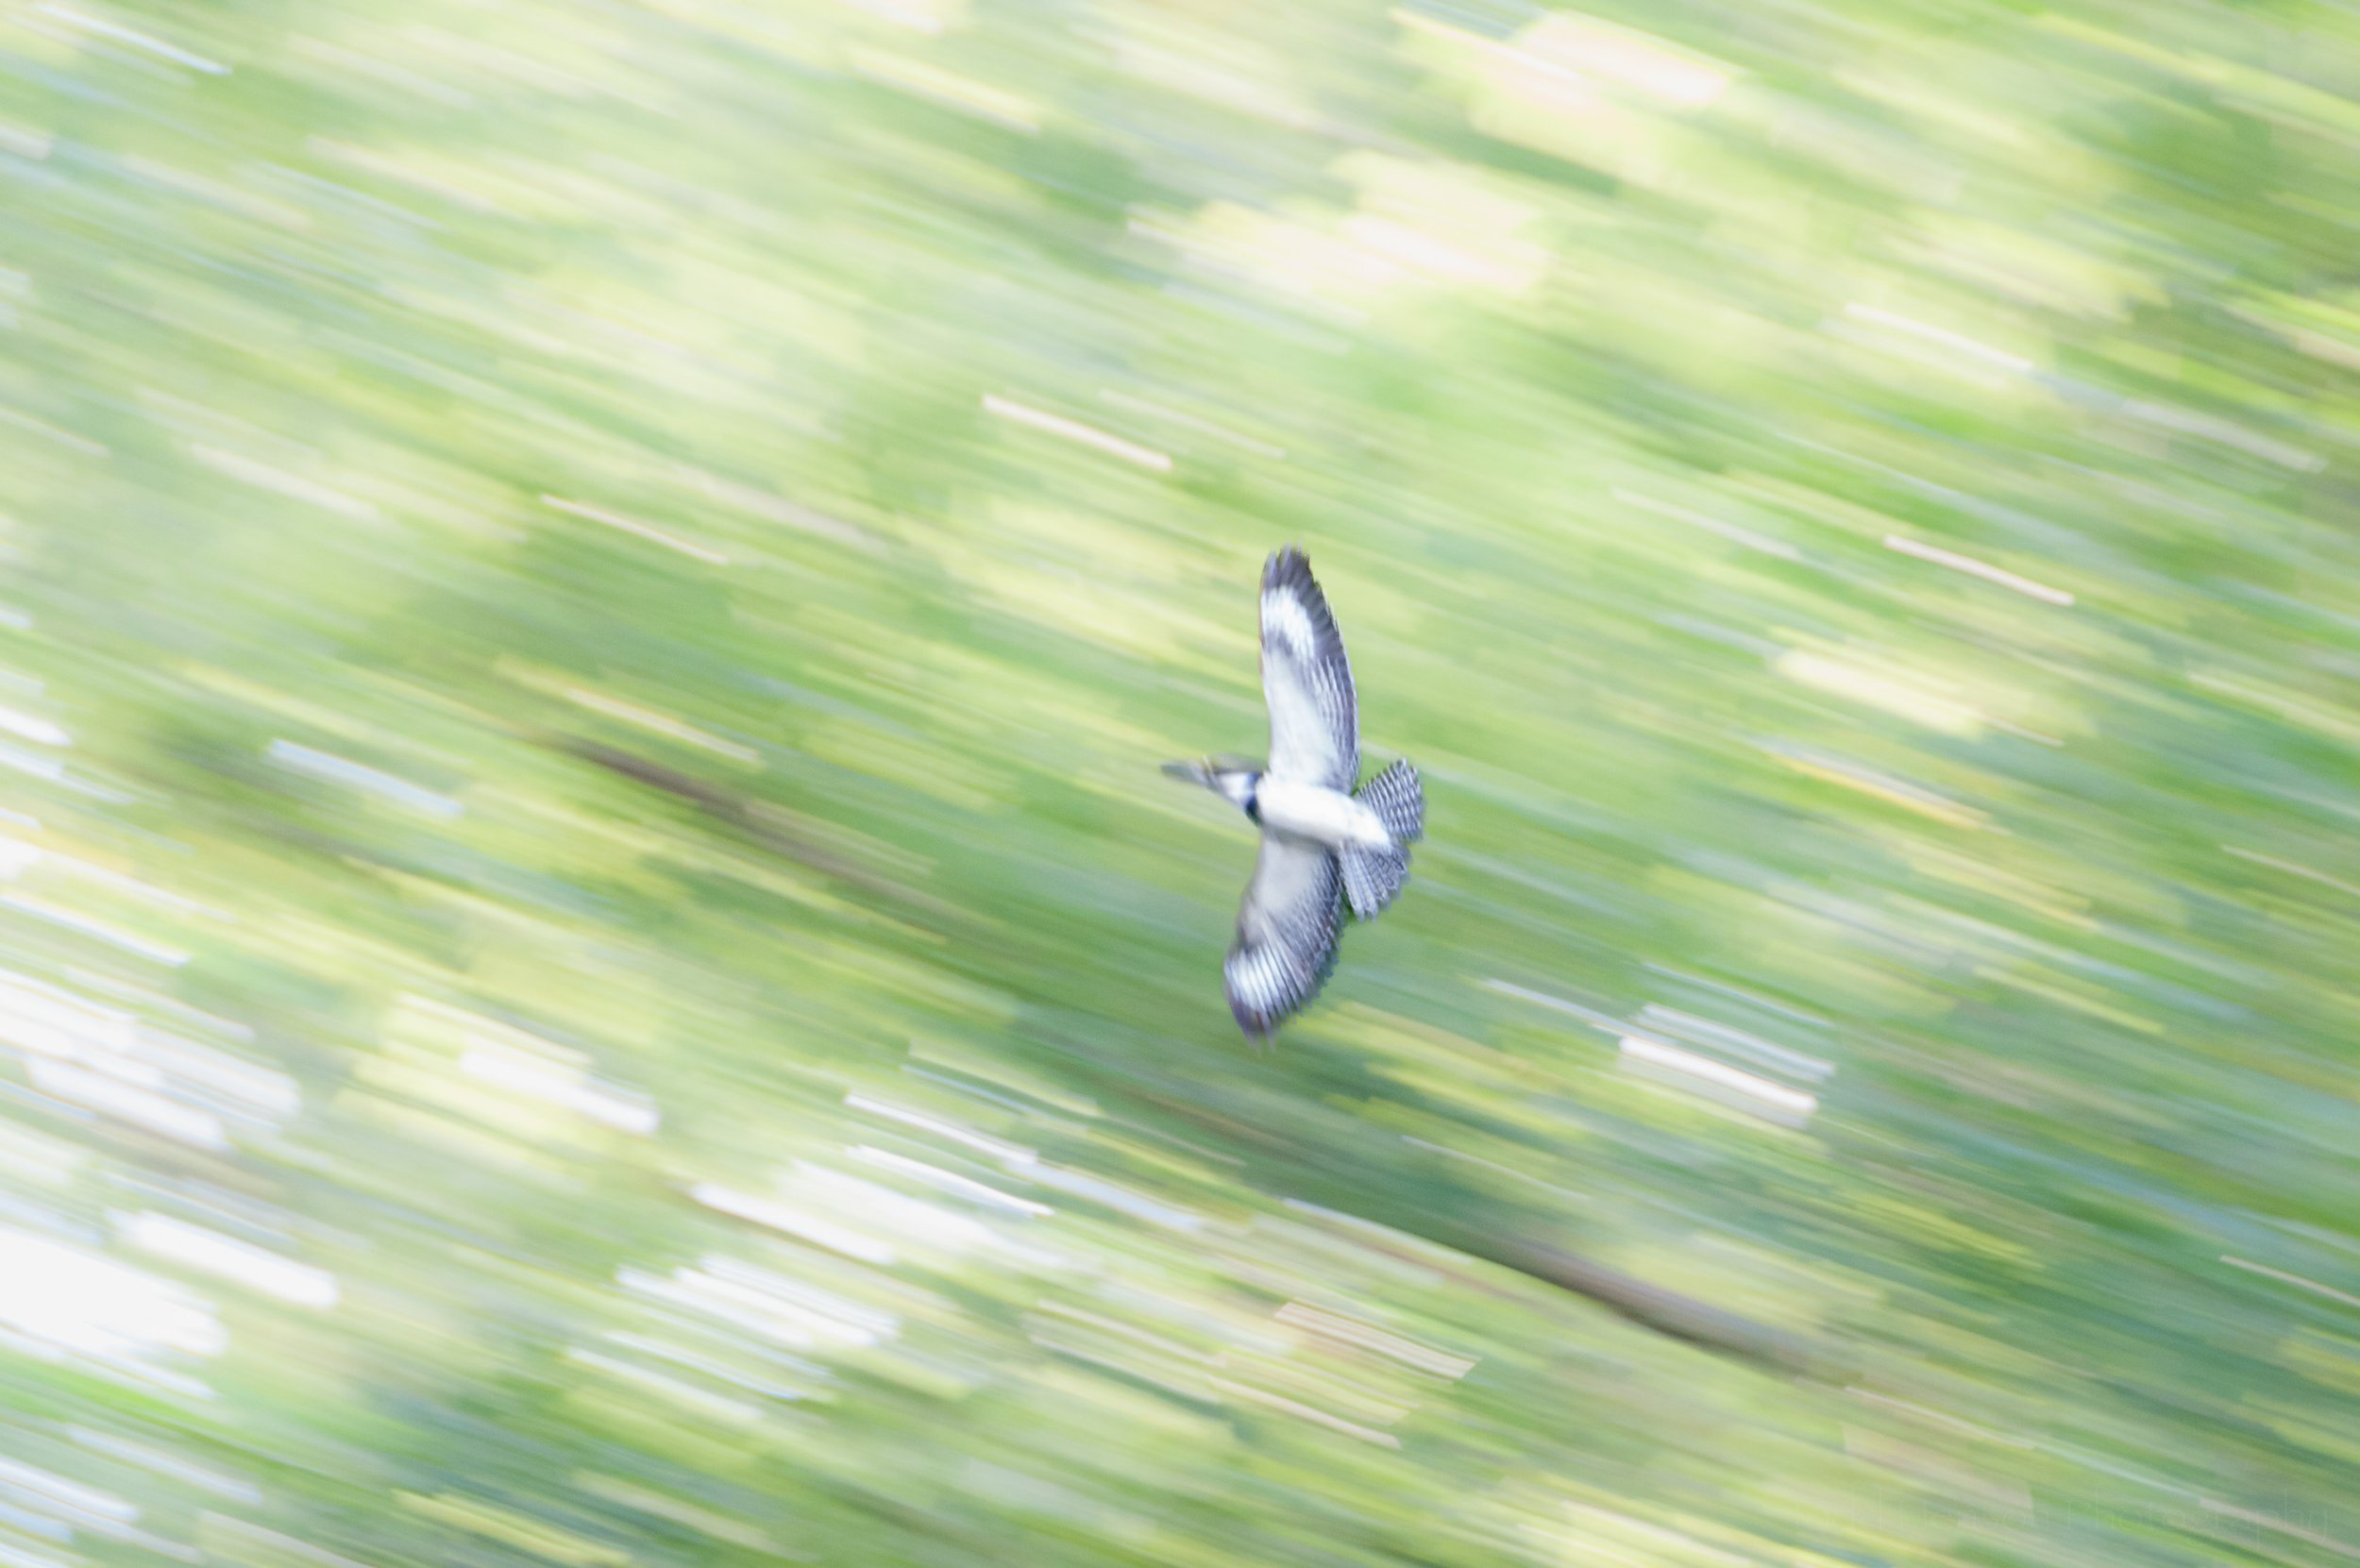
The second photo, The Kingfisher Soars, is similar but the bird was flying at an angle so I didn’t pan quite as fast, and I used a faster shutter speed of 1/50 second. You can see the lines of color from the background are shorter. They begin to look a little more like long paint strokes.
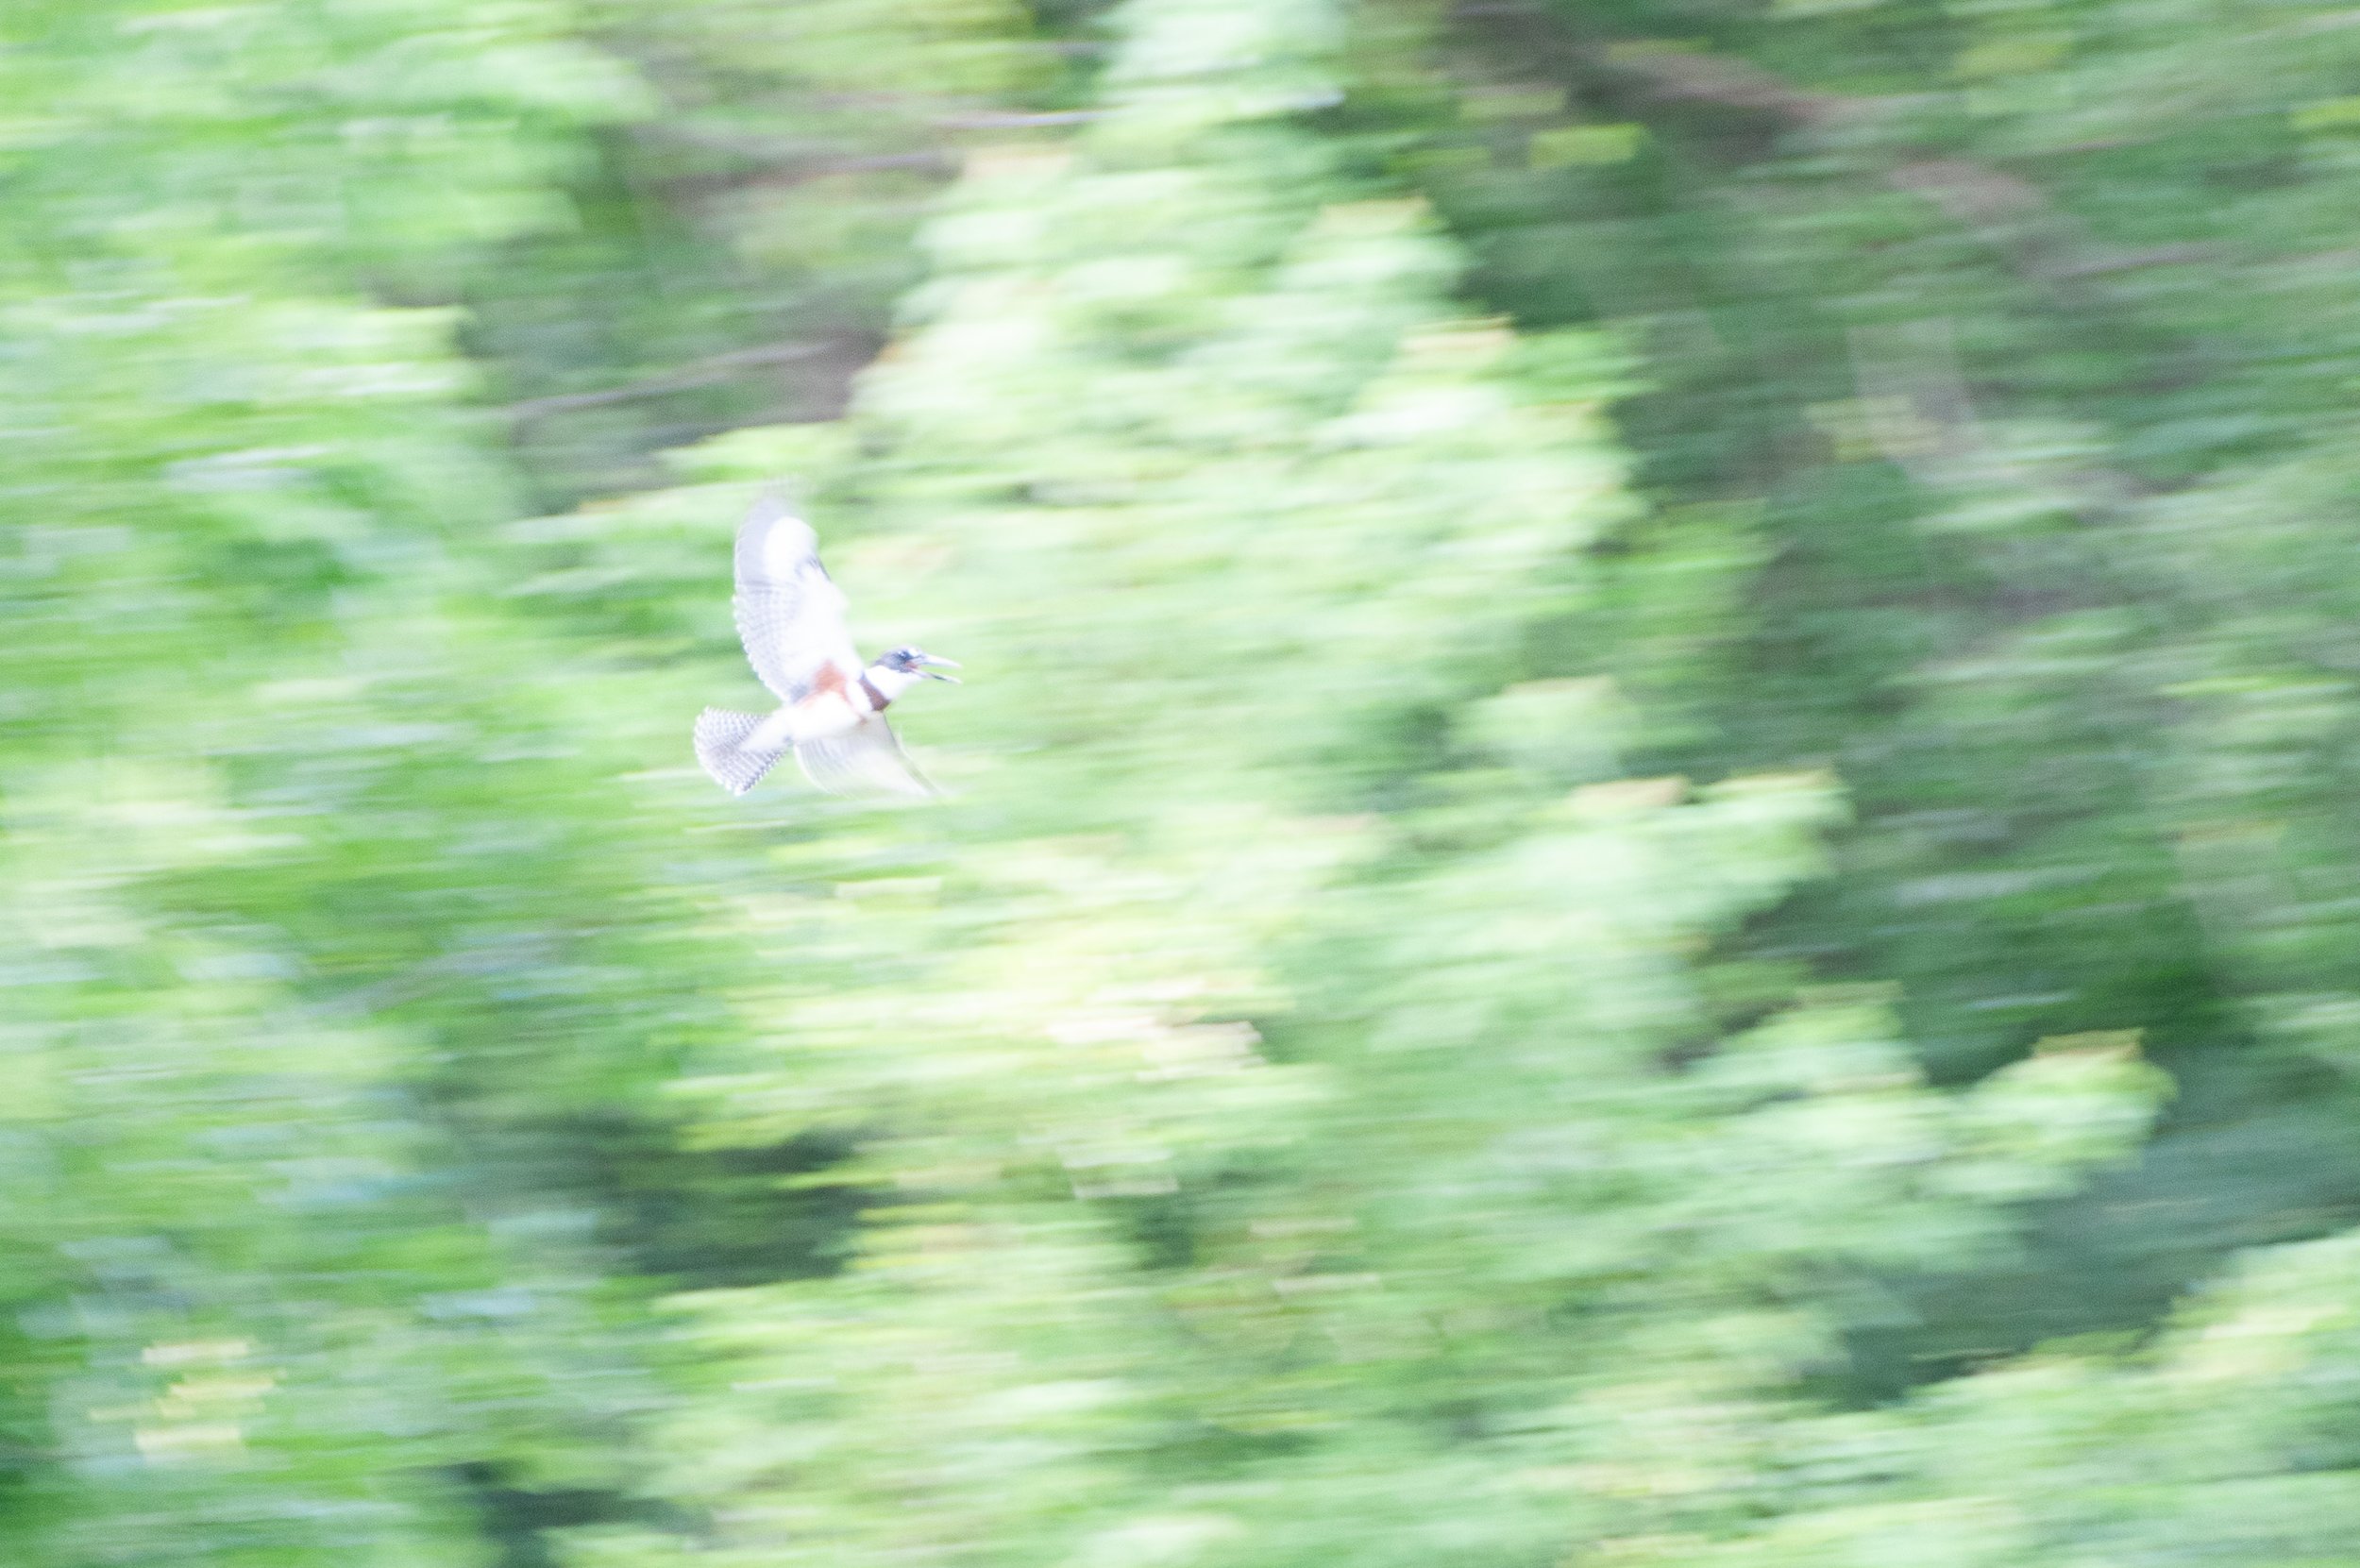
With the third photo, The Kingfisher’s Call, I’m now at a faster shutter speed with 1/60 second, and the bird isn’t moving nearly as fast, almost hovering as kingfishers sometimes do. Look closely at the lines of color and light in the background of the photo. See how much shorter they are? Now, perhaps, they most resemble strokes of a paintbrush. And the bird is almost in focus, or at least more so than with the other two photos.
One thing to note, you could find a fast enough shutter speed that works with both the subject movement and your ability to pan, such that you actually get the subject almost completely in focus and the background a blur. This can be a lot of fun, too. But in this case, trying for a more painterly effect, I was fine with the subject remaining a bit blurry from the motion. I thought it contributed to the look of the images.
Post-processing
So the majority of the technique is in-camera using the three basic camera settings of shutter speed, aperture and ISO. But I did do work in post after I’d downloaded the photos to my computer. I used Adobe Lightroom to adjust exposure, lessening some of the highlights, darkening some shadows, blurring the backgrounds a bit more by lowering clarity, and accentuating the kingfisher by keeping the whites of its body bright and the colors dark and bold.
Below are before and after examples of each photo showing how it looked before I began processing in Lightroom and when I’d finished so you can see what effect this had. Click on each image to cycle between before and after