Techniques

Don't Just Stand There! Photograph From Different Perspectives by Todd Henson

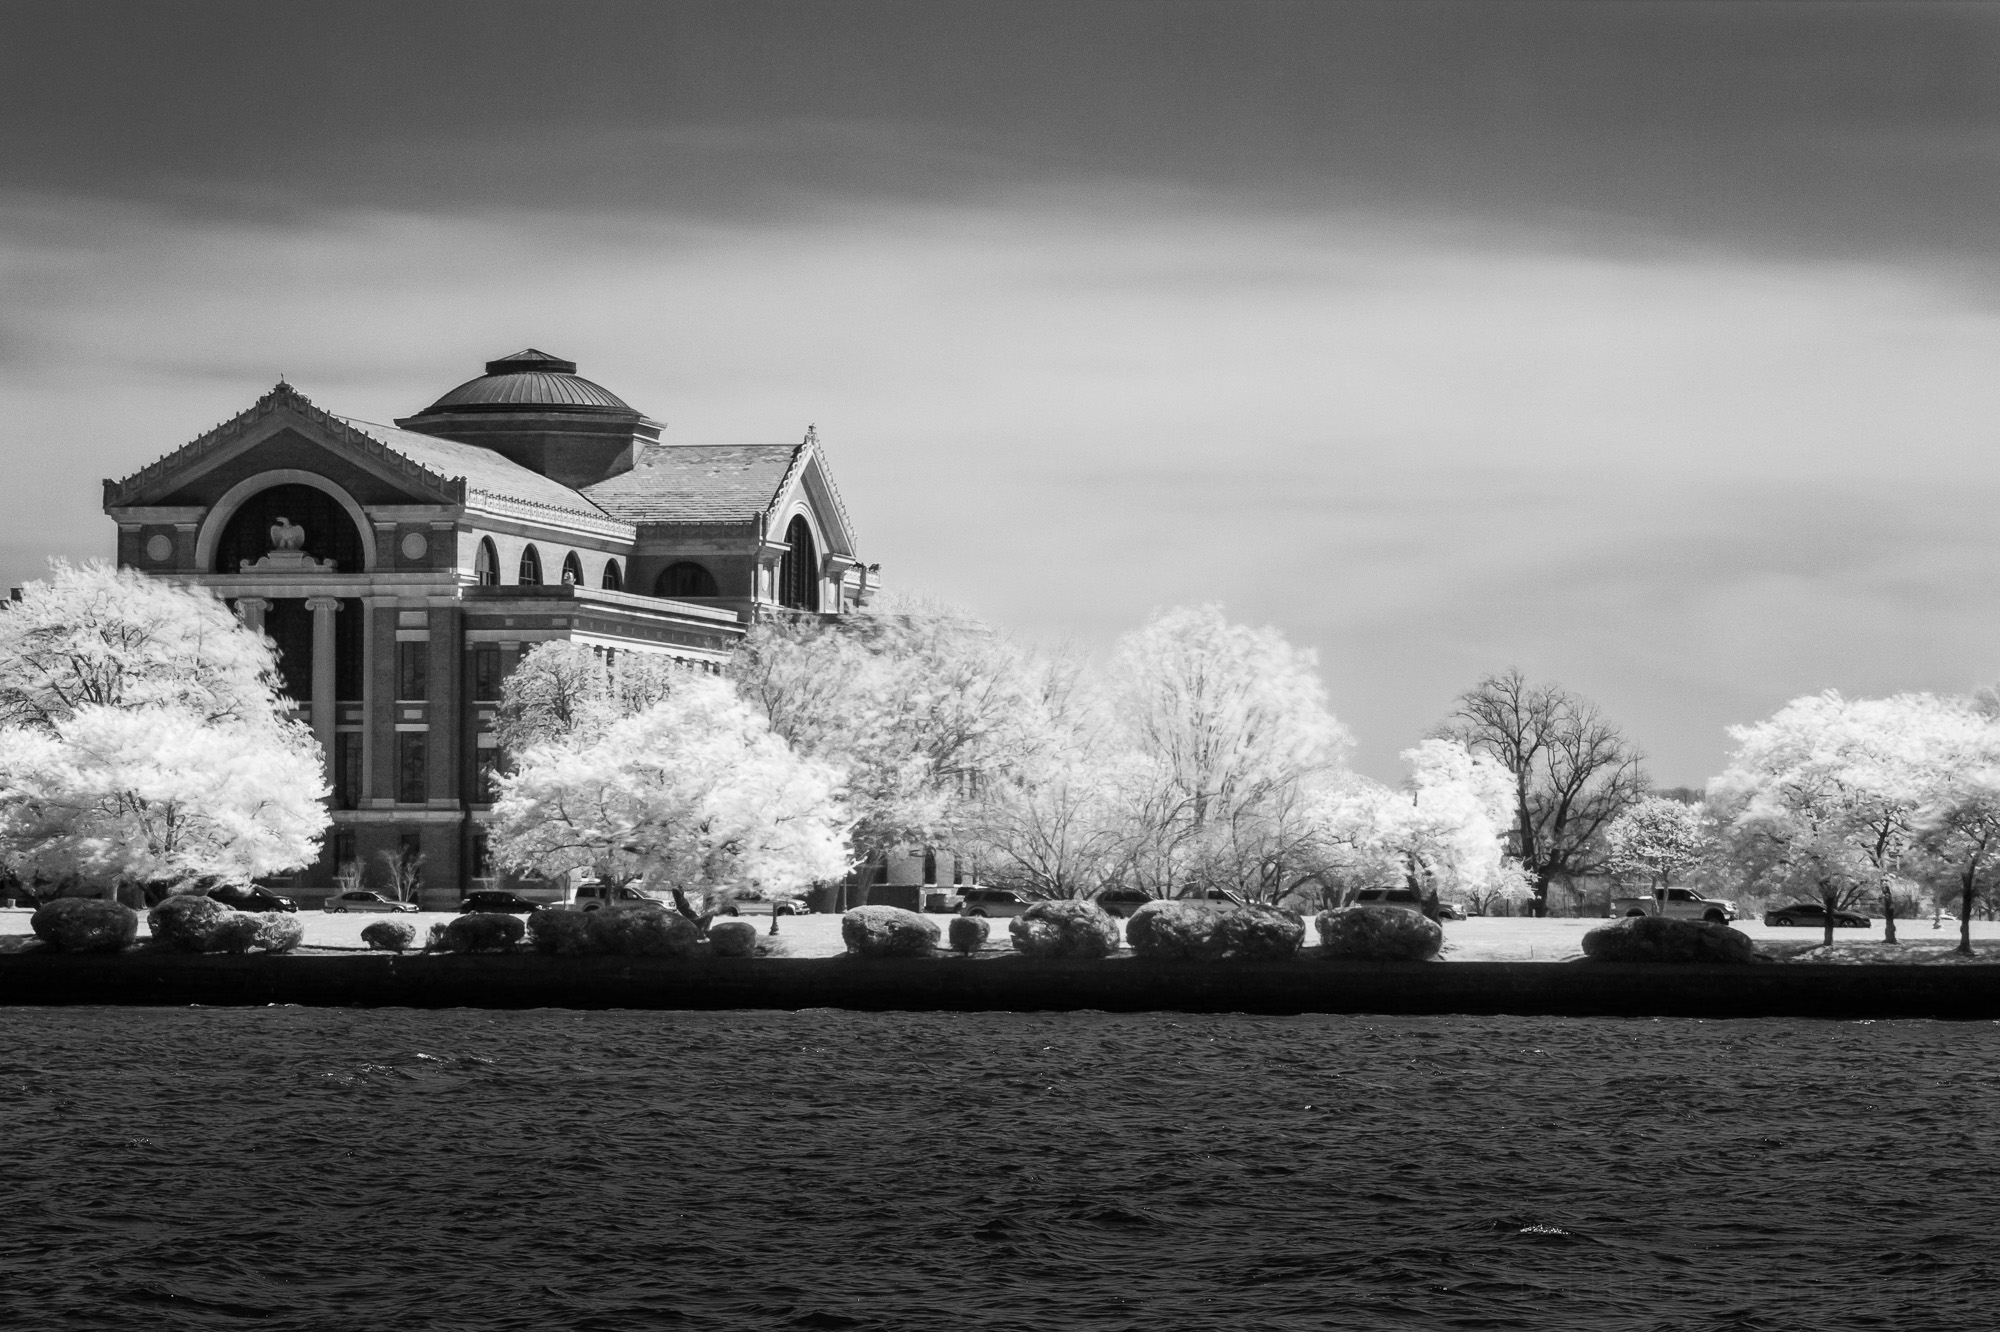
Most people create photos from the same position, standing up and holding the camera at eye level. There’s not necessarily anything wrong with that, but if you always do it most of your photos will end up looking the same. If you’d like to give your photos a different look try shooting from different perspectives. Get up higher if you can, perhaps using a ladder. Lean down lower, or even lay on the ground. These different perspectives will help you create a range of images. The 3 images in this post are one example of how changing perspective can affect the look of an image.

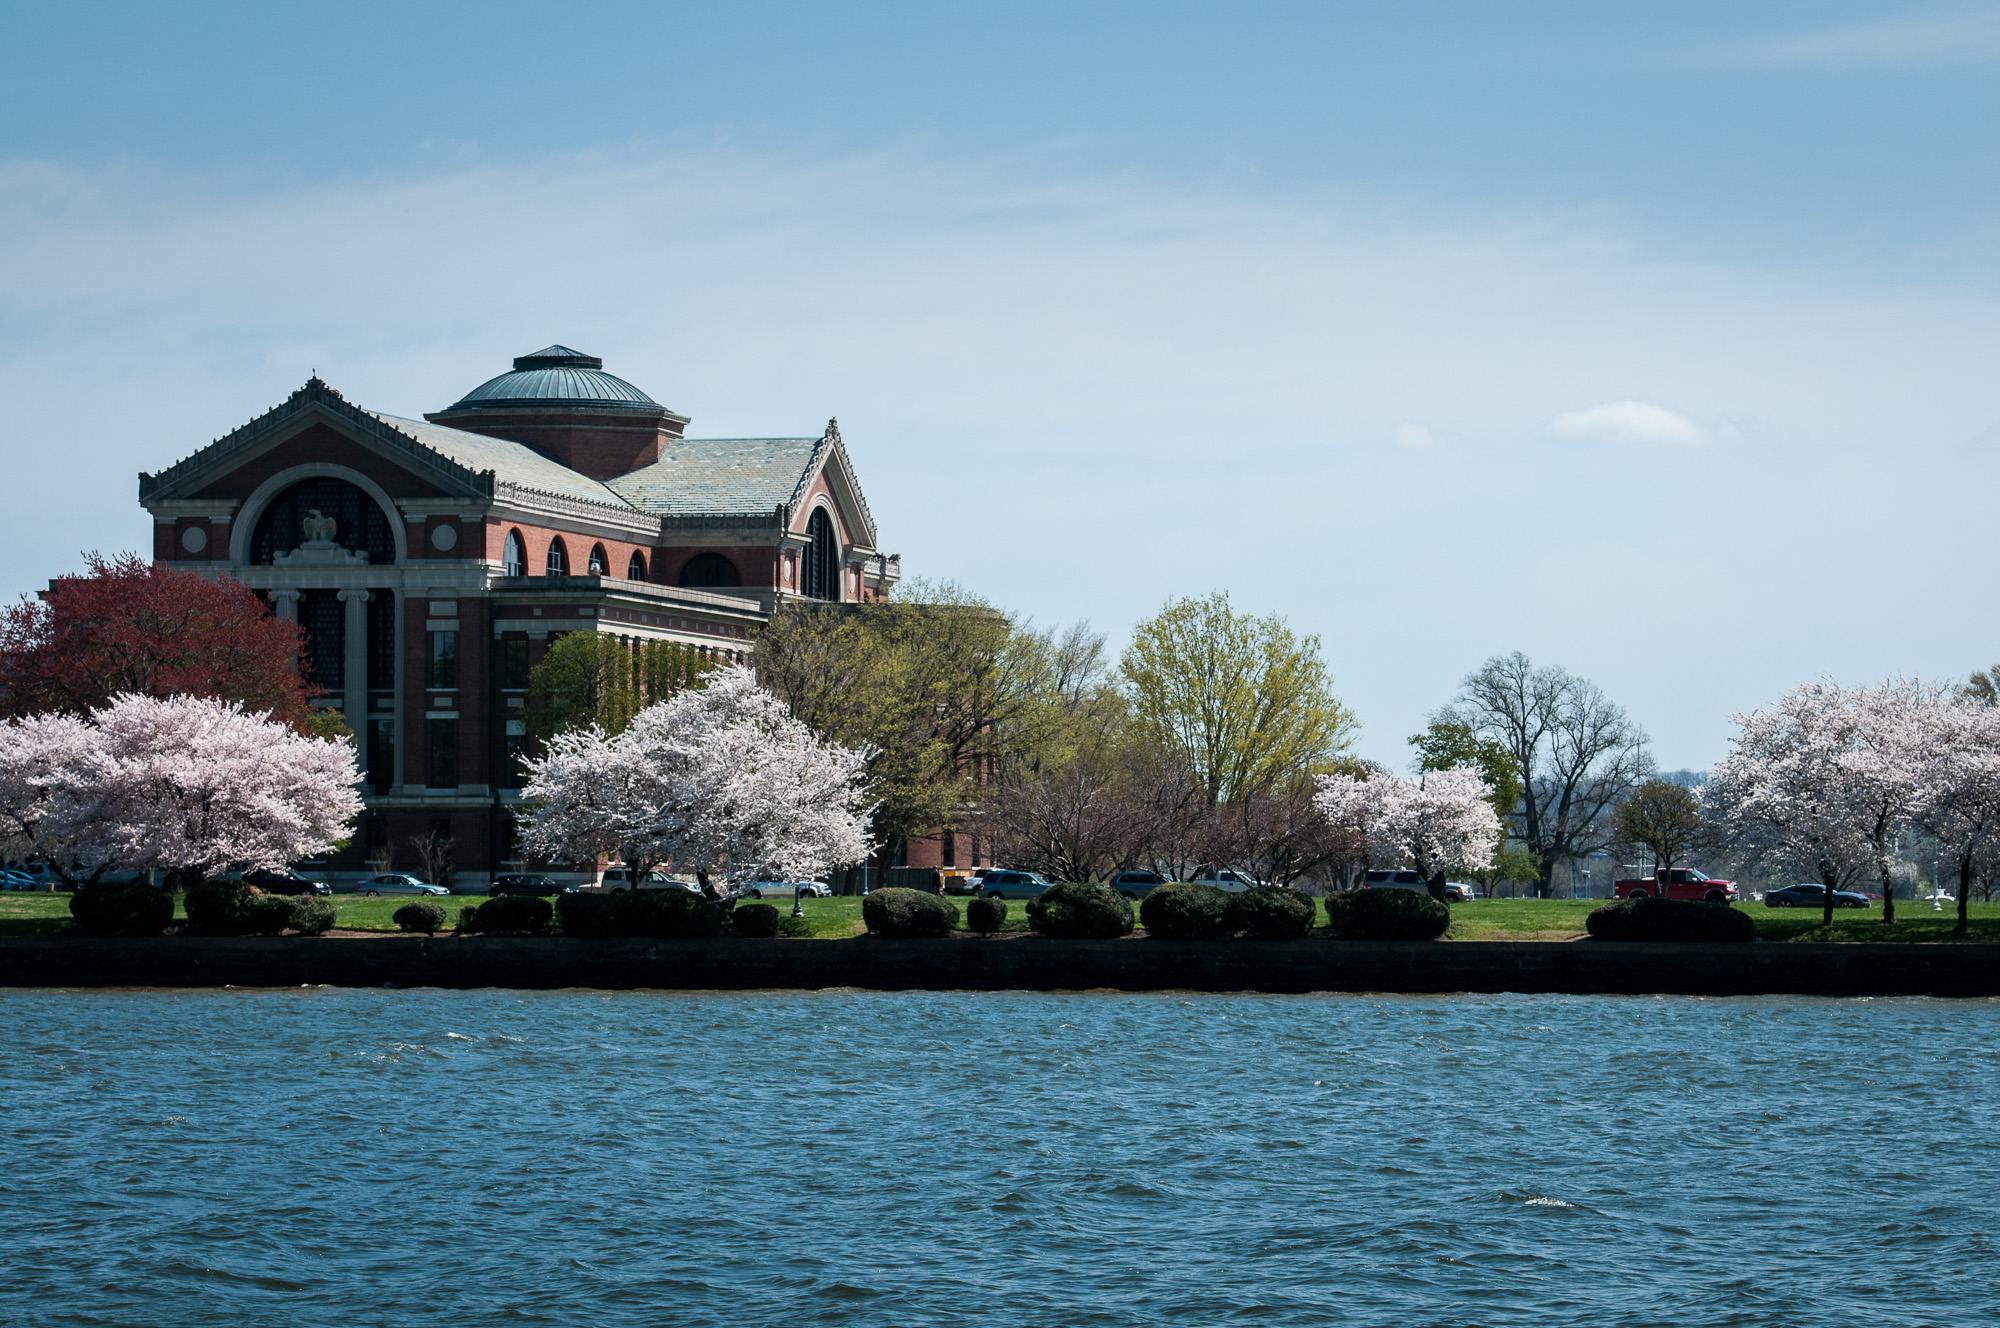
Highest perspective. Prospect Harbor Point Light, a lighthouse in Maine.

The first photo was created at eye level. I was standing on a small raised portion of land looking out over the water. I thought it was a beautiful scene, with a very picturesque lighthouse on the far shore and some great fishing boats in the water for added interest. I like the photo. I think it works. But I knew there were other possibilities.

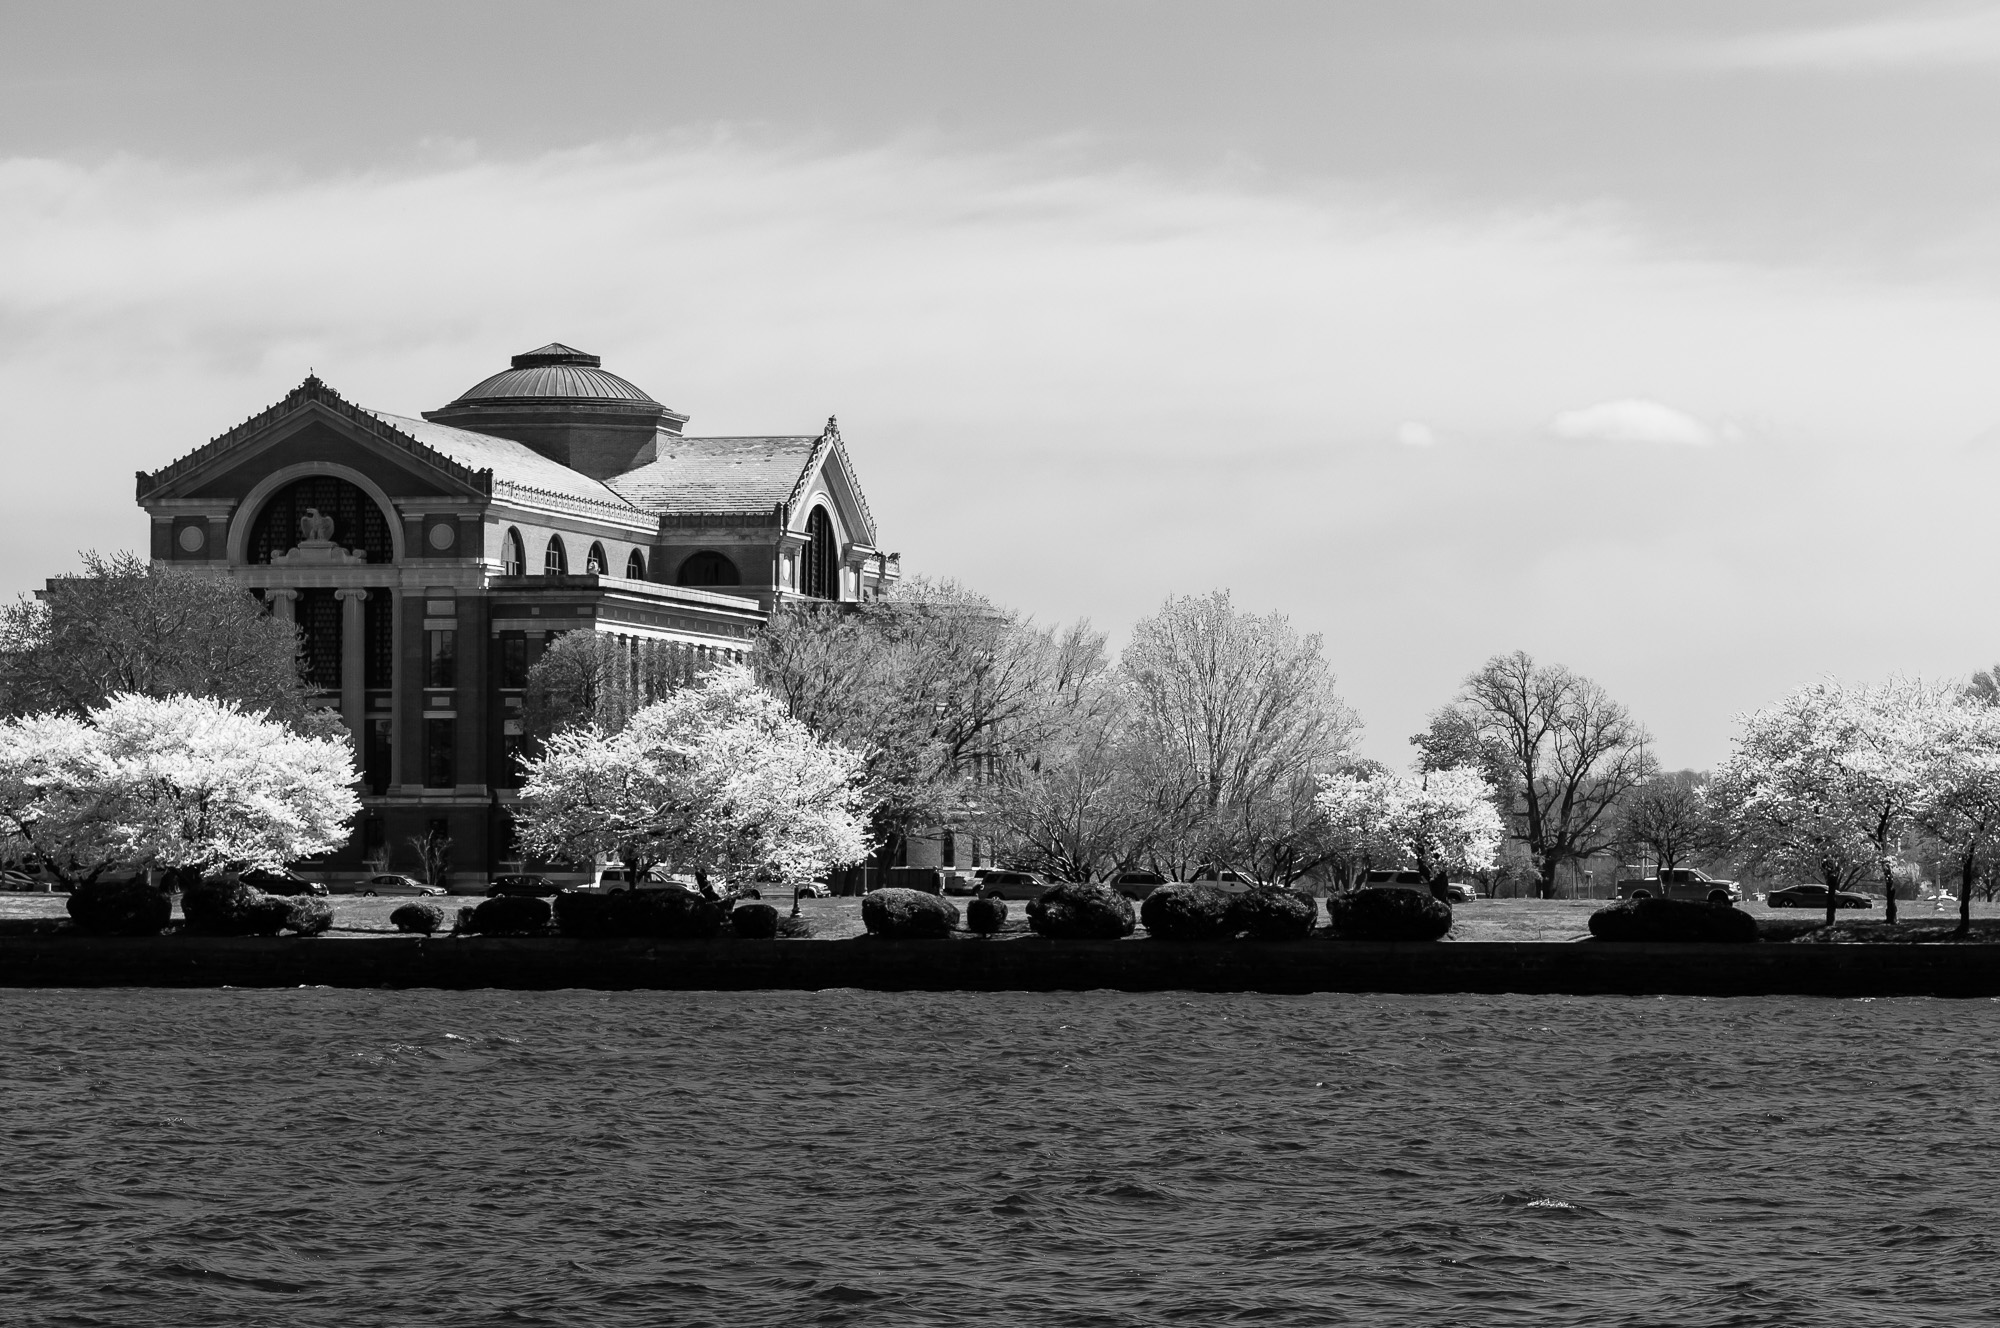
Middle perspective. Prospect Harbor Point Light, a lighthouse in Maine.

For the second photo I walked along the road, looking out at the lighthouse, watching the perspective change as I slowly walked downhill, closer to water level. If you look closely you can see the angle of the house beside the lighthouse has changed. The second image is more parallel to the camera. The first image was angled just slightly allowing you to see just a sliver of the left side. I also like this second image, and I think it also works. The elevation change has slightly changed the look of the image, but mostly the different look is due to a different composition. I was walking around, trying different shots.

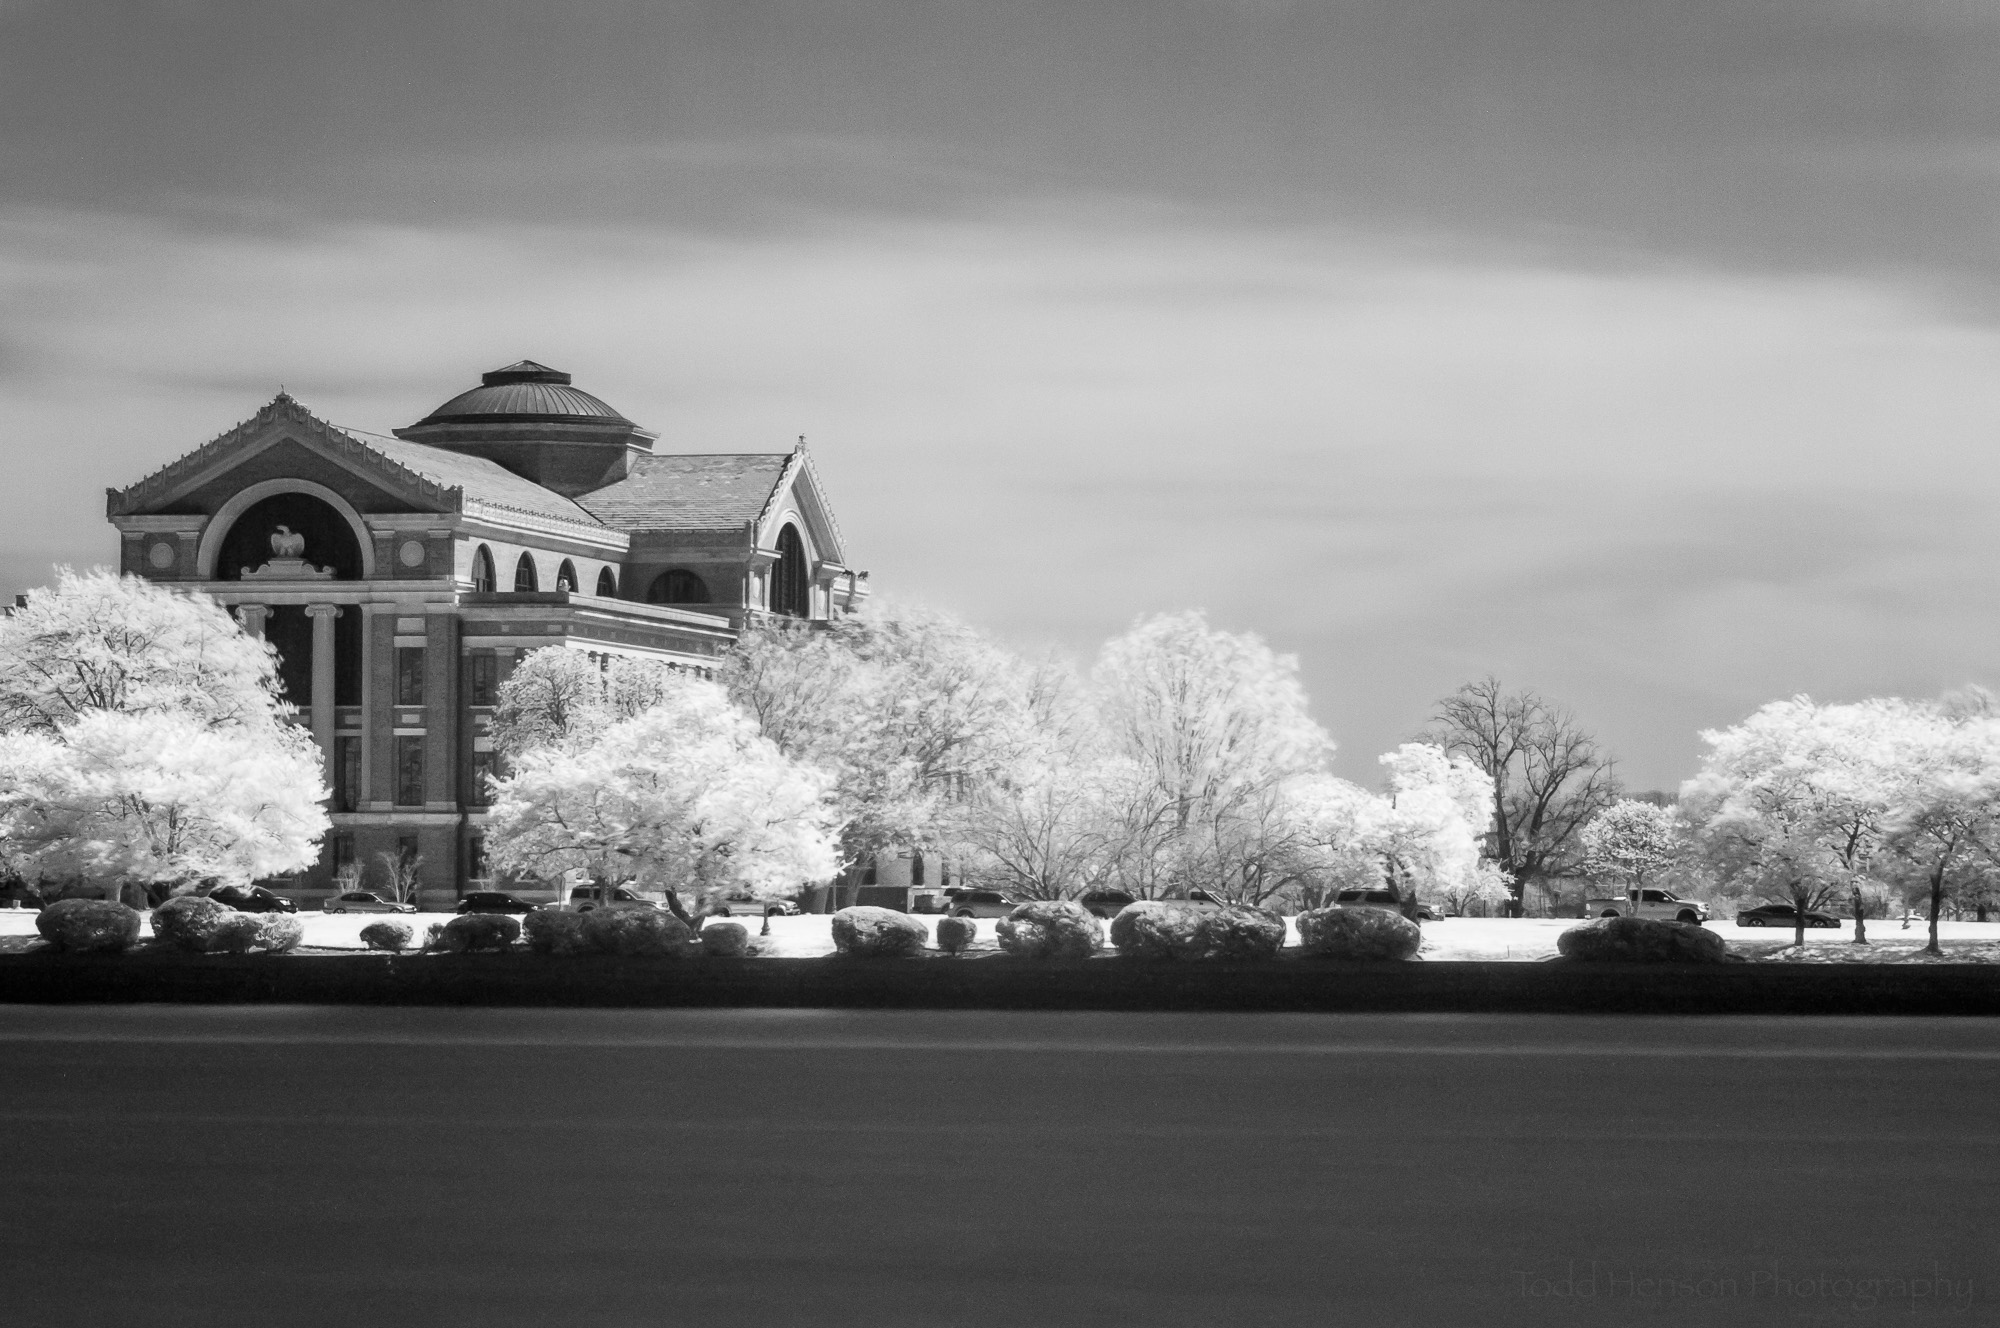
Lowest perspective. Prospect Harbor Point Light, a lighthouse in Maine.

Finally, I walked all the way down to the water, to a small sandy beach. I found a position where I almost had a clear view of the lighthouse, with just a couple boats to the right. But to really change the look of the third image I got down low, bringing the camera almost to water level. You can tell it is a much lower position because the lighthouse now extends above the tree line. In the first image the lighthouse just reached the top of the tree line, and in the second it extended a little above it. To add a little more interest to the image I opened the aperture all the way, creating a very shallow depth of field, throwing the foreground water out of focus. I like this last image, and think it also works.

None of the images are necessarily better than the others. But each is different, both because I tried different compositions and because I changed my perspective, getting lower for each image. This is just one small example of how changing perspective can affect the look of an image. In this case it was subtle changes, but you can also create drastically different photos by changing perspective.

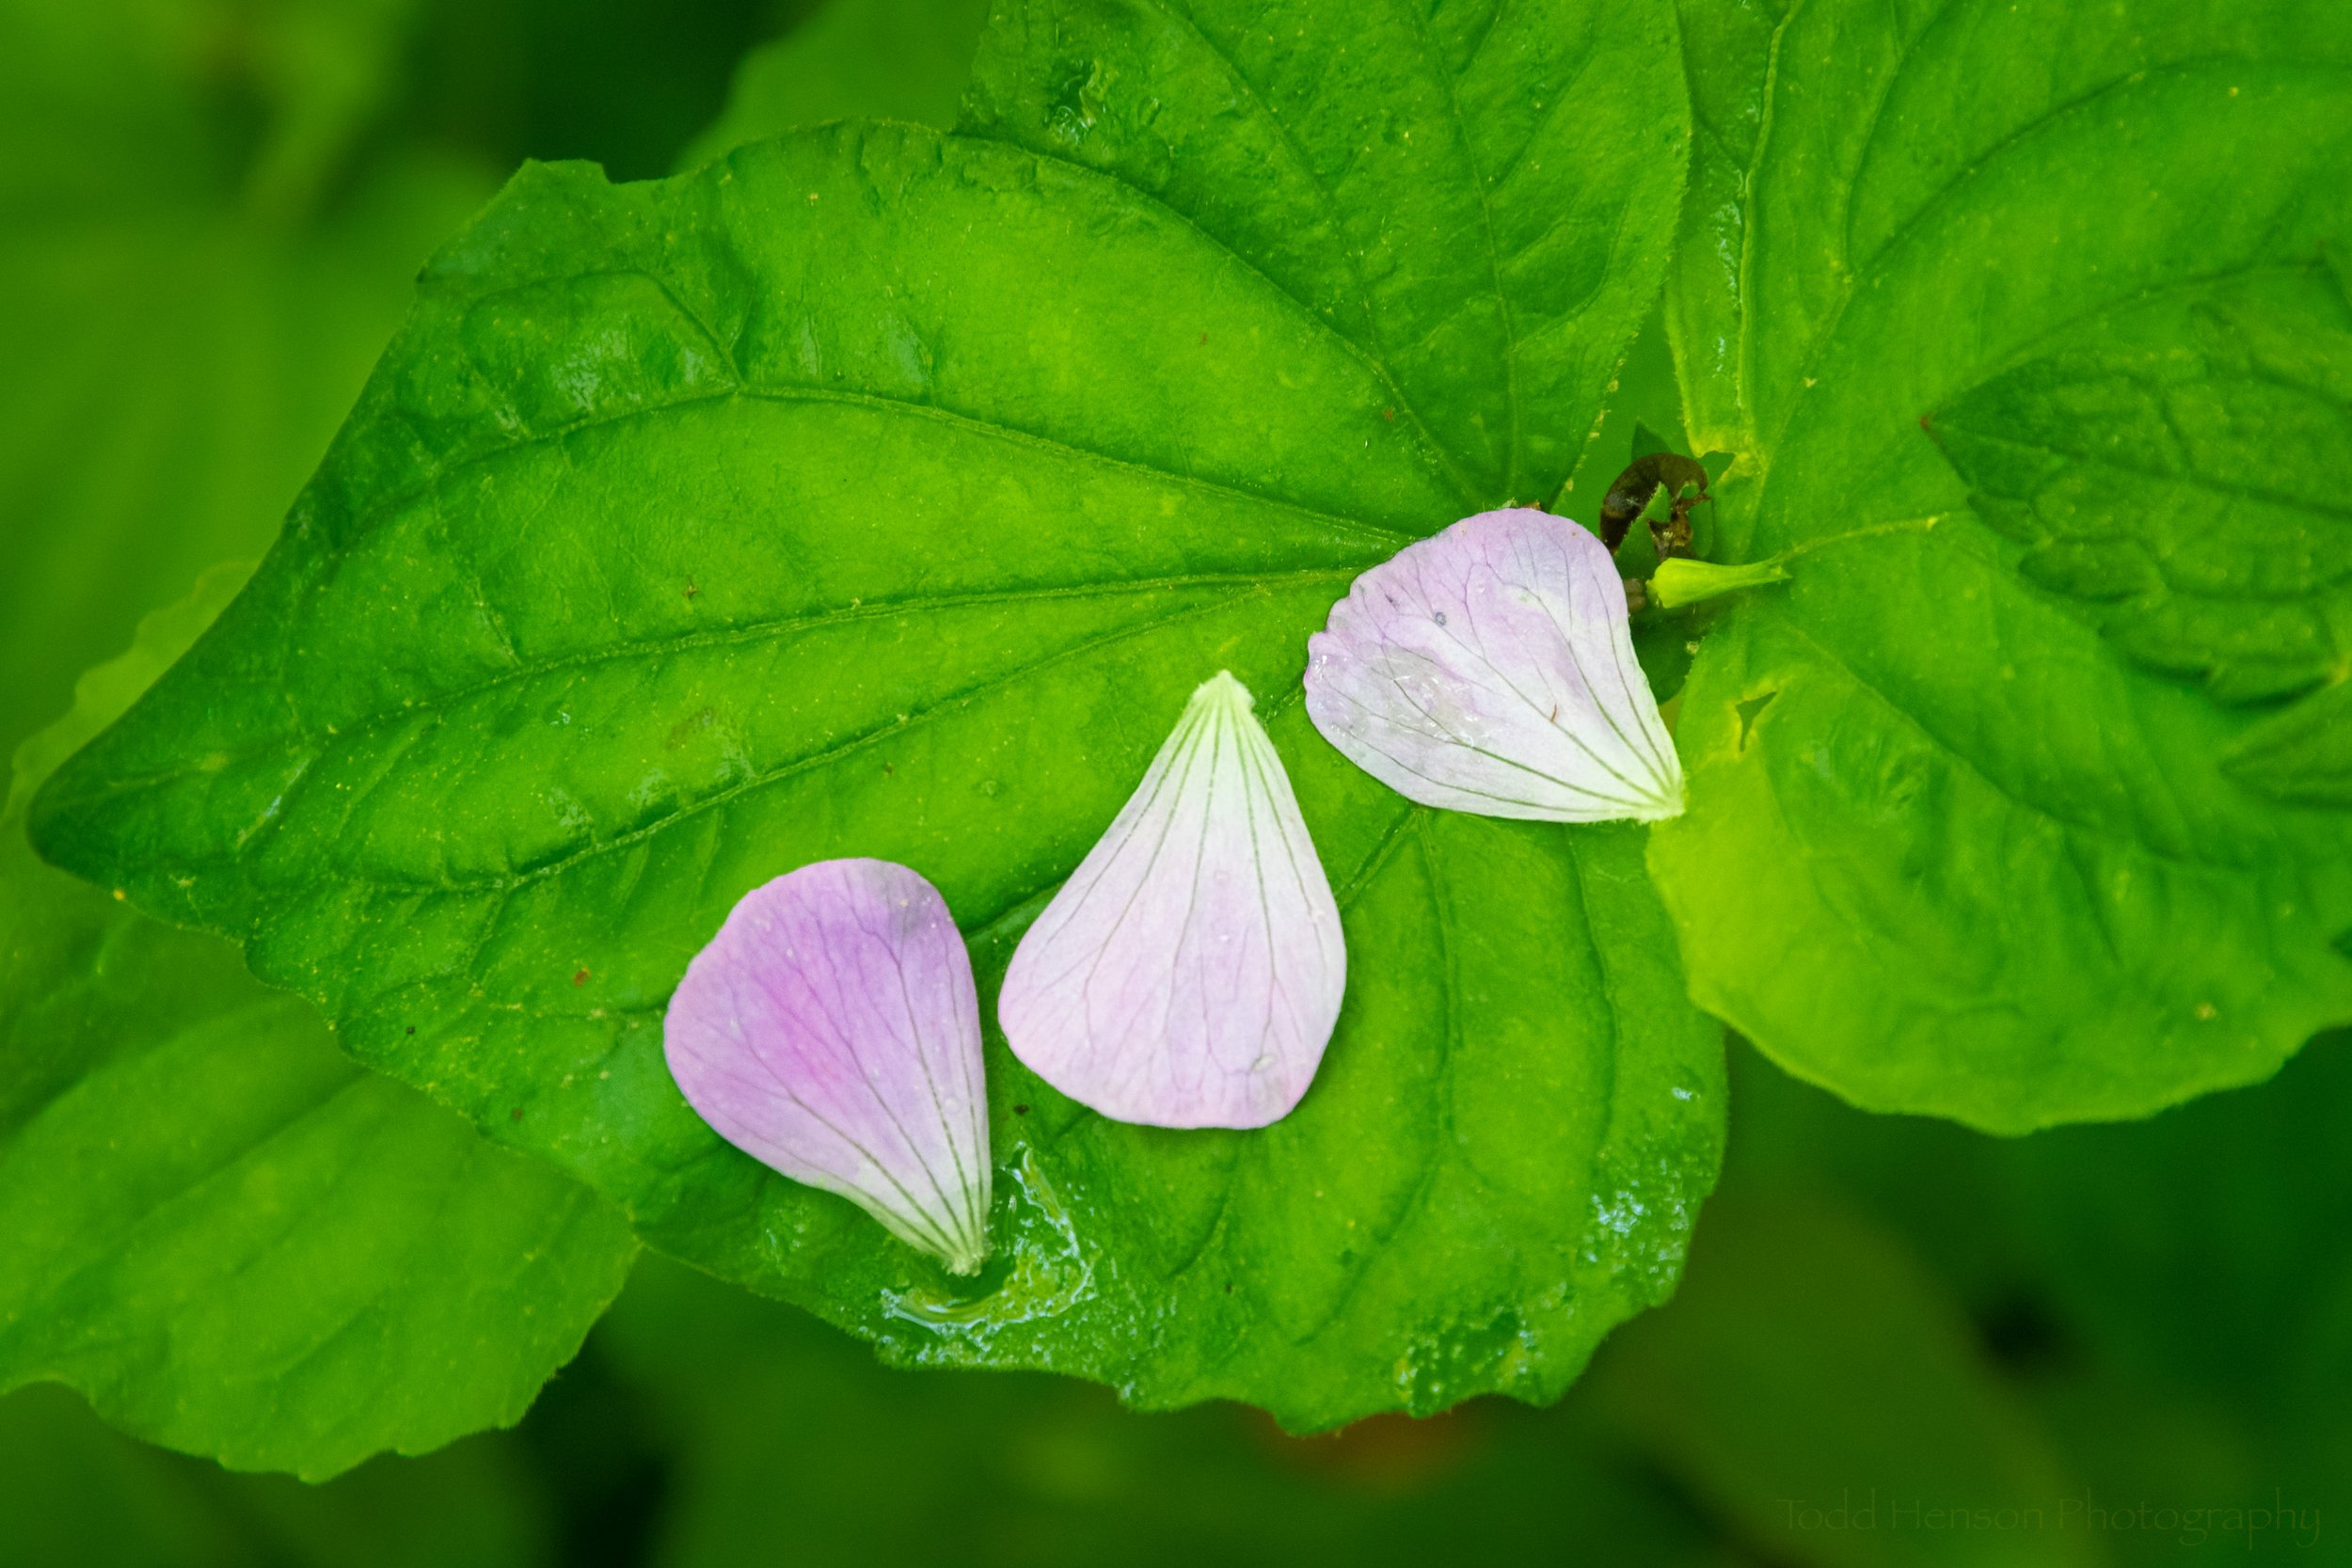
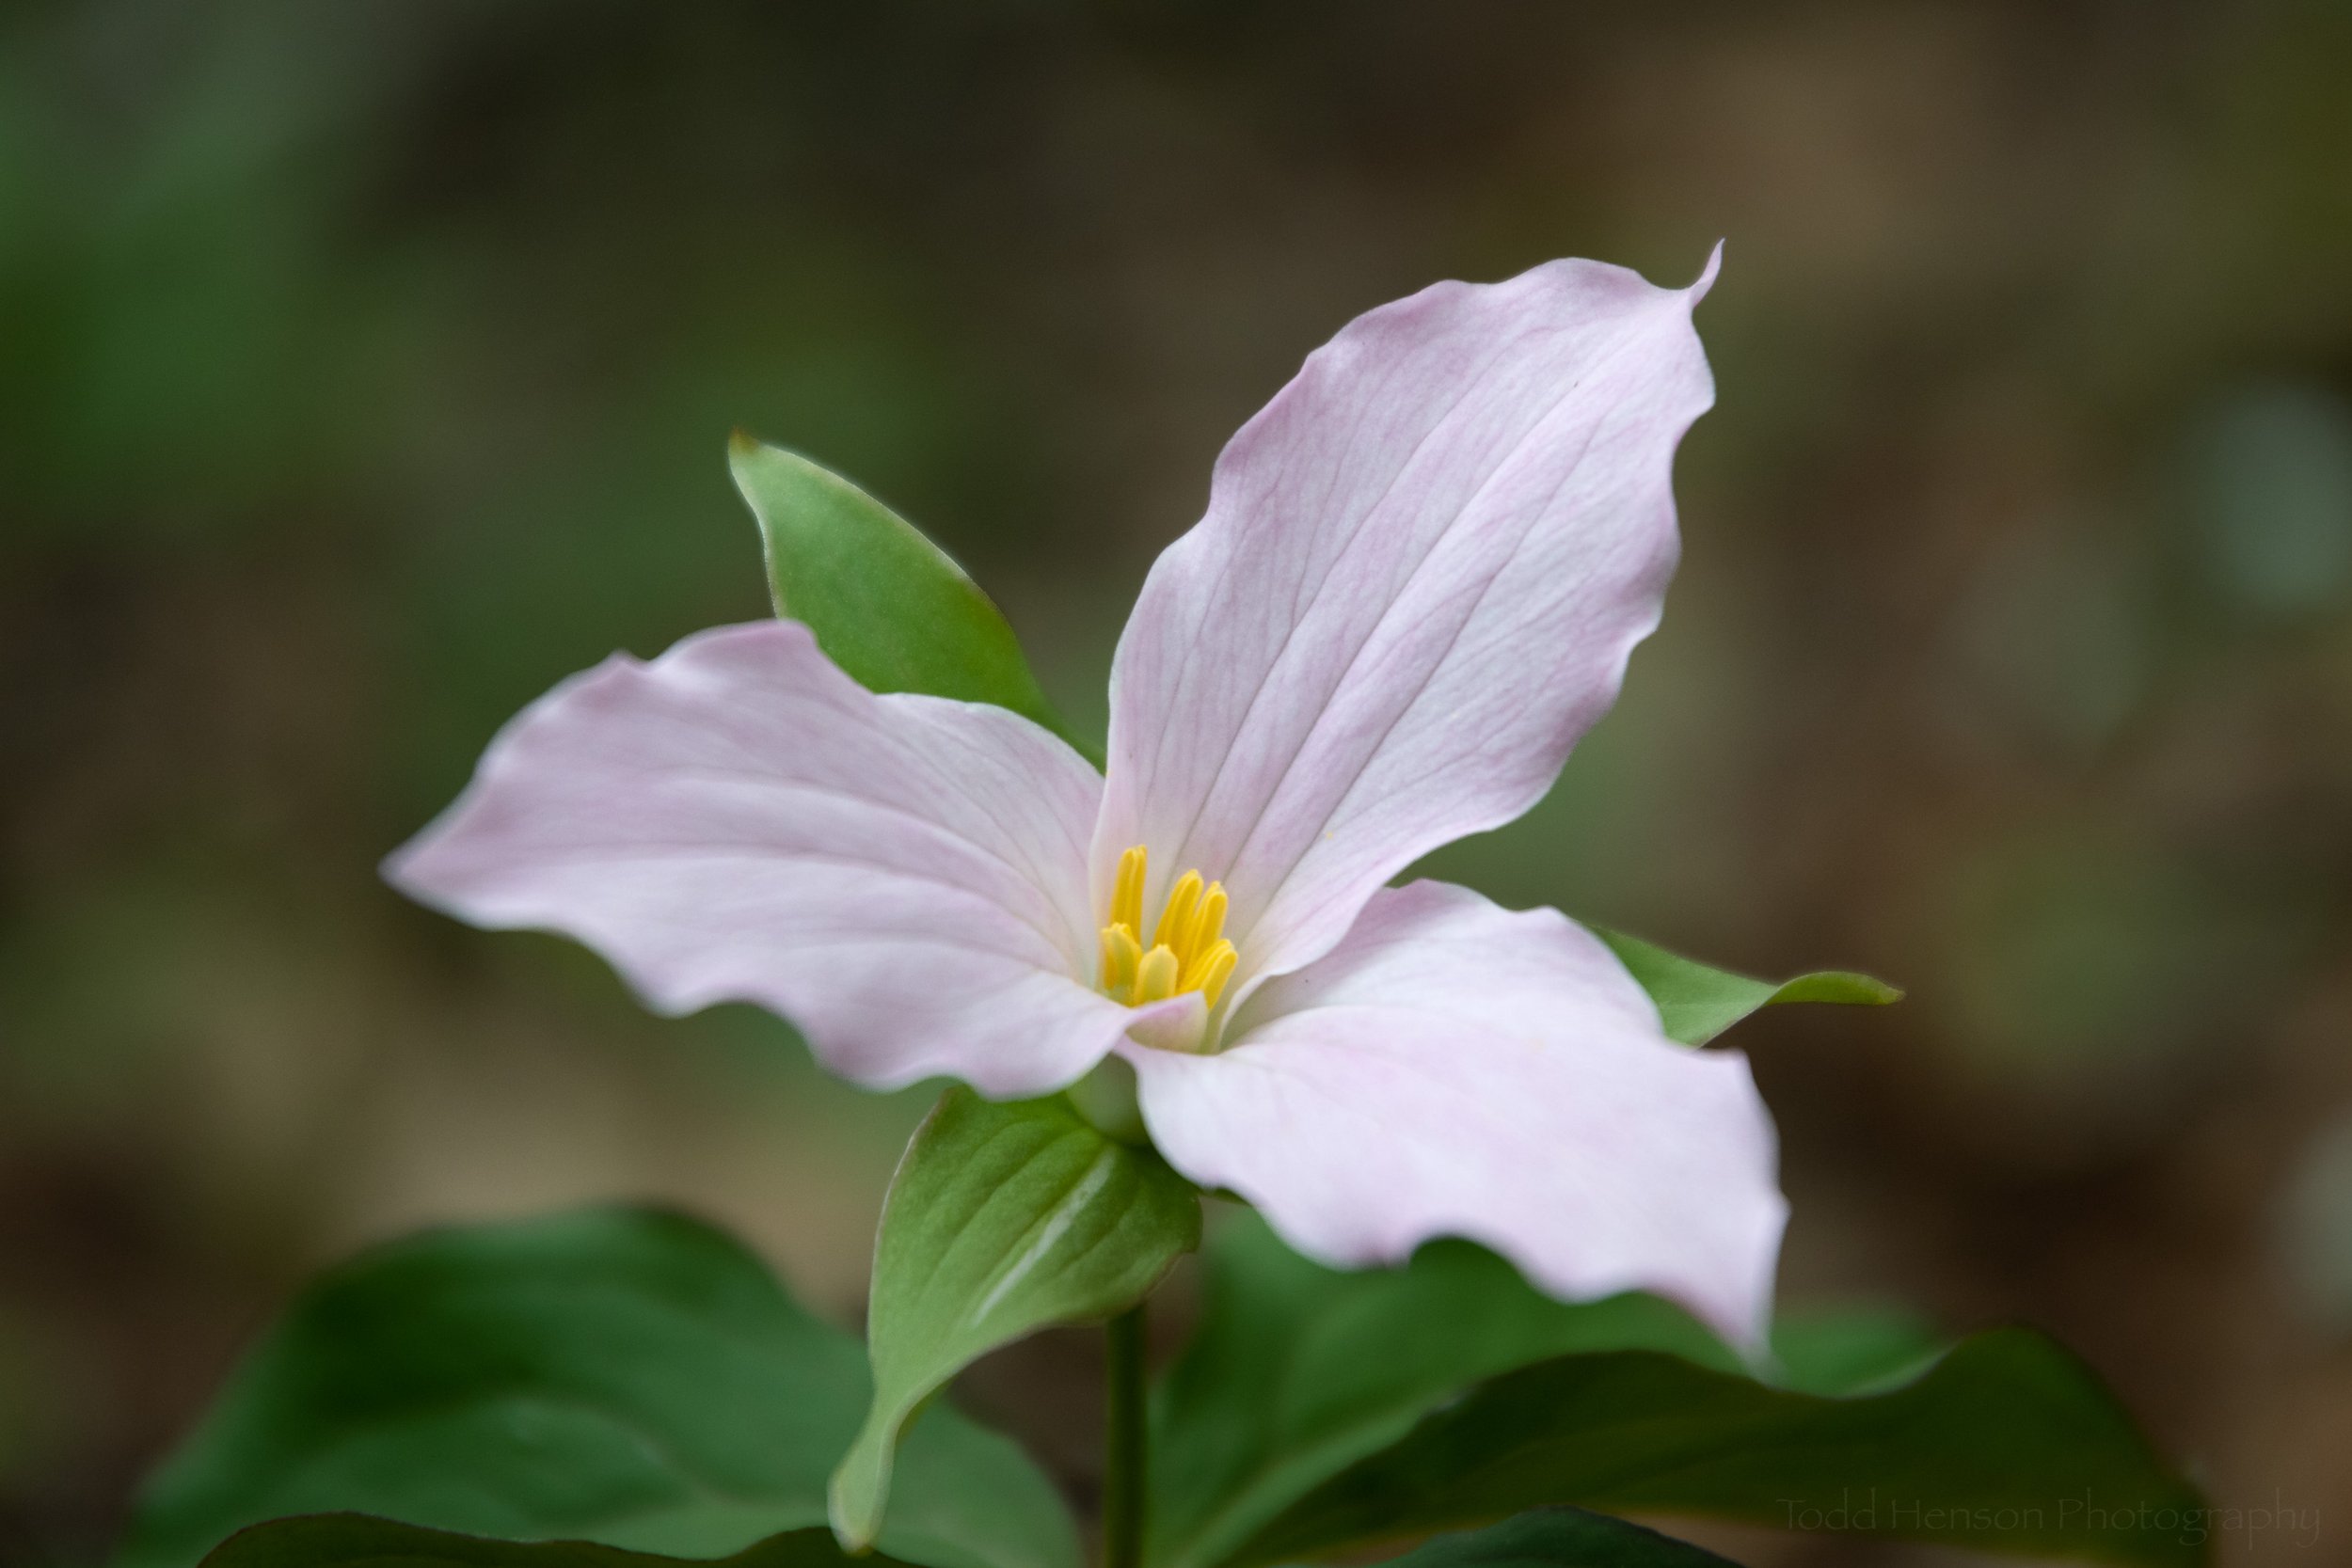
Next time you go out shooting I encourage you to try different perspectives. Don’t create all your images from the same eye-level perspective. Try different angles and different heights. If you’re photographing something down low, such as a flower, insect, or child, try getting down to their level. You’ll be creating an image from the perspective of your subject, and that can be an interesting change from the typical eye-level perspective.


Do you enjoy these posts?

Sign up to receive periodic emails with updates and thoughts. Don’t worry, I won’t spam you. And please consider purchasing artwork or products from my online store, and using my affiliate links in the sidebar to the right when shopping online.

I appreciate your support!


National War College from East Potomac Park, Black and White Infrared Composite by Todd Henson

Black and white infrared composite image of the National War College, taken from East Potomac Park, Washington, D.C.

There are times you may not be able to capture the image you visualize in a single photograph. But you may be able to achieve your aims by combining elements of multiple photographs, known as compositing. The above black and white image of the National War College, in Washington, D.C., is an example of this.

These images were created in the spring, when the cherry blossoms were in full bloom. My brother and I were hiking around East Potomac Park, seeing what it had to offer. Near the end of the park you can see the National War College across the Washington Channel, near where the Anacostia River enters the Potomac. It was almost noon, and not very cloudy, so the light was a bit harsh. You can see from the color image how the scene looked to my eyes.

Color image of the National War College, taken from East Potomac Park, Washington, D.C.

I had an infrared filter with me (see below for details) and thought it might work well. It blocks out visible light and only allows infrared and near-infrared light to reach the sensor. Most digital camera sensors have a filter over them that blocks out most (but not all) infrared light. This means it takes a lot of time for enough light to reach the sensor to create a well-exposed image. When using the IR filter I will usually set the ISO to around 800 to make the sensor more sensitive to light and allow shorter exposure times. In this case, with the ISO set to 800 and the aperture set to f/8, the exposure time with the IR filter was 73 seconds. As you can see in the infrared image, an exposure this long removes all detail from the water. It just looks like a flat grey road. I liked the infrared effect on the trees, building, and sky, but not on the water.

Black and white infrared image of the National War College, taken from East Potomac Park, Washington, D.C.

I made sure to capture images both with and without the infrared filter. This gave me something to work with when in Lightroom and Photoshop. To process the images I converted the color image to black and white, paying attention to the water. When I had the water the way I wanted it I selected the black and white image and the infrared image and told Lightroom to open those in Photoshop as layers.

Black and white image (converted from the color image) of the National War College, taken from East Potomac Park, Washington, D.C.

Turns out I had slightly moved the tripod between creating the color image and infrared image, so they didn’t perfectly line up. I was able to correct this in Photoshop by using auto-align layers and cropping off any excess. In this way Photoshop assured both images were perfectly lined up.

The top layer was the black and white image, converted from color. This is the image with the water the way I wanted it to look. The bottom layer was the infrared image. I created a layer mask on the top layer and painted black on the mask. This revealed the layer below where I painted. At first I set the layer mask opacity to about 50%, so I was painting in 50% of what was below, meaning I had an interesting combination of the two. I used this on the entire upper portion of the image, everything except for the water. Then I bumped up the opacity to 100% for the trees and sky, allowing the infrared image to show through completely for those portions of the image. Because I never brushed anything on the water, it remains completely from the black and white image.

Click through the images below to see the bottom layer (infrared), top layer (black and white), and finally all layers with the layer mask applied (the composite).

When I was finished I saved the image, which imported it back into Lightroom, giving me four images. The first is the original color image. The second is the black and white conversion from the color image. The third is the infrared image. And the fourth is the Photoshop composite of the black and white and infrared images. I performed a couple more small tweaks to the composite in Lightroom, then called it finished.

In the final composite image, the water is from the black and white image, allowing me to show the texture of the water. The sky and trees are from the infrared image. Infrared gives a very unique glow to sources of heat, such as trees. And the building is a combination of the black and white and the infrared images.

The infrared filter I used to create these images is a Singh-Ray I-Ray 830 Infrared filter. It blocks out all visible and ultraviolet light, letting through only pure infrared light. When used with most cameras this filter will require fairly long exposure times, but it can add an interesting look to an image. I really enjoy experimenting with it, seeing how it affects the image in different environments. It’s a great creative tool.


Do you enjoy these posts?

Sign up to receive periodic emails with updates and thoughts. Don’t worry, I won’t spam you. And please consider purchasing artwork or products from my online store, and using my affiliate links in the sidebar to the right when shopping online.

I appreciate your support!


What Happens When Your Camera Malfunctions in the Field? by Todd Henson

1: Entry display of orchids at Longwood Gardens

Have you ever thought about what you would do if your camera broke down while you were on a trip? Would it spoil your trip? Or could you recover and make the most of what remained of your trip? Thankfully, I chose the latter when it happened to me.

2: Closeup of orchid display

3: Streams inside Longwood Gardens Conservatory

A few weeks ago I shared a post about the beautiful Orchid Extravaganza display each winter at Longwood Gardens. That post reminded me of an experience I had there during a different trip. Shortly after arriving at the Conservatory I had a bad experience with my DSLR, the only time I’ve had this kind of experience. I had been shooting with my relatively new wide angle lens and decided to switch to a telephoto lens. But the wide angle lens got stuck when I tried to remove it. I was unable to remove the lens, and I was also unable to fully reattach it. It was stuck partly connected. Something had malfunctioned in the mount of the camera or the lens. I worked on it for a few minutes, but couldn’t budge the lens.

4: Brick path through Conservatory at Longwood Gardens

5: Lots of greenery in hallway

My brother offered to go back to the car to try to figure something out, or for us to trade his camera back and forth so we could both shoot. But I didn’t want to take away from his enjoyment of the trip, so I told him to keep shooting with his camera. I had my phone with me and could use that for the remainder of the trip. I didn’t see any need to cut the trip short or to change any of our plans. So I packed my DSLR into the camera bag, pulled out my phone, and fired up a camera app. Some of the photos in this post were created using the DSLR before it malfunctioned, and the rest were created using my phone. Can you guess which are which? See the end of this post for the answer.

6: So many beautifully laid out walkways

I’m happy to report I thoroughly enjoyed the rest of the trip. There might have been times in my life when I would have let this experience ruin the trip. But not this time. I think both my brother and I had a great time. And looking back, I’m reasonably happy with the images I created. Using the camera phone did somewhat limit the types of photos I could create. The lens on the phone was a fixed focal length, there was no switching of lenses. I lost true macro capability, and had no telephoto capability. I was very limited in my ability to create a shallow depth of field. And I couldn’t mount the phone on my large tripod.

7: Path around a central lawn display

8: View of lawn display from a path

9: Another view of a lawn display from a path

But all of these limitations create opportunities to exercise your creativity. You must be more creative to work around the limits, to still produce pleasing images. You will learn more about the strengths and weaknesses of the gear you’re using. And you’ll either find a way to make it work, or you’ll discover that even though it may be limited in some ways, it still has a large number of capabilities. And if you give it enough time and patience you’ll learn how to leverage those capabilities.

10: Colorful flower closeup

But even more importantly, when you set yourself up with technical limitations you’ll have to focus more on the creative and artistic aspects of your work. You will need to spend more time thinking about what makes a pleasing composition. You won’t have the option of simply zooming the lens to try to fill the frame. You will need to think about how to fill the frame and why. Perhaps a different angle would be better. Maybe getting down low, laying on the ground, would help create a unique image that better expresses your vision. Maybe you need to walk closer to the subject, or move a little further away.

Having limitations to work around can help teach us that creativity is in the photographer, not in the gear. I have learned a lot about these topics from David duChemin, a photographer who focuses on the artistic side of photography. He teaches about how to see, how to find something that speaks to you and might speak to your viewer, and how to translate that into a moving, impactful image. He teaches about seeing, about vision, and about turning those visions into stories to share with the world.

11: Small field of colorful flowers and foliage

Try this some time. Find some way to limit yourself. Maybe pick a specific lens and decide to only use that lens for some period of time, especially if it is a prime (fixed focal length) lens. If you only have zoom lenses then pick a focal length and put a small piece of tape on your lens to keep it from zooming. Spend the entire day using just that one focal length. Try this for more than a day if you can. Sometimes it takes time to learn to let go of what we’re used to and really start to embrace the limitations. But I do believe your creativity will benefit from repeating this exercise every so often. Try different limitations, be creative in how you limit yourself. And believe me, I’m saying all this for my own benefit as well as yours. I need to constantly remind myself to try these exercises, to try something different, to find ways to limit myself and to grow in the process.

12: A display room within the Conservatory at Longwood Gardens

Tell me if you’ve had any similar experiences, or if you’ve tried any of these exercises yourself. How did it turn out? What did you learn? Would you try it again?


Do you enjoy these posts?

Sign up to receive periodic emails with updates and thoughts. Don’t worry, I won’t spam you. And please consider purchasing artwork or products from my online store, and using my affiliate links in the sidebar to the right when shopping online.

I appreciate your support!


The resources below contain affiliate links and I will be compensated if you make a purchase after clicking on my links. This is at no extra cost to you.

Recommended Books by David duChemin: