Techniques

Focus Stacking Pink Lady’s Slippers in 2022 by Todd Henson

Pink Lady’s Slipper (2022). This photo is the result of focus stacking 9 images to try to capture a significant portion of the bloom in focus.

One of the goals I had this season was to create a nice closeup photograph of one of our local orchids, the pink lady’s slipper, with an uncluttered out of focus background but showing a maximum amount of the blossom in focus. In the past I’ve tried this by experimenting with apertures to try to balance the amount of the blossom in focus against the amount of the background that’s out of focus. It’s been a challenge with many of the flowers I’ve found locally as they so often grow in very busy and brushy areas. So this year I decided to try using the focus stacking technique to accomplish my goal. This is a technique I’ve only rarely used, so I’m not an expert and am still learning.

Technique: Focus Stacking

Focus stacking refers to making many photographs of the same subject, one right after the other, while shifting the focus point for each photograph. In this case I used a very wide open aperture to keep the background nicely blurred. Then I focused on the closest point on the flower and made an image. Then I shifted the focus back just a little and made another photo, and repeated this until I was focused on the back of the flower. Essentially, each photo has a slice of the subject in focus and when you combine all of them in software you will, hopefully, get the entire subject in focus.

I’m not going to go into lengthy detail on the specifics of how to do this in software, but at a high level I did the following:

  • Selected all the individual photos in Lightroom and chose to edit as layers in Photoshop.

  • Selected all the layers in Photoshop, then auto-aligned the layers to line them all up correctly in case there was any slight movement between shots.

  • Auto-merged the layers, choosing the focus stacking option, to combine them all letting Photoshop pick the areas most in focus from each image.

  • Cropped the final merge to get rid of any inconsistent areas around the edges.

  • Performed any final edits in Lightroom.

The two photos I share today are examples of how I did. They are not perfect merges, though I am reasonably happy with the results. I’m ok with some things being a little out of focus but there are small areas of pink on each flower that I’d hoped would be in focus and are not. At some point I may spend more time on each to see if I might have captured those areas in focus in some of the images but the software just didn’t merge them correctly, and if so I would need to manually adjust the layers after the merge to try to capture those areas in focus. Or it’s also possible I just moved the focus a little too far such that I missed a slice, in which case I’ll need to try again next season.

Another Pink Lady’s Slipper (2022). This photos is the result of focus stacking 14 images, resulting in a 3.01 GB file.

Lessons Learned

  • If you are shooting with a wide open aperture and are close to your subject then adjust the focus in very small increments to assure you capture the entire subject. You can’t always go back and redo this later.

  • Try to pick days where there’s no wind, or at least very little. You don’t want the subject moving between each shot.

  • Use a sturdy tripod. Software can align the photos if they are not all perfectly aligned, but why risk problems? Use a tripod and get the shots as steady and lined up as possible while in the field.

  • Consider what software to use. I used Adobe Lightroom and Photoshop to perform all processing. This is a great combo but sometimes there are third party software packages that might do a better job with specific tasks. I’ve heard good things about Helicon Focus when it comes to focus stacking, but I’ve never tried it.

  • Consider how much memory and processing power this might take. I’m still working from a fairly old computer (12 years old) and this process did tax it. It became so memory constrained at times that the entire process seemed to stall and likely took far longer than it would on a more recent computer (I’ve been recently thinking about finally getting a new one).

  • Consider how much hard drive space this might take. Granted, space is relatively cheap in the scheme of things, but just realize that combining 14 images created on a 20 megapixel camera can result in a 3 GB merged file. If your subject requires even more images then the size will grow even larger.

  • Practice, practice, practice.

Conclusion

Focus stacking is a great technique that can help you create images that surpass the capabilities of whatever camera and lens you own. You can create very shallow depth of field photographs but still capture maximum detail in the specific areas you want. Modern software makes it relatively painless in most cases to create some nice images, but it can still take a little work, and it does help to practice the technique to better your skills and increase the chances of creating a final photo that exceeds your expectations.


Do you enjoy these posts?

Sign up to receive periodic emails with updates and thoughts. Don’t worry, I won’t spam you. And please consider purchasing artwork or products from my online store, and using my affiliate links in the sidebar to the right when shopping online.

I appreciate your support!

Shooting From the Road by Todd Henson

There is a particular photographic technique, or perhaps style of photography, that I don’t practice often but have thoroughly enjoyed each time I have. And that is shooting from the road, from a moving vehicle. But before we get ahead of ourselves, lets get the required warning out of the way: Please only do this as a passenger. Never shoot from the road while driving. Seems pretty obvious, right?

Panning From the Road: Farm and Motion Blur

Farm from the road

My earliest successful attempt at shooting from the road might have been a short day trip my brother and I took many years back. While driving down a road I was taken by the scene of a farm and the green fields in front of it, so I had my brother drive back and forth several times. There was no one else on this road so we didn’t get in anyone’s way. What I was hoping for was a panned image where the barn and silos were sharply in focus but the green fields closer to the car were blurred from the motion of driving by them. I was remembering as a kid how much I enjoyed staring out the side window of a car watching the blurred fields beside the road. I wanted to capture something of this in a photograph.

This was a challenging photo to create. I needed a fast enough shutter speed, and good enough panning technique, to get the barn and silos in focus. But I needed a slow enough shutter speed to capture the motion blur of the nearby field. That’s why I had my brother drive back and forth several times so I could experiment with settings until I found something that worked for me. In the end I used the following lens/camera settings: 105mm, ISO 200, f/18, 1/20 sec.

A quick note on panning, if you’re not familiar with it. Panning is where you move your camera, tracking your subject as the subject moves (or in this case as we moved past the subject). It requires a steady hand if you’re using a slow shutter speed. It takes a lot of practice but it’s worth it, and lots of fun. Give it a try if you haven’t.

Panning From the Road: House in Focus

House from the road

Another example of panning from the road was of an attractive house my father and I saw as we were driving by on our way back from a visit to Blandy Experimental Farm. This time we didn’t drive back and forth, so I needed to get it right the first time. I wasn’t looking for blurred fields or grass, just capturing a nice image of the house and its lawn, so I used a much faster shutter speed. I shot a quick burst of frames as we passed by, panning with the house from the passenger side of the car. I had no idea at the time if I captured a decent image, but when I got home I was very pleased with the results. Here are the lens/camera settings I used: 80mm, ISO 400, f/8, 1/500 sec.

Shooting the Road Ahead

On the road

Another obvious way to shoot from a moving car is to photograph the road ahead. You still have options here as far as whether you want to capture some motion blur at the sides of the road or whether you want to try to freeze all motion. In my case for each of these I opted to mostly freeze all motion, so I used faster shutter speeds. I like the perspective these photos give, facing forward with the road in front, sometimes visible far into the distance. I think there’s an aspect of storytelling to it. Here are the lens/camera settings I used for the photographs below: 58 - 80mm, ISO 400, f/8.0, 1/640 sec.

Driving through the hills

On target at mile marker 100

Tips

One of the most important tips for shooting from the road is to experiment, try different settings, see how they affect the look of the image. You can introduce intentional blur, or you can try to reduce all blur and create sharp images, or some combination of them both. Try experimenting with depth of field. I really didn’t pay too much attention with that in these photos, but it’s an option you have.

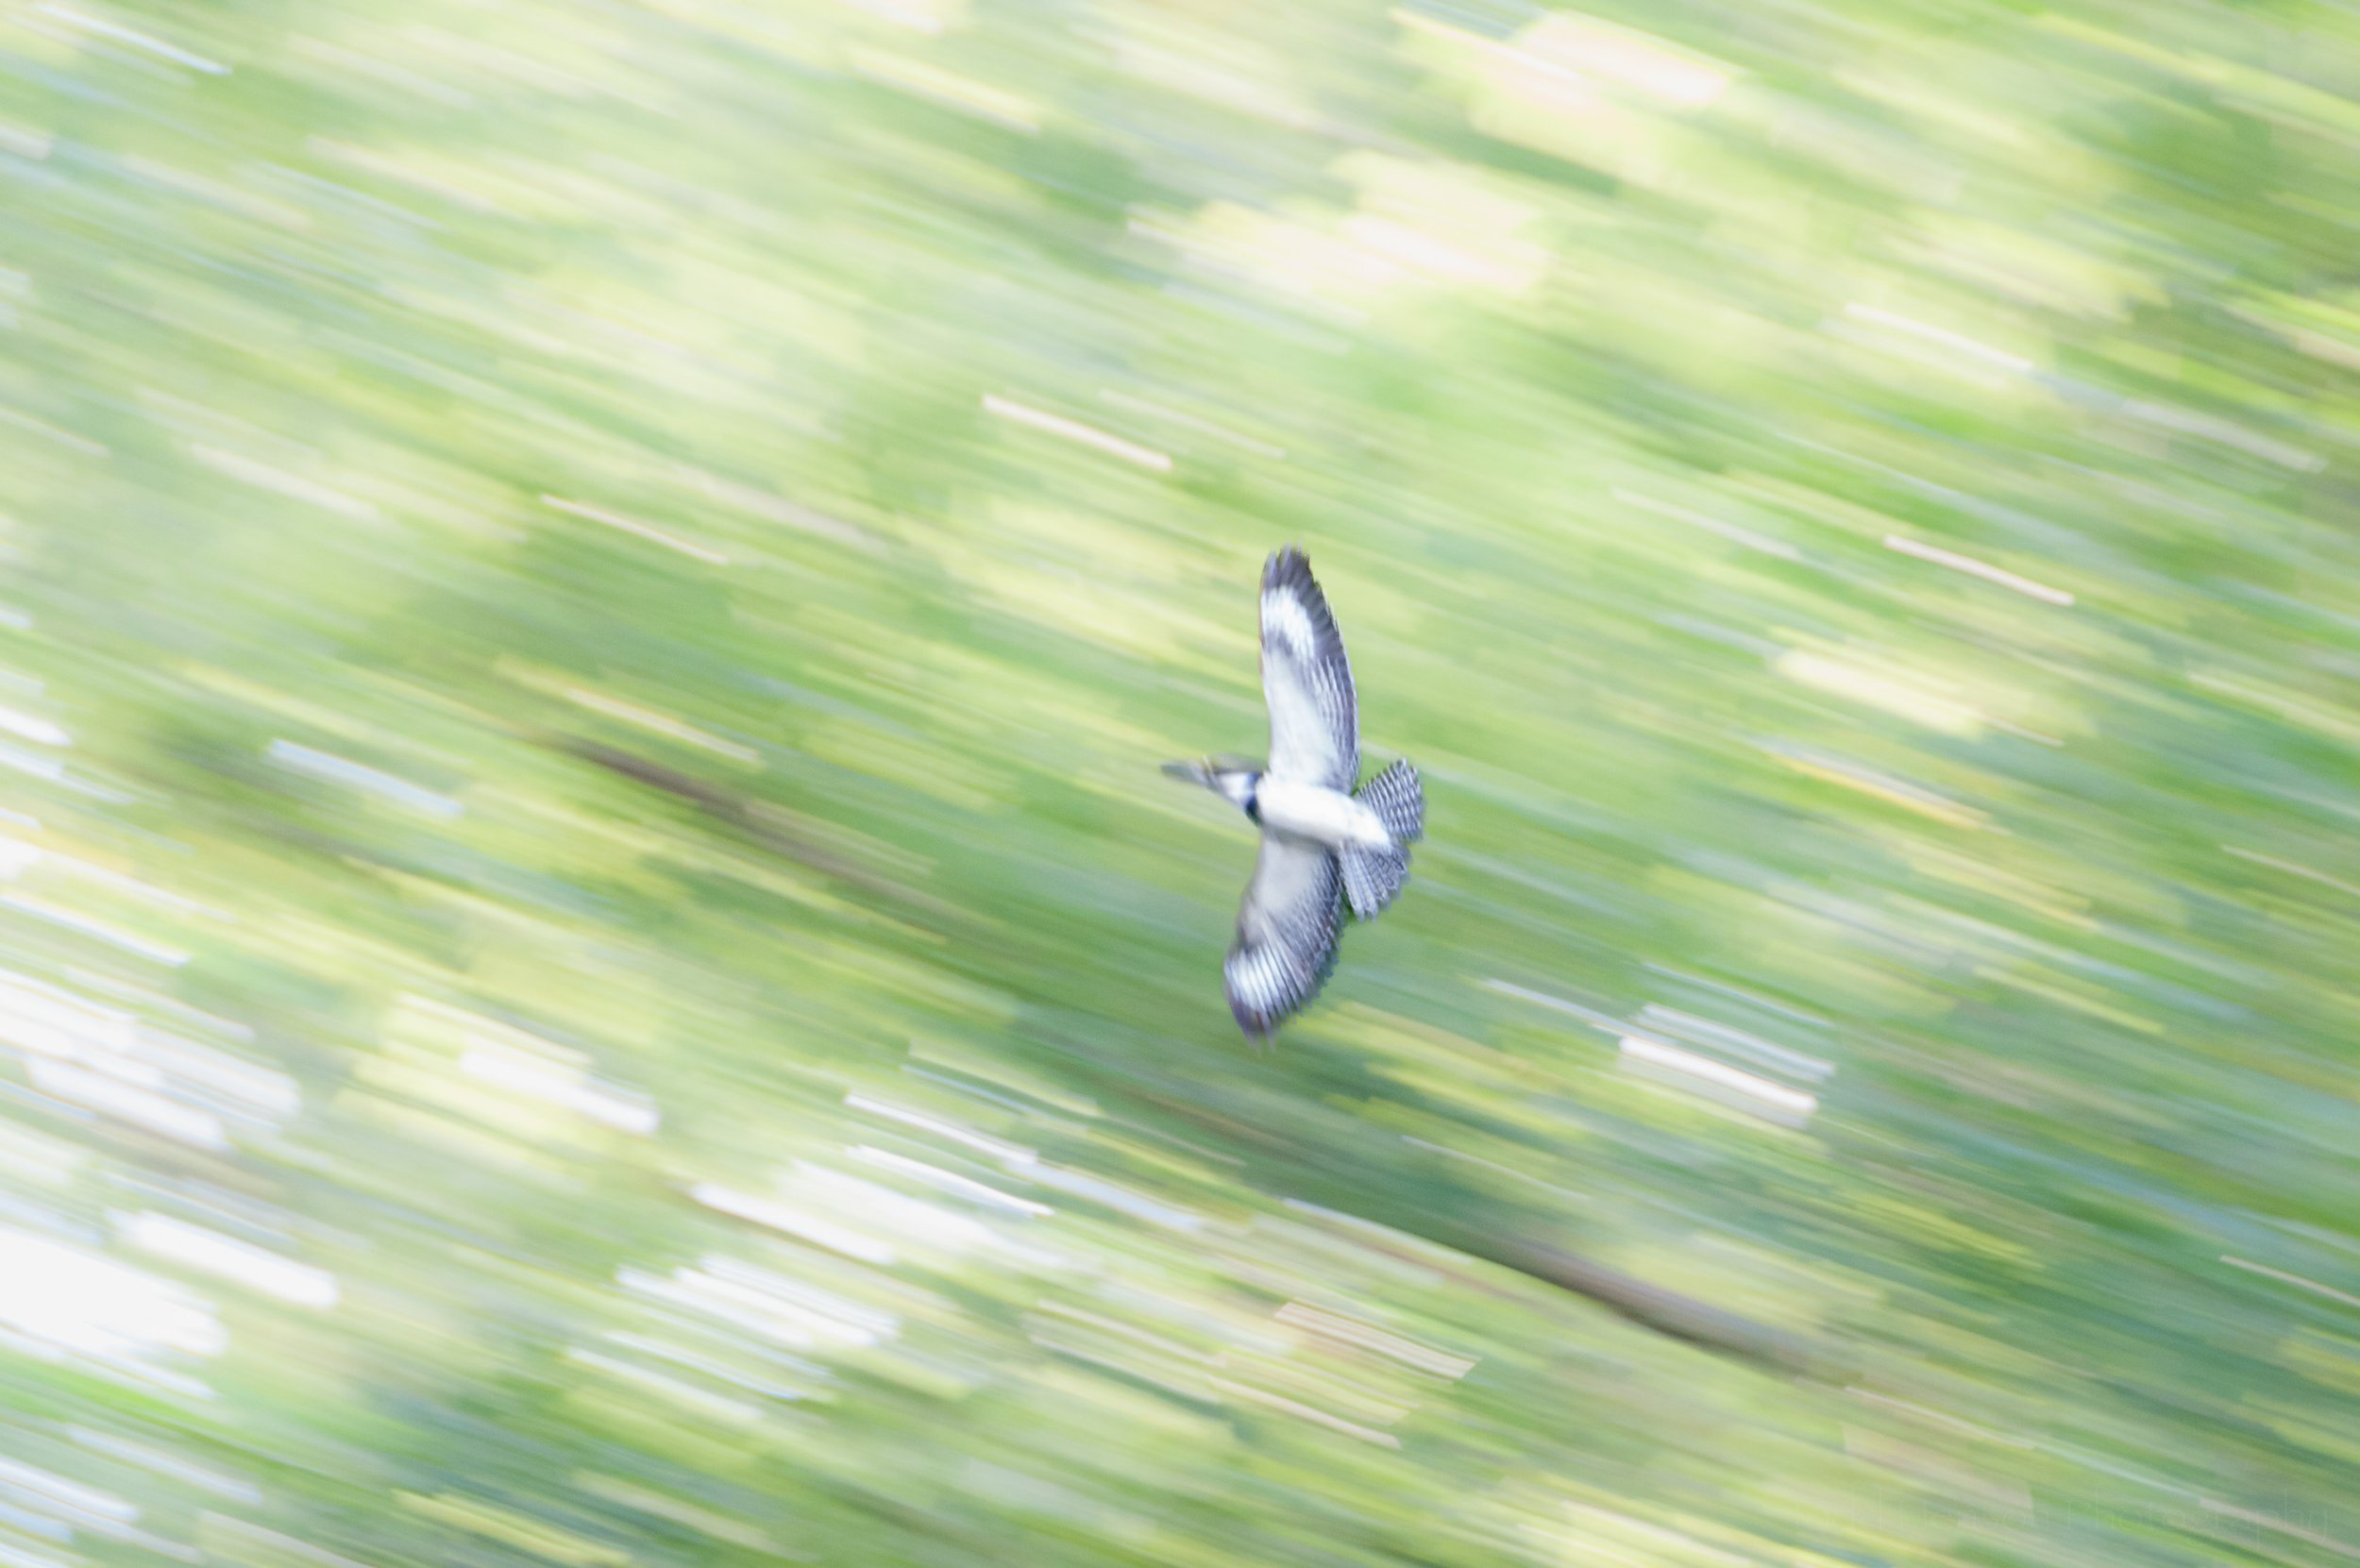
This tip applies in just about any circumstance: practice! Panning can be a challenge so it’s worth practicing any chance you get. You can practice closer to home by tracking a bird in flight or a car in motion. Try to move the camera such that you keep the subject directly on the focus point.

Another tip is to use the vibration reduction feature of your lens or camera if they have it. This can help reduce some of the natural vibration you’ll encounter from the vehicle and help you get sharp images (if that’s what you’re trying for).

It might be a good idea to wash the windows of the car before setting out, especially if they’re very dirty. I’ll be honest, though, I didn’t do that for any of these photos.

Have you ever tried shooting from the road? What were your experiences? And if you haven’t tried this, do you think you will in the future? Let me know in the comments below.


Do you enjoy these posts?

Sign up to receive periodic emails with updates and thoughts. Don’t worry, I won’t spam you. And please consider purchasing artwork or products from my online store, and using my affiliate links in the sidebar to the right when shopping online.

I appreciate your support!

Painterly Pursuits in Photography by Todd Henson

I was thinking about how sometimes painters create paintings that could be mistaken for photographs. And that naturally led me to thinking about how photographers sometimes create photographs that could be mistaken for paintings. And from there I began pondering some of the ways a photograph might be made to look painterly, many of which would involve heavy post-processing, likely using Photoshop to craft a painting out of a photo. But I also thought about the various ways a photograph could be made painterly mostly in camera with any post-processing occurring strictly in Lightroom.

And so I sought out a few photographs that I’d created with a more painterly intent, ones I’d not yet processed, and took them through Lightroom to finish them. Most of the post-processing is similar in nature to that I do with any other photograph, adjusting exposure, highlights, shadows, white and black points, white balance, color balance, etc. The majority of what makes these photos painterly was done in camera. I did, however, make adjustments in Lightroom that might be considered overkill for a typical photograph, things like over-saturating colors or pushing texture too much in one direction or the other (affecting contrast in interesting ways).

Trees in Autumn

The first photo used a simple technique to distort the scene, giving it the impression of paint brushed onto a canvas. How was it done? Some of you may guess by looking at the photo. I found a pond surrounded by bright autumn foliage and pointed the camera at the reflections in the water and experimented with various shutter speeds to see the different looks they gave. Some seemed to give the impression of brushed on paint, and in post processing I accentuated that by adjusting the contrast in various ways (texture, highlights, shadows, white and black point, etc). I also flipped the photo so the sky was at the top, as we’d see in the scene or a painting, but the opposite of what we typically see reflected in a pond.

Autumnal Abstract

For the second photo I once again took advantage of the reflections of the colorful autumn foliage, but this time I decided to go with a more abstract composition. I focused in on a small patch of color and patterns and zoomed in enough you can’t as easily tell what the subject is. Instead it’s just a painting about color and pattern. And this being the case I had no problem adjusting some of the colors in Lightroom, making some of them brighter and more vibrant.

Fiery Fall Foliage

Finally, for the third photo I decided to include the actual scene instead of just reflections. But I still wanted a painterly look. Thankfully, the scene, itself, had a painterly look to it with the late afternoon sun lighting up some of the colorful leaves across the pond. I was also creating a number of long exposures, letting any breeze slightly blur the leaves, while also sometimes experimenting with moving the zoom or focus ring during the exposure. If you move the zoom ring during exposure you can create some interesting streaks and blurs as you actually zoom into or out of the scene. By moving the focus ring during exposure you can similarly create some interesting blurs as you capture things in and out of focus at the same time. In this particular case I don’t think I moved either zoom or focus rings, instead just letting the breeze move some of the leaves around for the 1 second exposure. I then made further adjustments in Lightroom that contributed to the slightly blurry feel, and made some creative exposure adjustments beyond the already brightly illuminated foliage.

All of these photos also took advantage of a Singh-Ray Gold-n-Blue polarizing filter to shift and accentuate the colors even more. The trip to this pond was all about experimenting, about trying to use various techniques to alter the look and feel of the images, and in some cases perhaps creating photographs with a more painterly feel. I’ll let you decide whether or not I was successful.


Do you enjoy these posts?

Sign up to receive periodic emails with updates and thoughts. Don’t worry, I won’t spam you. And please consider purchasing artwork or products from my online store, and using my affiliate links in the sidebar to the right when shopping online.

I appreciate your support!