Techniques

10x10 Exercise - Reflections of Early Spring by Todd Henson

I recently listened to an episode of Daniel Gregory’s The Perceptive Photographer Podcast, one of several I enjoy. In it he mentioned a creativity exercise he uses to help us learn more about our work, about patterns and habits we might fall into, and about discovering new ways of seeing and approaching our work.

For a 10x10 exercise you take 10 of your images and edit them in 10 different ways, resulting in 100 different images. He figures over this body of work you can begin to see default editing patterns you fall into, ways you often approach your images. And it also might help you discover other ways of looking at the work, trying things you might not have thought to otherwise try.

So I decided to give the exercise a go, and here are the results of the first image I worked on.

Version 1

Reflections of Early Spring - Version 1

This is a fairly straight forward edit, very close to what I saw in late March of this year.

Version 2

Reflections of Early Spring - Version 2

With this version I went for a softer feel with less color, but focusing on some of the muted colors in the center.

Version 3

Reflections of Early Spring - Version 3

Continuing with the softer feel of the previous version I softened it up a bit more around the edges and took out some of the color, especially the blues.

Version 4

Reflections of Early Spring - Version 4

This time I thought of trying a split toned monochromatic image to give an older feel.

Version 5

Reflections of Early Spring - Version 5

And another split toned monochromatic but shifting more towards the blues.

Version 6

Reflections of Early Spring - Version 6

And pulling out all color we get a black and white image.

Version 7

Reflections of Early Spring - Version 7

Given the reflections I thought it might be interesting seeing how it looked inverted, so I flipped it along the horizon putting the reflections up top and the sky down below.

Version 8

Reflections of Early Spring - Version 8

An obvious choice was turning the horizontal image into a vertical.

Version 9

Reflections of Early Spring - Version 9

I felt like I was running out of ideas, so for this image I zoomed in to focus just on the central part.

Version 10

Reflections of Early Spring - Version 10

For the final image I took inspiration from a great book cover for The Children of Red Peak by Craig DiLouis, a book I’ve not read but one whose cover I really like. Similar to a previous image, I flipped it, putting the sky down below, but I also cropped it to focus on a specific section.

Thoughts

It might be too soon to draw many conclusions or lessons from this exercise since I’ve only performed it on one image so far. But I did see how it can be a challenge to find new ways of processing an image. I think I often see an image a specific way and have to really put in effort to see it in other ways. I did enjoy this process, though. I can see how this exercise could help us creatively, letting us see more potential in a scene. And though this was focusing on processing an image, I think in doing so it could help us see differently when in the field if we’re more open to the later possibilities of what we’re capturing.

And I think this exercise could be applied to other art forms, at least to some extent. If you’re a musician try writing 10 variations of a song. If you’re a sculptor try 10 different versions of the same basic figure. If you’re a writer try 10 different variations of a story or a scene in a story.

What do you think? Did you prefer any of these images over the others? Is this an exercise you might try?


Do you enjoy these posts?

Sign up to receive periodic emails with updates and thoughts. Don’t worry, I won’t spam you. And please consider purchasing artwork or products from my online store, and using my affiliate links in the sidebar to the right when shopping online.

I appreciate your support!

An Example of Working the Scene at Brookside Gardens by Todd Henson

My first photo was an establishing shot of an interesting scene.

I have seen some folks arrive at a scene, look around, bring their camera to their eye and take a single shot, then move on. Perhaps they are just masters at what they do and are able to find and capture the perfect photo in one go. Maybe they’re short on time. Or perhaps they just haven’t learned the benefits of taking the time to work a scene.

I will admit, I don’t always take the time needed to fully explore a scene. Sometimes I don’t even partially explore a scene. But I do try to remind myself to slow down, to look around, to see the scene from different perspectives and different angles, to try getting closer to the subject or further away, to explore the possibility of alternate subjects.

Today’s photos are an example of this, of working the scene while walking through the beautiful paths of Brookside Gardens in Wheaton, Maryland. It’s such a wonderful location with an endless array of potential subjects and scenes worth photographing. In this particular case I found a portion of the path that caught my eye, how it moved through the gardens, the different colors and textures, the wooden structure in the background. So my first photograph was an establishing shot of the entire scene.

Then I zoomed in a little closer, winnowing down the elements of the scene, focusing attention a little more in one direction. You can do this using a zoom lens or you can physically move yourself around to find different perspectives, to search out the portion of the scene you find most compelling.

I zoomed in a bit, narrowing in on a smaller portion of the scene.

Continuing this further I found myself photographing a small section of the plant life, with a cactus to the right and some flowers down the center with the bottom covered in light green plants.

Continuing this I started finding details, smaller sections of the gardens I found appealing.

And finally, I turned the camera and created a vertical photograph of the scene with the cactus towards the bottom and the field of flowers going out of focus and stretching to the top of the frame.

I kept refining my view of the scene, working the scene.

Did the photos get better as I worked the scene? Not necessarily. But they did change. They gave me new views of the scene. They let me explore it in different ways. And if I’d spent a little more time there I likely could have found more compositions, perhaps some I would have preferred over these.

So next time you’re out with your camera and find something interesting to photograph, try to slow down, to look around. Take the time to work the scene. You may be pleasantly surprised by what you discover.


Do you enjoy these posts?

Sign up to receive periodic emails with updates and thoughts. Don’t worry, I won’t spam you. And please consider purchasing artwork or products from my online store, and using my affiliate links in the sidebar to the right when shopping online.

I appreciate your support!

Aperture and Depth of Field with Cherry Blossoms by Todd Henson

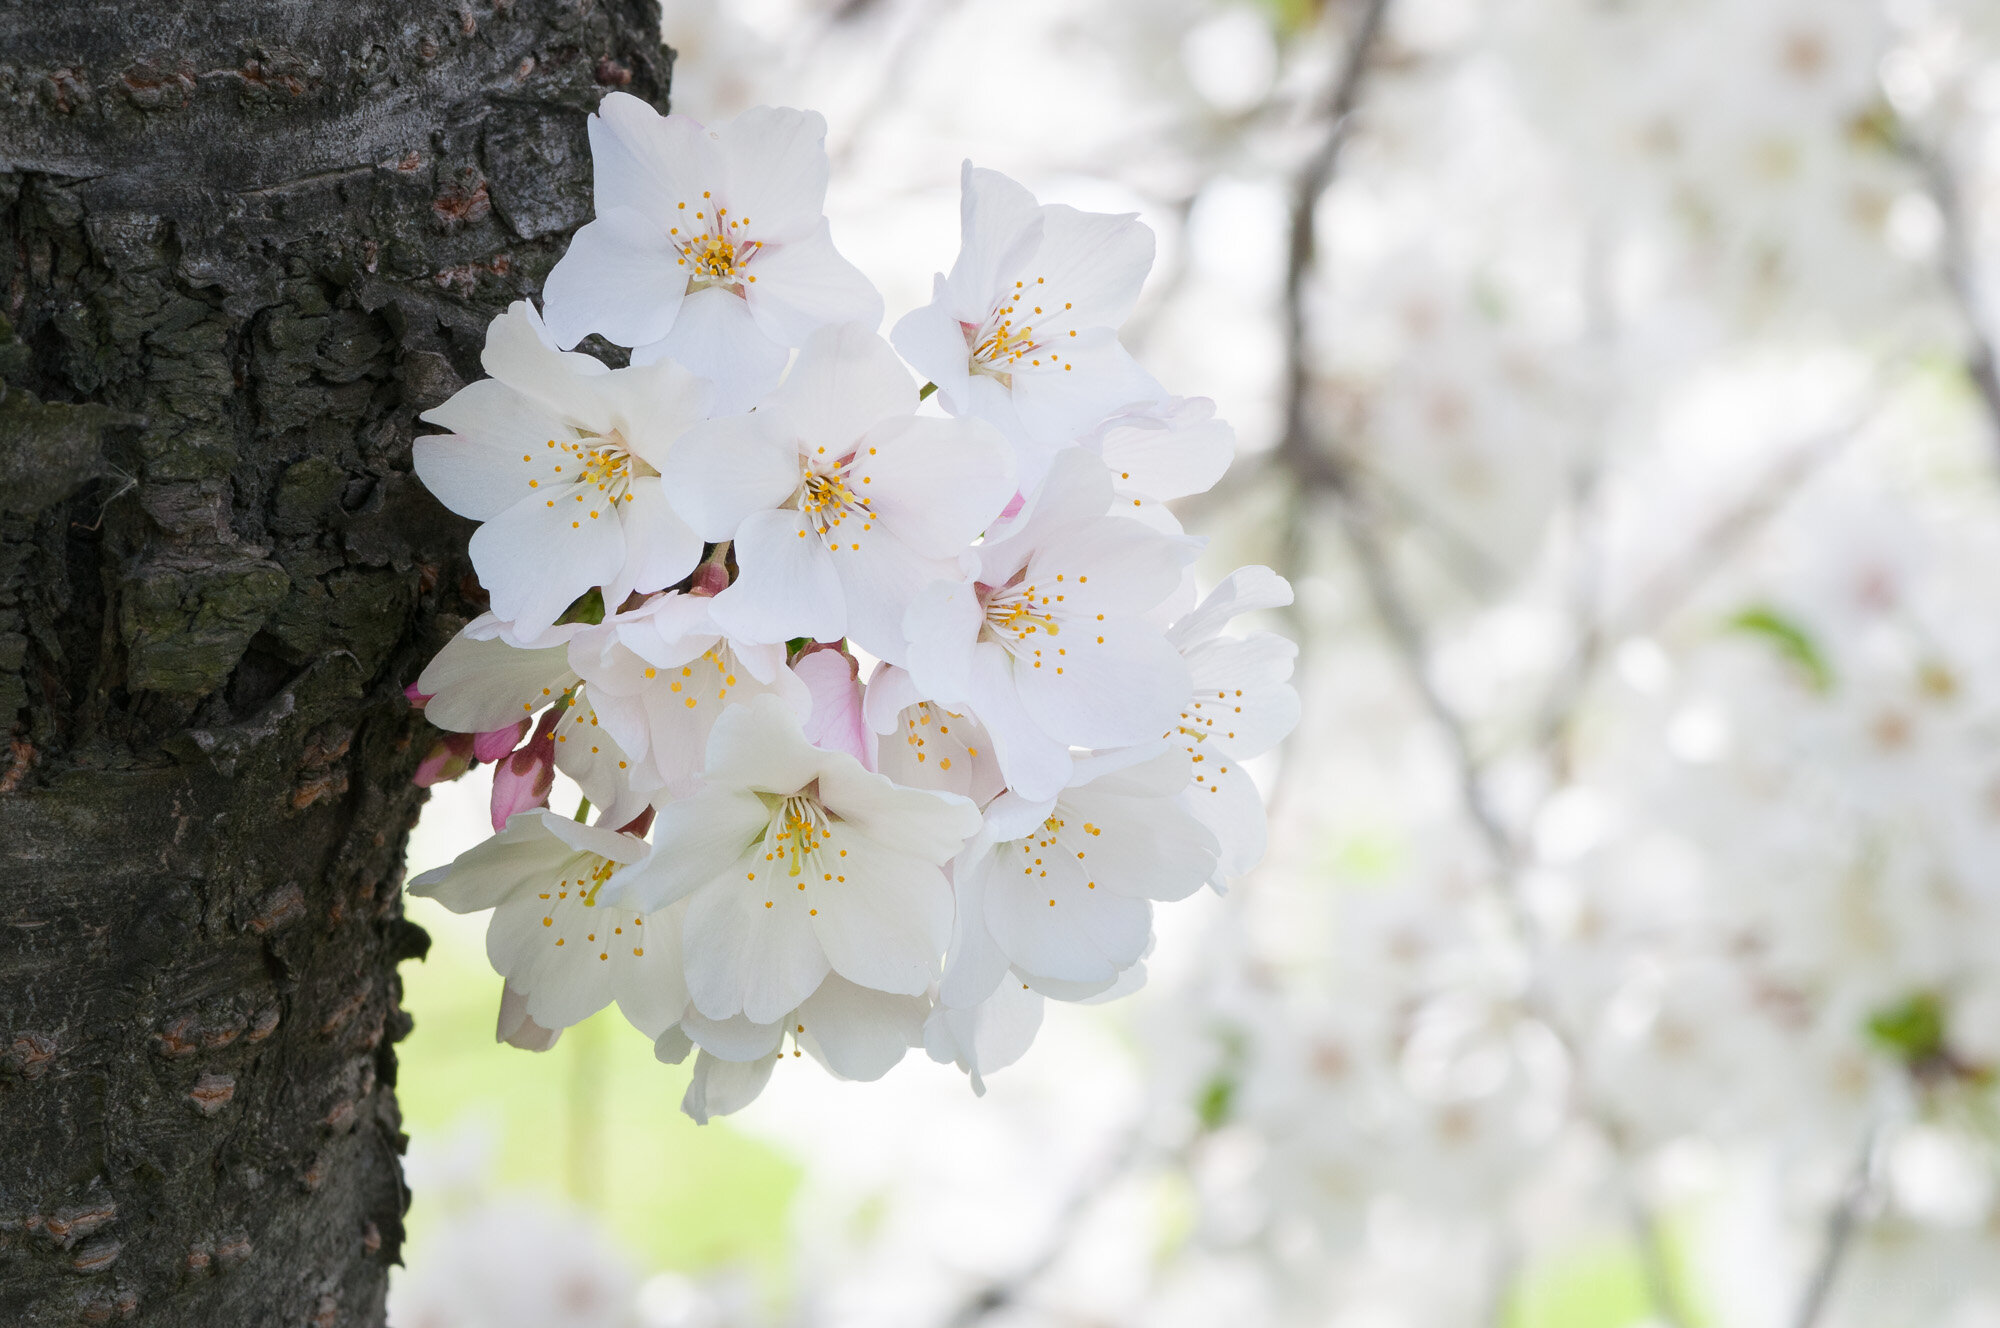
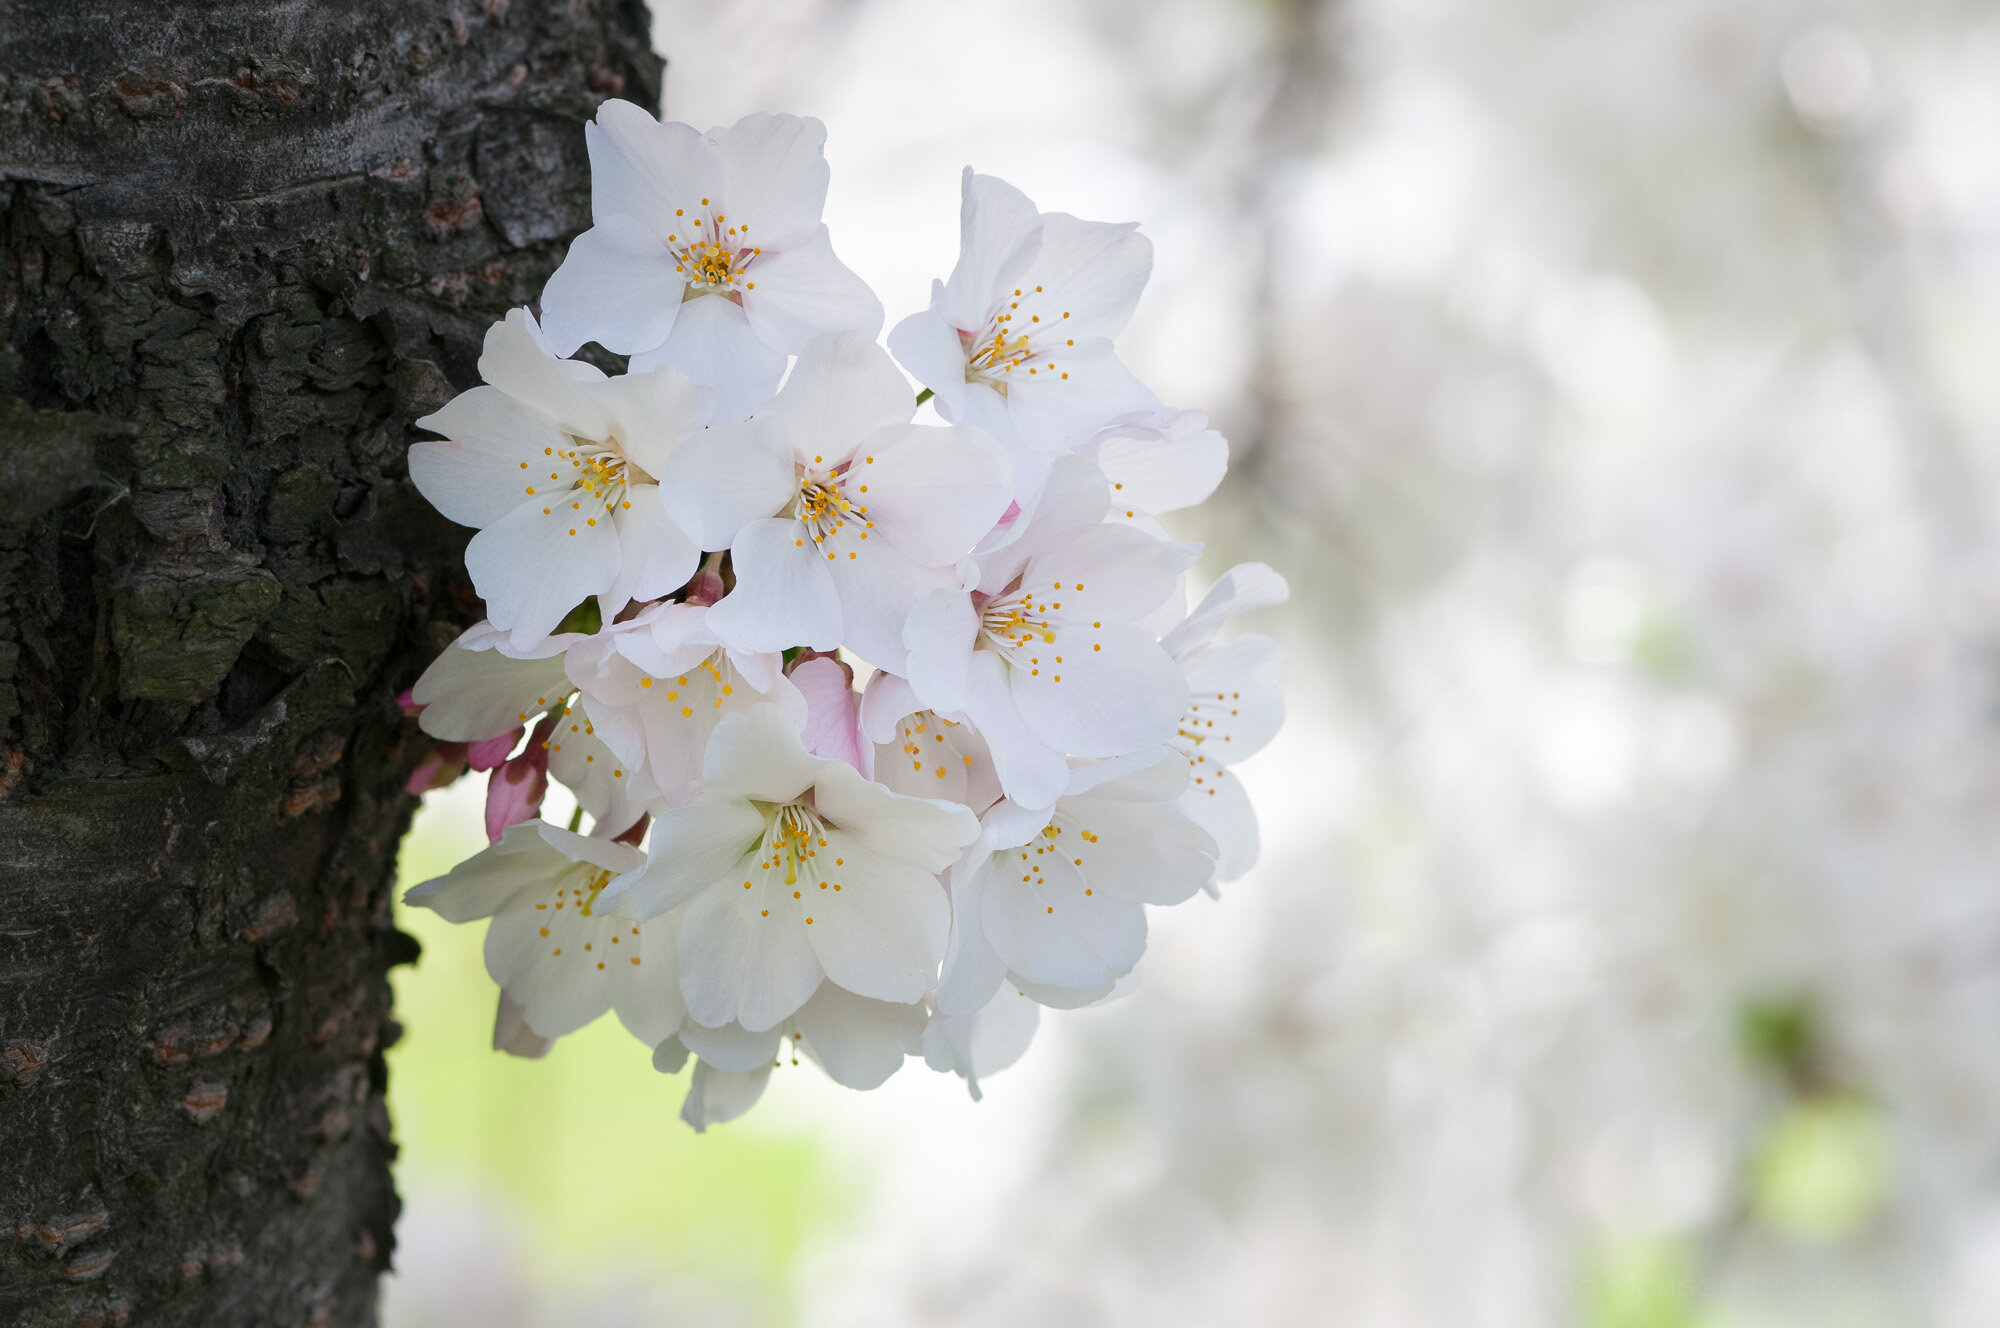
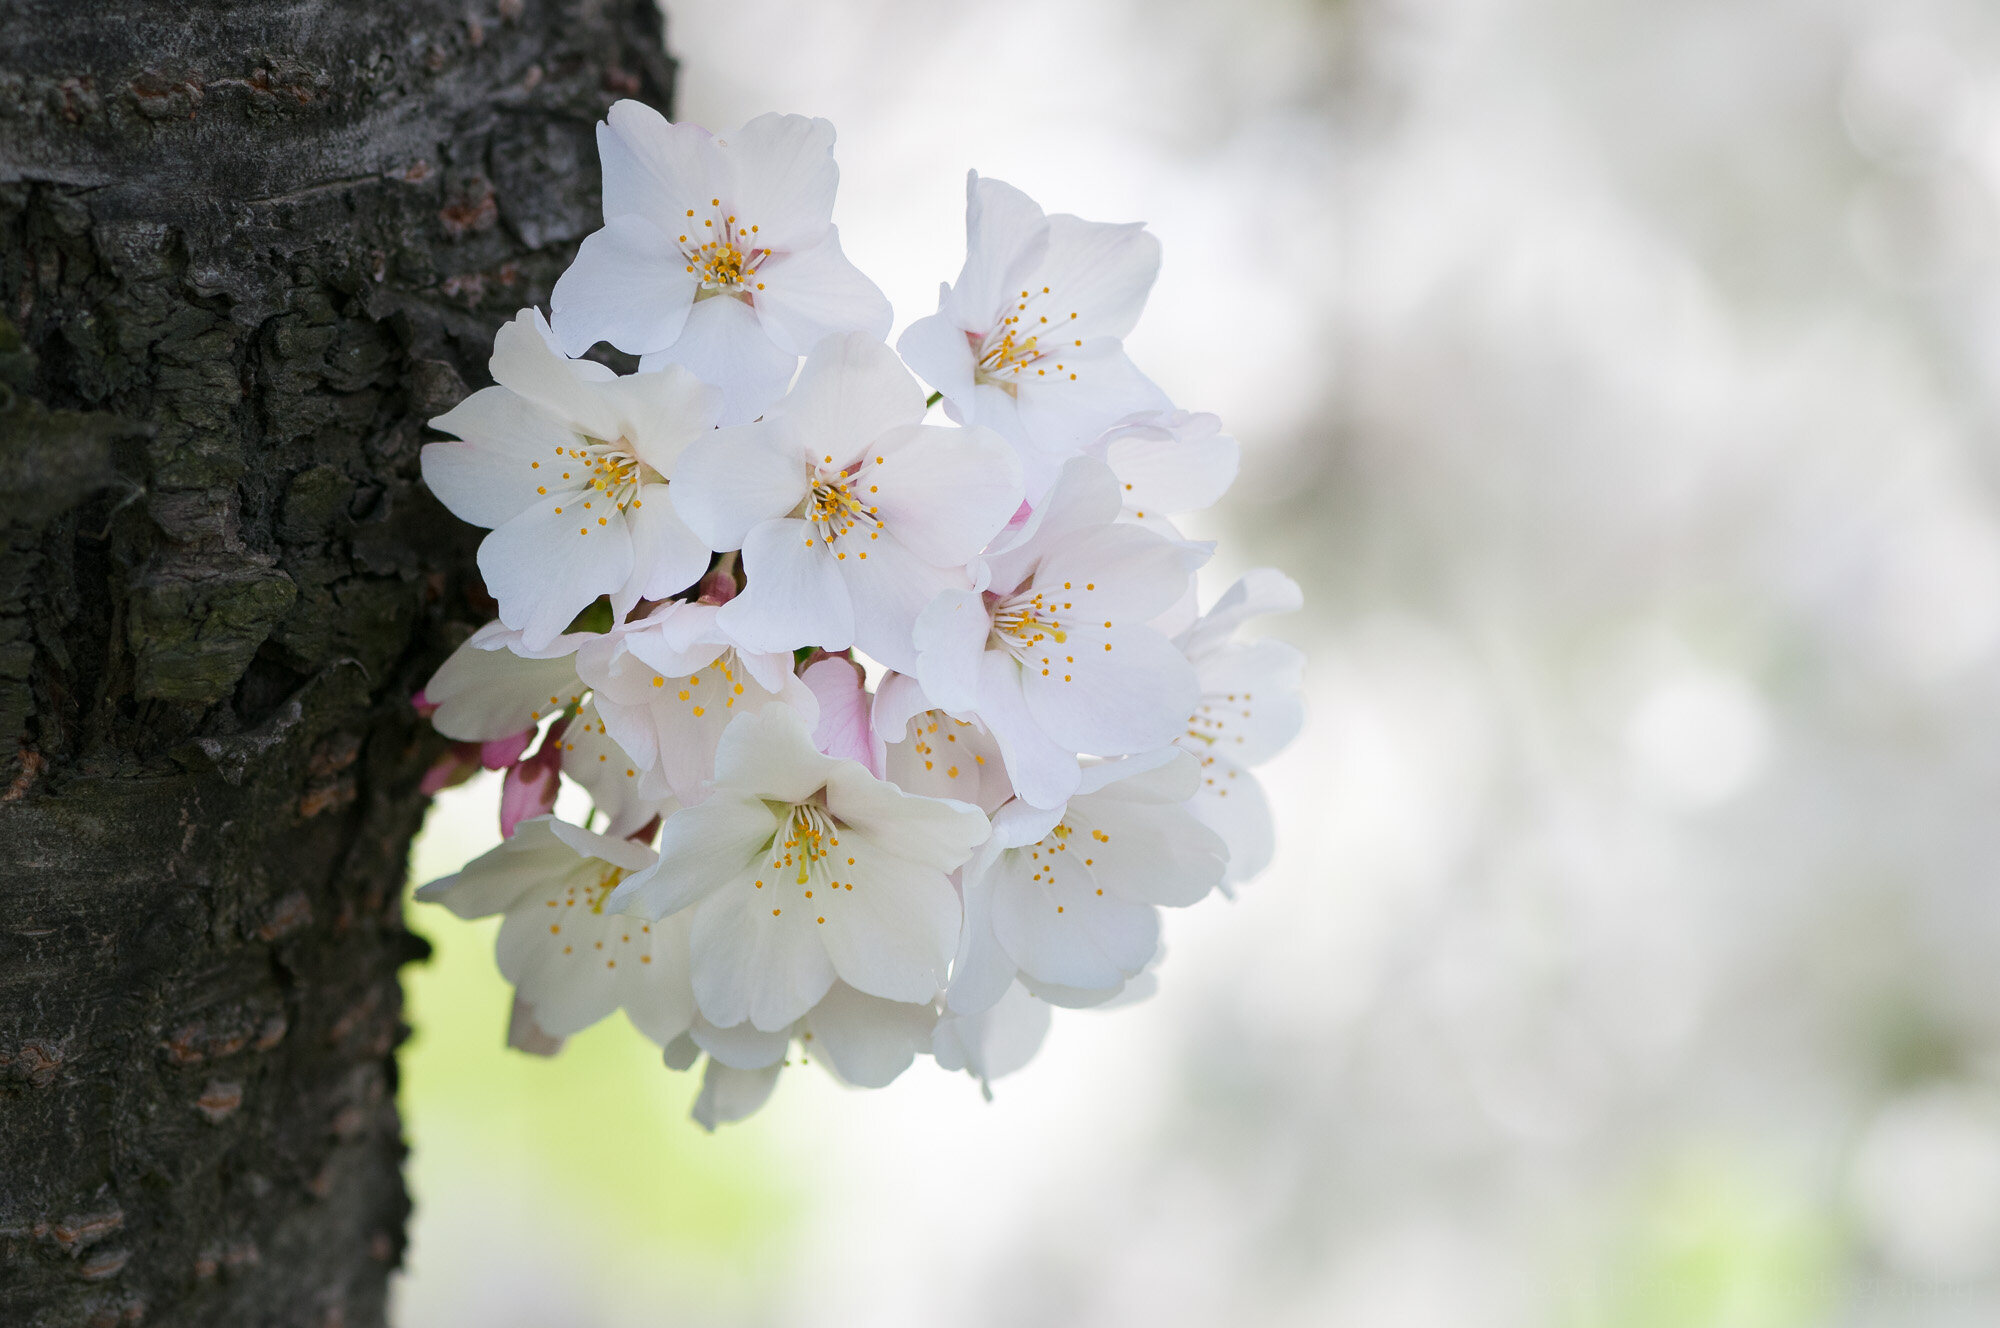
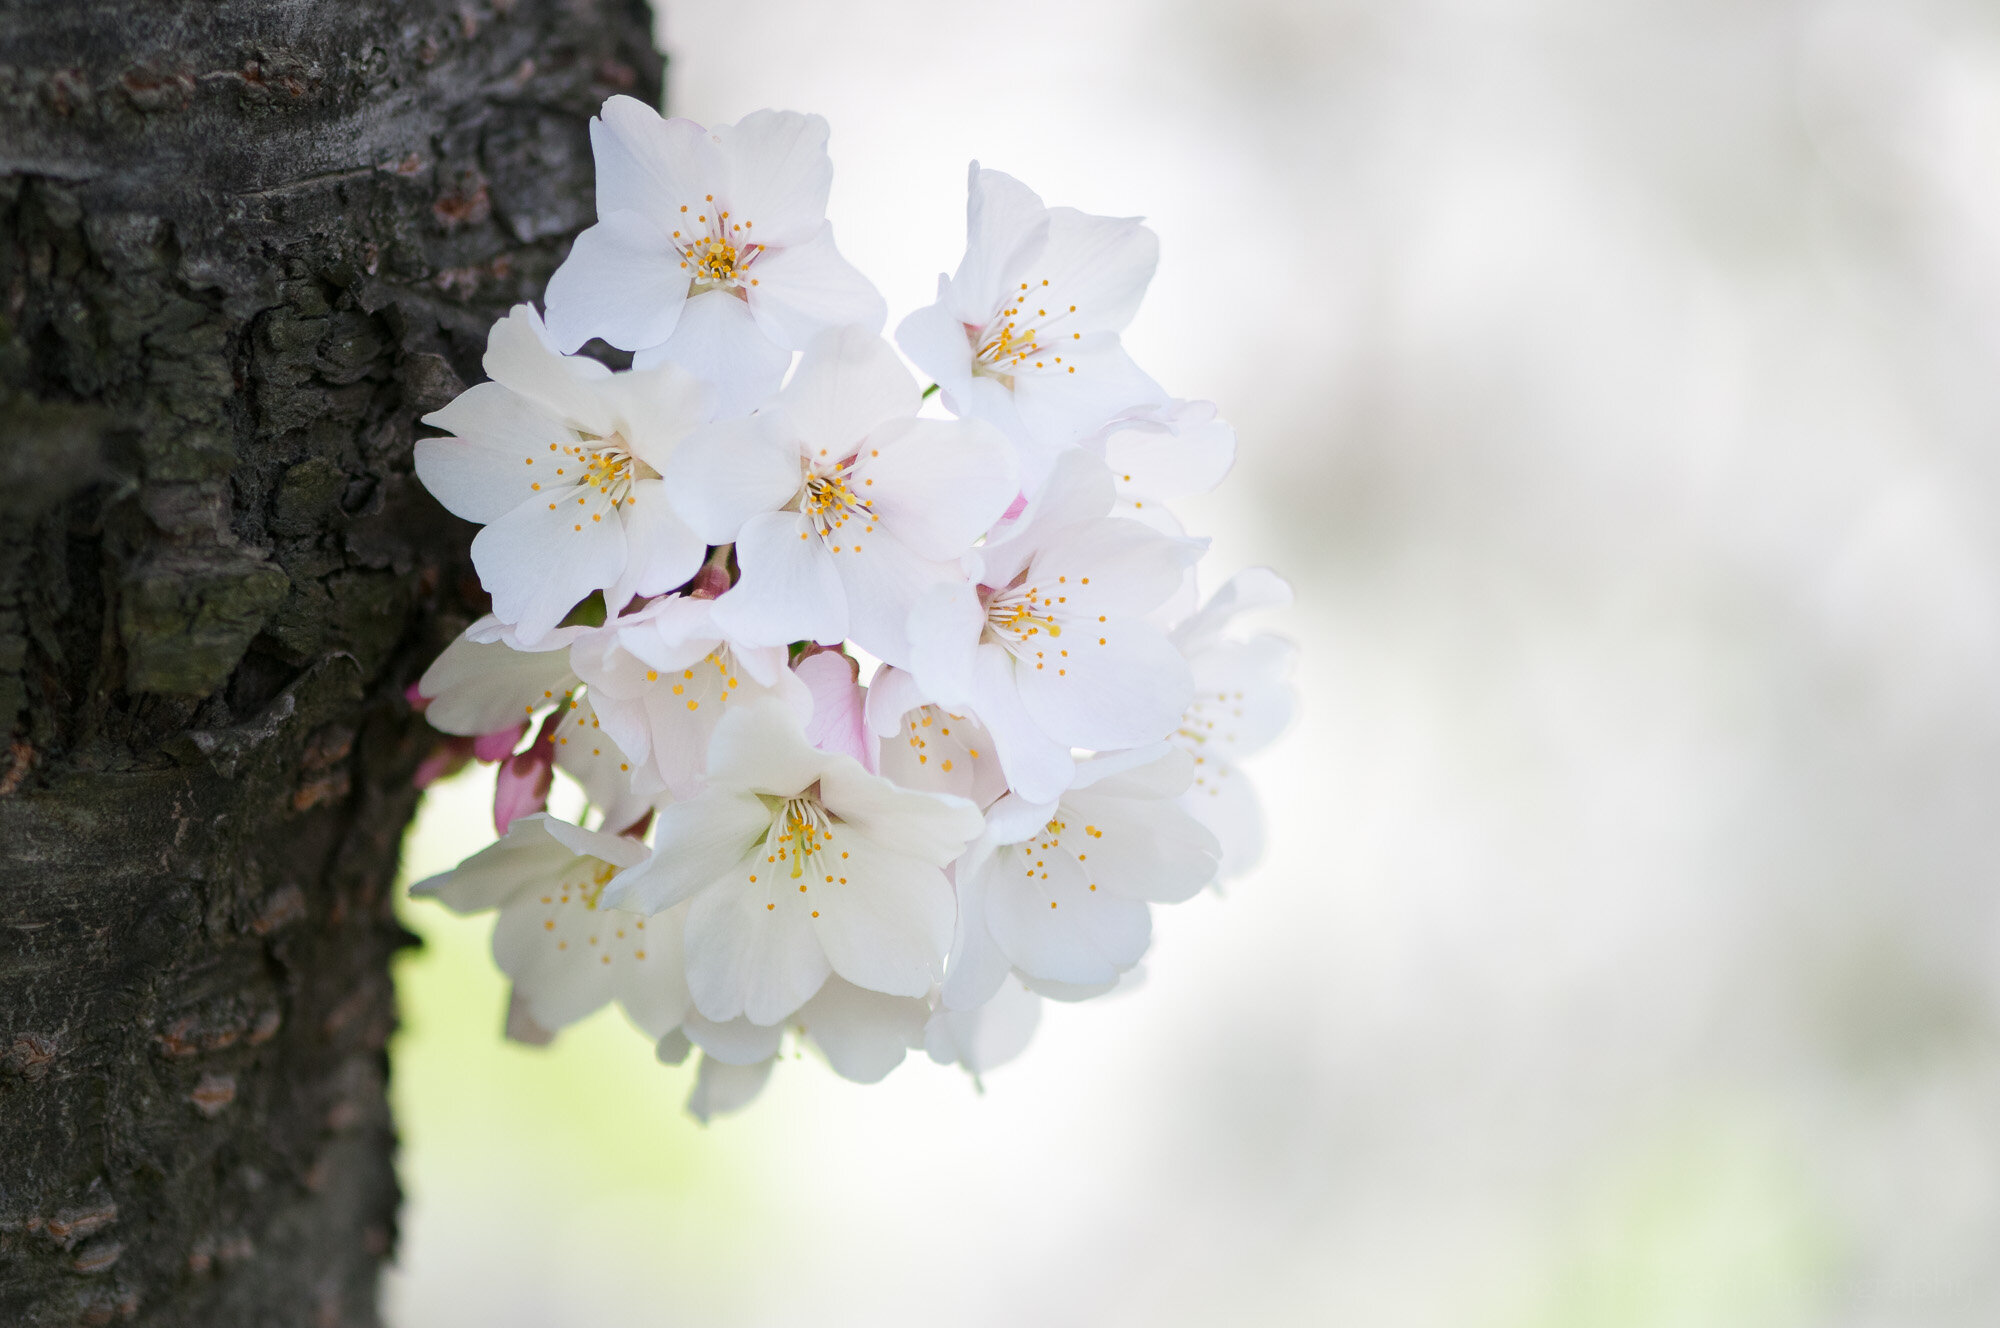
An example of aperture and depth of field with cherry blossoms.

One of the early concepts we learn as photographers is the relationship between aperture and depth of field. Aperture is the opening in the lens (or camera) that light travels through to reach the sensor or film. And with most lens/camera combinations you can adjust the size of this opening both to create the exposure you desire and based on the depth of field you desire for the photo.

Aperture

The aperture opening is measured in f-stops. I don’t want to get into too much technical detail with this post, but f-stops are represented with values like this: f/1.4, f/2, f/2.8, f/4, f/5.6, f/8, etc. The smaller the number the larger the aperture opening. So f/1.4 has a much larger aperture opening that does f/22, meaning much more light can enter the camera. This affects exposure, but it also affects depth of field.

Depth of Field

The depth of field is the amount of the photo that is considered acceptably sharp, with everything outside the depth of field getting progressively less sharp or more blurry. When it comes to the relationship between aperture and depth of field, the larger the aperture opening (the smaller the f-stop value) the less depth of field, meaning less of the photo will be in focus. Conversely, the smaller the aperture opening (the larger the f-stop value) the more depth of field, meaning more of the photo will be in focus.

Cherry Blossom Examples

You can see an example of this in the photo at the top of the post and duplicated just below. The top portion of the photo has an aperture setting of f/3. You can see the background is very out of focus. The bottom portion has an aperture setting of f/16. You can see the background is still out of focus, but less so. Artistically, which do you prefer? There’s no right or wrong answer, just personal preference. And knowing how to adjust the aperture to give you the depth of field you want lets you be more creative with your photography.

The top half has an aperture opening of f/3 with shallower depth of field, the bottom half has an aperture opening of f/16 with more depth of field.

Click the images below to step through photos created with different aperture openings. Notice the differences in the look of the background, and even sometimes the foreground as the aperture opening gets larger, letting in more light but resulting in less depth of field.

Lens and Still Life Examples

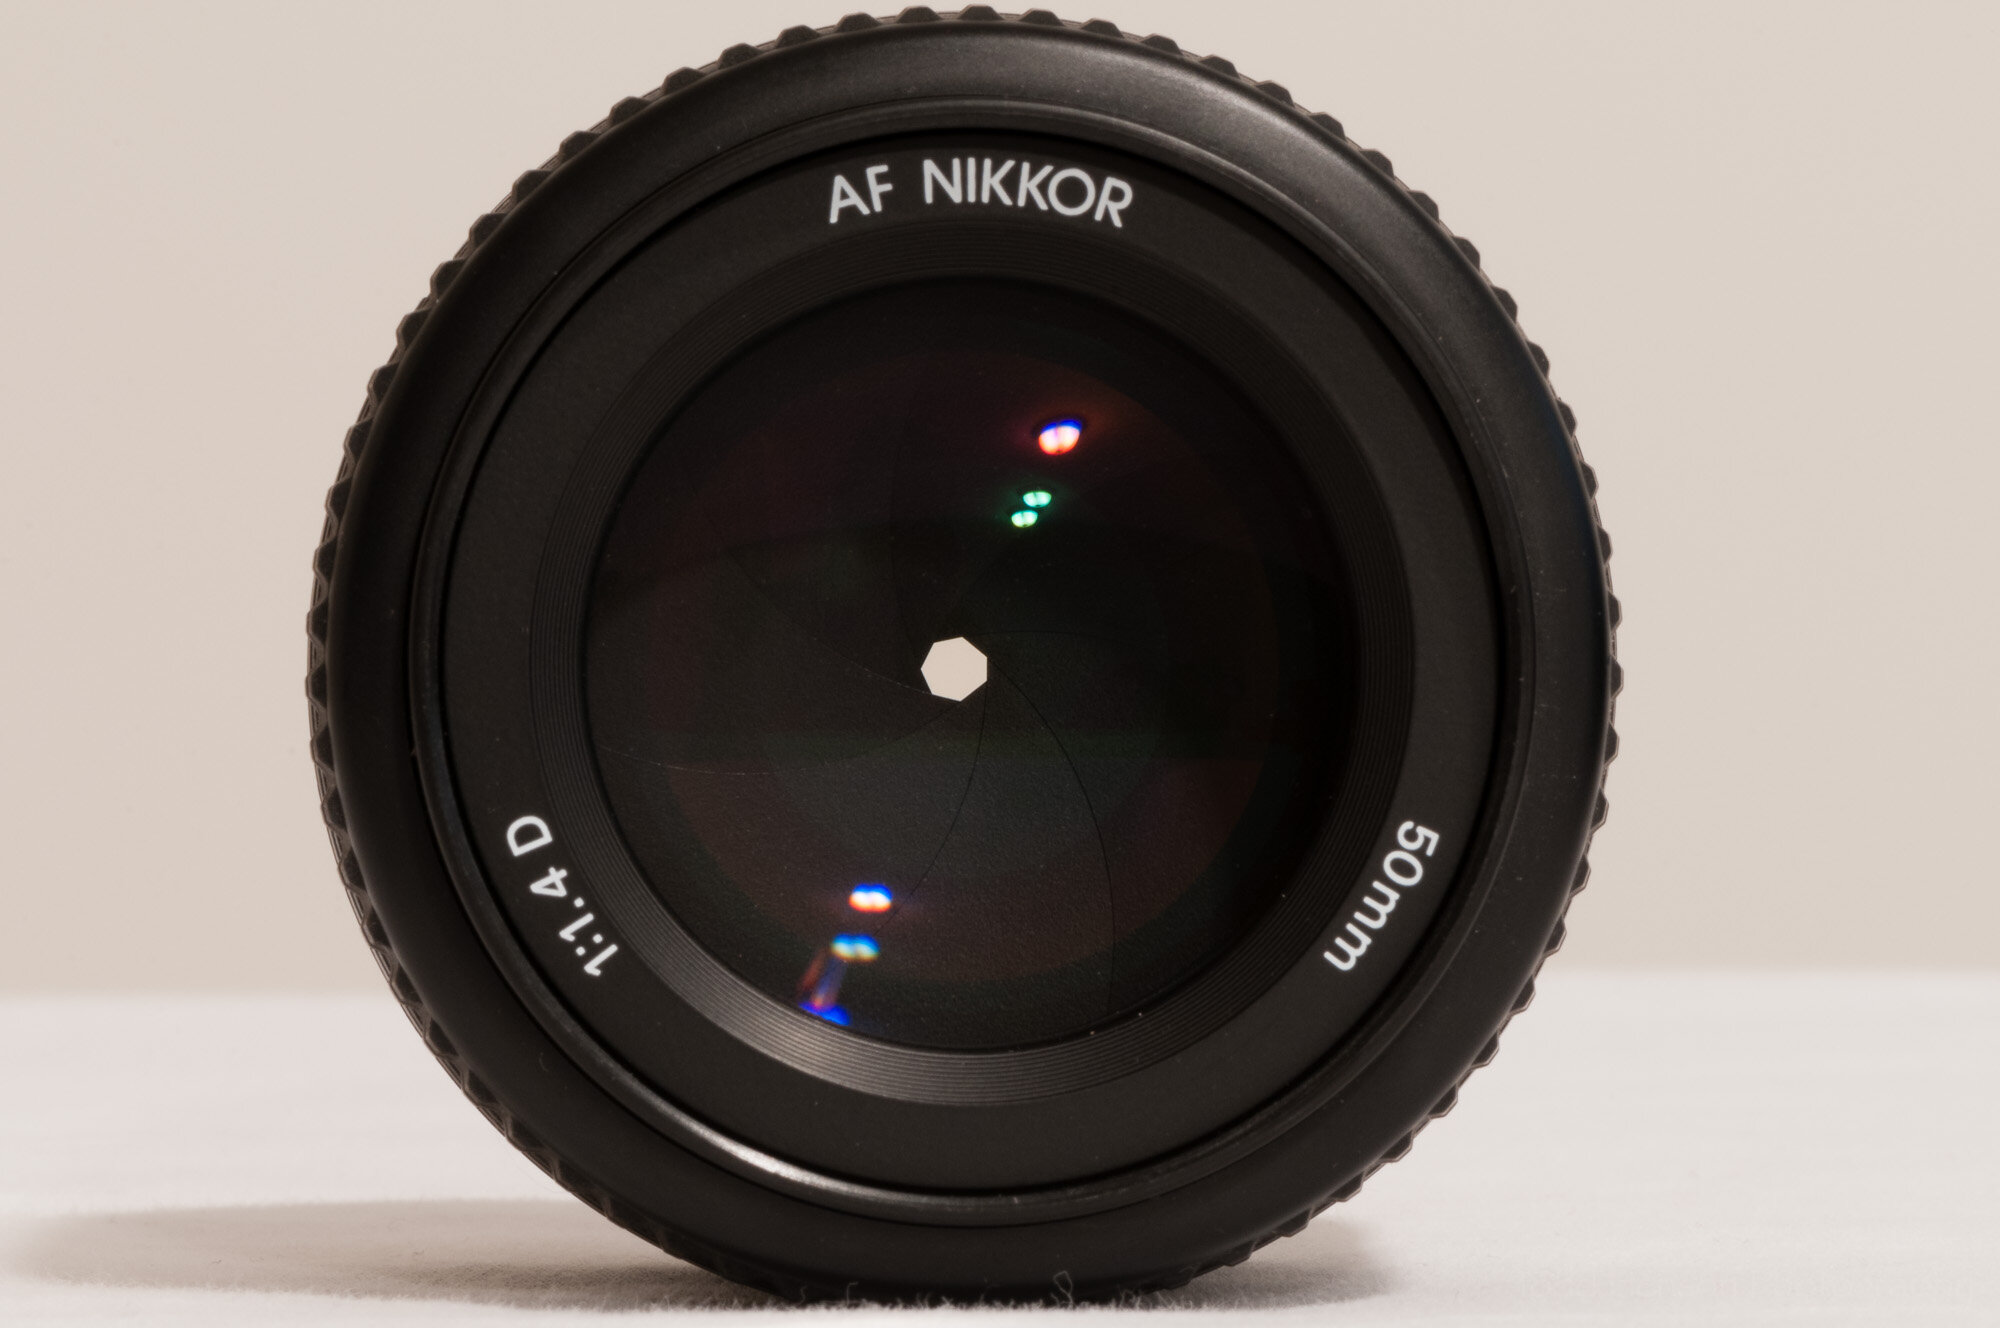
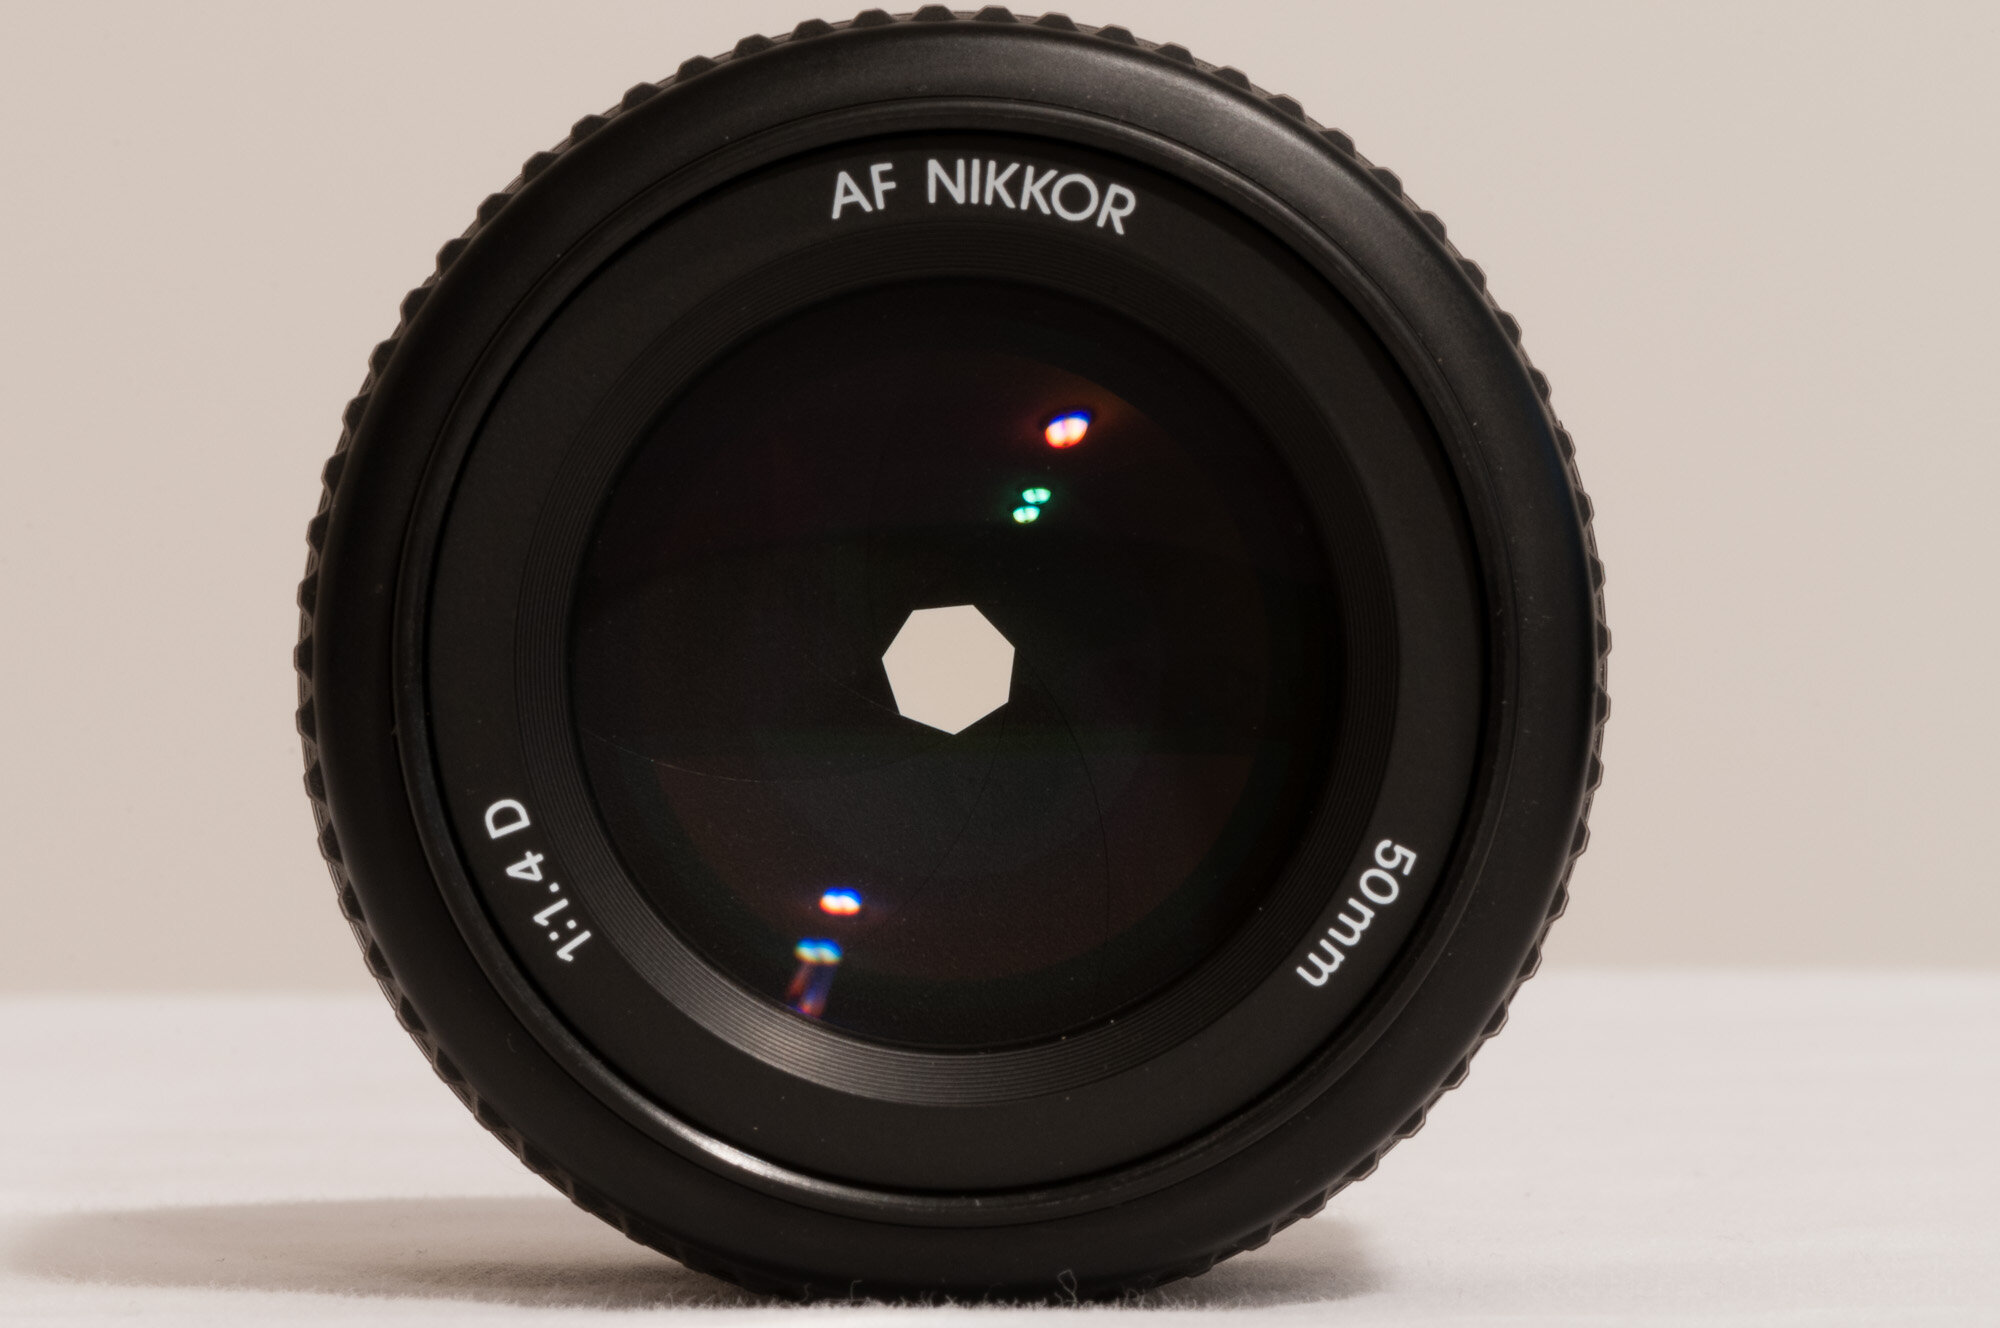
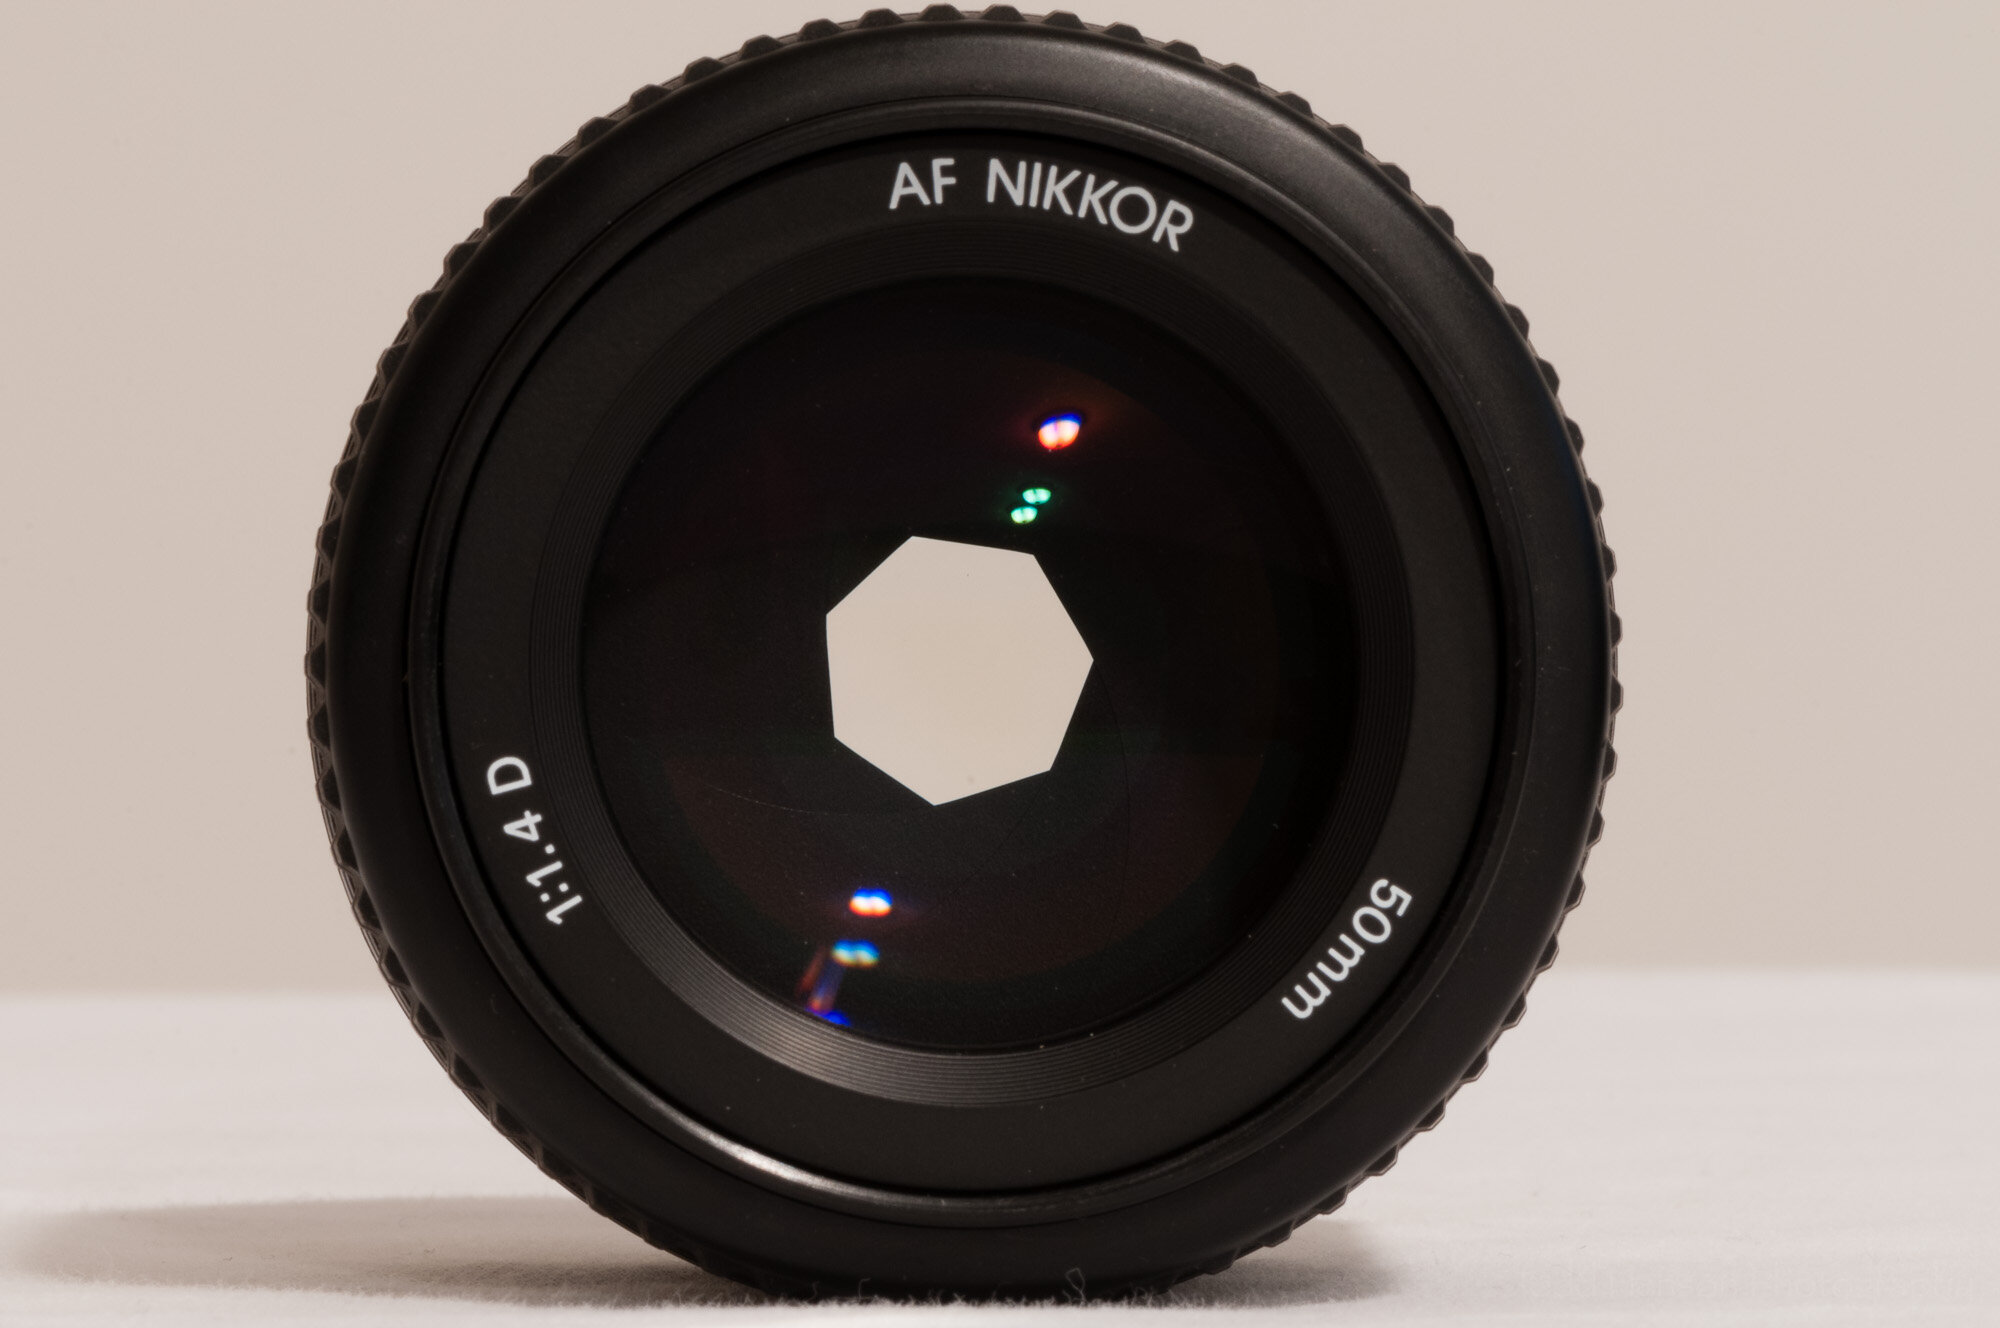
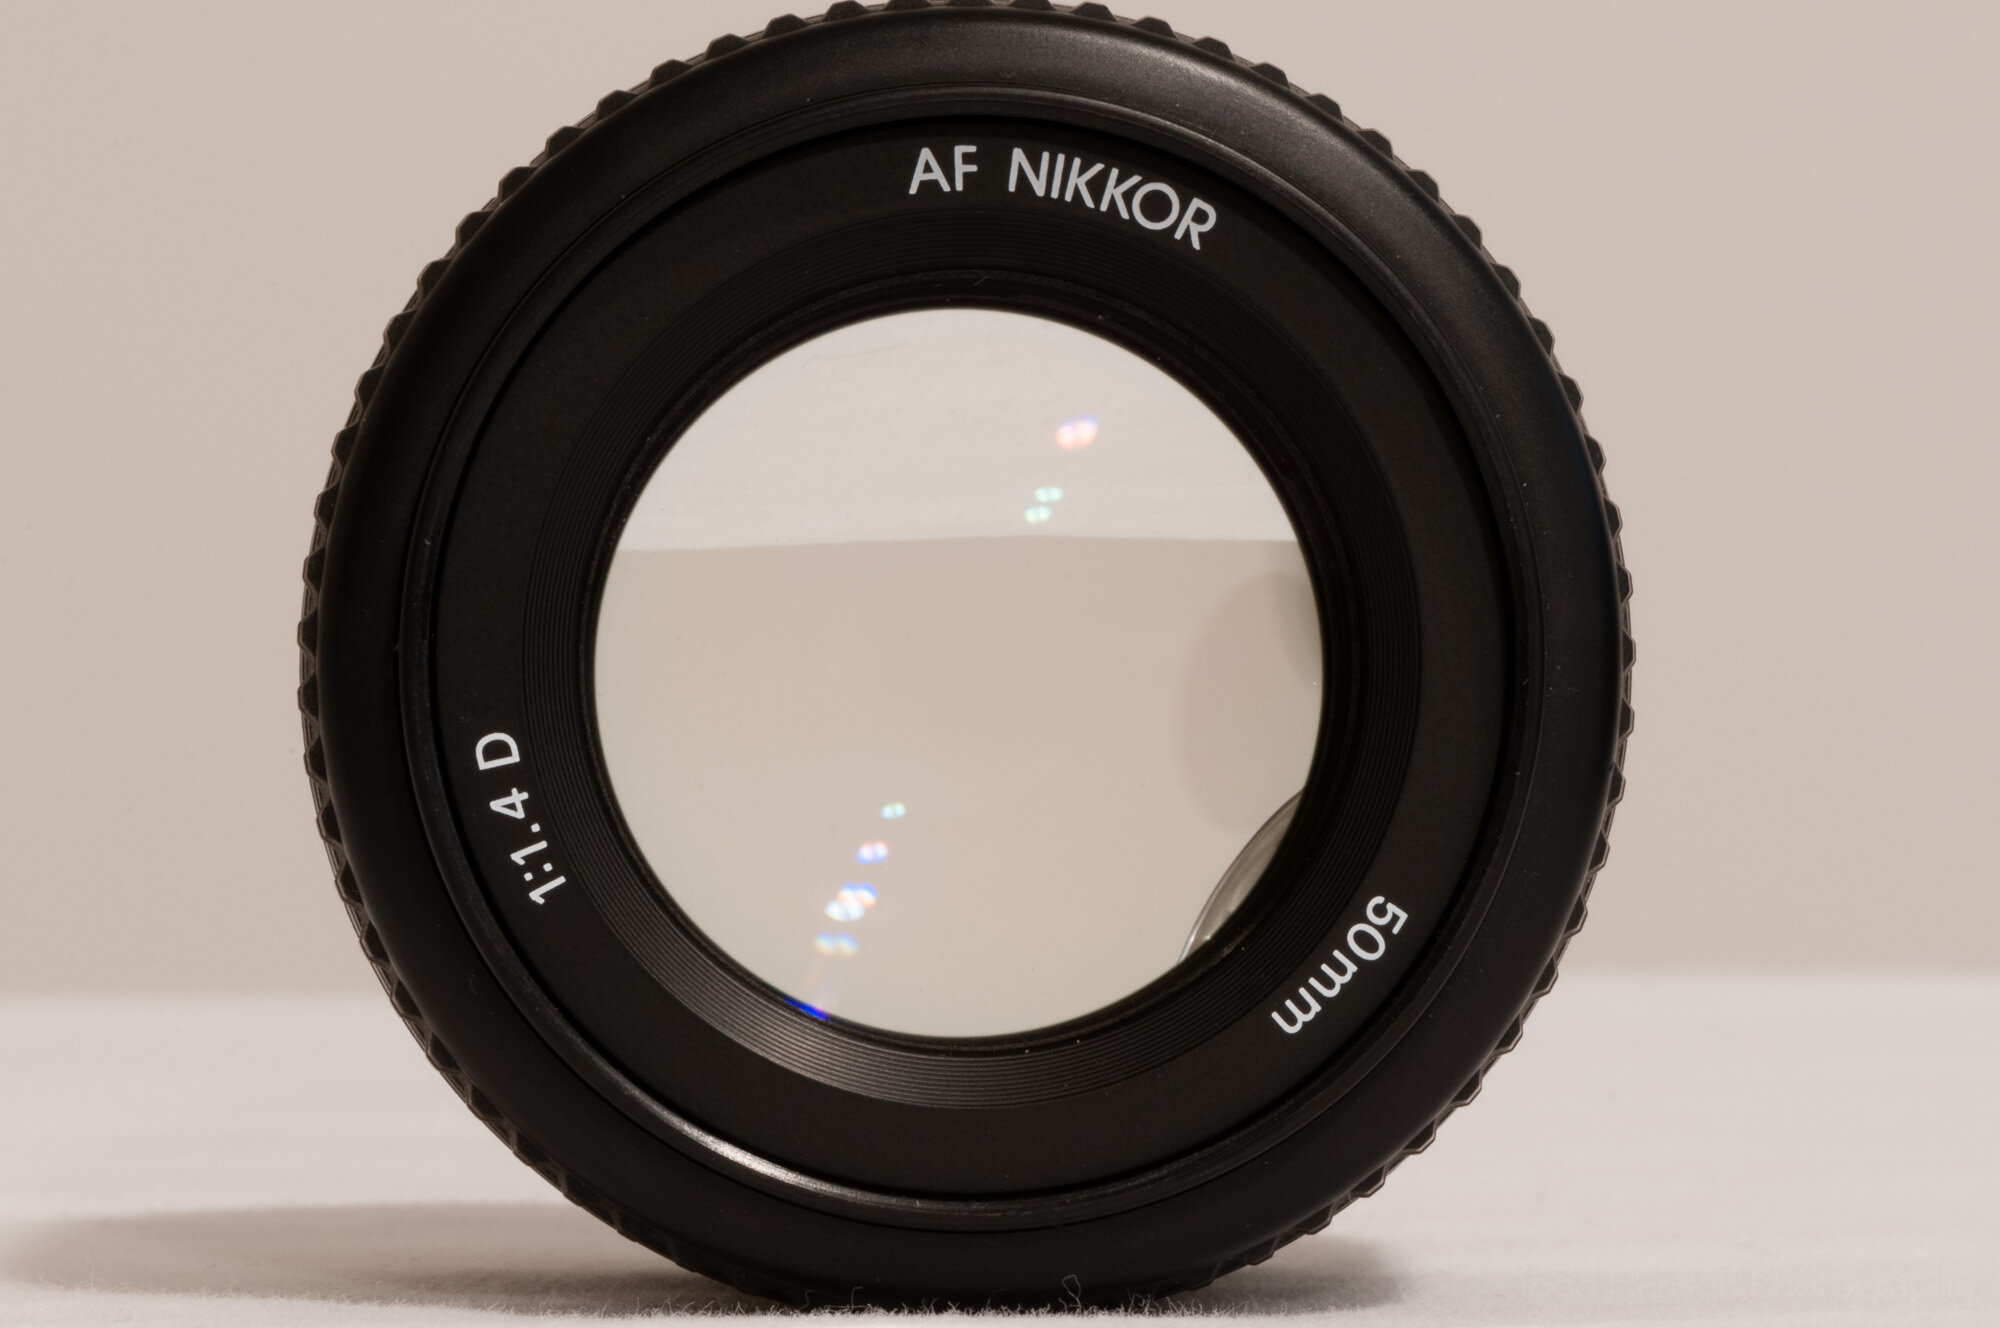
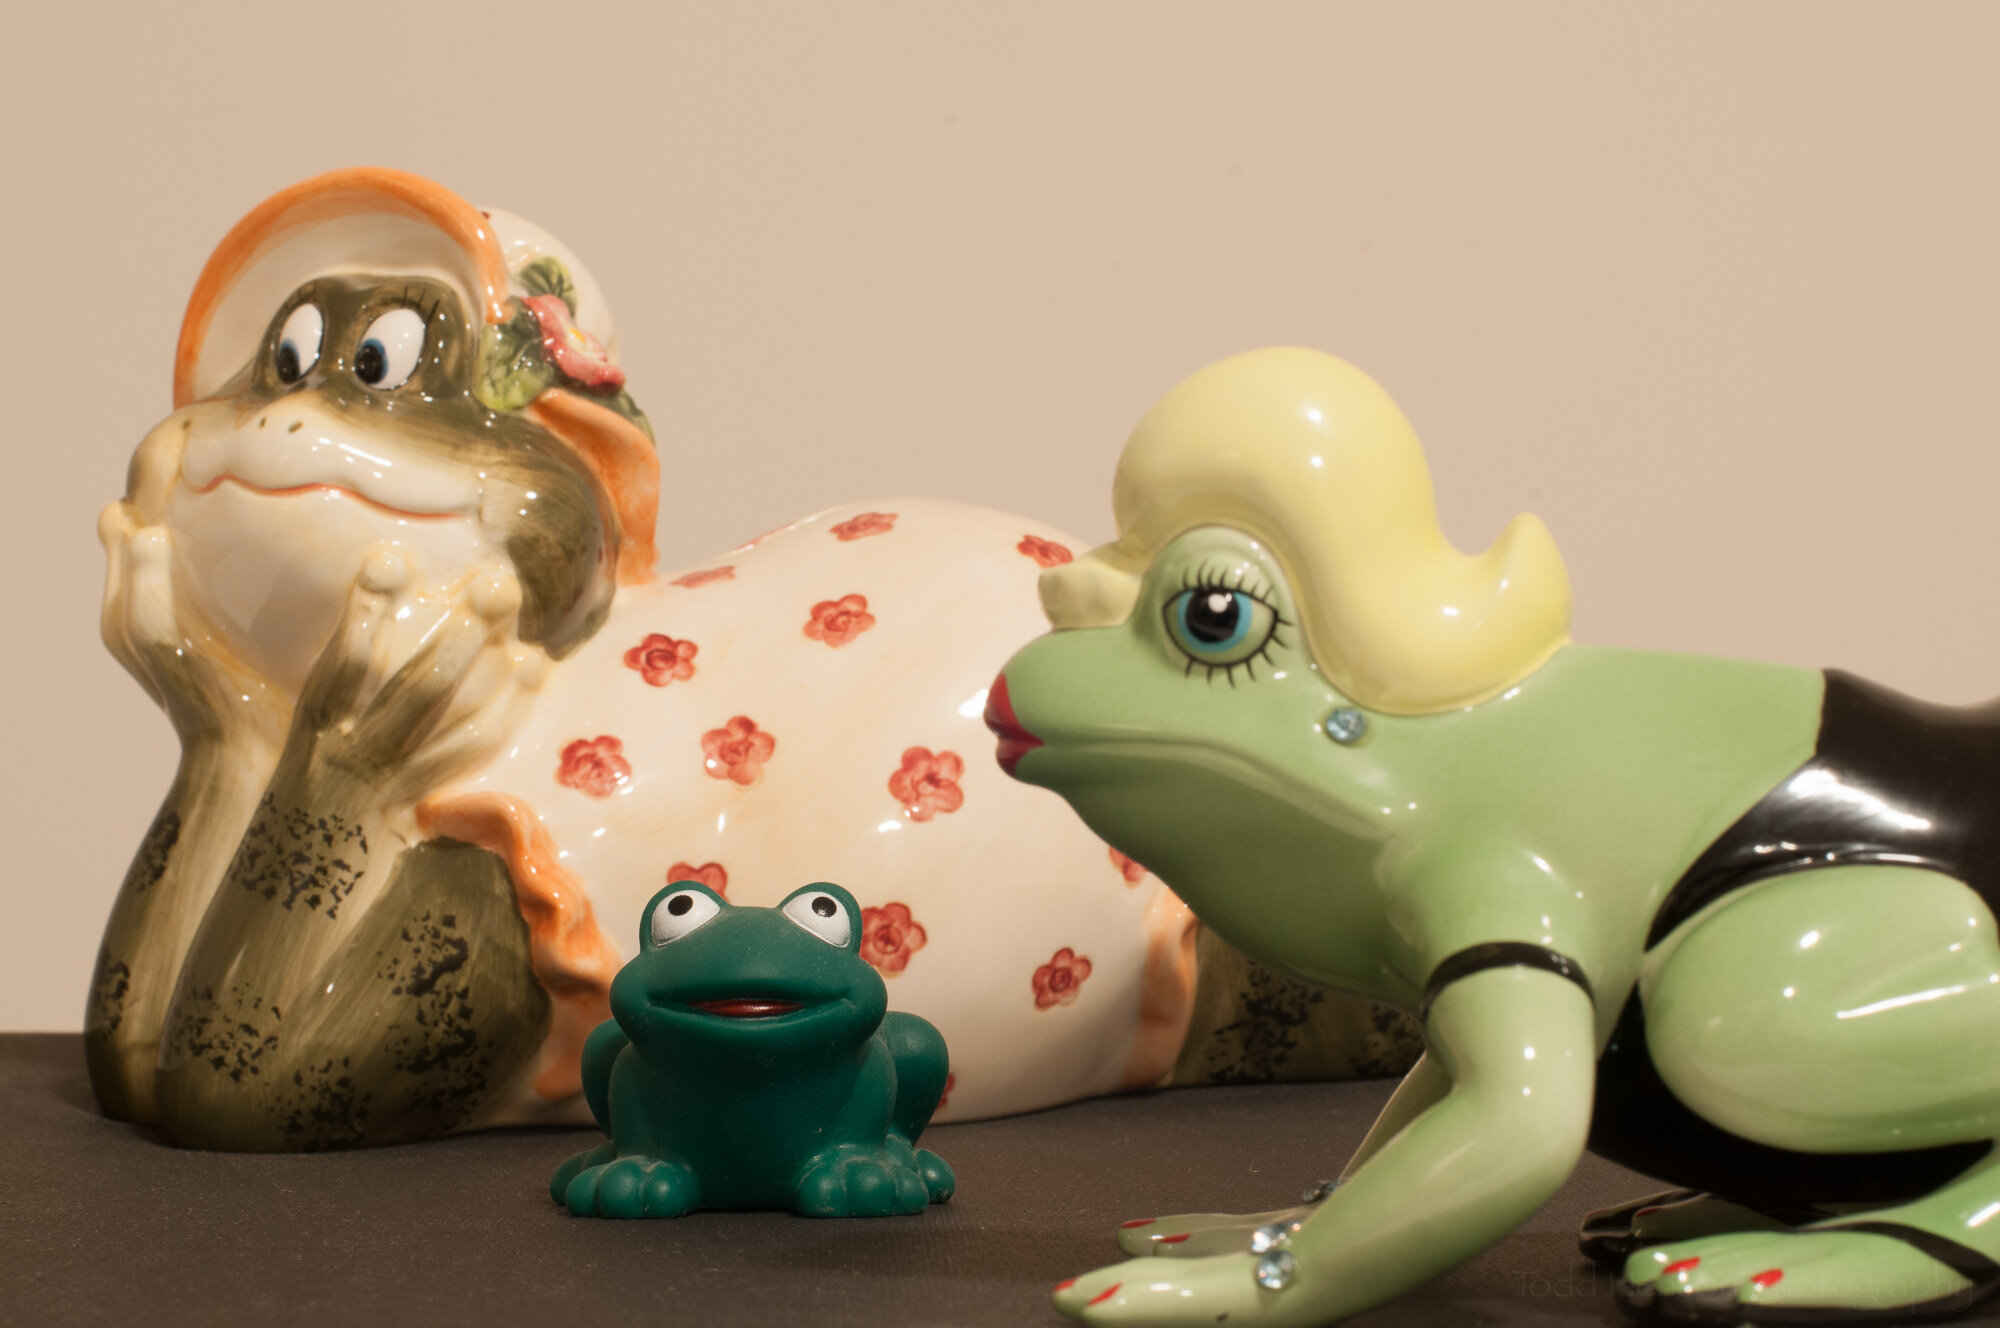
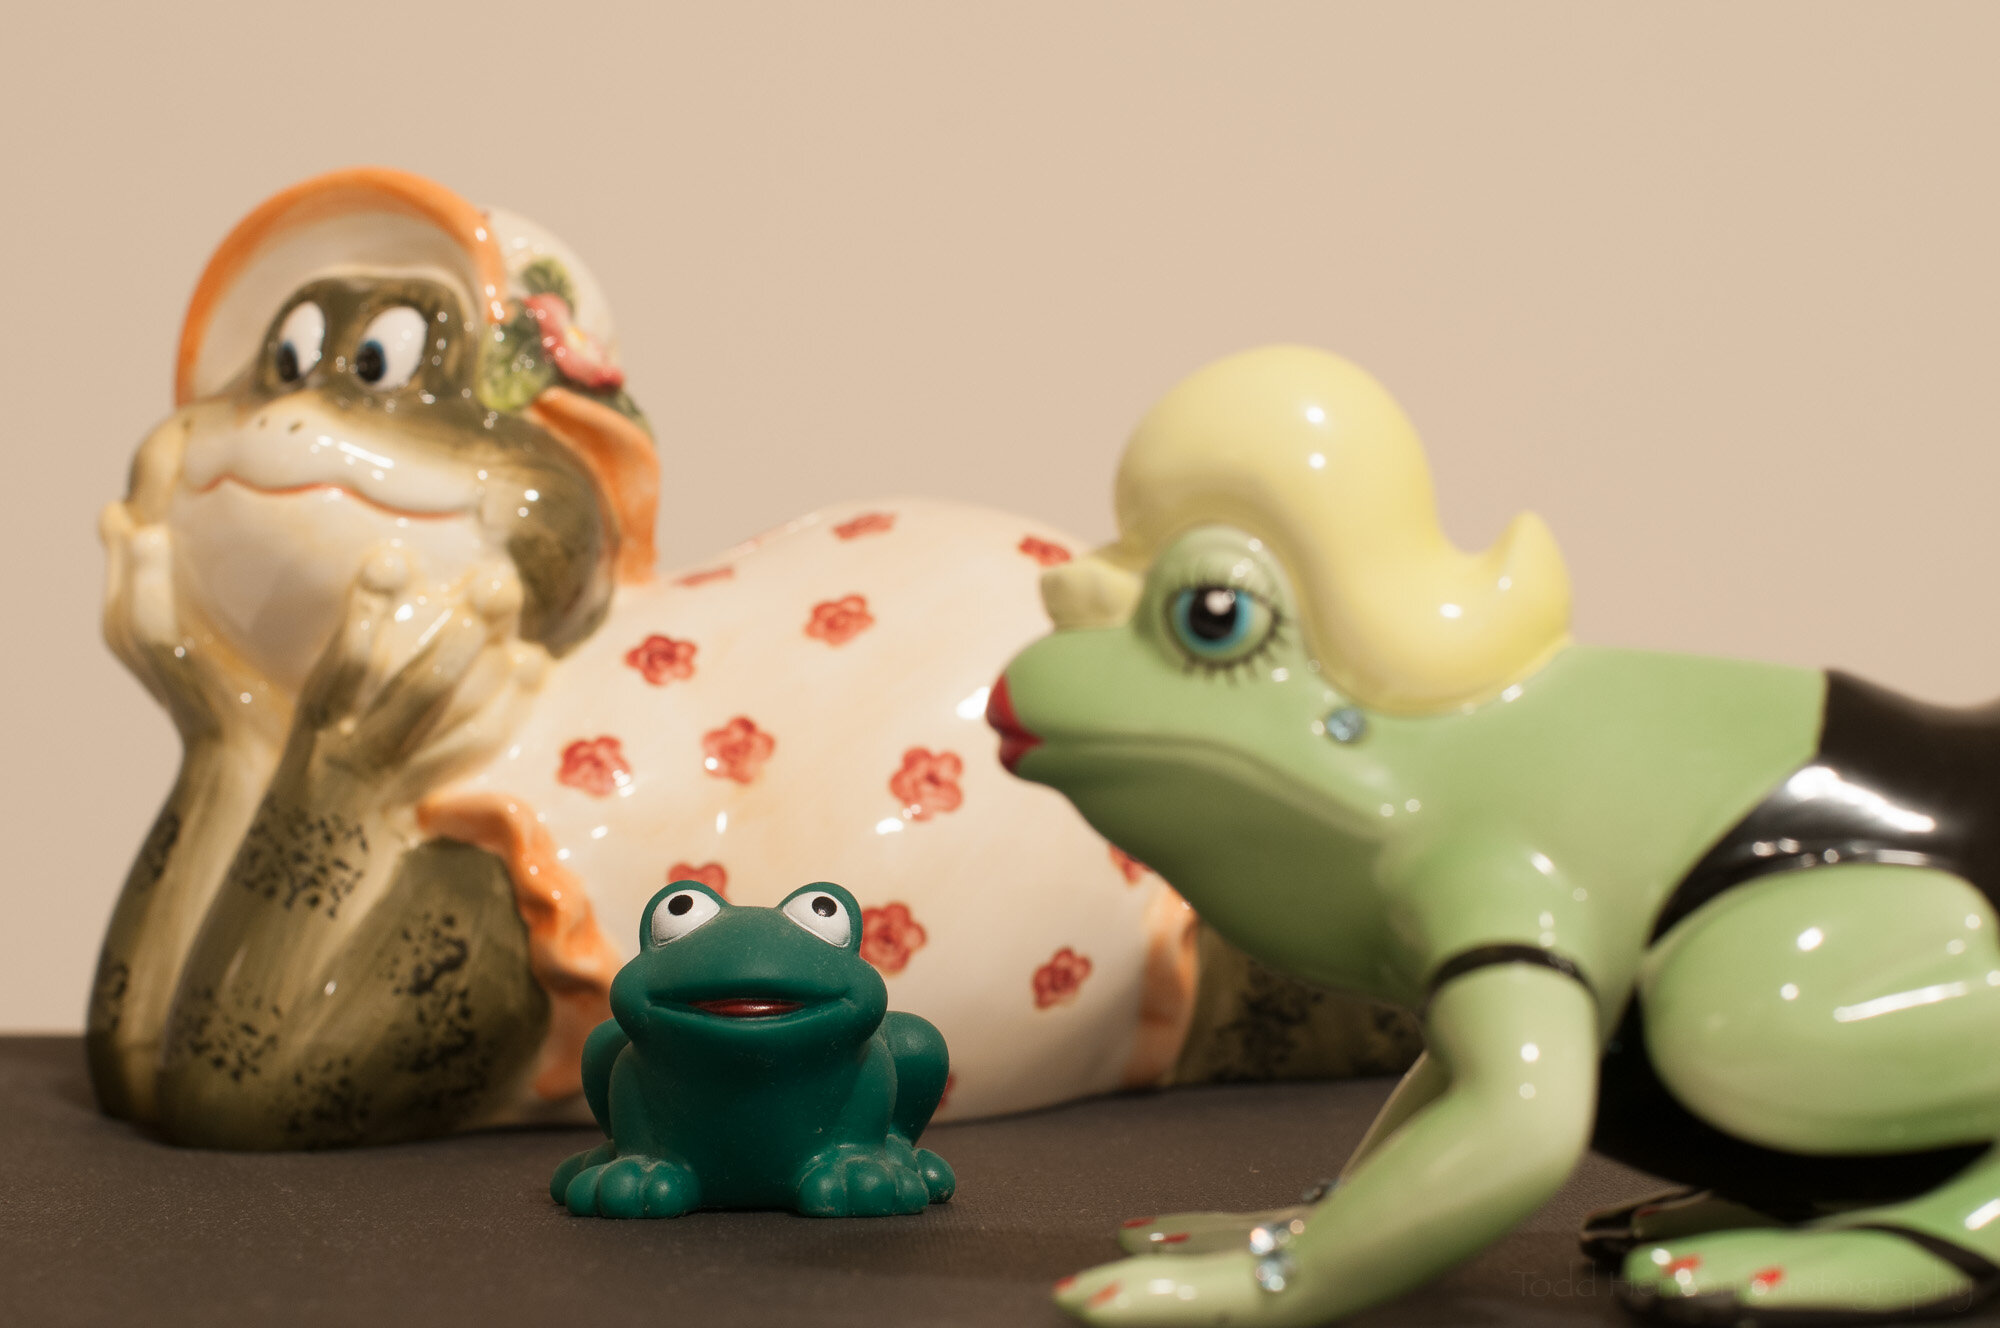
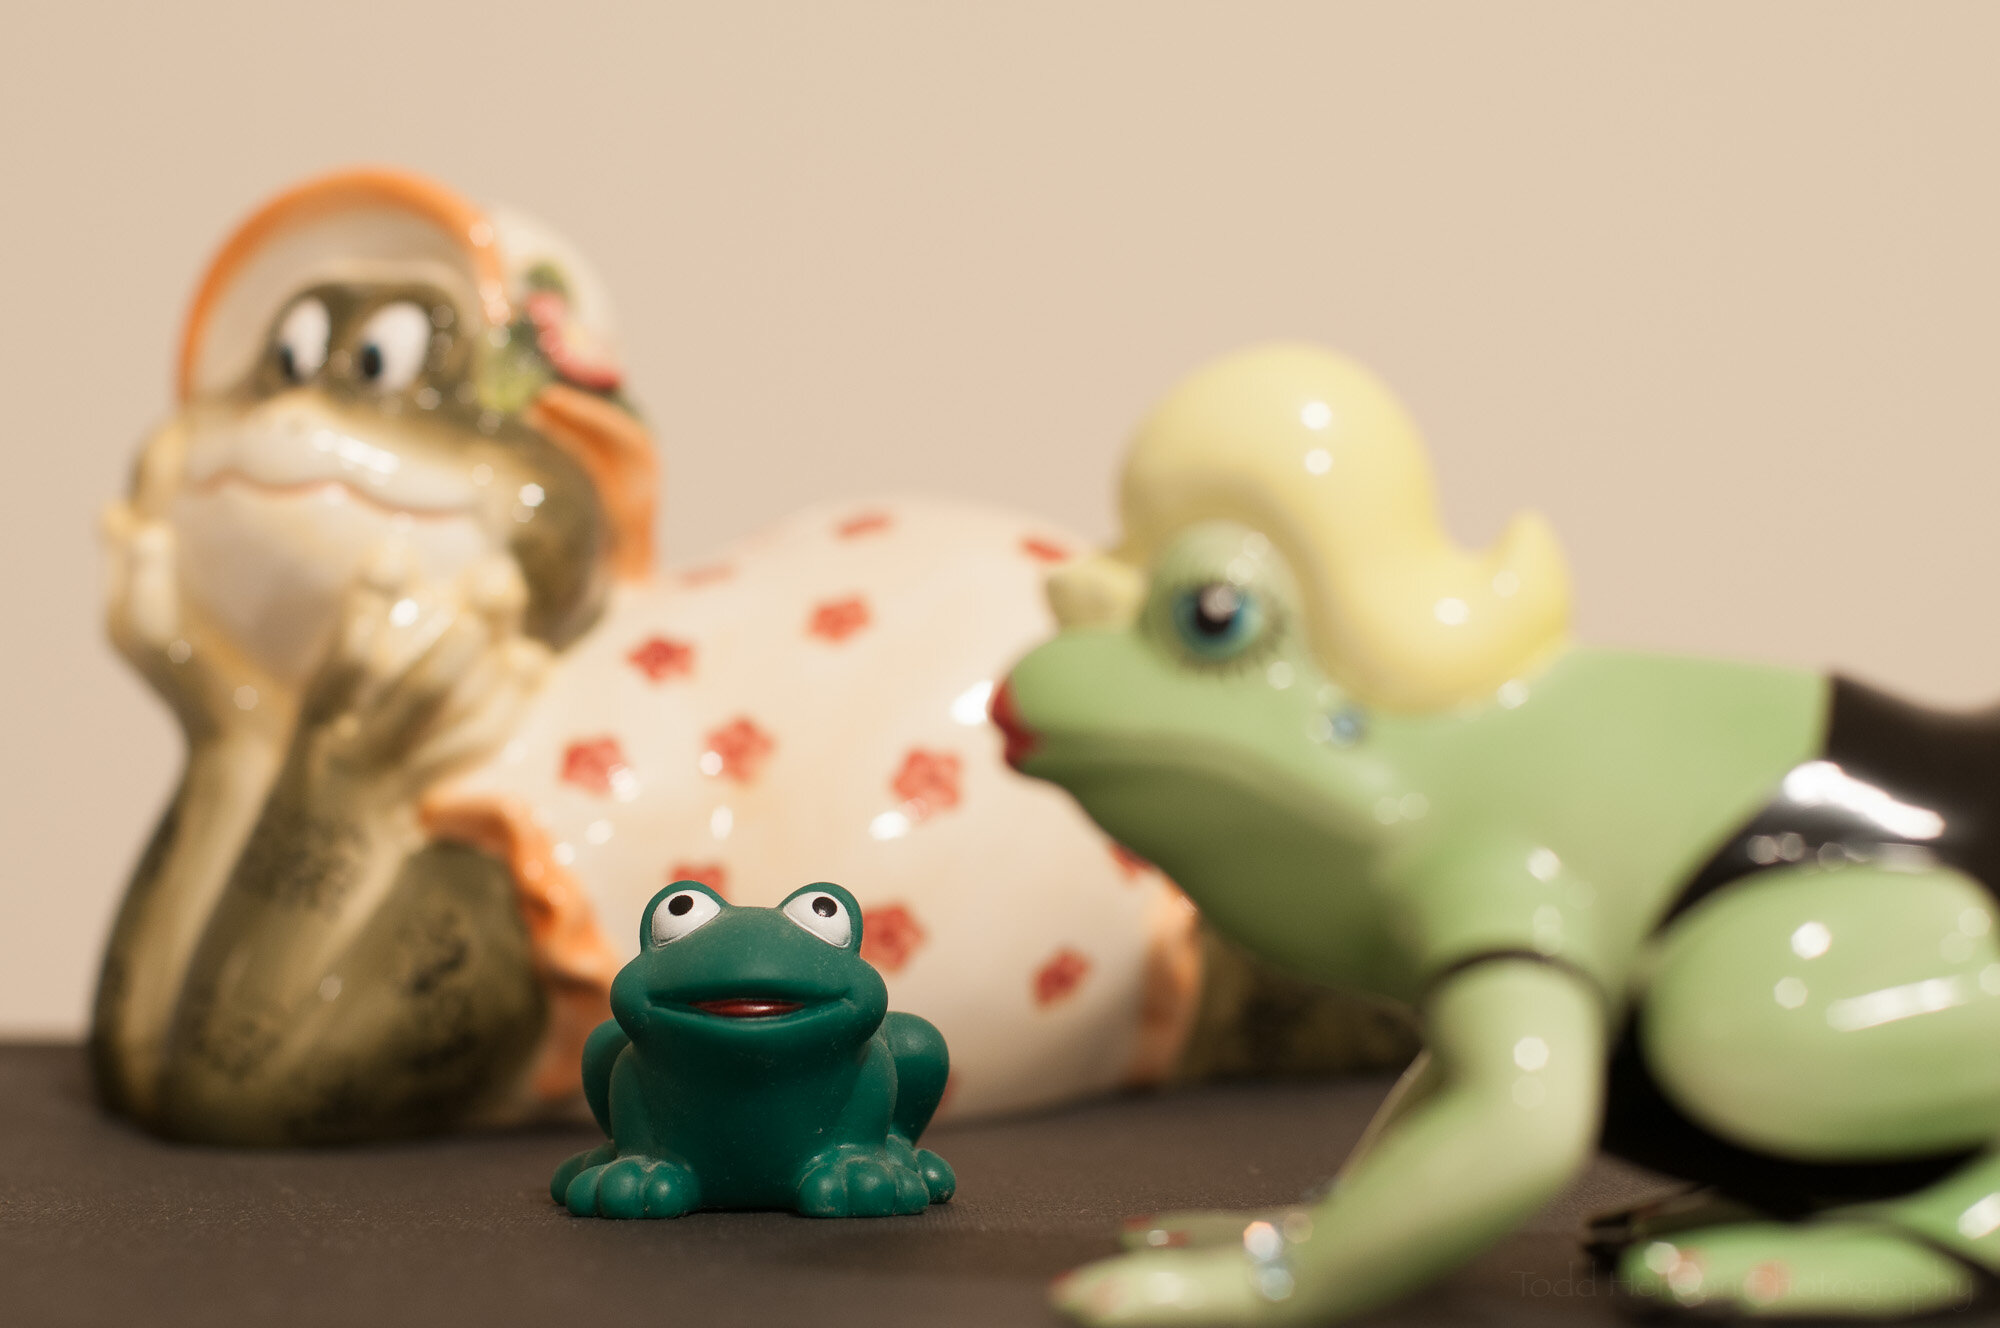
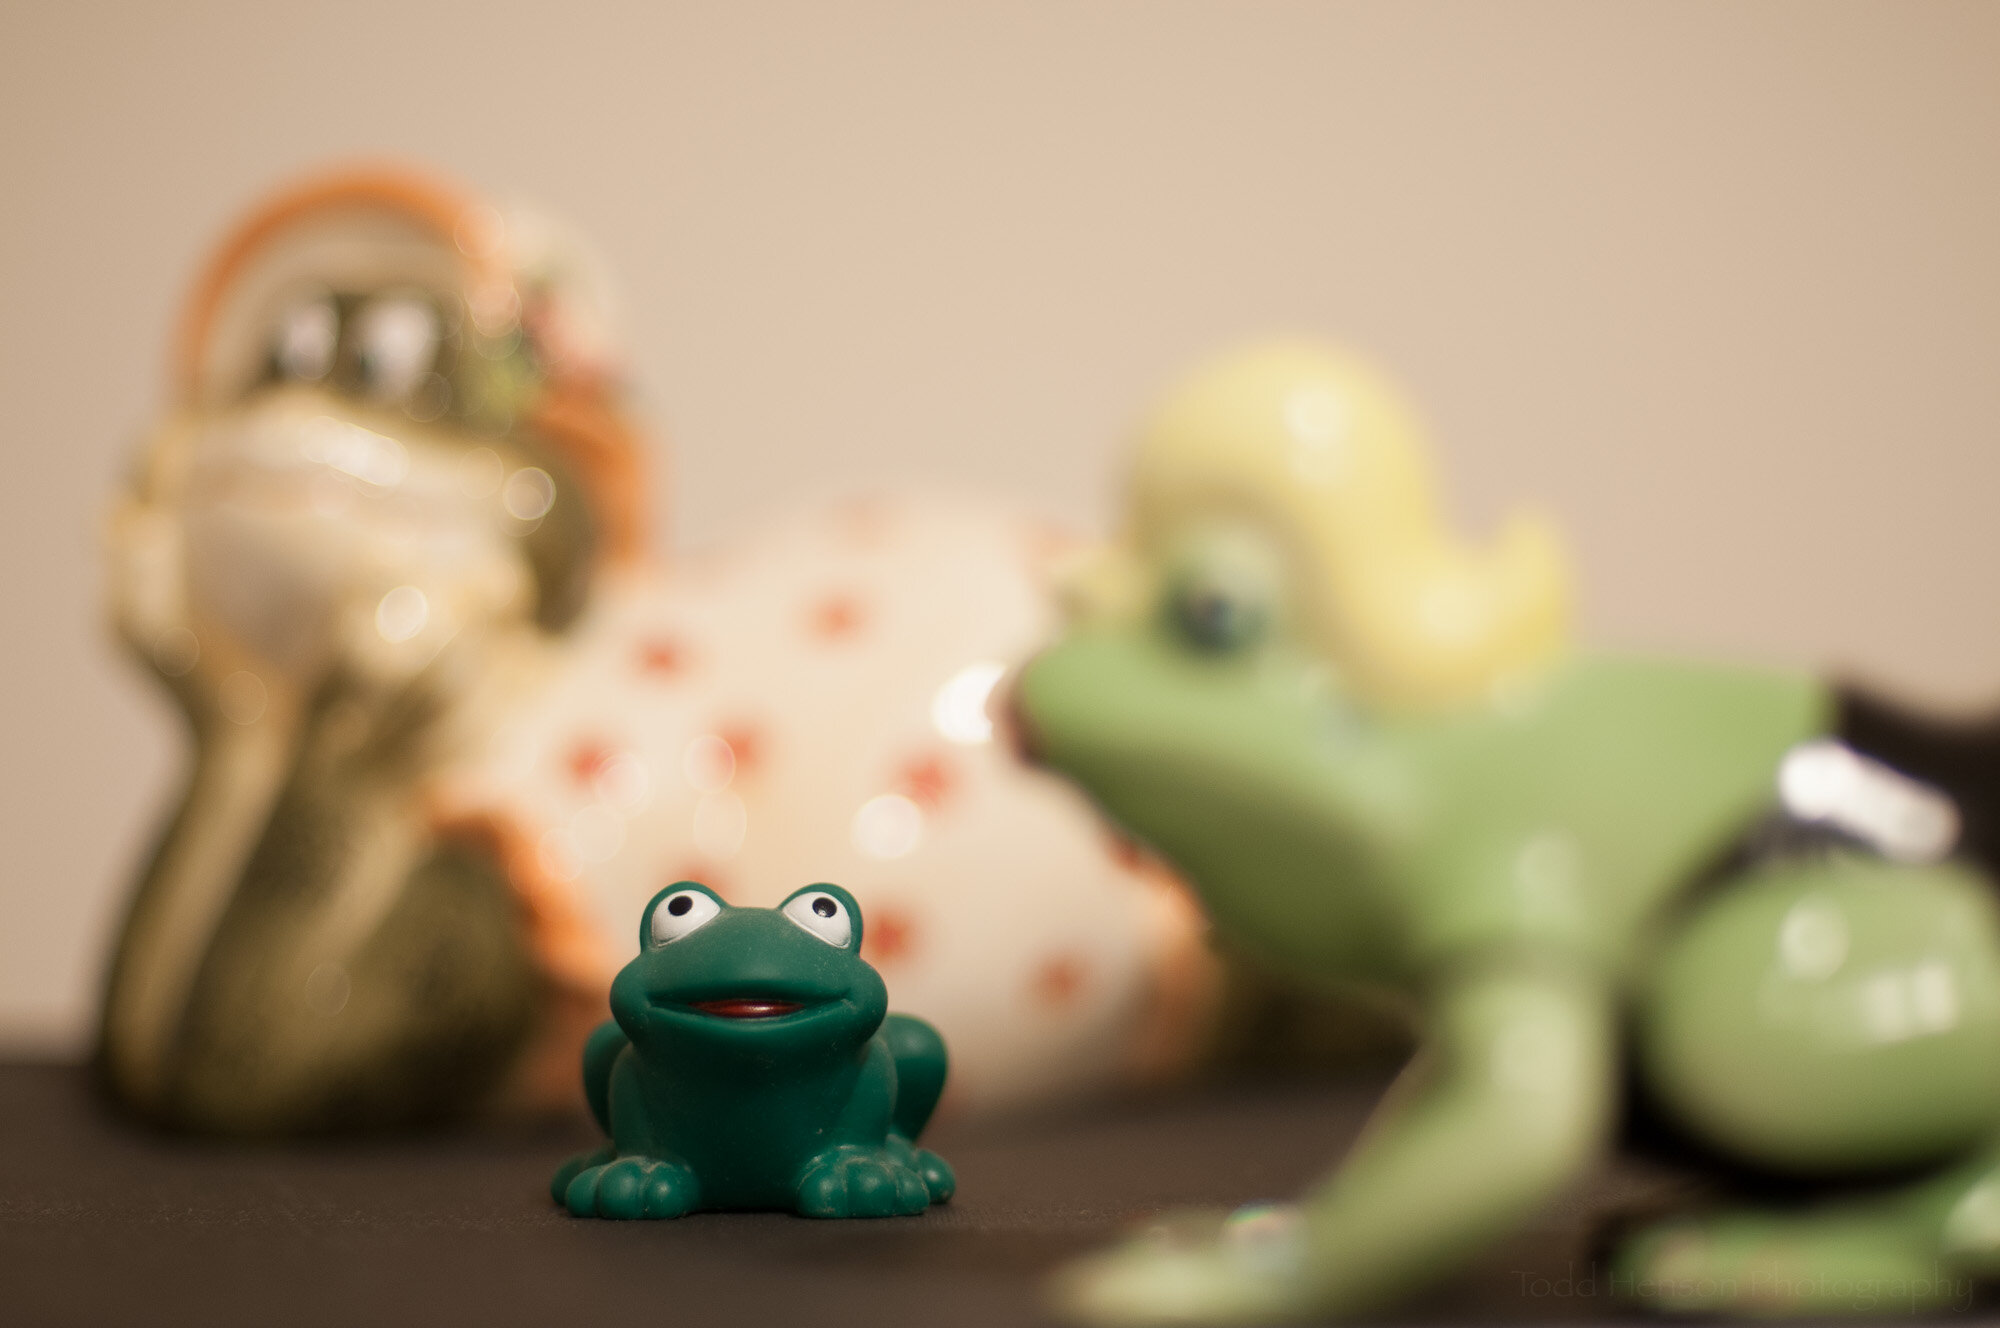
And just to help demonstrate this further we’ll take a step away from cherry blossoms and look at an example using some still life subjects. First, below is an example of what the aperture in the lens actually looks like at different f/stop values using a 50mm lens.

And now take a look at the still life examples where a photo was created at each aperture shown above. Step through both the lens photos above and the still life below so you can see how changing the aperture opening affects depth of field.

I hope this was helpful to some of you. Aperture is a great creative tool we have, so go out there and use it.


Do you enjoy these posts?

Sign up to receive periodic emails with updates and thoughts. Don’t worry, I won’t spam you. And please consider purchasing artwork or products from my online store, and using my affiliate links in the sidebar to the right when shopping online.

I appreciate your support!