telephoto

A Fly on the Rail by Todd Henson

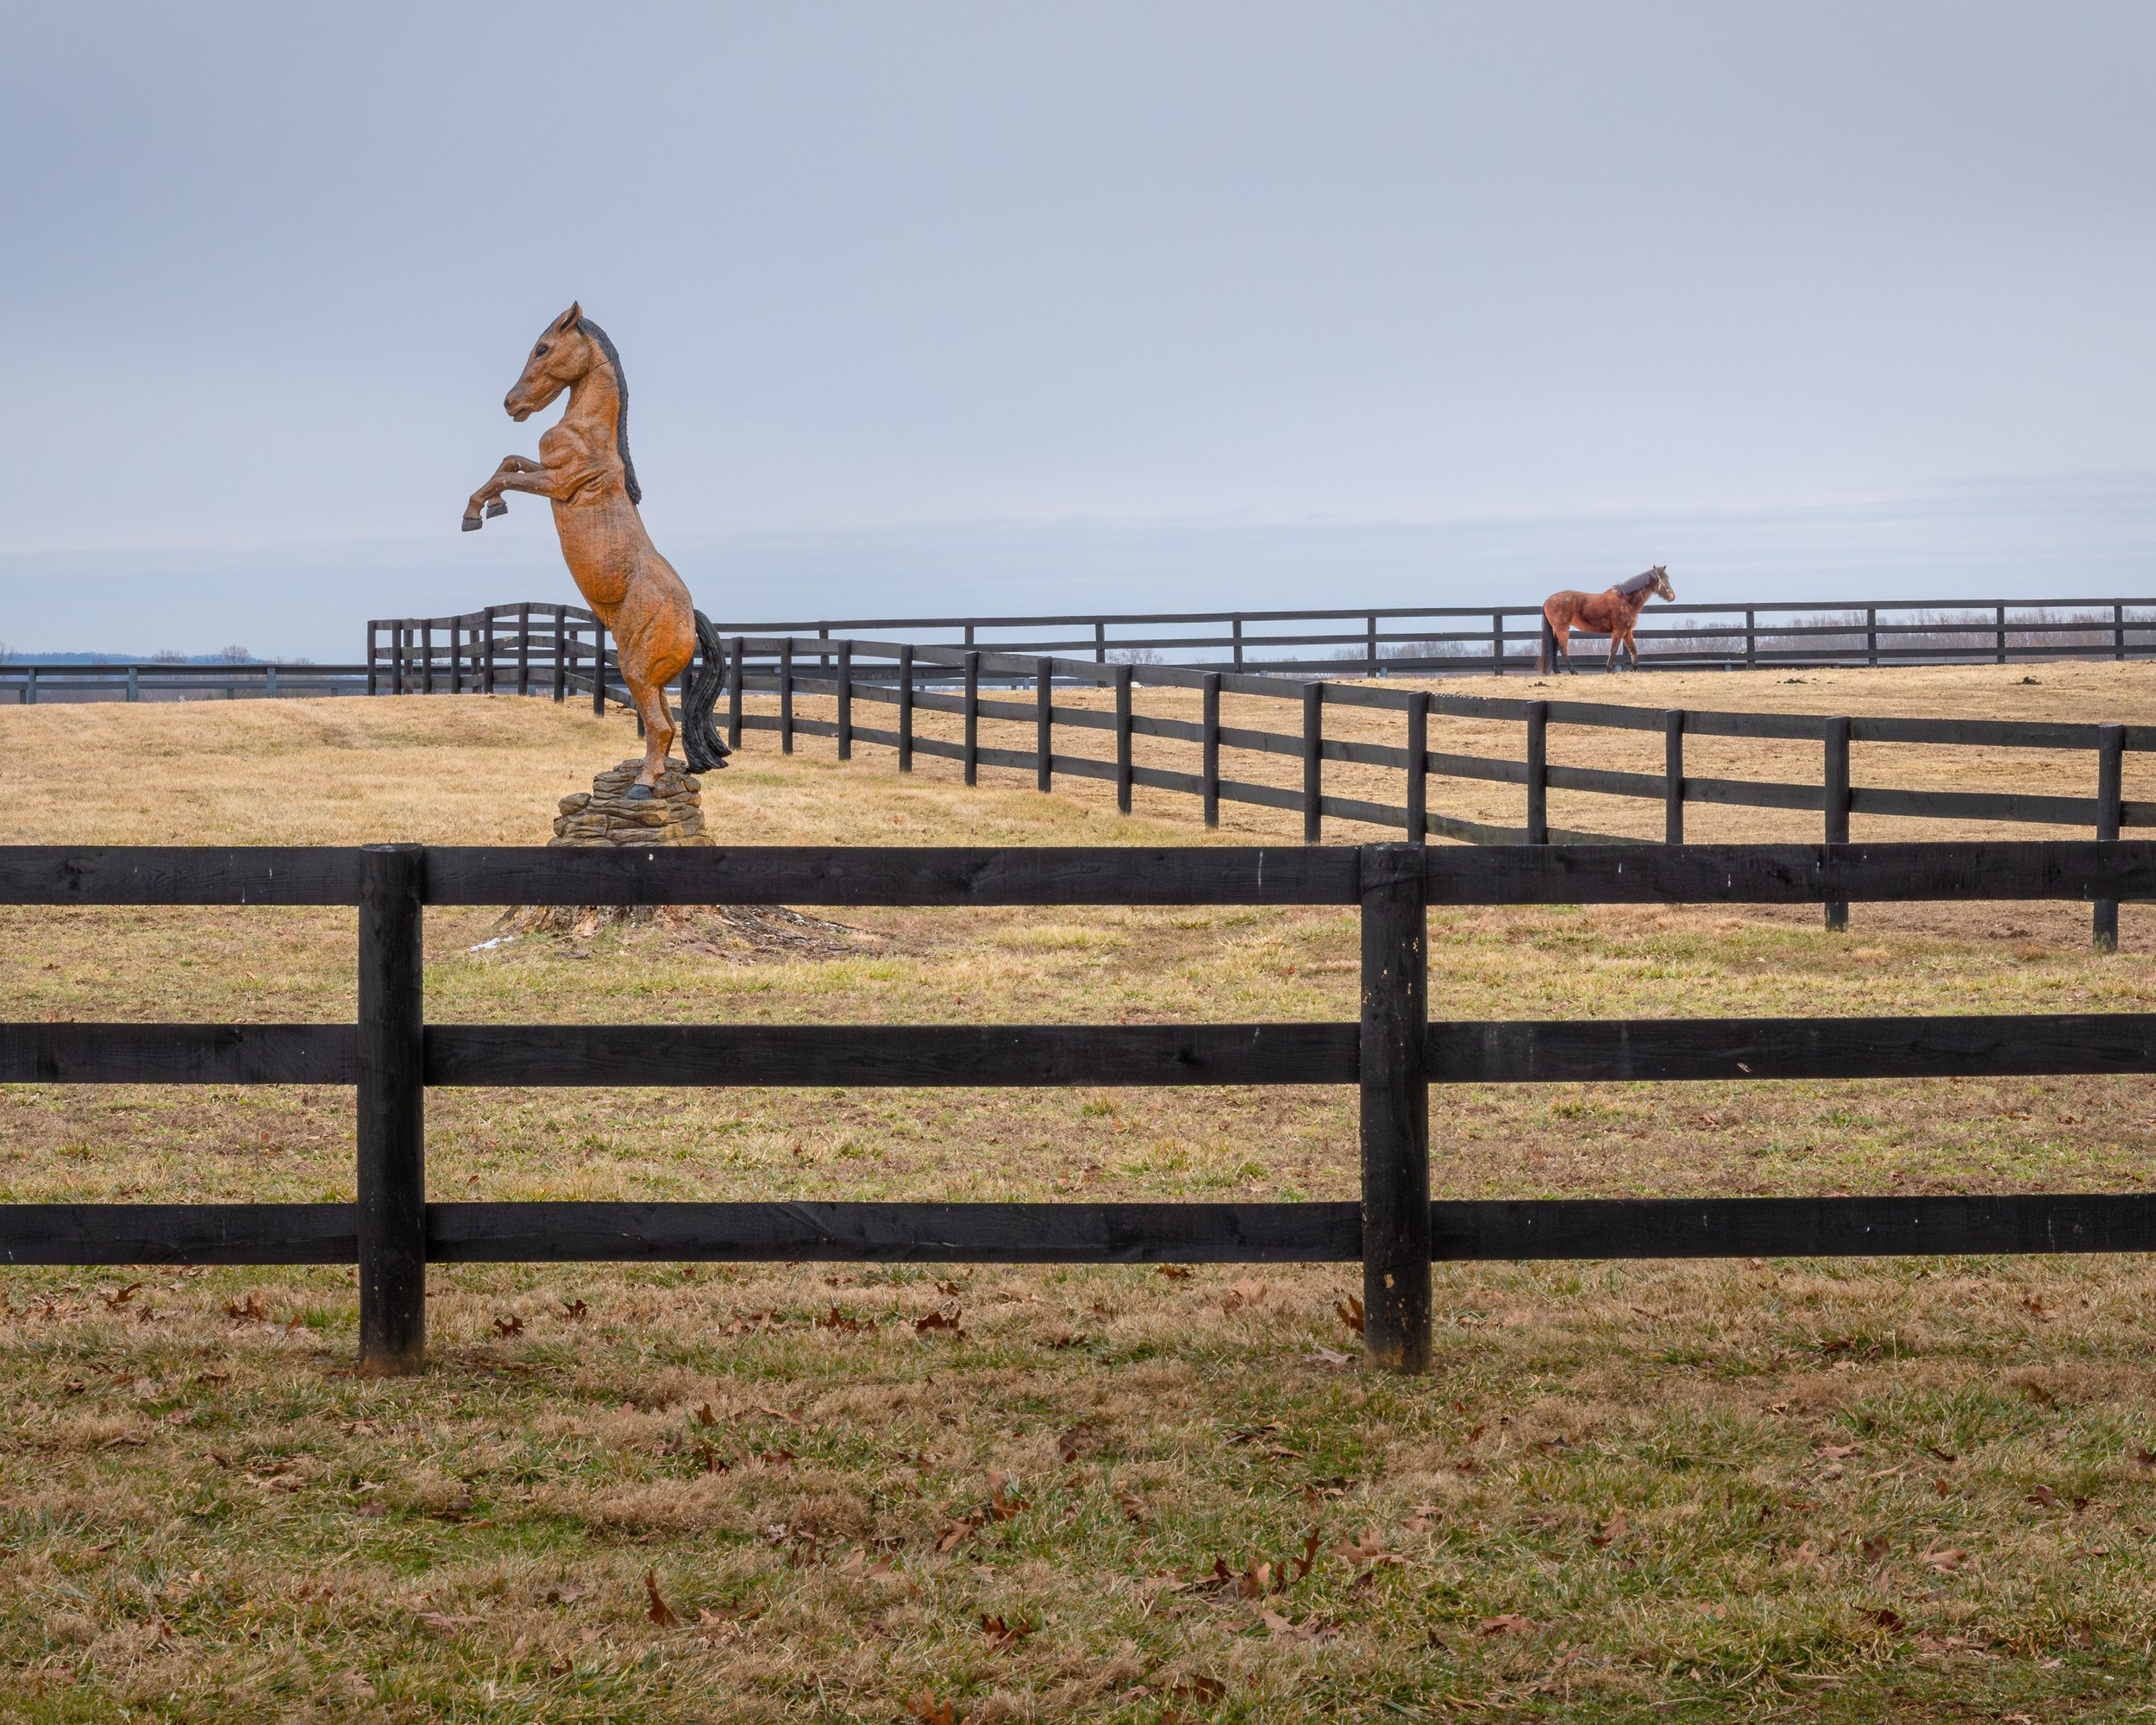
A fly on the rail at a local wetlands park

When heading out to photograph nature with a long telephoto lens most photographers, including myself, would be on the lookout for wildlife of some sort: birds, maybe deer, a shy fox, perhaps. But I try to keep my eyes open for anything because long lenses work great for other subjects, as well.

I was walking along the boardwalk of my favorite wetlands park. They have a slightly elevated section with a larger observation area with railing and benches. I was heading down the boardwalk from here towards the section flat against the water with no railing. And just before the railing ended I noticed a large fly, sitting on the metal rail. It remained where it was as I walked by, so I turned around, setup the tripod, and began photographing this patient little subject. I liked the angle of the railing and the interesting light patterns in the background. And, of course, flies are always fascinating subjects when viewed closer than we typically see them. Click on the image to see a larger view of the photo.

If you’re curious about the technical details I was using my 200-400mm lens at almost 400mm with a 1.4x teleconverter giving a focal length of 550mm. On a crop sensor body like my Nikon D500 this gives a 35mm equivalent focal length of 825mm. That’s a fair bit of reach.

My lens has a minimum focusing distance of around 6.5 feet, and I’d moved in as close as I could get. I set the aperture to f/8 to give the photo a little depth of field but still completely blur the background. I probably could have stopped down a bit more and gotten more of the fly in focus. This would have dropped the shutter speed or forced me to raise the ISO, but I had room for both in this situation.

With the light conditions what they were I had the ISO set to 400, giving me a shutter speed of 1/400 sec. I don’t like to let the shutter speed drop too low with this long lens, even when on a tripod. Too many chances of vibration blurring the image. I have a mild case of essential tremor, so there’s always a risk of me introducing vibration, which a long lens will amplify. And the fly was on railing attached to the boardwalk, which can vibrate far more than you’d think when people are walking on it nearby.

When photographing in this situation I tend to wait for folks to walk by and let the boardwalk settle before shooting. Then I try to focus on my breathing to calm myself and relax. And I very often put the shutter in burst mode and shoot in short bursts of 2-4 shots at a time. This can be a waste of frames and creates many more images I must sort through when I get home, but it also increases the chances that one of those frames will be more in focus than the others, so it’s often worth the extra effort.

Next time you’re out in the field, whether photographing or just out for a walk, look around you. Really focus on your surroundings. What do you see that most of us might overlook and walk by? Is there a chance it might make an interesting composition if you had a camera with you? Practice this exercise as often as you can, train yourself to see more in the world. I do this all the time but still have so much to learn. I see photographers I admire create compositions I doubt I ever would have seen the potential in, and yet they create something absolutely fantastic. We can do that, too, if we better learn how to see.


Focal Length Affects Perspective by Todd Henson

Different focal lengths alter the perspective within the frame.

If you’re like me one of your first lenses was a zoom lens. These can be very useful and very convenient, giving you a lot of options in framing your shot. But you may have also fallen into one of the traps I did, lazily using a zoom lens to change the framing of the shot without thinking about how the different focal lengths affect the perspective within the frame.

Take a look at the photographs in this post. What they are intended to show is how different focal lengths alter the perspective within the frame. If we can learn this lesson zoom lenses become even more powerful tools, letting us more intentionally choose a focal length to alter how the image looks, how one element in the frame relates to another, instead of just choosing what to include and exclude from the frame.

Example: Wide Angle Focal Length

A wide angle focal length (22 mm) stretches out the perspective, pushing the foreground and background further apart.

Wide angle focal lengths, such as 22 mm, are often used to include more of the scene. But they also have a way of making an object that is close to the camera look very far away from an object in the distance. They stretch out the perspective.

Notice in the 22 mm image how small the distant waterfall is compared to the nearby waterfall.

Example: Normal Focal Length

A “normal” focal length (50 mm) more closely resembles the perspective our eyes see.

The 50 mm focal length has an effect very similar to what we see with our eyes. The perspective is very natural. That’s why focal lengths in this range are very popular for street photography.

Compare the 50 mm image to that of the 22 mm image. Notice how the waterfalls appear closer together in the 50 mm image. Also notice how the distant waterfall is larger than it was in the 22 mm image. The perspective is compressing.

Example: Telephoto Focal Length

A telephoto focal length (80 mm) compresses the scene, bringing the foreground and background closer together.

The 80 mm focal length is at the small end of the telephoto range. Telephoto focal lengths are often used to pick out details in a scene, allowing you to exclude non-essential elements and “zoom” in on the real subject. But they also allow us to compress the perspective.

Look closely at the 80 mm image. Notice how much closer together the waterfalls are when compared to the other images. Also notice the relative sizes of the waterfalls. They look close together and similar in size. This is the compression effect caused by a longer focal length.

Conclusion

Zoom lenses are great tools not only because they let us zoom in and out, quickly framing a shot, but because they include so many different focal lengths allowing us to alter the perspective within the image to suit our vision. Start thinking intentionally about how you want the scene to look.

Use focal lengths intentionally to create the perspective you envision.

Do you want your subject to look very large compared to the background? Then use a wide angle focal length and get close to your subject. This will make the subject look large in the frame and push the background further into the distance.

Do you want to make your subject look very close to the background, maybe a mountain or monument? Then use a telephoto focal length to compress the scene and make the background look much closer to the subject.

Sometimes it’s very useful to zoom with your feet instead of with the zoom lens. Pick a focal length on the zoom lens to give you the desired perspective, then move with your feet to position yourself in the correct place to line up the subject with the background.

Now it’s your turn. Head out with a zoom lens, or with multiple prime lenses, and use the different focal lengths intentionally to alter the perspective within the image. Experiment, see what you can come up with, and have fun!


Do you enjoy these posts?

Sign up to receive periodic emails with updates and thoughts. Don’t worry, I won’t spam you. And please consider purchasing artwork or products from my online store, and using my affiliate links in the sidebar to the right when shopping online.

I appreciate your support!


Eastern Box Turtle Along A Paved Path by Todd Henson

Eastern Box Turtle on pavement shot from ground level.

Any day I can photograph an Eastern Box Turtle is a good day. This particular turtle was along the side of a paved trail in a local wildlife refuge. It used to be a road, but is now just part of the trail system.

We found the box turtle stopped maybe 6 feet from the edge of the pavement. There were trees on either side, and a stream nearby that passed under the road. This was a perfect environment for the turtle.

To capture these images I used a long telephoto lens to help blur the background. I wanted to look right at the turtle, from its perspective, so I set aside the tripod and instead lay down on my stomach on the pavement with the camera in front of me resting on the ground.

Closeup of Eastern Box Turtle

Then I slowly crawled forward to get as close as I could but still capture the entire turtle in the frame. I moved in a little closer to capture the closeup image. I love the eyes on this turtle, all the colors and patterns.

One of these days when I find a turtle like this I want to stick around long enough for the turtle to get used to me and begin walking. But this part of the trail was somewhat busy and I didn’t want to attract too much attention to the turtle, or agitate it. So I moved on after capturing these images.

For another example of this technique check out my post about photographing a green frog where I show images shot from different perspectives. As with that photo, I think I could have stopped down the aperture a bit more to capture just a little more depth of field, putting more of the turtle in focus. I often gravitate to the wider apertures, which limit depth of field and create nice blurry backgrounds. But sometimes more depth of field can also be a good thing, even when shooting these animal portraits.


Do you enjoy these posts?

Sign up to receive periodic emails with updates and thoughts. Don’t worry, I won’t spam you. And please consider purchasing artwork or products from my online store, and using my affiliate links in the sidebar to the right when shopping online.

I appreciate your support!