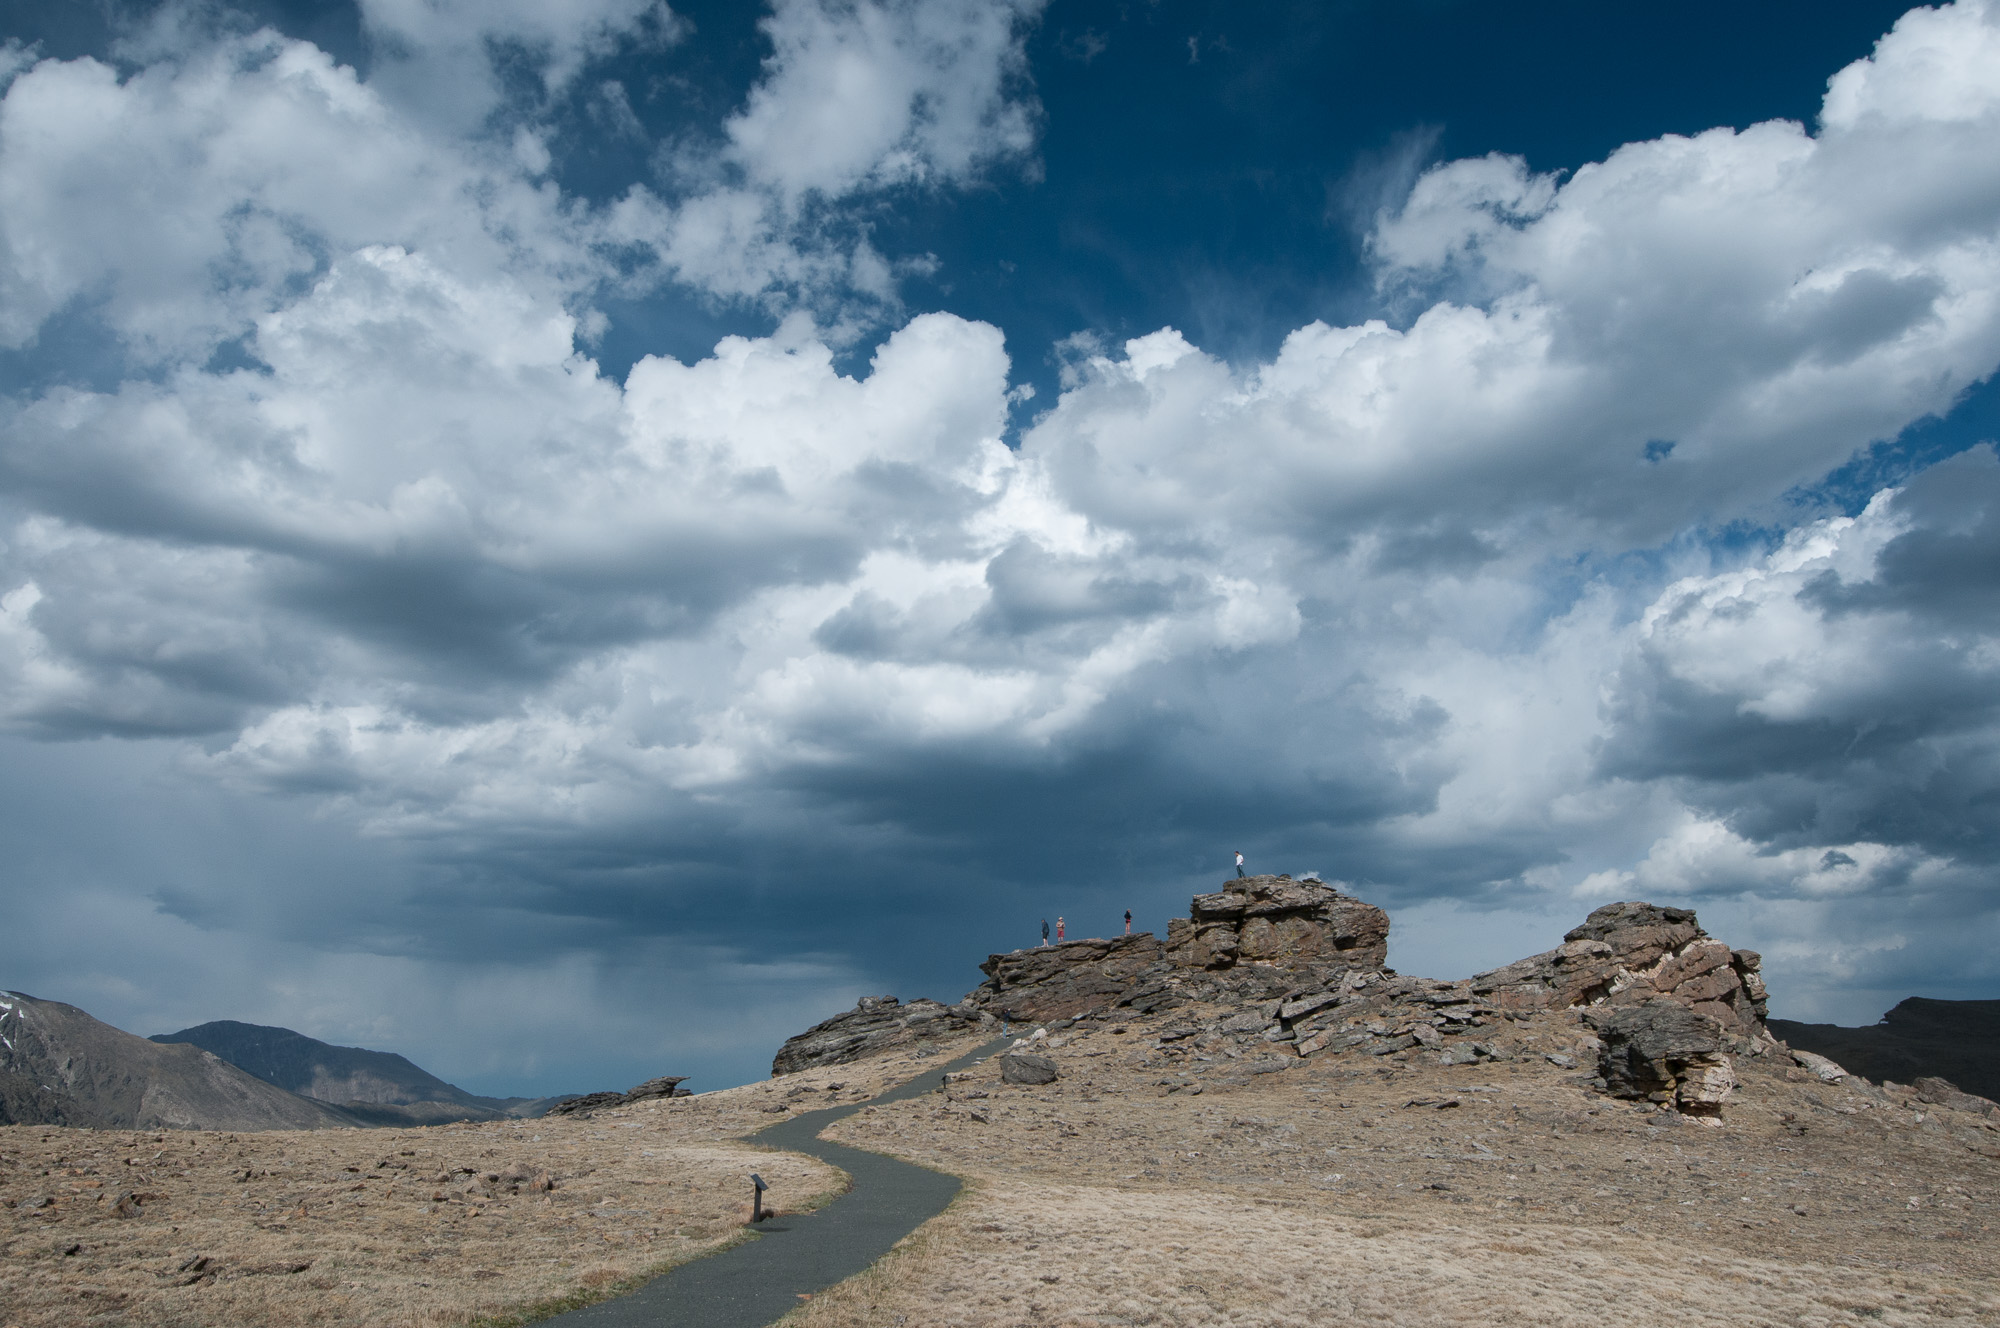
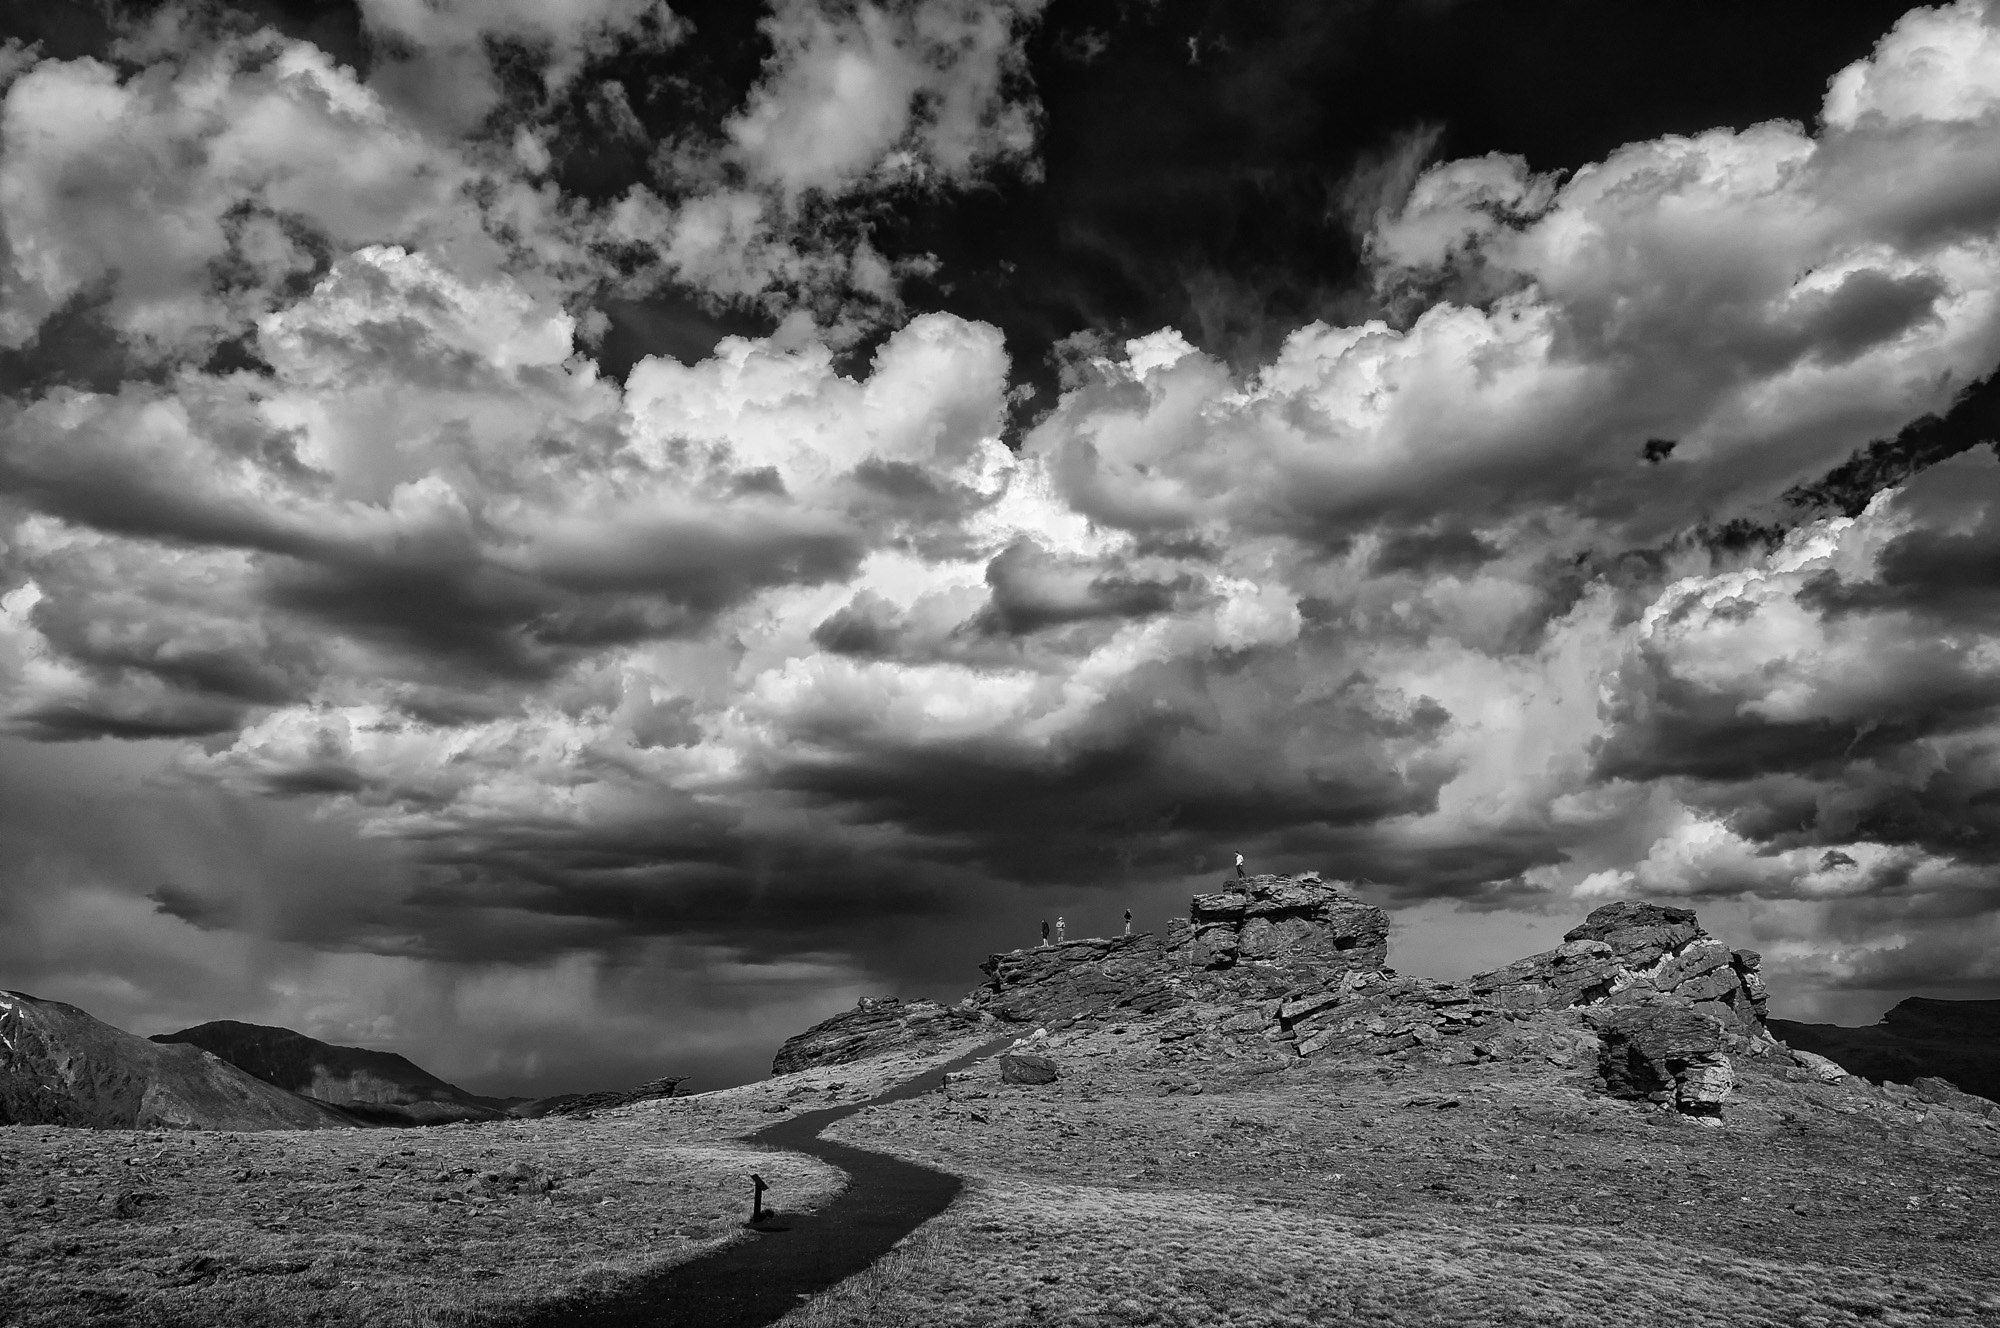
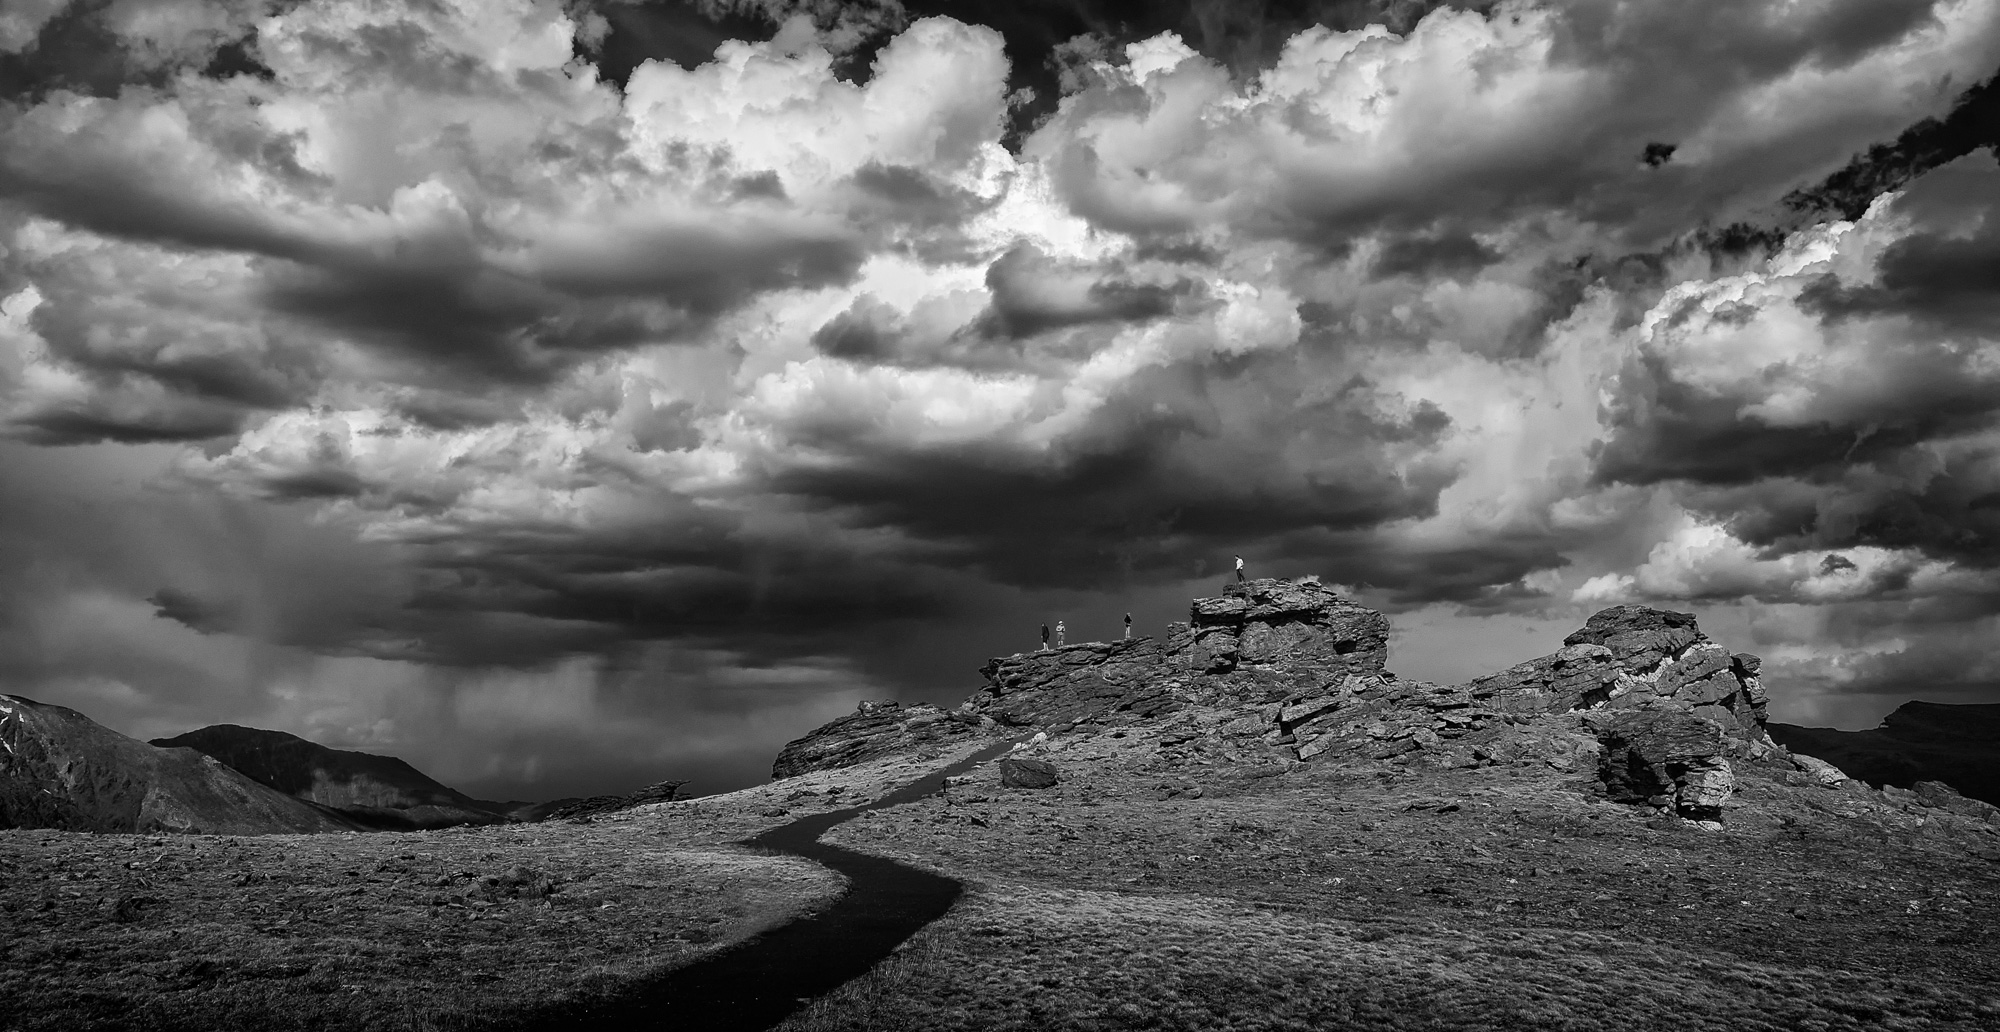
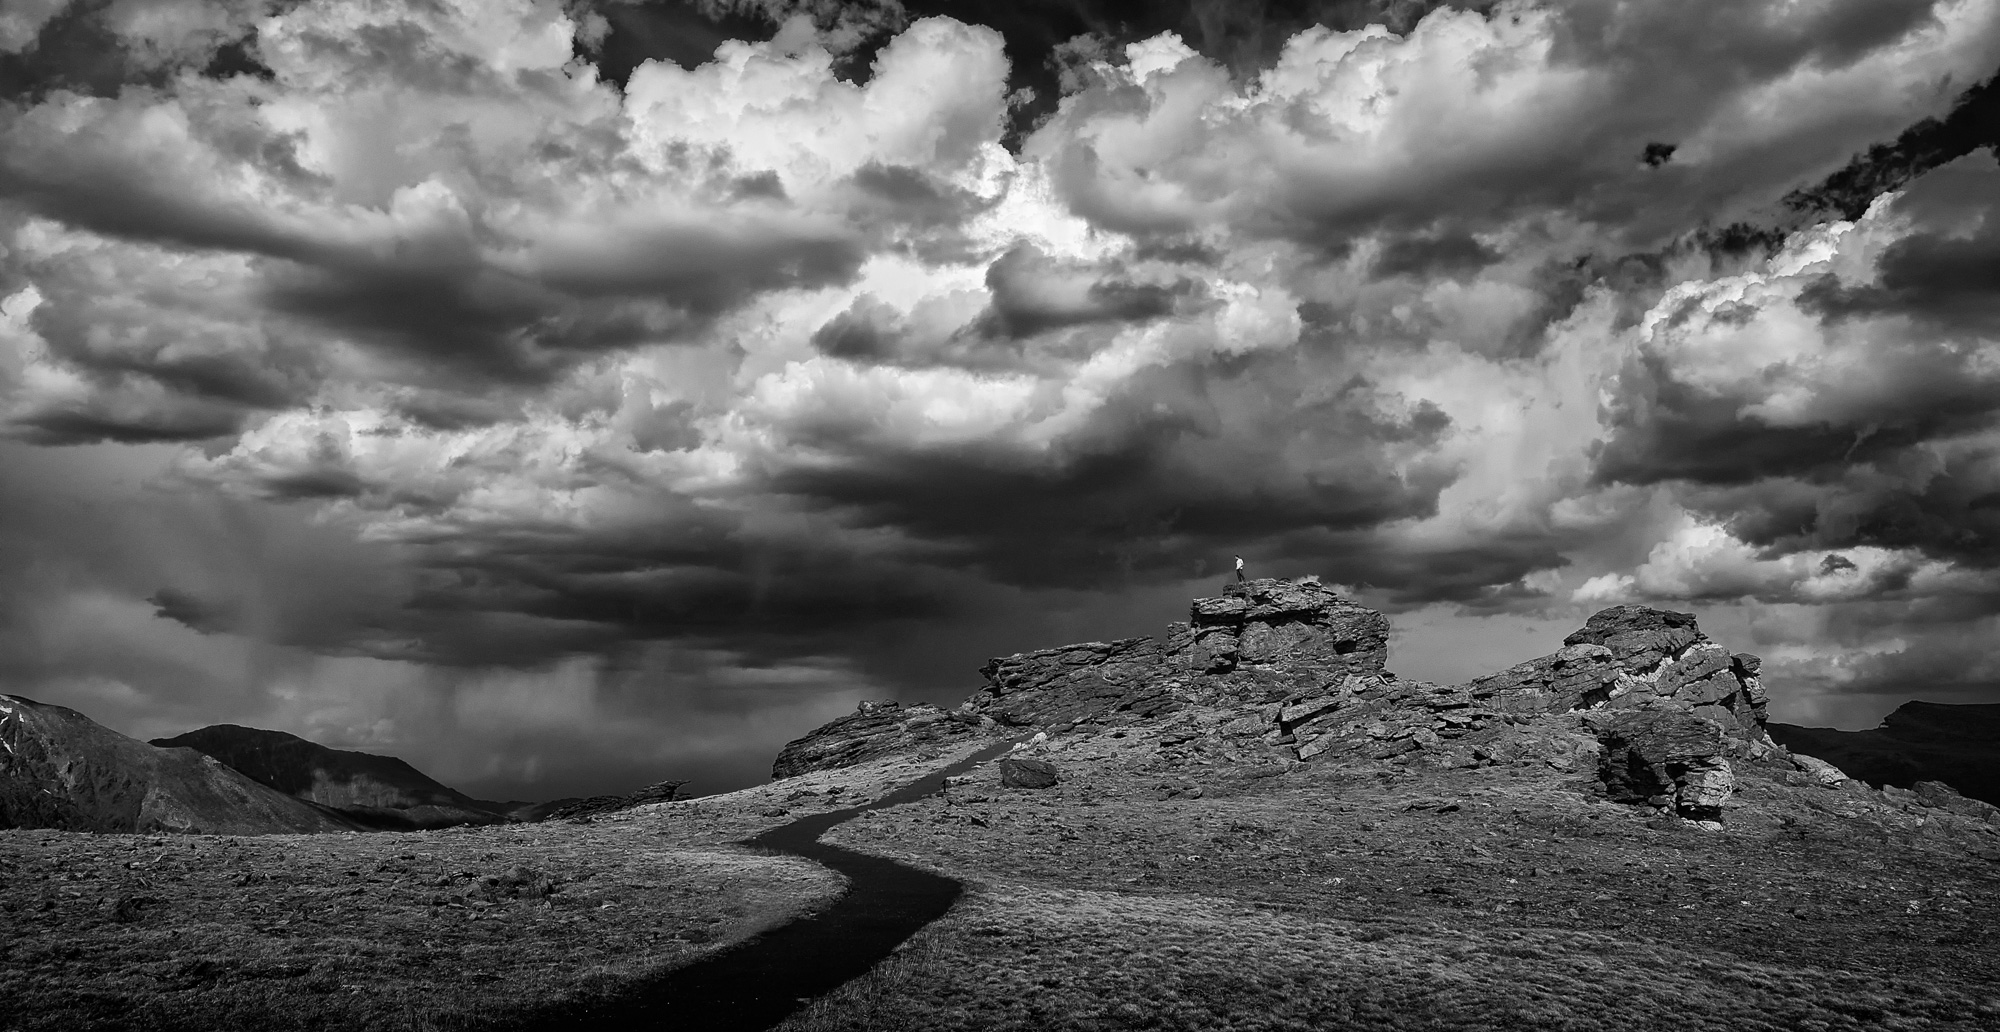
A view from the road while driving through Rocky Mountain National Park
A number of years ago I had the opportunity to spend a day in Rocky Mountain National Park.This particular photograph was created from one of the many scenic pull offs on the road that weaves its way through the park.
The sky was full of clouds and the light was always changing. At times you could see a storm in the distance dropping rain or snow. The view isn’t one of the iconic views from the area, but I still like it. It’s a very beautiful location.
These scenes seem to work well in black in white, so that’s how I chose to process this image. The photo then becomes about tones, textures, and patterns. It simplifies the image. I most often photograph for color, but lately I’ve been exploring black and white.
Give it a try with your own photographs. First try picking photos from your back catalogue that might work as black and white and experiment with different conversions. Then start looking for scenes that might look great in black and white and create images in camera with the specific purpose of later converting them.
If you photograph in RAW (which I recommend) it might be helpful initially to set your camera to its black and white or monochrome setting. This should only affect the JPEG that gets embedded in the RAW file. Your camera will still capture and store all the color information. Doing this will let you view the photo in black and white on the back of the camera and help you see how the scene might look in black and white. Later, when you import the photo into your computer you can work on it in black and white, or process it in full color. That’s one benefit of RAW: it records all the information. It’s up to you how you choose to process it.
Do you enjoy these posts?
Sign up to receive periodic emails with updates and thoughts. Don’t worry, I won’t spam you. And please consider purchasing artwork or products from my online store, and using my affiliate links in the sidebar to the right when shopping online.
I appreciate your support!


