Variations on a Theme: Creekside Greenery by Todd Henson

Creekside Greenery

I first noticed this scene from the road. Walking over a bridge provides this lovely view of South Fork Quantico Creek in Prince William Forest Park. It was late June of 2021 and all the various shades of green were present. A fallen tree spanned the width of the creek, which I sometimes find distracting but other times find an appealing addition to a composition. In either case, it is what it is, so better to find a way to work with it.

As for settings, I was using a 16-35mm lens at 27mm. I set the aperture to f/16 and the shutter speed to 1.6 seconds with an ISO of 100. The camera was mounted on a tripod to let me get the longer shutter speed. By doing that I was hoping to smooth out any movements in the slow moving creek and accentuate the reflections.

There’s a trail along the left side of the creek and after hiking down to the trail I still found myself attracted by the same scene, just seen from a different perspective. When down closer to the water I noticed how with a little careful movement I could place the lit up greenery in the background within a triangle of sorts formed by the fallen tree and reflections of a tree in the background. I liked that. It let me work with the fallen tree to create what I thought was a pleasing composition. The sun cooperated by highlighting the background greenery along the shore.

Glowing Greens Along Quantico Creek

Once again, I was trying to smooth out the water to accentuate the reflections so I used similar settings. Still at ISO 100 but this time at 35mm and f/18 with a shutter speed of 2.5 seconds. I liked this composition even more than the previous one. It focused in on a smaller section of the scene and I liked the framing of the lighter greenery.

I suppose this is an example of working a scene. Instead of planting the tripod in one spot and creating photographs of a single view of a scene, move around, see what other options are present, explore the various ways you can frame the scene. What other perspectives are available?

From a technical perspective these are not perfect photos. Each one is a little soft. The fallen tree could have been tack sharp but it isn’t. I’m not sure exactly why. I don’t know if I might have had some tripod movement. One likely culprit is forgetting to turn off the vibration reduction feature of the lens when I put it on the tripod and locked it down. Walking between scenes I’m usually handholding the camera so I’ll turn vibration reduction on, something that’s especially helpful for someone with essential tremors. But when I put the camera on the tripod and lock it down I need to remember to turn off vibration reduction. Otherwise it can actually introduce movement during the exposure, which might have resulted in the slight softness present in each of these.

So given the overall softness I figured why not experiment with another version of the photograph that pushes that softness, adding a bit more of a glow to it, creating something that perhaps has a more painterly, less realistic, look? The photo below is the result of that experimentation.

Softly Glowing Greens Along Quantico Creek


Do you enjoy these posts?

Sign up to receive periodic emails with updates and thoughts. Don’t worry, I won’t spam you. And please consider purchasing artwork or products from my online store, and using my affiliate links in the sidebar to the right when shopping online.

I appreciate your support!


Before & After: South Fork Quantico Creek - Downstream - October 2021 by Todd Henson

Before & After: South Fork Quantico Creek - Downstream - October 2021

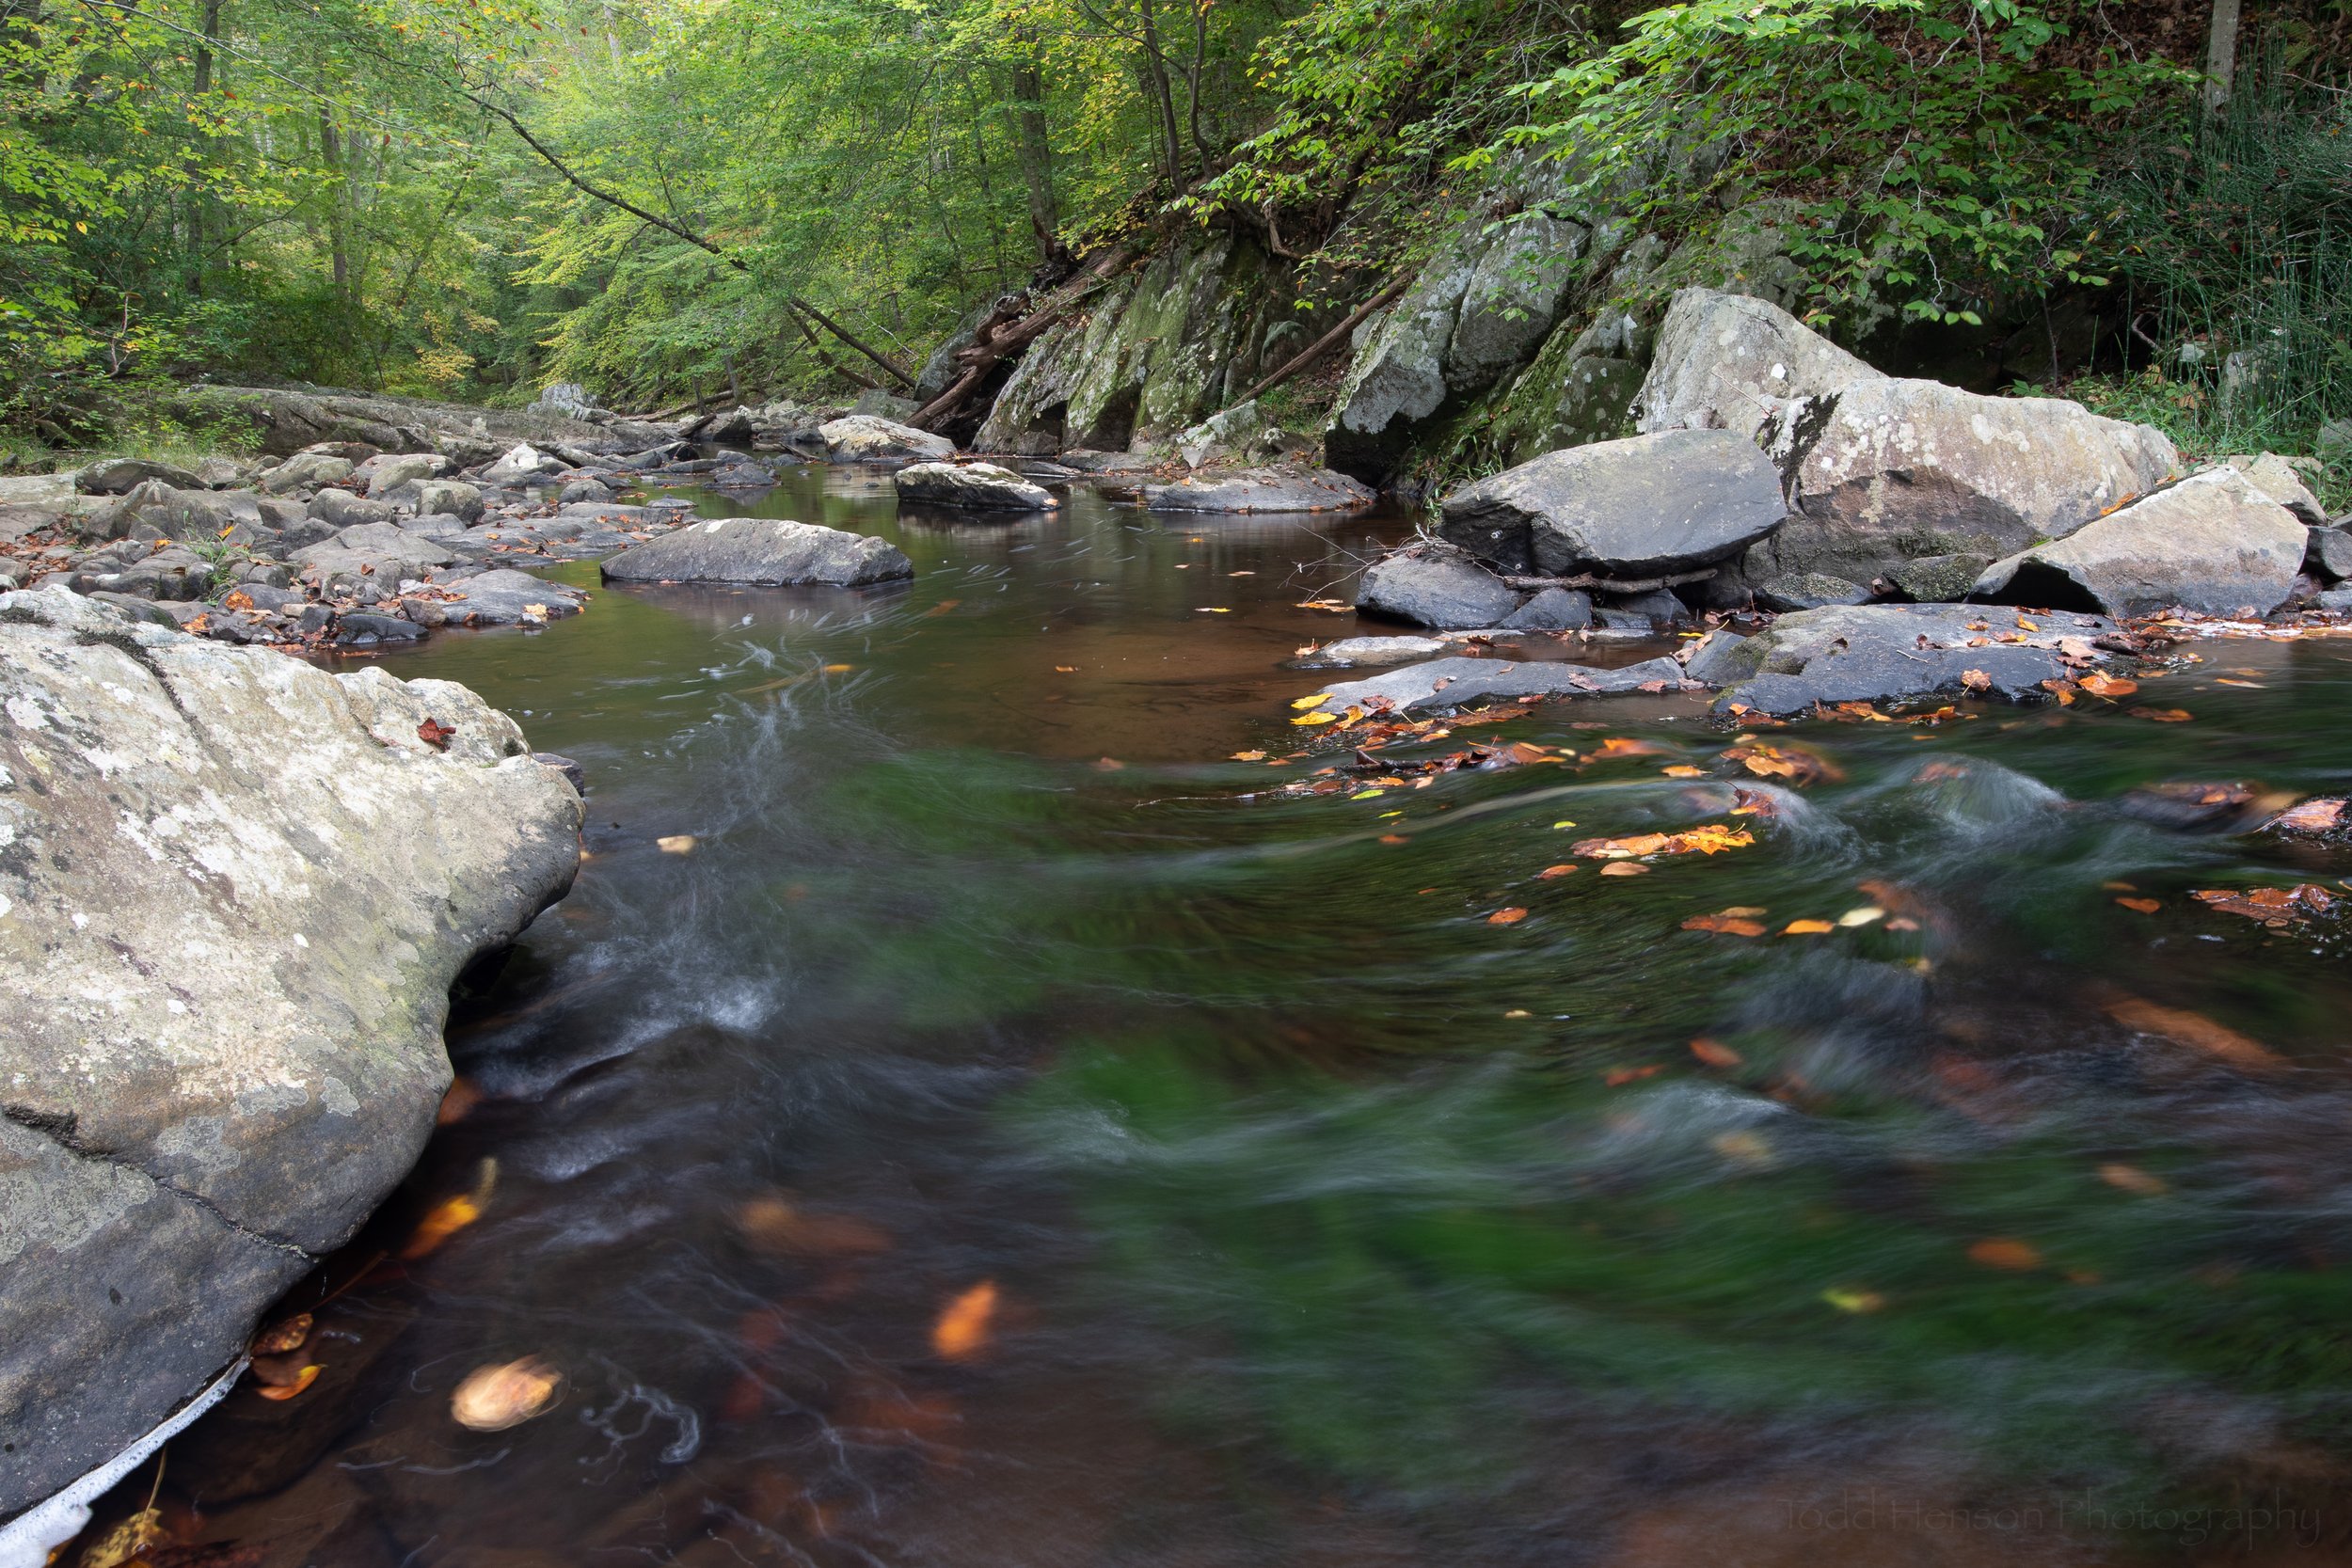
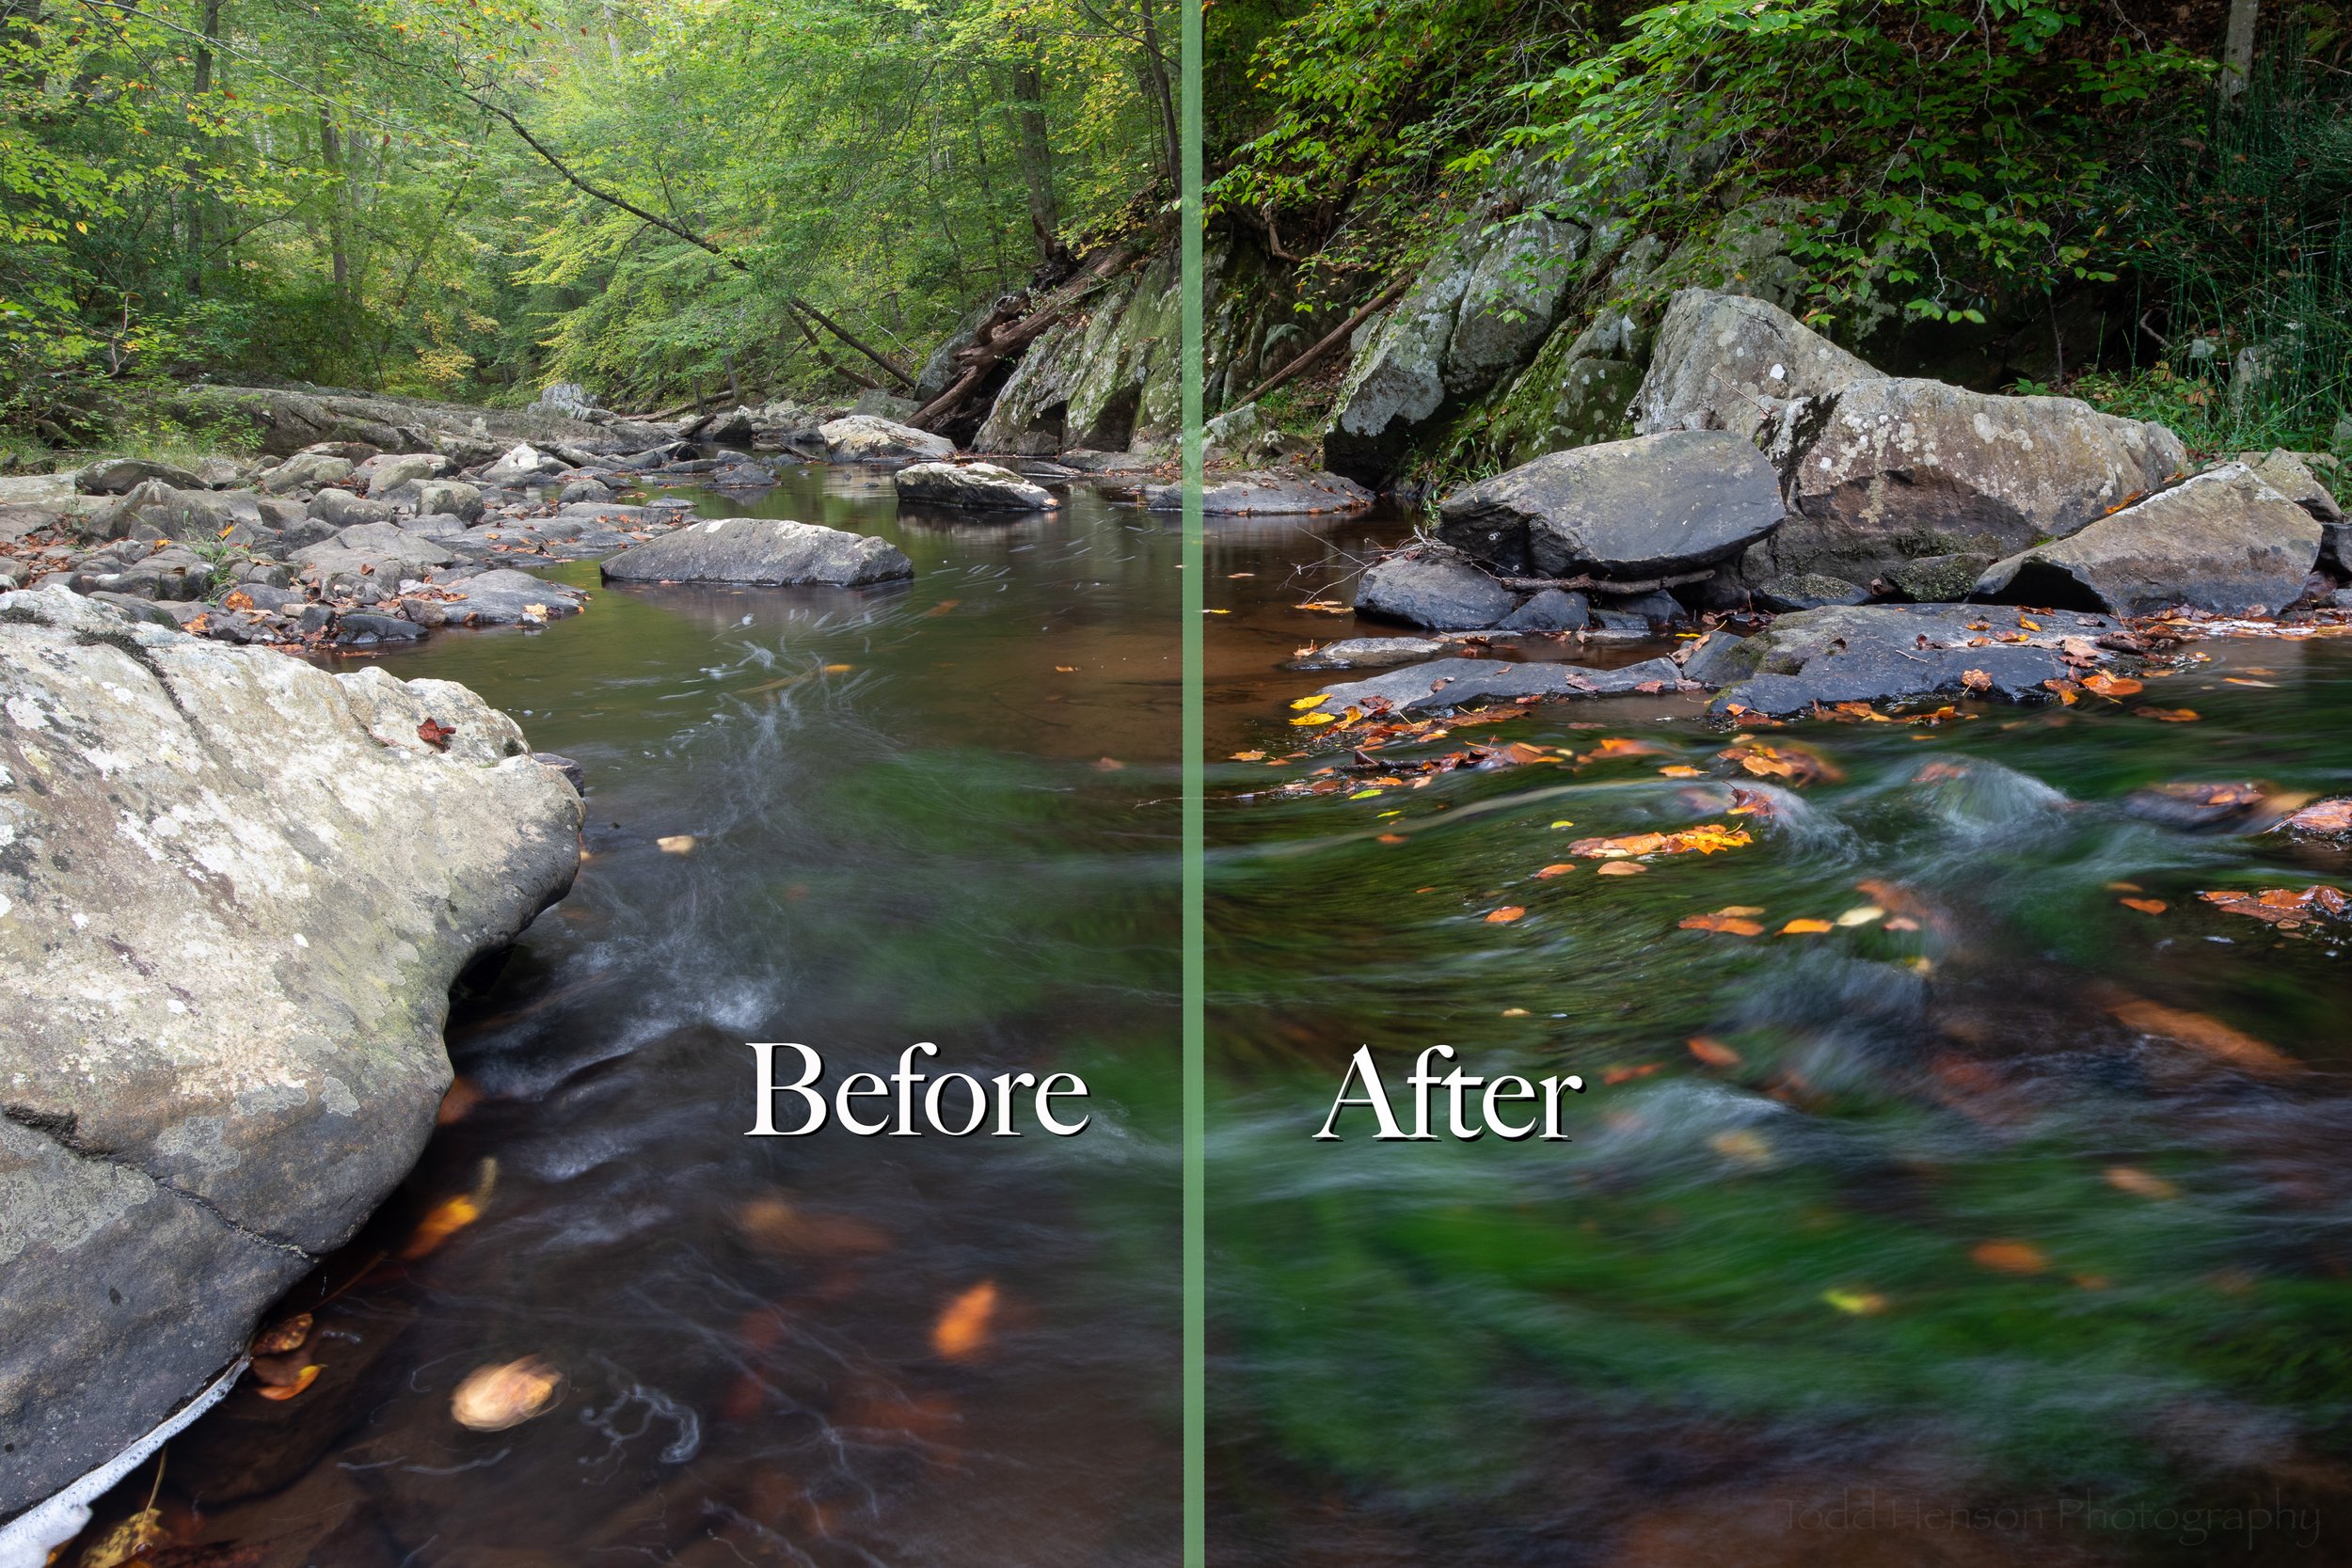
It feels like time for another before & after post where I share a little about my process using one photo as an example, stepping you from straight out of the camera to the finished product. This photo is of South Fork Quantico Creek, facing downstream, in October of 2021. It’s an example of an image that didn’t require any drastic editing but instead benefited from a series of small adjustments. All of the processing was performed in Adobe Lightroom.

Straight Out of the Camera

Before making any adjustments

Step 1: Global Adjustments & Lens Correction

Global adjustments & lens corrections

I most often tend to perform any global adjustments first. These apply to the entire image and included lowering the highlights and whites and raising the shadows. This provided a little more detail, letting us better see in some dark areas and keeping some light areas from getting too light. I also increased the vibrance a bit to help the colors pop.

Step 2: Post-Crop Vignette

Post-crop vignette

I very often apply vignettes to my photos to help draw the eye into the frame. Sometimes I’ll do this manually but in this case I used Lightroom’s Post-Crop Vignette setting to darken the corners and edges just a bit.

Step 3: Masking - Selectively Applying Texture

Masking - Selectively applying texture

At this point it was time to start selectively editing specific areas of the image. I wanted the rocks to stand out nicely so I added a little texture, which is a type of contrast adjustment. I didn’t want that applied to softer areas like the water, or to the trees, so I painted it just onto the rocks. You’ll see a pinkish overlay on the areas where I applied texture.

Step 4: Masking - Selectively Increasing Exposure

Masking - Selectively increasing exposure

I loved the greenery under the water and wanted that to stand out so I created another brush mask and painted over those areas, increasing exposure to lighten them up.

Step 5: Masking - Selectively Decreasing Exposure

Masking - Selectively decreasing exposure

There were other areas I thought would look better a little darker, so I created a brush mask and lowered the exposure of these areas. This was mostly the rocks but also some areas in the trees.

Step 6: Masking - Another Round of Increased Exposure

Masking - Another round of increased exposure

I decided that distant rock face was a little too dark so I created another brush mask and increased exposure just a touch.

Step 7: Masking - Selectively Increasing Whites

Masking - Selectively increasing whites

Finally, I wanted the whites on the surface of the water to stand out to show the motion of the water. I created a final brush mask and increased the whites in those areas. This was more focused than increasing exposure, just increasing the whites instead of brightening the entire area.

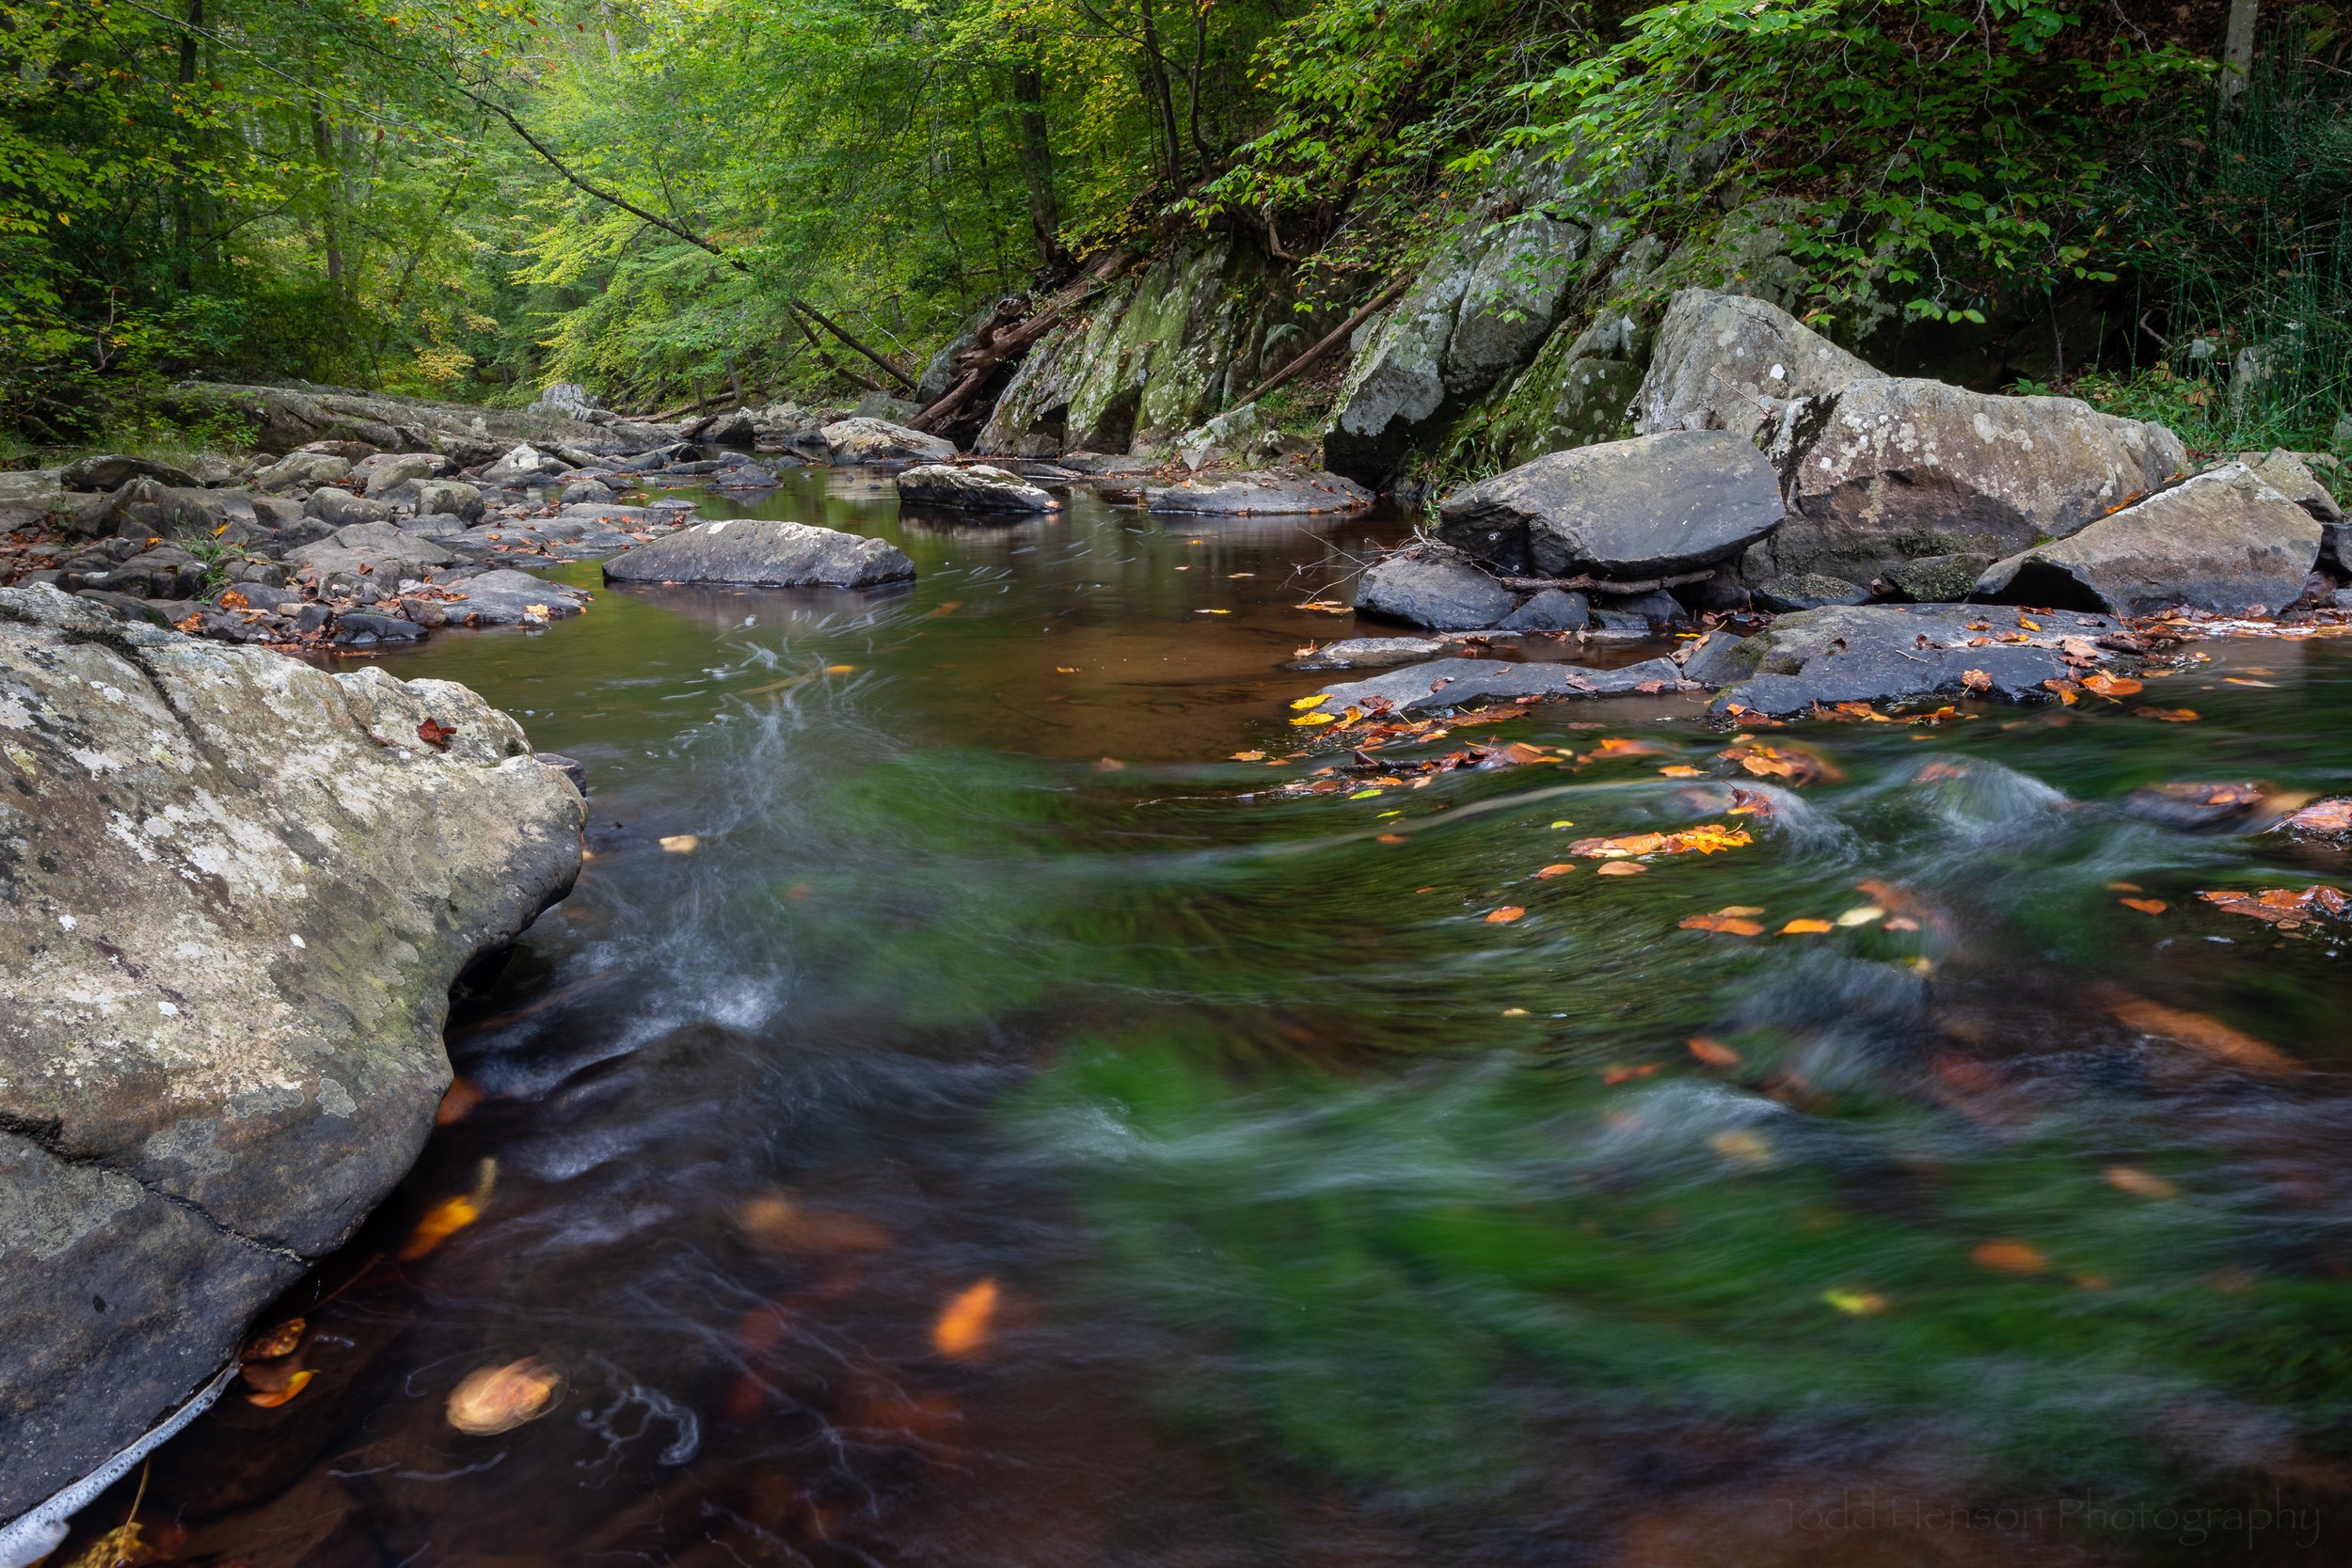
Final Image

South Fork Quantico Creek - Downstream - October 2021: Final Image

And that was it. At this point I was happy with the look of the photograph. I’d started with an image I liked and by applying some small adjustments here and there I was able to enhance it into an image I liked even more, that better showed what I saw and how I felt on that day.

Click on the photo below to cycle between the before and after images to better see the results of all these small edits. Any one of them by themselves might not do much for the photo, but taken together they help shape the final image.

I hope you’ve enjoyed this small look into my process.


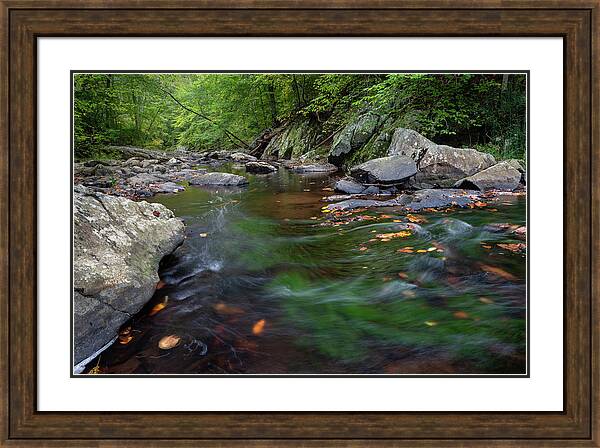
South Fork Quantico Creek - Downstream - October 2021 is available for purchase as wall art or on a variety of products at my online store.

Photography Prints by Todd Henson


Do you enjoy these posts?

Sign up to receive periodic emails with updates and thoughts. Don’t worry, I won’t spam you. And please consider purchasing artwork or products from my online store, and using my affiliate links in the sidebar to the right when shopping online.

I appreciate your support!

Observing an Adolescent Cooper’s Hawk by Todd Henson

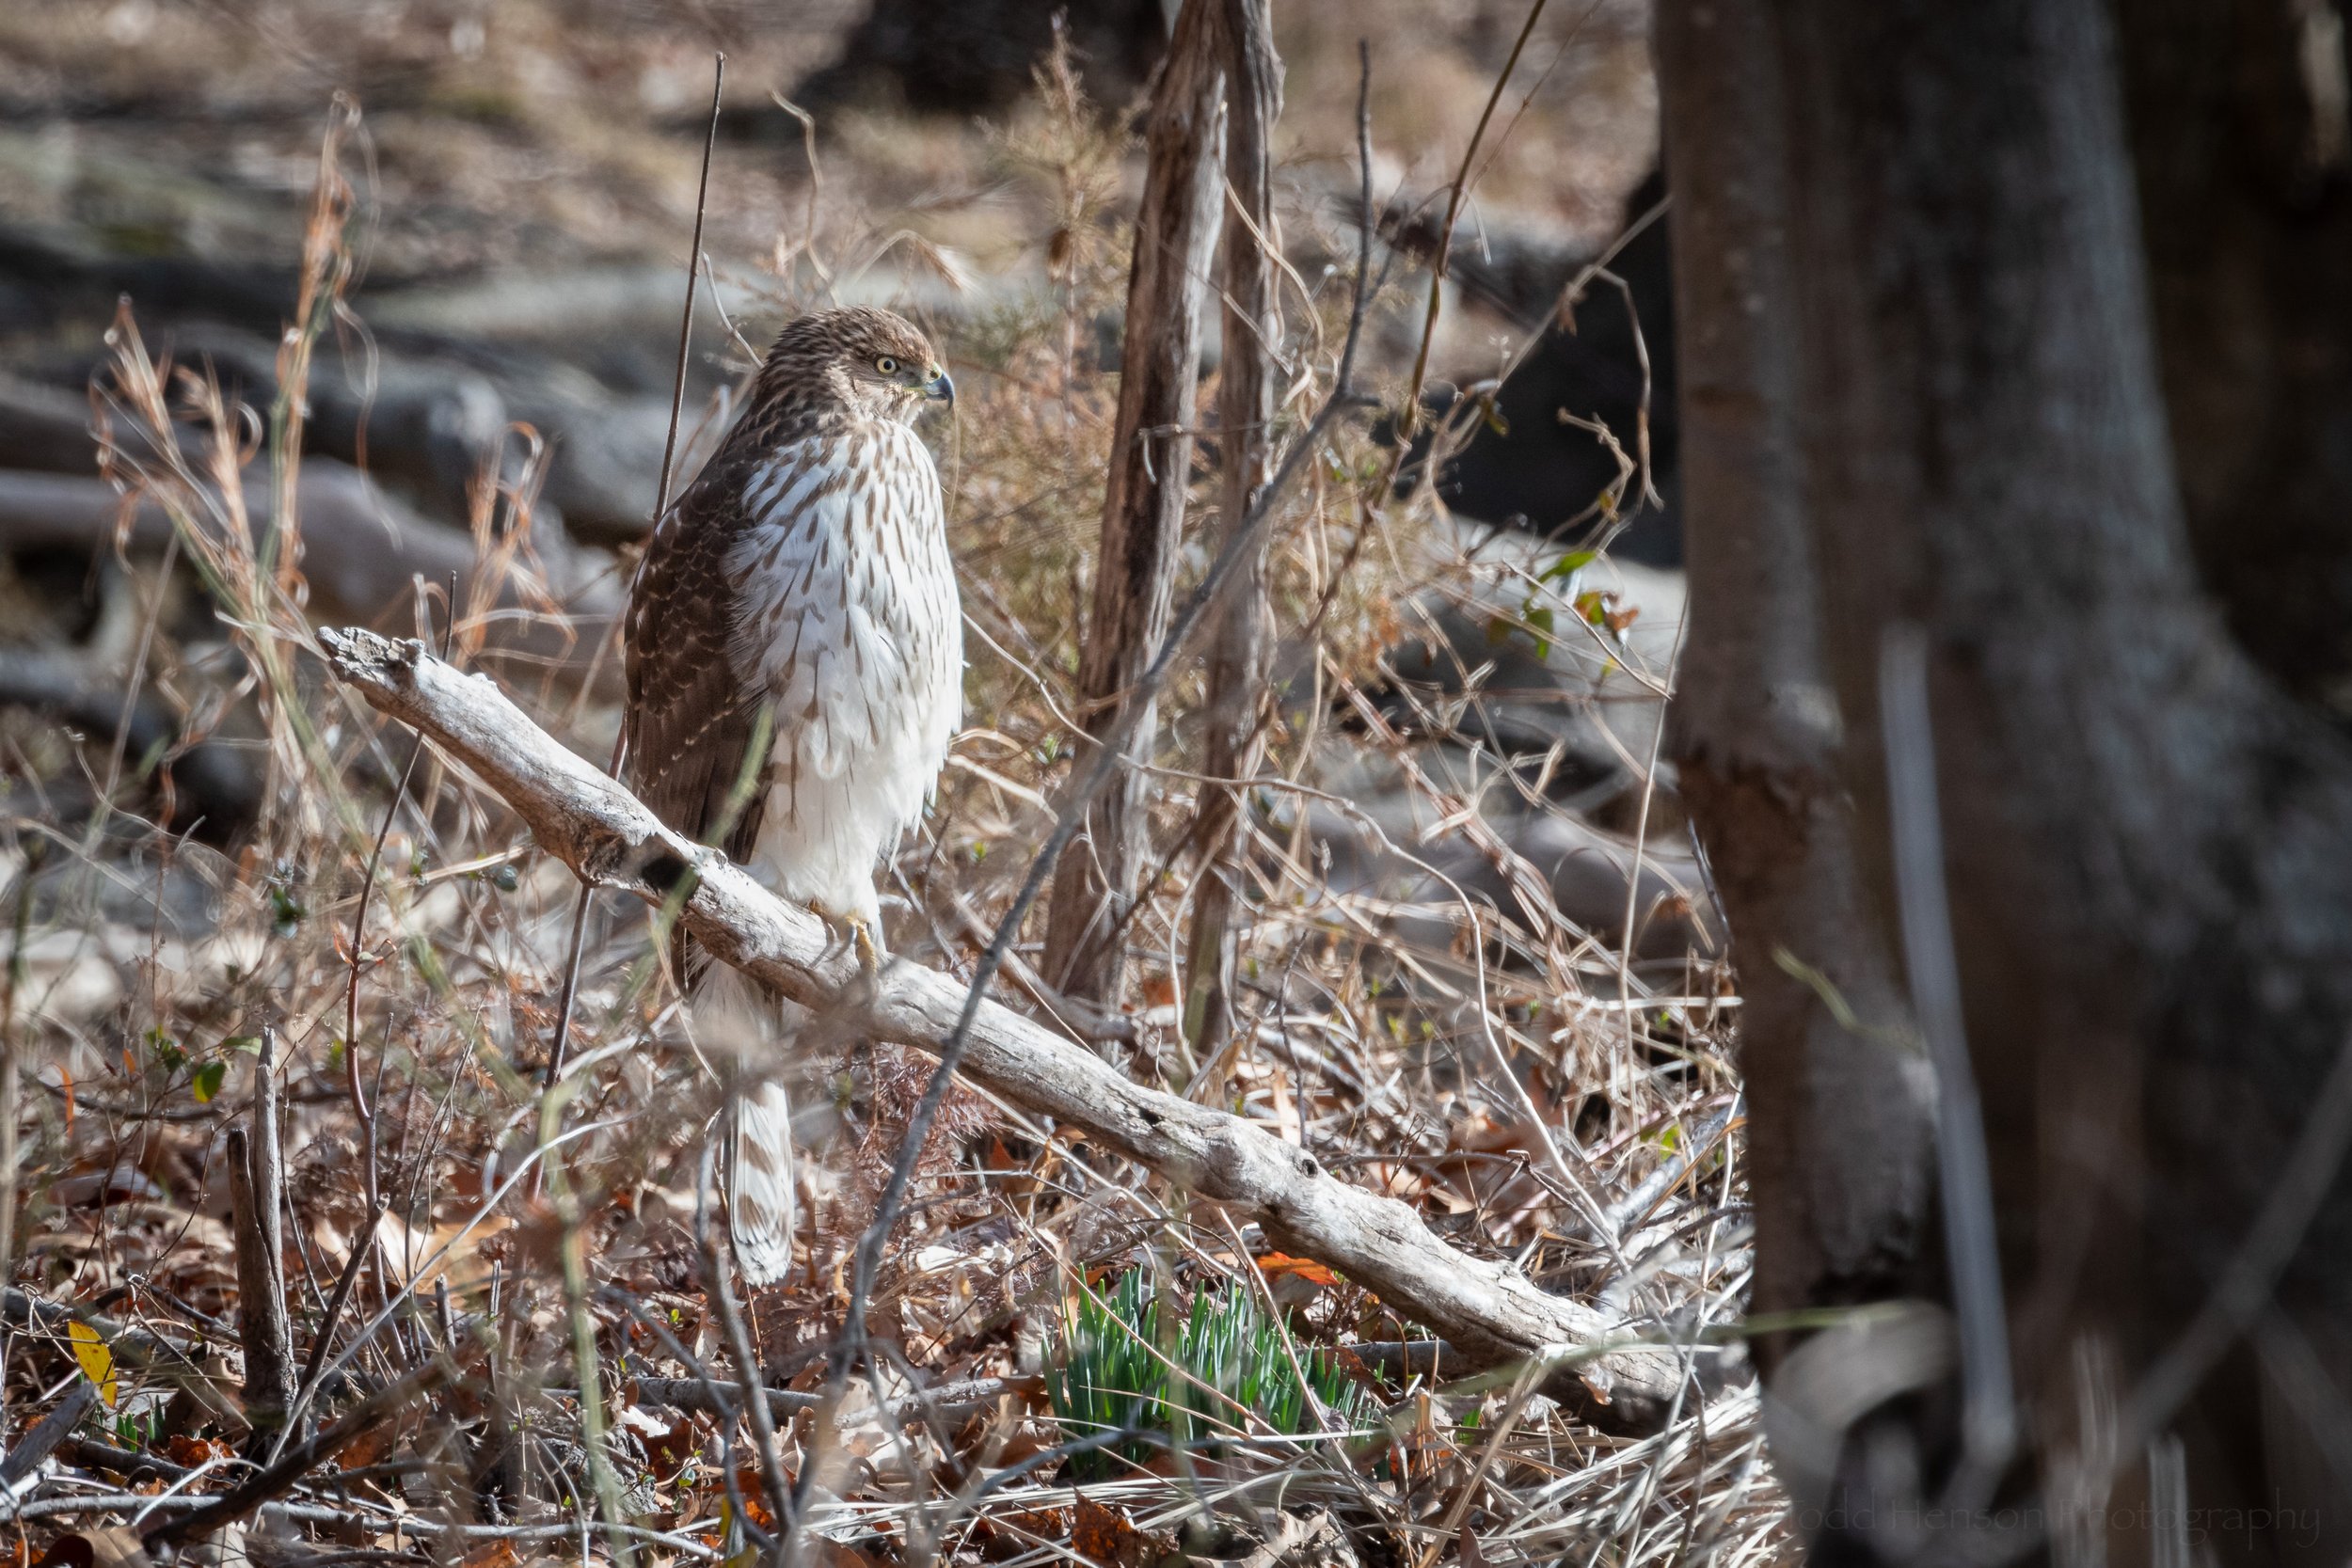
A beautiful example of an adolescent Cooper’s hawk

Every once in a great long while I find myself in the right place at the right time to make some great observations of a bird or animal. In this case I spotted an adolescent Cooper’s hawk perched on a snag not too far away. My father was sitting on a bench looking out at the waters around Wide Water State Park. I stepped over to talk to him and noticed something out in the woods. It was a rounded spot of lighter color that stood out to me. I quickly realized it was a perched hawk.

Thankfully, this hawk didn’t appear at all disturbed by our presence so I was able to create a number of photographs of several behaviors. I do wish the area right around the hawk had been a little less cluttered and free of distracting branches but we sometimes have to work with what we’re given, and I’m very happy with what I was given.

Yawning

One of the first behaviors I observed was the simple act of yawning. Several times it opened its beak wide and stretched. In one image it raised its head, as if it were calling out for other hawks, and yet it was completely silent. In that photo you can also see the slightly cloudy nictitating membrane over its eye.

This adolescent Cooper’s hawk might just be tired

It may appear this young Cooper’s hawk is raising its head and calling, but it was actually completely silent, just yawning. Look closely (click on the photo) and you may notice the slightly cloudy nictitating membrane over its eye.

Flexibility

I know owls have great flexibility in their necks and can turn their head to look behind them, but I didn’t know other birds share this skill. The young Cooper’s hawk at one point turned its head almost completely 180 degrees to look behind it. I don’t know if it heard something and was looking or if it was simply stretching.

With a very flexible neck this young Cooper’s hawk turns its head and looks over its shoulder. Or was it just stretching?

Preening

It’s always fun to watch birds preen. In this case the adolescent Cooper’s hawk pulled out a small section of feathers and then picked one feather at a time and ran its beak along the complete length of the feather. I love how at the end it’s looking directly at me.

Pulling up a feather and running its beak along its length, this young Cooper’s hawk is preening.

The young Cooper’s hawk has run its beak almost the entire length of the feather while preening

I love how in this image the young Cooper’s hawk is looking right at me with a feather still in its beak.

Preparing for Flight

Eventually I left the hawk to its business and followed my father back up the trail to the visitors center. But then I had the idea of trying to come at the hawk from the other direction. It was right off a trail that went along the water. So I slowly and quietly approached the hawk, hoping to get some images from the other side while still respecting the hawk by staying at a distance it was comfortable with. Unfortunately, at one point my tripod snagged on some brush and I made too much noise. This disturbed the hawk. It stretched out its feathers, then began to turn around on the branch, giving a nice view of its thick yellow legs and talons. Then it took flight, heading up towards the visitors center.

The young Cooper’s hawk spreads out the feathers of its tail and wings

While raising its wings this young Cooper’s hawk gives us a better view of its thick yellow legs and sharp talons

Having turned around on the branch, this young Cooper’s hawk prepares for flight

When I returned to the visitors center I was very pleased to see the hawk fly right back down to where it had been. So while I did disturb it, which I don’t enjoy doing, I didn’t disturb it for long. Granted, it’s unlikely it remained down there for much longer as shortly afterwards I saw a person walking their dog along that trail.

Identification

I’m not currently very skilled at identifying hawks, especially in the field. But I created enough photographs that I was able to piece together the species at home. One of the first things I noticed was the length of its tail. This seemed to point to either a Cooper’s hawk or a sharp-shinned hawk, which are both in this area and have longer tails than many other hawks.

This hawk seemed to be a somewhat chunky bird which pointed more towards a Cooper’s which is larger than the sharp-shinned.

Another difference between the two is that Cooper’s tend to have more rounded tail feathers, whereas sharp-shinned are more angular. This can be difficult to tell, as it was in this case, but the end of the tail feathers did appear a little more rounded.

I did struggle, though, in accepting that it might be a Cooper’s hawk because the coloration didn’t match the majority of the photos I’d seen. But this is what actually led to the identification of it being an adolescent Cooper’s hawk, with that nice bright white chest with streaks of dark brown. As it grows older it will lose some of that bright white in the chest and its back feathers will turn a darker grey-blue.

Resources

The resources below contain affiliate links and I will be compensated if you make a purchase after clicking on my links. This is at no extra cost to you. Thanks for your support.

I used a number of resources to help with the ID. My go-to field guide is the Peterson Field Guide to Birds of North America, which uses paintings. I also like using the Kaufman Field Guide to Birds of North America, which uses photos. In this case, though, I found Peterson’s Hawks of North America to be extremely helpful. Being specific to hawks it included more pictures and descriptions and used both paintings and photographs. Finally, to double check my own ID I used the phone apps, Seek and Merlin Bird ID, feeding them photos of the bird. Both agreed with the ID of a Cooper’s hawk.


Do you enjoy these posts?

Sign up to receive periodic emails with updates and thoughts. Don’t worry, I won’t spam you. And please consider purchasing artwork or products from my online store, and using my affiliate links in the sidebar to the right when shopping online.

I appreciate your support!