Random Thoughts

Autumn Cherry Trees, Washington, D.C. by Todd Henson

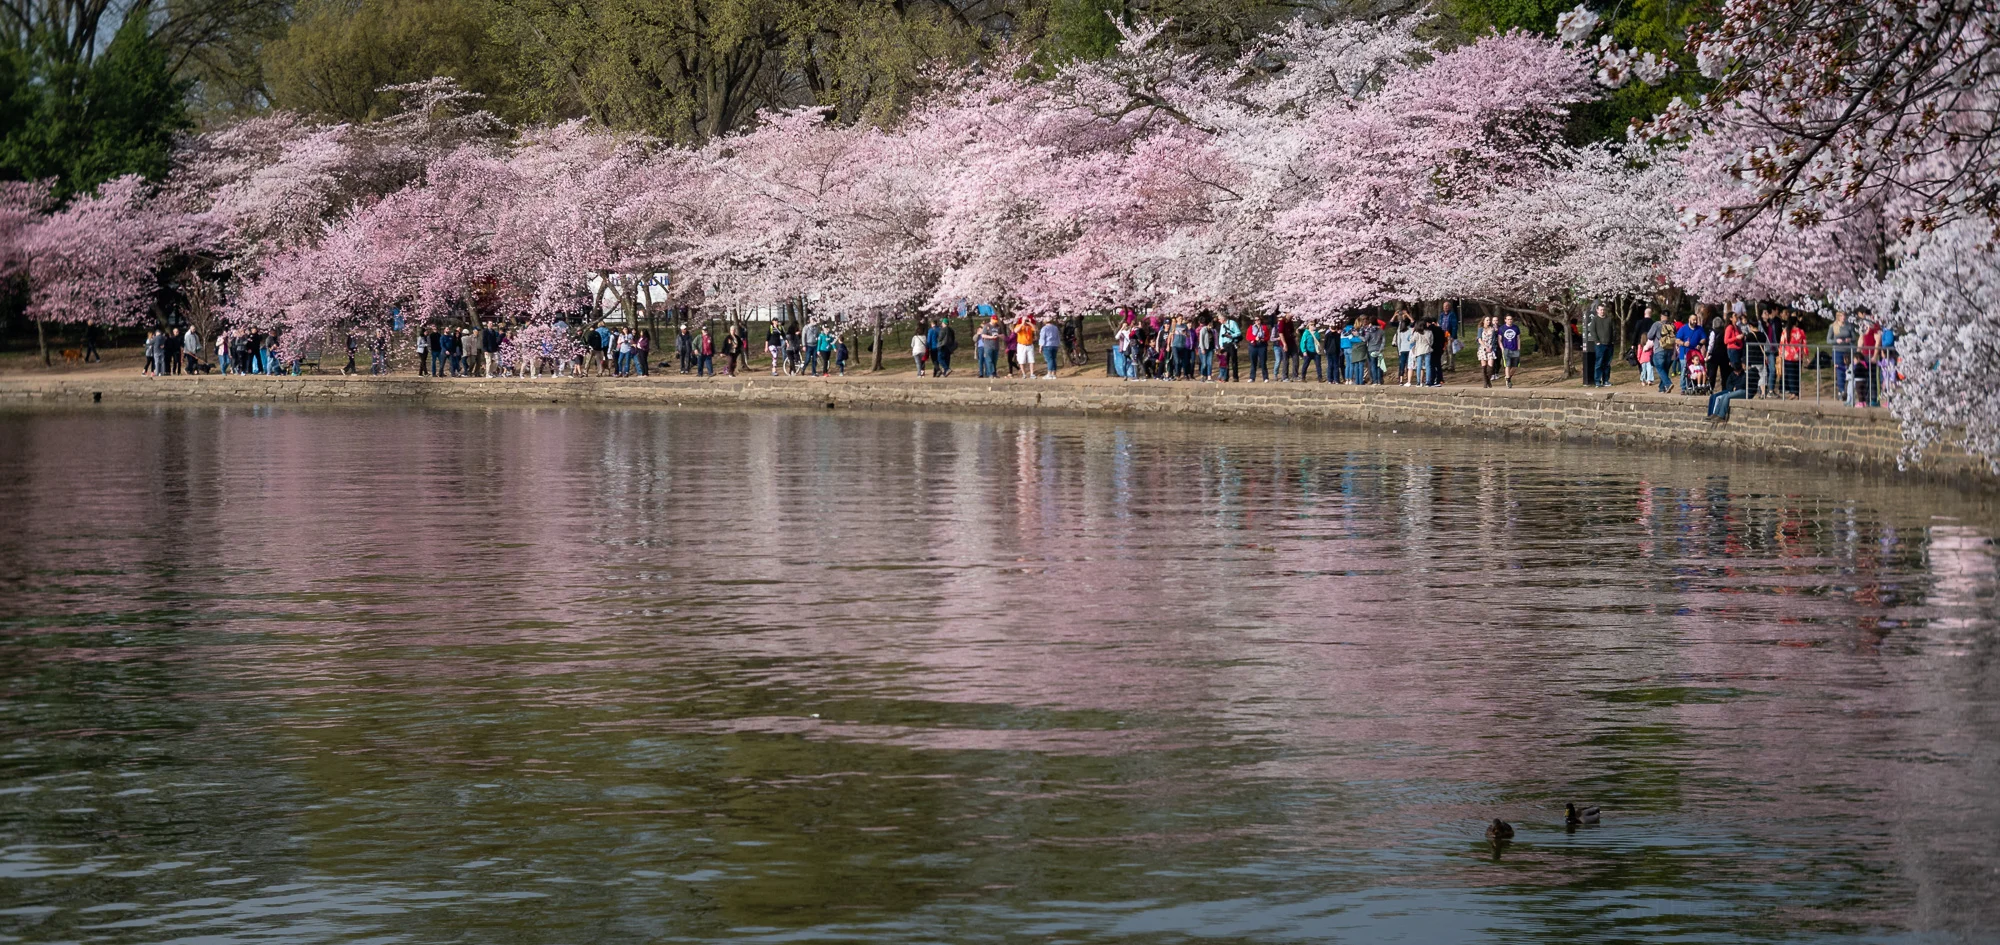
Cherry trees along the Tidal Basin during autumn, with the Washington Monument in the background. Washington, D.C.

This is an image I created a number of years ago during early November, when the leaves on the cherry trees in Washington, D.C. change color. These trees are most visited during spring when they are full of beautiful cherry blossoms, but as you can see they are also beautiful in autumn.

The Washington Monument is visible in the center of the image, and the water is known as the Tidal Basin, around which are several other monuments. I was fortunate to photograph a jogger under the trees to the left.

Looking at the image now, years after creating it, I can see things I would do differently. If I could go back I would try to frame the image a little more to the left, showing more of the closest tree handing over the water, which would also move the Washington Monument out of the center and more to the right. I think that might make for a stronger composition.

It’s good to learn from your older photos. Study them. Decide whether or not they work. If they do work do you know why? Can you use this to create more images that work? If they don’t work, why not? How could you improve them? What would you do differently?

Keep these lessons in mind next time you go out shooting and look for ways to apply them. Learn from your past work and keep growing as a photographer. And never forget to keep having fun!

Autumn Cherry Trees is available for purchase as wall art or on a variety of products.


Do you enjoy these posts?

Sign up to receive periodic emails with updates and thoughts. Don’t worry, I won’t spam you. And please consider purchasing artwork or products from my online store, and using my affiliate links in the sidebar to the right when shopping online.

I appreciate your support!


Young Ringless Honey Mushrooms and Depth of Field by Todd Henson

Small cluster of young Ringless Honey Mushrooms

I found the mushrooms above in one of my favorite parks along a wooded path in late August. I believe these are young Ringless Honey Mushrooms, also known as Armillaria Tabescens, that grow on the roots of hardwood trees in eastern North America. There were several small clusters in the area, all growing on the forest floor below hardwood trees.

It was still early in the day and the trees were filtering the sunlight, creating a soft light on the mushrooms. I thought these might look nice shot with a shallow depth of field and a completely out of focus background, so I took the camera off the tripod and lay down on my stomach, resting the camera on the ground in front of me to get a ground-level view of the cluster of young mushrooms.

Achieving a shallow depth of field was fairly easy with the long lens I had with me. I shot at 440mm and was as close as I could get to the mushrooms and still focus (around 6 or 7 feet). I used an aperture of f/6.3 and given the level of light I boosted the ISO to 1600 to get a shutter speed of 1/60 second. As you can see, this allows for a fairly shallow depth of field.

But looking at the photo now I realize I should have attempted a few shots with smaller apertures to increase the depth of field and get a little more of the mushroom cluster in focus. There wasn’t anything directly behind the mushrooms, so I could easily have kept the background out of focus. I love shallow depth of field, but I need to constantly remind myself to also create images with a larger depth of field. Maybe an aperture of f/8 or f/11 would have been better. I should have experimented more.

So next time you’re out in the woods, take a moment to look down. Maybe you’ll find an interesting mushroom along the forest floor, something worth photographing, or at least worth studying. And if you do choose to photograph the mushroom take the time to work the subject, experiment, try large apertures for shallow depth of field, but also try smaller apertures for more depth of field. Perhaps even try a very narrow aperture to capture the entire scene in focus showing the mushroom in its environment. It only takes a few extra minutes to work the subject, and it’s almost always worth the time.


Do you enjoy these posts?

Sign up to receive periodic emails with updates and thoughts. Don’t worry, I won’t spam you. And please consider purchasing artwork or products from my online store, and using my affiliate links in the sidebar to the right when shopping online.

I appreciate your support!


What Does an Engorged Tick Look Like? by Todd Henson

Eastern Cottontail Rabbit with at least 4 ticks. Look at its snout and ear. Click on the images in this post for a larger view.

We know to avoid ticks, that they carry disease, and that they can be very small and sometimes difficult to notice. You generally don’t feel them when they embed their head into your skin, so you have to go out of your way to search yourself for them after a hike through their territory. And they survive by feeding on the blood of their hosts.

But how often do you see an engorged tick? Do you know what a tick looks like when it has been attached and feeding for several days? Well, if you hike through enough parks where they live you’ve likely seen them on rabbits, deer, or other wildlife. They may be very difficult to see when they first attach themselves to their host, but they are very easy to spot when they have engorged themselves on their host’s blood.

Closer view of the rabbit with 2 engorged ticks on its snout, and at least 2 ticks on its ear.

These photos show a small Eastern Cottontail Rabbit at a local wildlife refuge that is host to several ticks. Rabbits and deer are very prone to hosting ticks because they frequent just the sorts of grassy environments where ticks often hang out, waiting for something to walk by.

Closeup of the rabbit's snout. You can easily see the 2 engorged ticks.

During one visit to a park I kneeled down on the trail to look closely at the grass growing down the center of the trail. The trail was a dirt service road with grass in the center. Just in that one spot I could see dozens of ticks perched at the top of blades of grass, with their front legs open and stretched out, ready to grab onto anything that brushed against them.

Closeup of the rabbit's ear. There is an engorged tick, and one higher up that hasn't been feeding quite as long.

Thankfully, I have not seen quite this concentration of ticks since then, but I do still pick one up from time to time. I’m usually able to find them on my clothing, but sometimes I don’t find them until they’ve attached themselves. That’s why it’s important to check yourself very carefully after every trip to this sort of environment. If you can find the ticks quickly, before they have embedded themselves too deeply, they are much easier to remove. And I’ve read there is much less chance of them passing on any of the diseases they carry if you can remove them within 24 hours.

Avoiding Ticks

Please don’t let ticks dissuade you from visiting the beautiful parks out there. But do be aware of their existence if they live in your area. Take precautions to avoid being bitten:

  • Use tick repellents. The Centers for Disease Control and Prevention (CDC) recommend tick repellents that contain 20% or more DEET, picardin or IR3535 for protecting your skin. They recommend using permethrin on clothing.

  • Be careful where you walk and perhaps avoid leaving the trail. If possible, avoid grassy areas.

  • Check yourself over carefully every so often as you hike. It’s best to find them and knock them off your clothing before they bite you.

  • Carefully check yourself when leaving the park. I like to do this before getting in the car. Once I didn’t do this and found a tick crawling on me while driving. Not a good distraction.

  • If you use a tripod be sure to inspect the tripod before packing it up. I have found them crawling up the tripod legs.

  • Don't forget to check any bags or backpacks you carried with you, especially if you set any of them on the ground.

  • When you get home, the CDC recommends throwing your clothes in the dryer on high heat for 10 minutes to kill any ticks crawling on them.

  • When you get home also look yourself over even closer to catch any ticks that made it under your clothes and might have attached themselves. Taking a shower can help you find any and possibly wash them off. But don’t scratch them off if they’ve bitten you, that might leave the head under your skin.

Removing Ticks

If you do find a tick that has latched onto you follow the directions from the CDC on removing the tick. They recommend using fine-tipped tweezers. Grasp the tick as close to the skin as possible and pull upward with a steady, even pressure. It can take more pressure than you might think, especially if it has been attached for any length of time. Ticks don’t want to let go. So just keep slowly pulling upward until you do remove it. Then be sure to thoroughly clean the area of the bite. In the coming days and weeks watch the area of the bite. If any rashes appear or if you develop a fever, go see your doctor and mention the tick bite.

To recap, please continue to visit all the wonderful parks in your area. Just be aware of ticks if they are in your area. Take precautions to avoid them. And if you are bitten remove it as quickly as possible.


Do you enjoy these posts?

Sign up to receive periodic emails with updates and thoughts. Don’t worry, I won’t spam you. And please consider purchasing artwork or products from my online store, and using my affiliate links in the sidebar to the right when shopping online.

I appreciate your support!