Random Thoughts

Don't Overlook the Obvious - Dandelion Puffball by Todd Henson

Soft white dandelion puffball with shallow depth of field

Sometimes we get so obsessed looking for particular types of subjects or scenes for our photographs that we completely stop looking for anything different. When this happens we can end up in a rut, creating the same photos over and over again. How do you get yourself out of a rut, or keep yourself from falling into one? One answer is: don’t overlook the obvious!

What are those subjects or scenes that you walk by every day, never really paying any attention to? One for me is the dandelion, that plant we often overlook as a weed in our yards, a nuisance that spreads so quickly. But when I take the time to get down on my hands and knees, observing and photographing the dandelion, I realize just how great a subject it can be.

I created the images in this post along a trail in a national park. Now, you don’t need to go all the way to a national park to photograph something this obvious, but that’s where I happened to be when I noticed it. I had been photographing wildflowers when I came upon a dandelion puffball, just waiting for a gust of wind to release all those little seeds. And I thought, that little puffball is actually really beautiful. So I lay down and started observing the puffball through my macro lens.

One thing I noticed right away was the variety of images I could create just by adjusting the focal point. When I focused on the front of the puffball I created the image at the top of this post, a nice soft puffball with only a small number of lines in focus right at the front. All the rest is a soft out of focus blur with a beautiful green background.

But what if I focused on the inside of the puffball? How many of us pay attention to what the inside of a dandelion puffball looks like before the wind breaks it up? I rarely have. But this day I decided to do just that. And below is the photograph I created.

Soft dandelion puffball showing center in focus

This photo is much like the first, and in fact when viewed small enough or far enough away they both look the same. Both images have a shallow depth of field, but when you look at a larger version of both photographs they are very different. In this photo we see much more detail in the center of the dandelion, how each of the seeds are attached to the center stem, with the straight lines extending out to all the puffy parts around the outside of the puffball. I like this image, with the center and outer ring in focus, and a nice soft middle layer.

The point of all this is to experiment. Try different things. Find a normal everyday subject or scene, something you usually overlook, and try to make a pleasing image of it. Then try to make another, changing your perspective, changing your focus, changing the depth of field. Be creative, see if you can discover anything new about your subject, something you hadn’t noticed before. And then share what you’ve found. Maybe it will prompt someone else to go out and see the world in a different way. And maybe it will help you out of a rut.

There’s a lot of beauty out there, we just need to open our eyes to see it.


Do you enjoy these posts?

Sign up to receive periodic emails with updates and thoughts. Don’t worry, I won’t spam you. And please consider purchasing artwork or products from my online store, and using my affiliate links in the sidebar to the right when shopping online.

I appreciate your support!

Examples of Bird's Third Eyelid - The Nictitating Membrane by Todd Henson

Female red-winged blackbird with third eyelid, the nictitating membrane, closed over eye.

Female red-winged blackbird looking normal with eye open.

This post contains affiliate links and I will be compensated if you make a purchase after clicking on my links. This is at no extra cost to you.

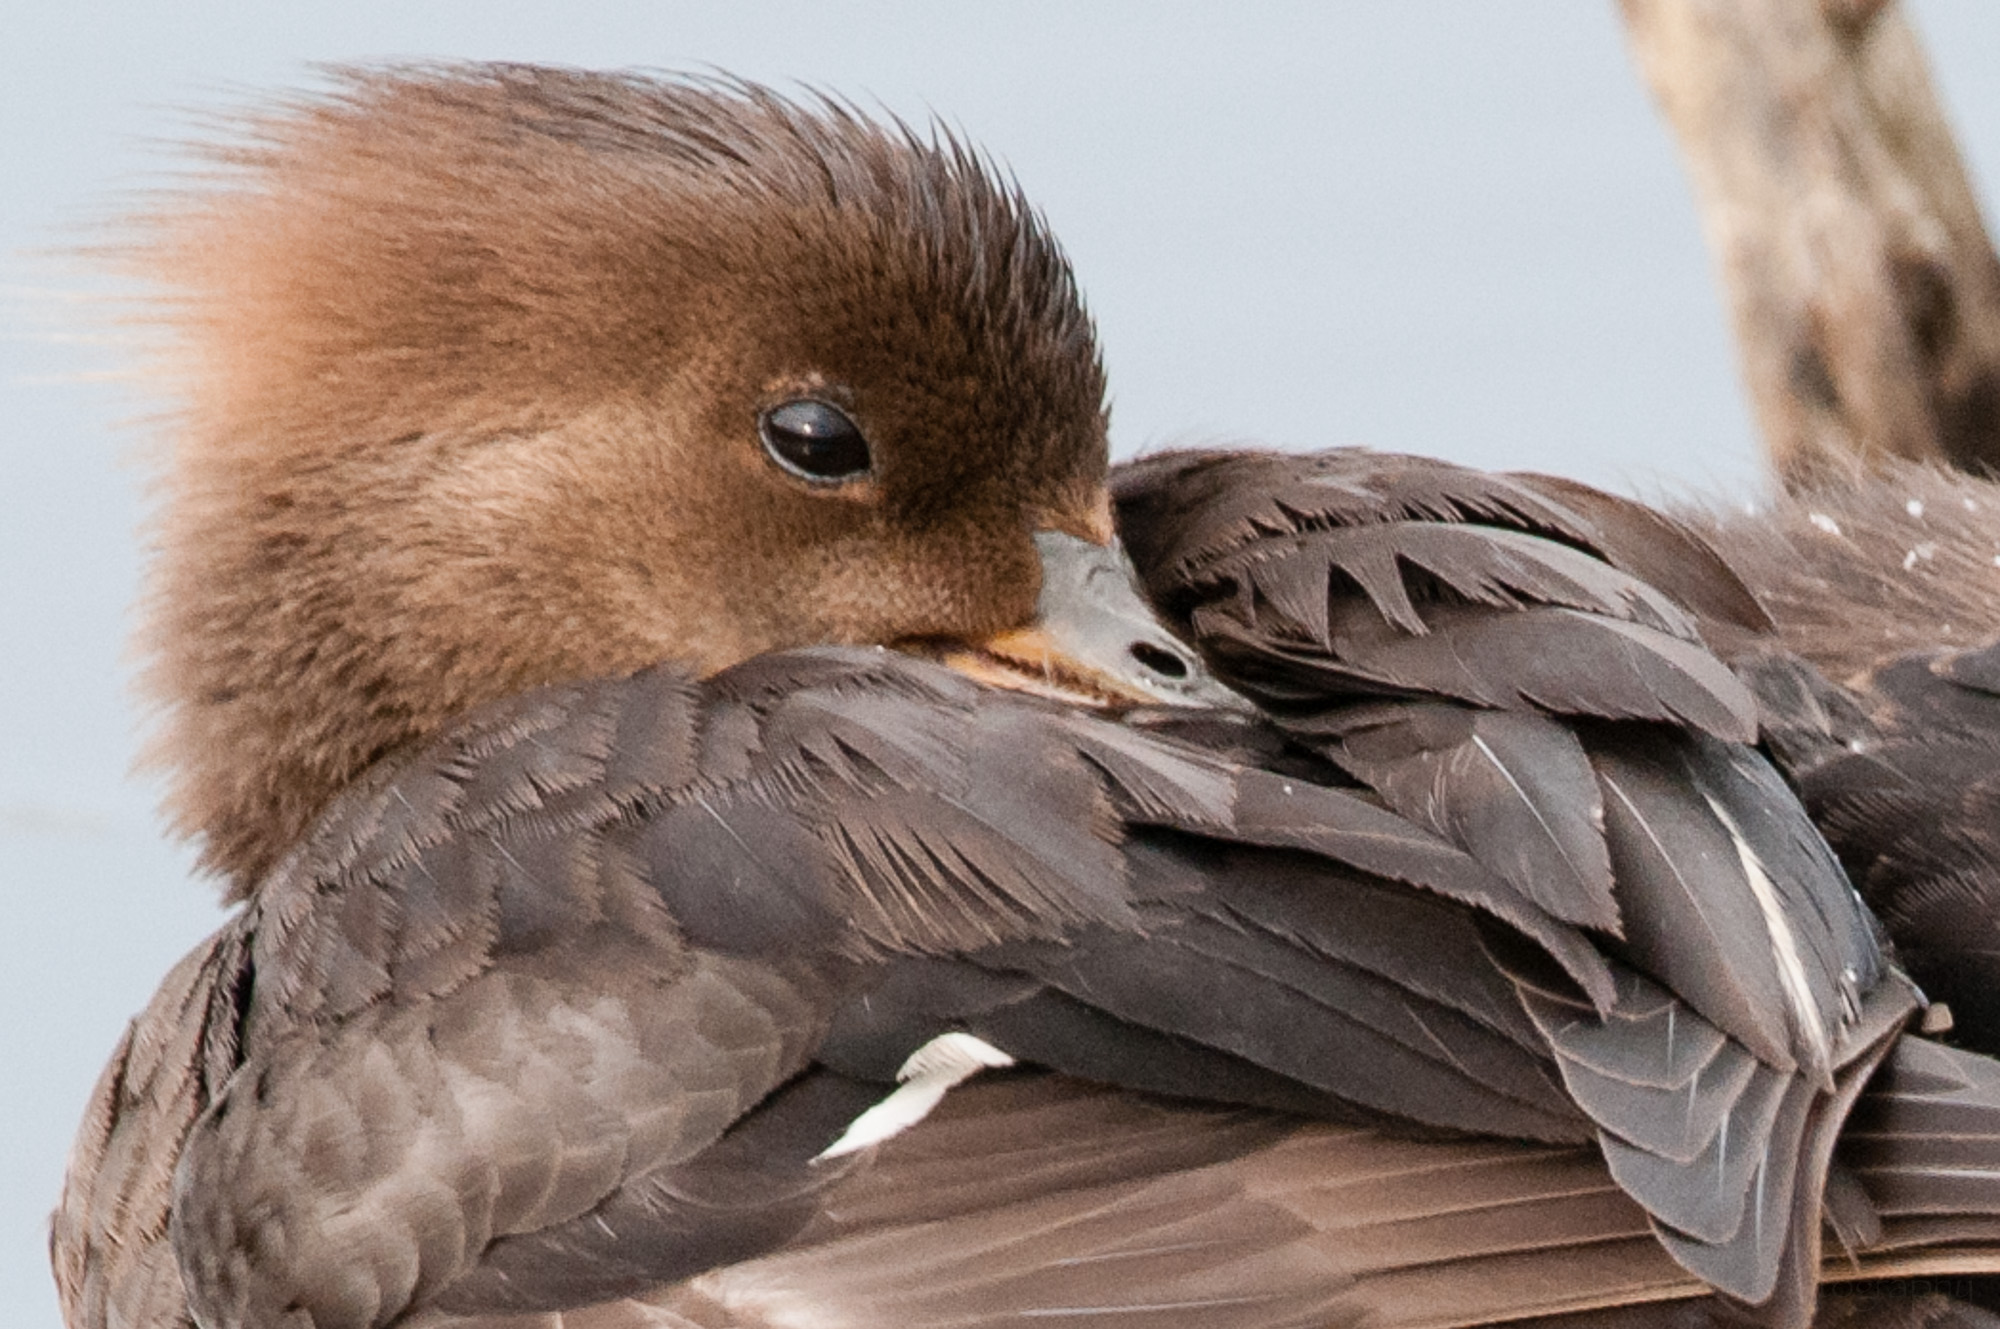
One of the great things about photographing wildlife is the opportunity to see aspects of the animals you might not normally see, and then to later research and learn about that aspect of the animal. An example of this is the nictitating membrane on birds. The nictitating membrane is a third eyelid under the typical two eye lids we all have. It’s a translucent eyelid that can be closed while the other eyelids are open to clean and protect the eye. If you have a cat you might have seen an example of this, as cats also have nictitating membranes.

Eastern Phoebe with eye wide open.

Small portion of third eyelid showing on Eastern Phoebe.

Tim Birkhead, in his fantastic book, Bird Sense: What It’s Like to Be a Bird, says knowledge of this additional eyelid has existed for centuries. People such as Aristotle, Frederick II, and Louis XIV wrote about it. Frederick II wrote in his falconry manual: "for cleaning the eyeball there is provided a peculiar membrane that is quickly drawn across its anterior surface and rapidly withdrawn." John Ray and Francis Willughby wrote in their 1678 encyclopedia of birds,  "Most, if not all birds, have a membrane of nictation... where withal they can at their pleasure cover their eyes, though the eyelids be open... and serves to wipe, cleanse, and perchance moisten..."

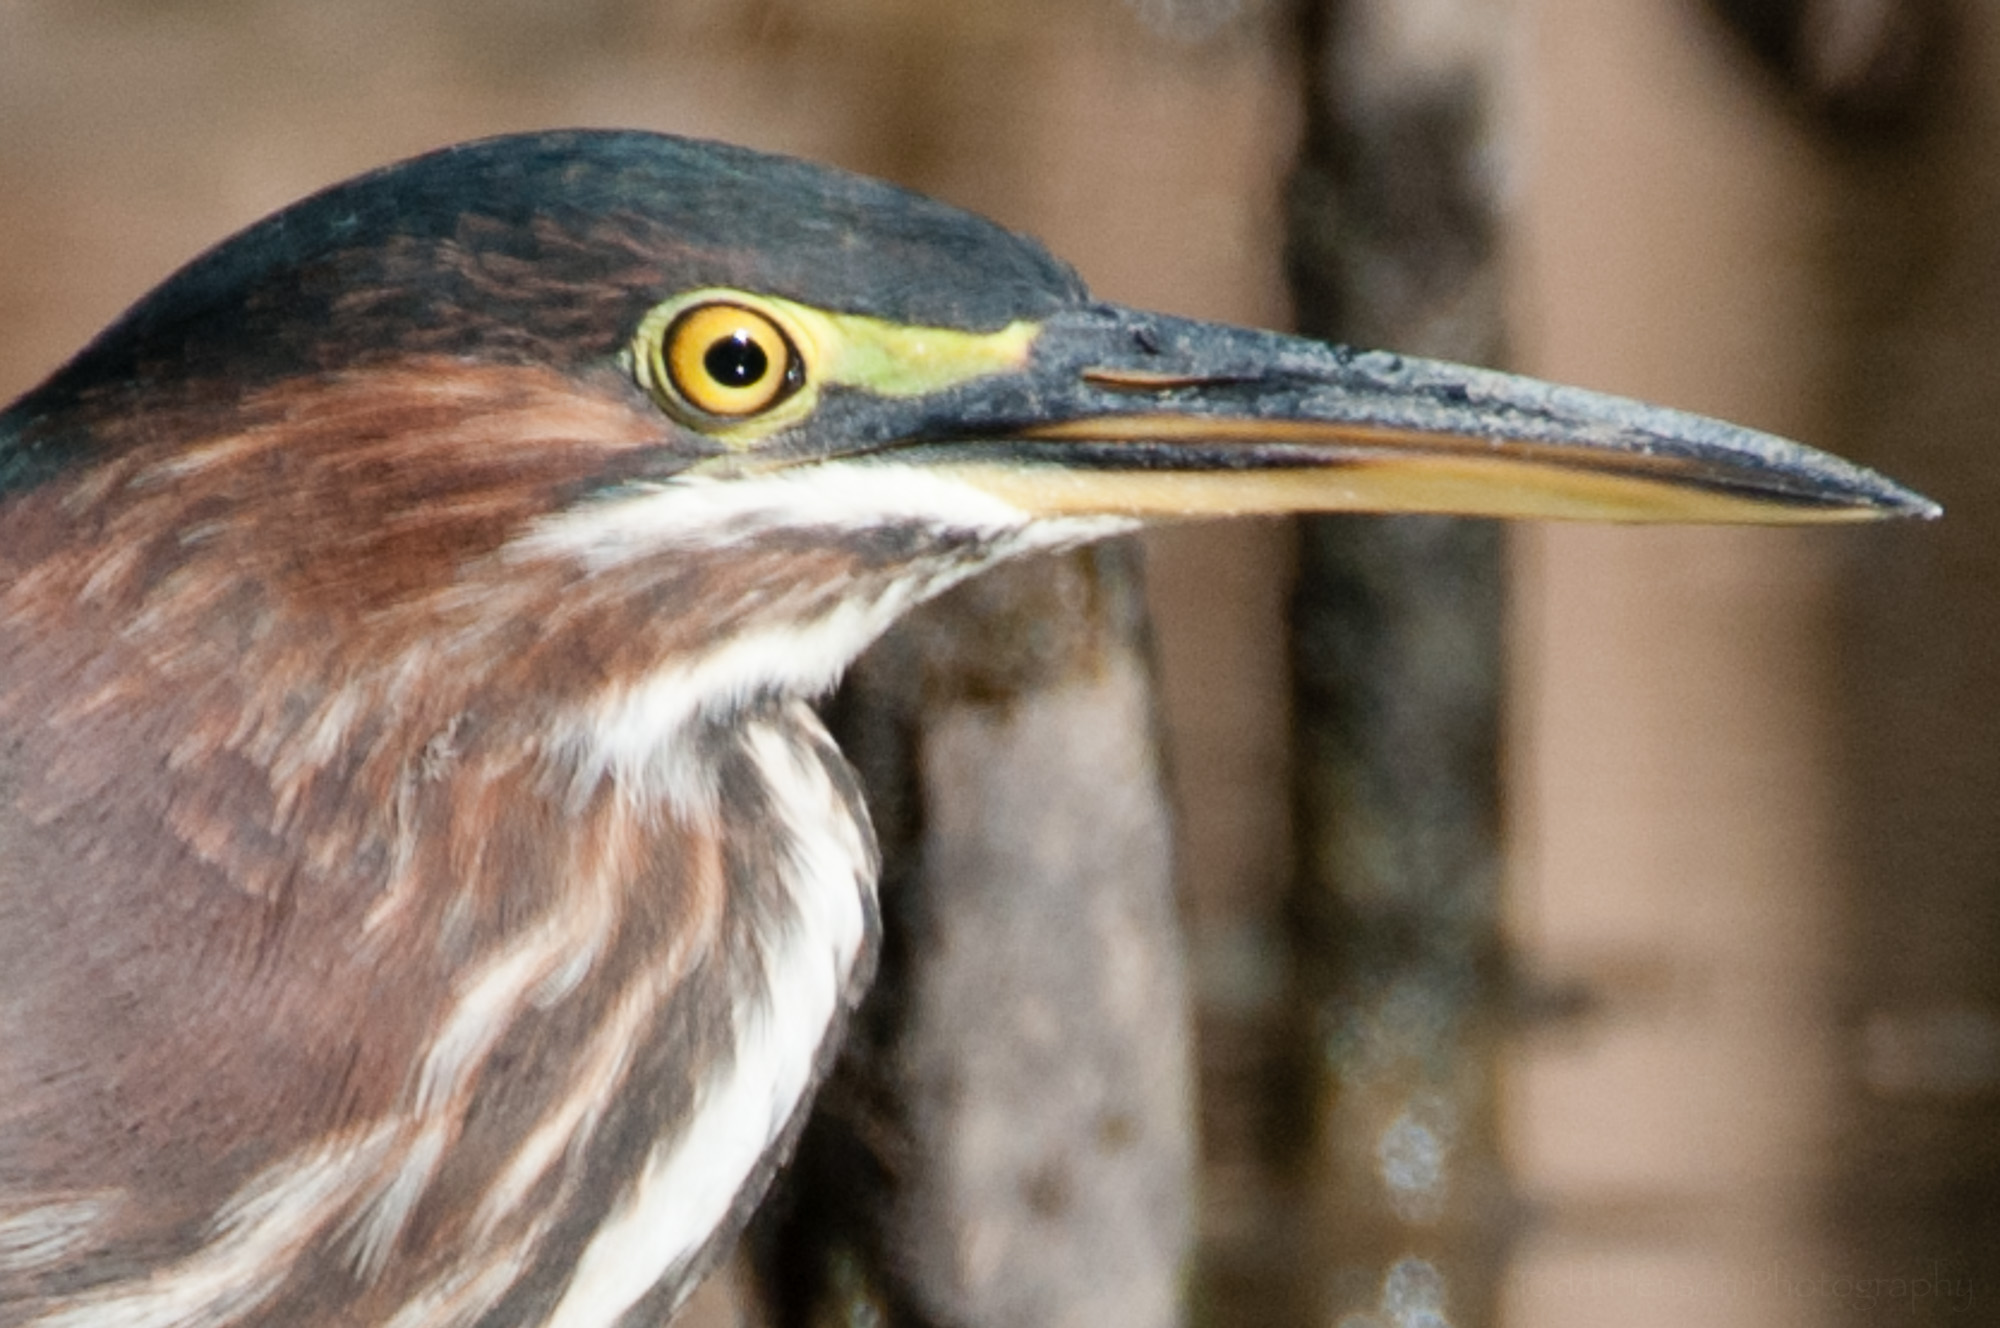
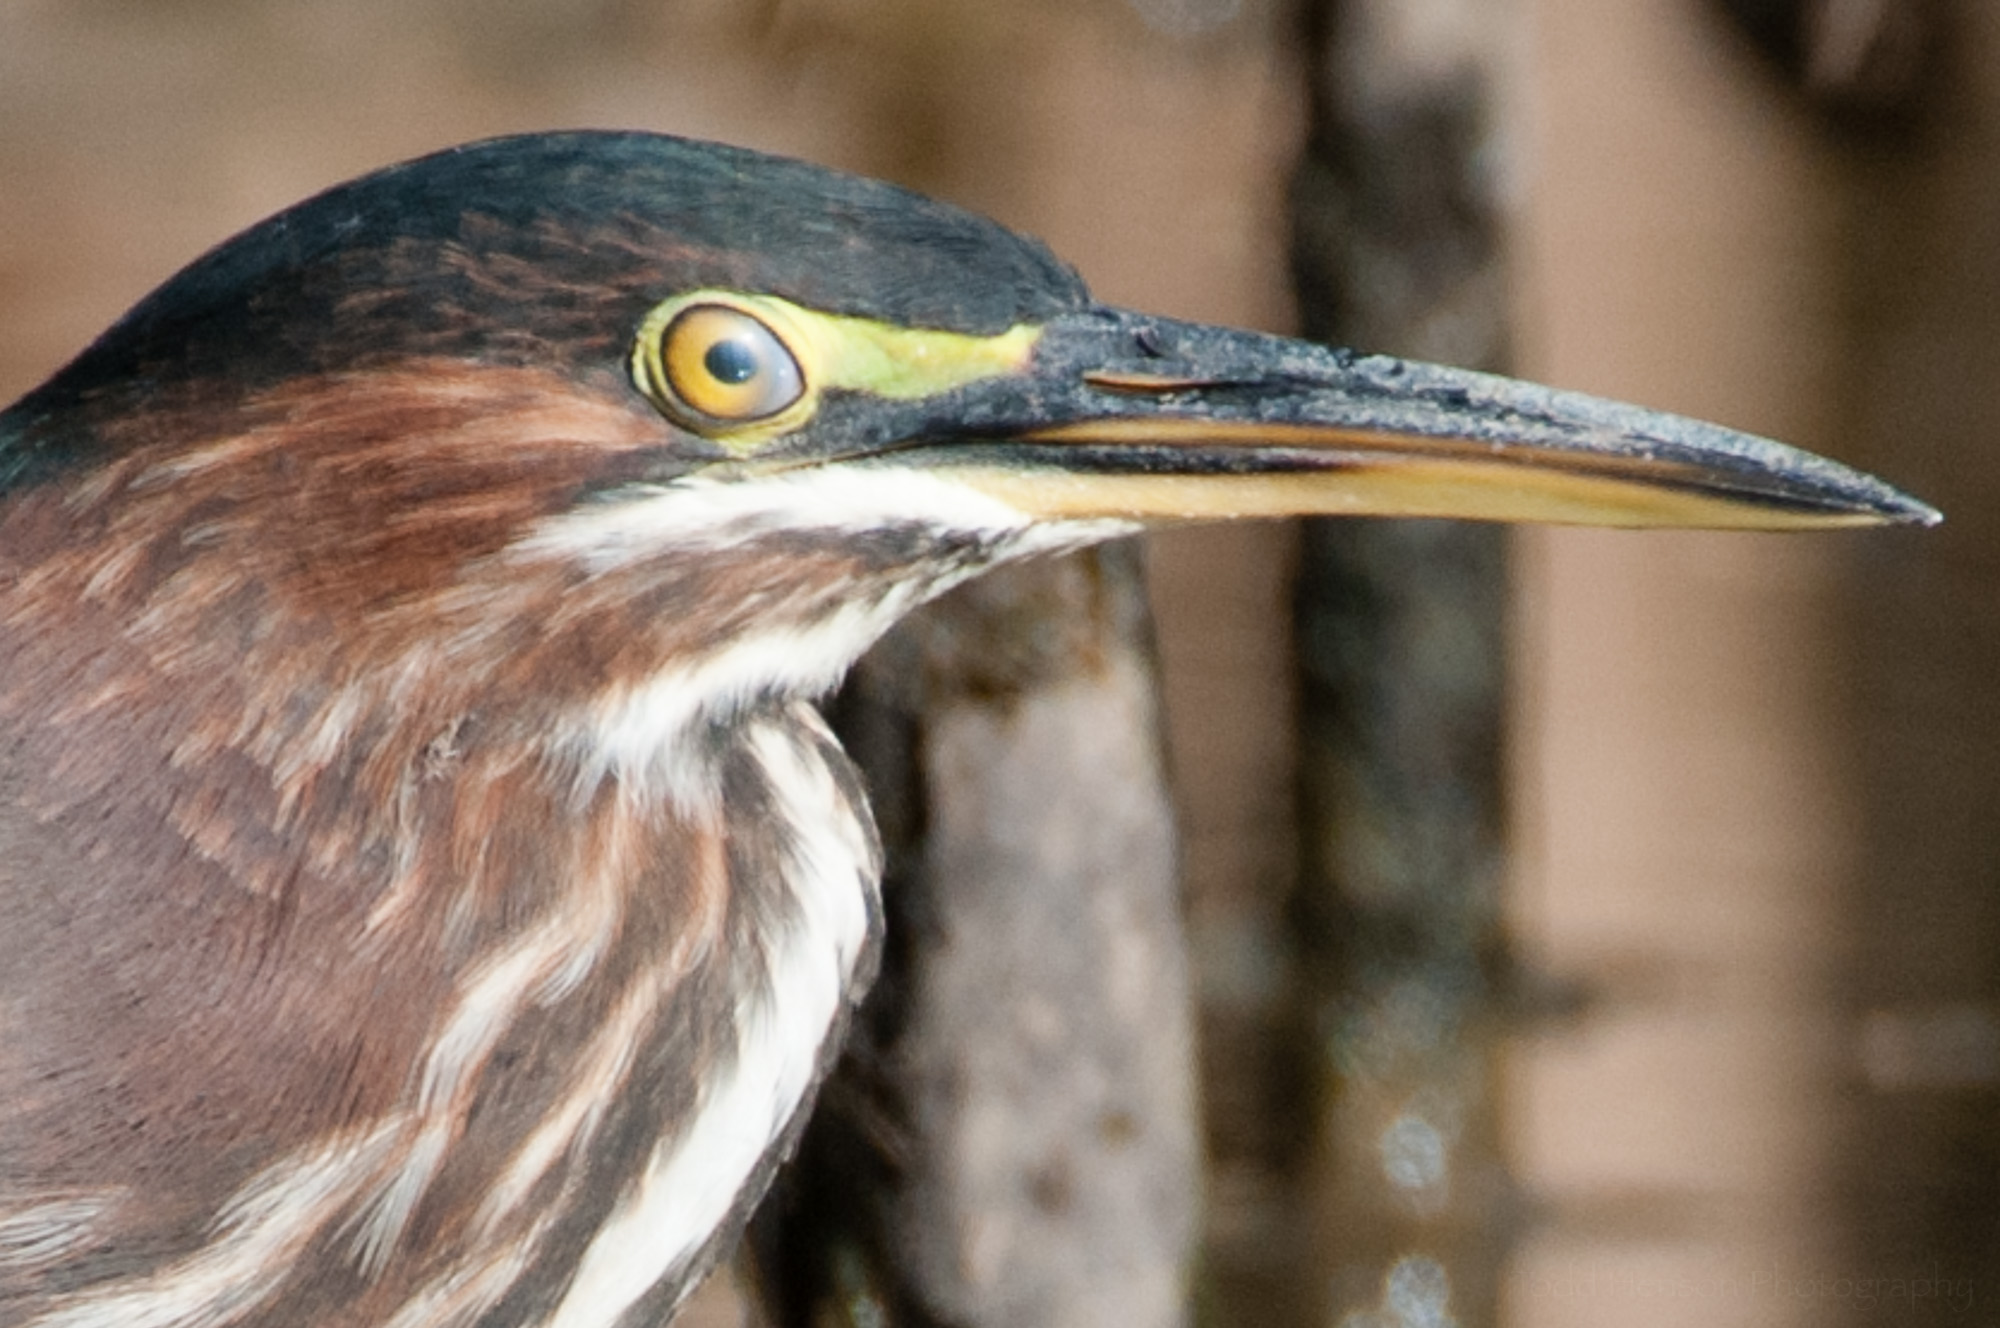
Green Heron showing third eyelid, the nictitating membrane.

Green Heron with eye fully open.

Example of nictitating membrane protecting female red-winged blackbird's eye from debris.

Tim Birkhead goes on to further describe how the nictitating membrane not only cleans the eye, but helps protect it: “Each time a pigeon puts its head down to peck at something on the ground, the nictitating membrane moves across the eye to protect it from spiky leaves and grasses. In raptors the membrane covers the eye immediately before the bird slams into its prey, and in exactly the same way the membrane covers the eye just before a plunging gannet hits the water.

Female Wood Duck with nictitating membrane closed over eye.

Female Wood Duck with eye full open.

Eastern Phoebe with eye open.

Eastern Phoebe with closed nictitating membrane over eye.

In analyzing my images of birds I’ve seen how the nictitating membrane will cover a woodpeckers eyes just before it begins pecking at a tree or stem. I’ve seen instances of the membrane closing just before a bird ruffles its feathers, shaking itself in the process of preening. And in most cases my camera’s shutter just happened to close at exactly the right time to catch the membrane closing or opening while the bird was standing still.

This post contains many examples of these third eyelids in a host of different birds. Most of these images have been heavily cropped to try to show the details around the birds eyes. I hope you find this topic as fascinating as I do. If you’ve never seen the nictitating membrane then keep your eye peeled for it next time you watch a bird up close through a camera or binoculars. Maybe you’ll catch it moving. Perhaps the bird’s eye will appear cloudy for just a moment. That’s the membrane closing and opening. The word nictitating comes from the Latin nictare, which means to blink.

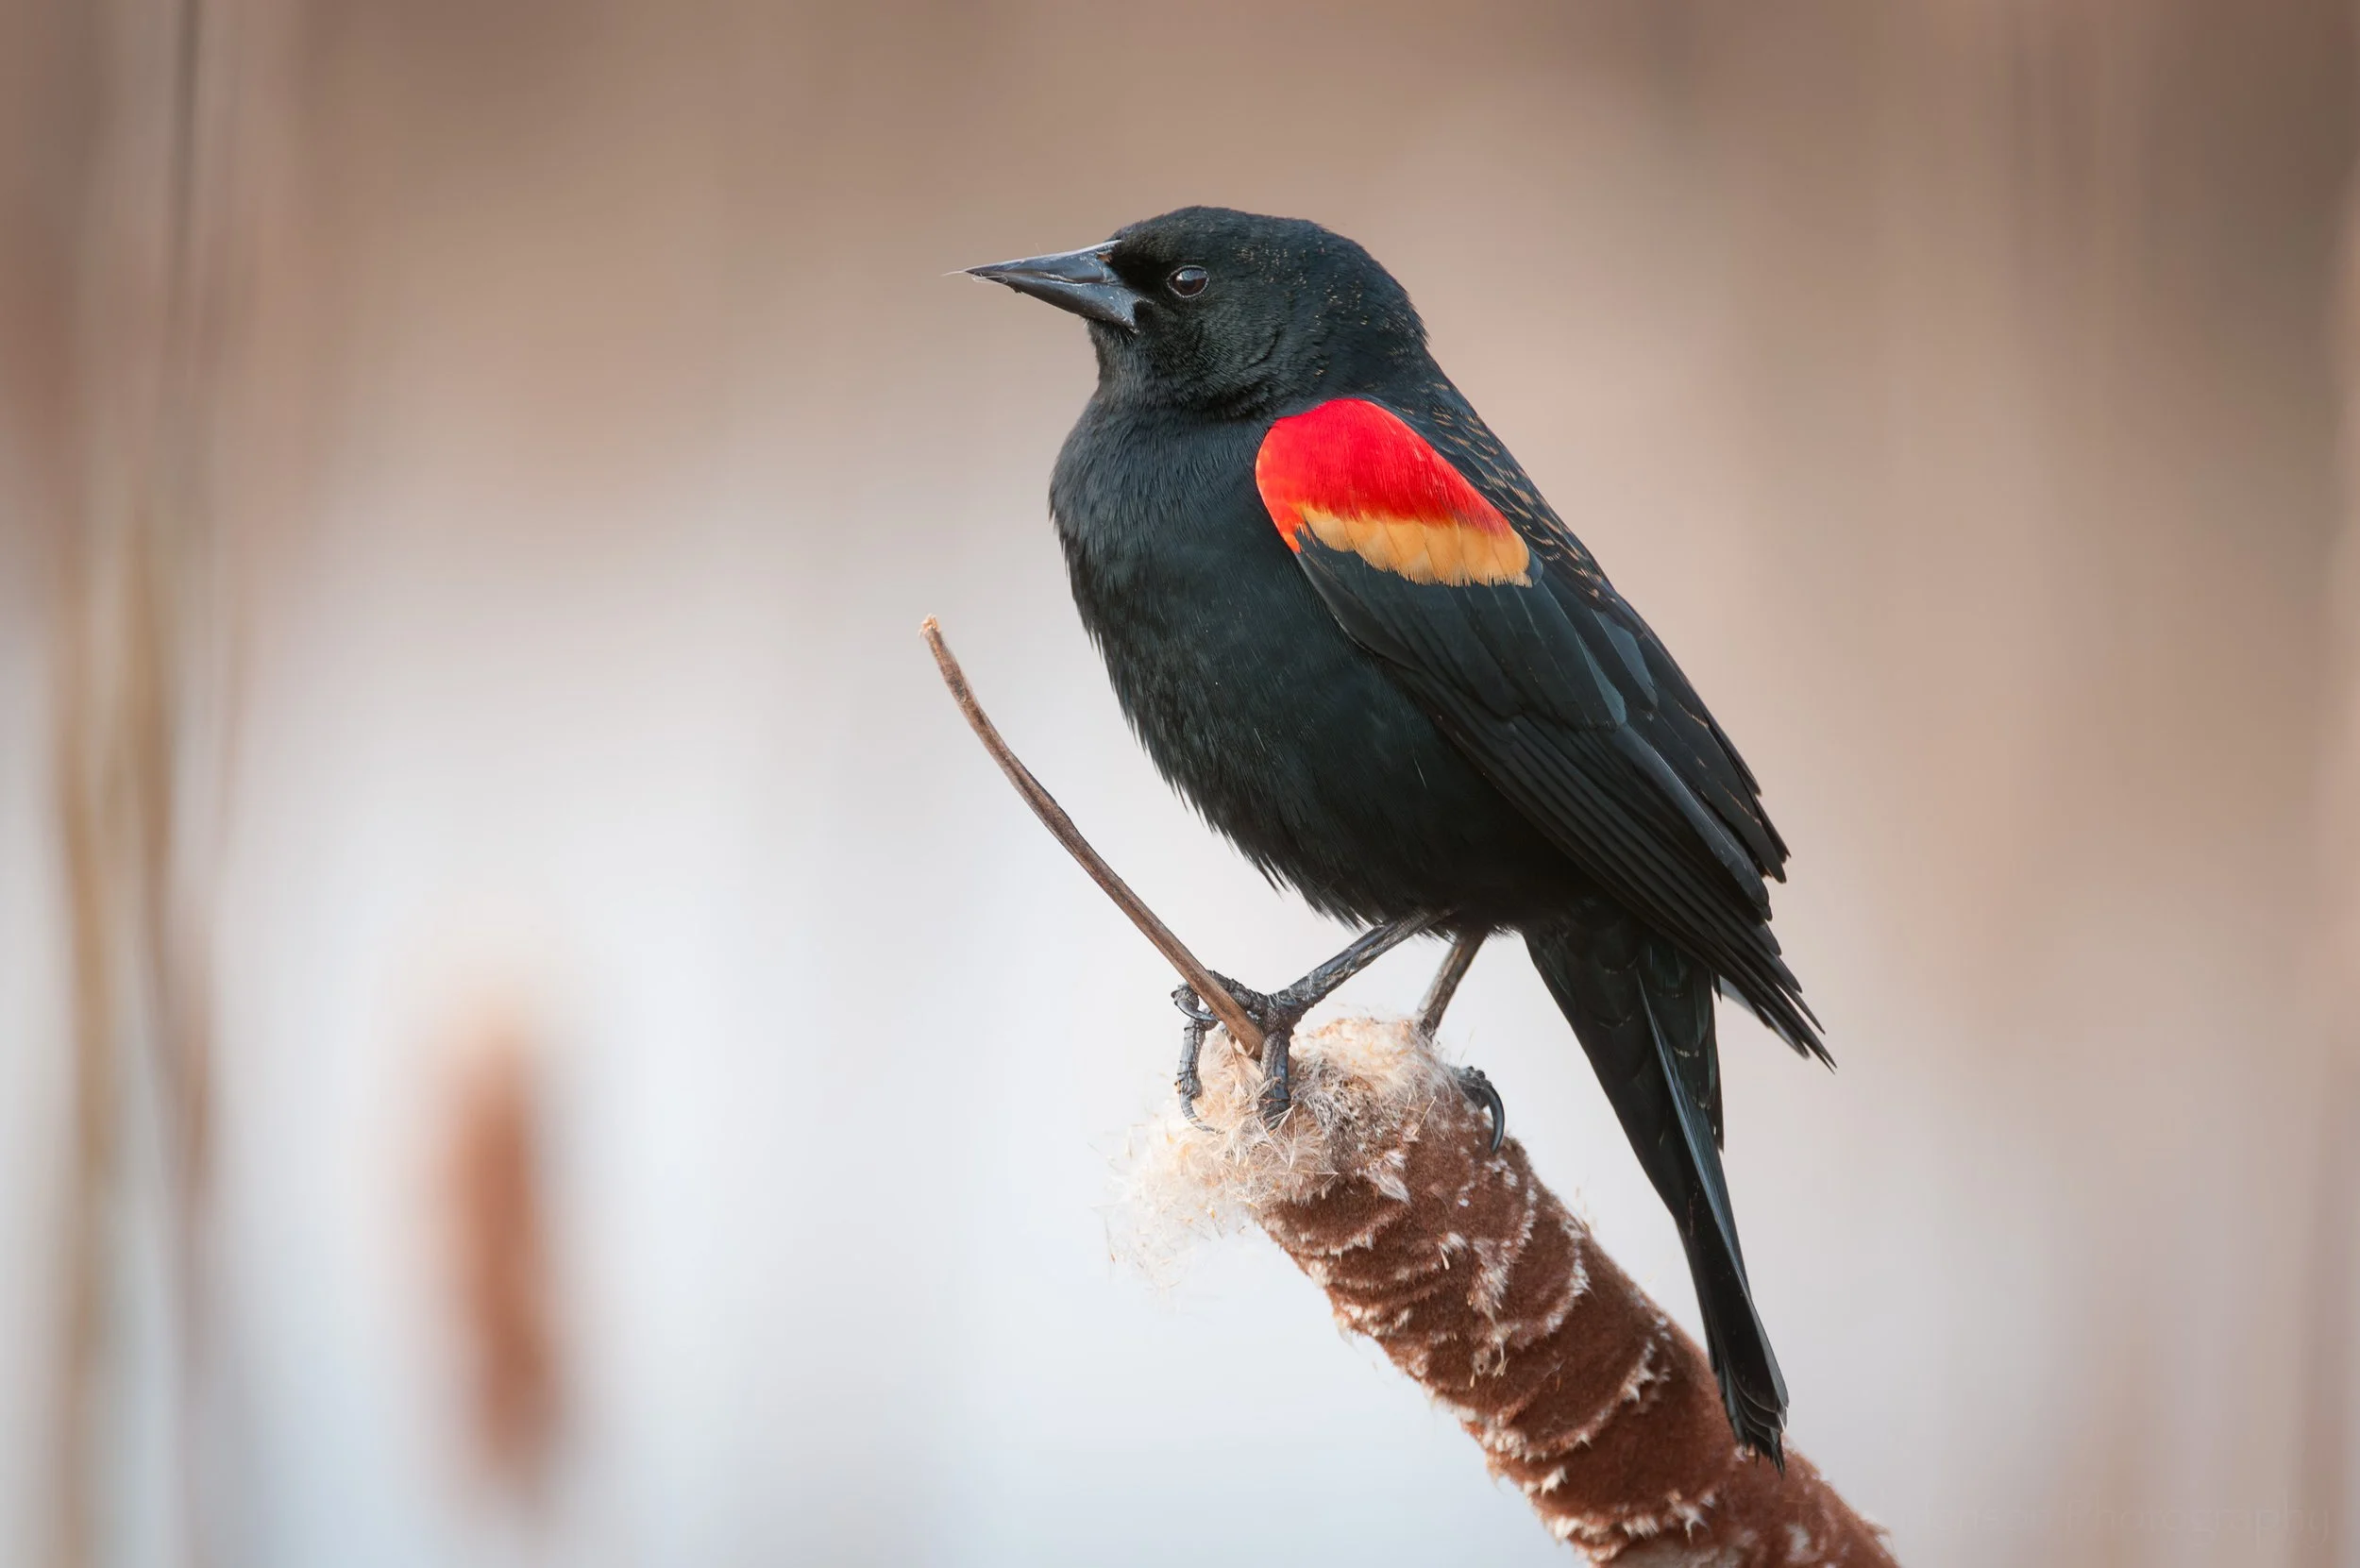
Male red-winged blackbird with eye open.

Male red-winged blackbird with nictitating membrane closed.

Nictitating membrane beginning to close on male red-winged blackbird.

Nictitating membrane almost closed on male red-winged blackbird.

Another interesting tidbit from Bird Sense relates to us humans. Go look in a mirror some time. Look at the corner of your eye nearest your nose. There’s a little pink nub in the corner. That is the remnant of our own nictitating membrane.

Green Heron with eye wide open.

Cloudy eye of Green Heron caused by nictitating membrane (third eyelid).

Closeup of open eye on Green Heron.

Closeup of nictitating membrane on Green Heron.

Great Blue Heron with eye open.

Great Blue Heron with eye clouded over by nictitating membrane.

Great Blue Heron with eye (and beak) open.

Great Blue Heron with nictitating membrane partially closed over eye.

If you’re interested in learning more about birds, and what it might be like to be a bird, check out Tim Birkhead’s Bird Sense: What It’s Like to Be a Bird. The book is broken into 7 chapters, each describing a different aspect of how a bird experiences the world. The chapters are:

  1. Seeing

  2. Hearing

  3. Touch

  4. Taste

  5. Smell

  6. Magnetic Sense

  7. Emotions

I found this an absolutely fascinating read. Very educational.


Do you enjoy these posts?

Sign up to receive periodic emails with updates and thoughts. Don’t worry, I won’t spam you. And please consider purchasing artwork or products from my online store, and using my affiliate links in the sidebar to the right when shopping online.

I appreciate your support!

What Happens When Your Camera Malfunctions in the Field? by Todd Henson

1: Entry display of orchids at Longwood Gardens

Have you ever thought about what you would do if your camera broke down while you were on a trip? Would it spoil your trip? Or could you recover and make the most of what remained of your trip? Thankfully, I chose the latter when it happened to me.

2: Closeup of orchid display

3: Streams inside Longwood Gardens Conservatory

A few weeks ago I shared a post about the beautiful Orchid Extravaganza display each winter at Longwood Gardens. That post reminded me of an experience I had there during a different trip. Shortly after arriving at the Conservatory I had a bad experience with my DSLR, the only time I’ve had this kind of experience. I had been shooting with my relatively new wide angle lens and decided to switch to a telephoto lens. But the wide angle lens got stuck when I tried to remove it. I was unable to remove the lens, and I was also unable to fully reattach it. It was stuck partly connected. Something had malfunctioned in the mount of the camera or the lens. I worked on it for a few minutes, but couldn’t budge the lens.

4: Brick path through Conservatory at Longwood Gardens

5: Lots of greenery in hallway

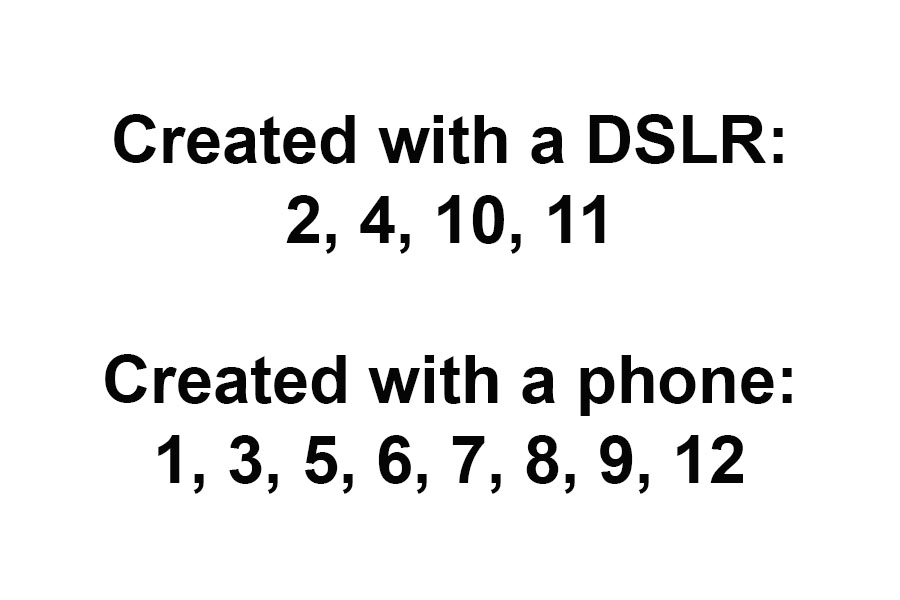
My brother offered to go back to the car to try to figure something out, or for us to trade his camera back and forth so we could both shoot. But I didn’t want to take away from his enjoyment of the trip, so I told him to keep shooting with his camera. I had my phone with me and could use that for the remainder of the trip. I didn’t see any need to cut the trip short or to change any of our plans. So I packed my DSLR into the camera bag, pulled out my phone, and fired up a camera app. Some of the photos in this post were created using the DSLR before it malfunctioned, and the rest were created using my phone. Can you guess which are which? See the end of this post for the answer.

6: So many beautifully laid out walkways

I’m happy to report I thoroughly enjoyed the rest of the trip. There might have been times in my life when I would have let this experience ruin the trip. But not this time. I think both my brother and I had a great time. And looking back, I’m reasonably happy with the images I created. Using the camera phone did somewhat limit the types of photos I could create. The lens on the phone was a fixed focal length, there was no switching of lenses. I lost true macro capability, and had no telephoto capability. I was very limited in my ability to create a shallow depth of field. And I couldn’t mount the phone on my large tripod.

7: Path around a central lawn display

8: View of lawn display from a path

9: Another view of a lawn display from a path

But all of these limitations create opportunities to exercise your creativity. You must be more creative to work around the limits, to still produce pleasing images. You will learn more about the strengths and weaknesses of the gear you’re using. And you’ll either find a way to make it work, or you’ll discover that even though it may be limited in some ways, it still has a large number of capabilities. And if you give it enough time and patience you’ll learn how to leverage those capabilities.

10: Colorful flower closeup

But even more importantly, when you set yourself up with technical limitations you’ll have to focus more on the creative and artistic aspects of your work. You will need to spend more time thinking about what makes a pleasing composition. You won’t have the option of simply zooming the lens to try to fill the frame. You will need to think about how to fill the frame and why. Perhaps a different angle would be better. Maybe getting down low, laying on the ground, would help create a unique image that better expresses your vision. Maybe you need to walk closer to the subject, or move a little further away.

Having limitations to work around can help teach us that creativity is in the photographer, not in the gear. I have learned a lot about these topics from David duChemin, a photographer who focuses on the artistic side of photography. He teaches about how to see, how to find something that speaks to you and might speak to your viewer, and how to translate that into a moving, impactful image. He teaches about seeing, about vision, and about turning those visions into stories to share with the world.

11: Small field of colorful flowers and foliage

Try this some time. Find some way to limit yourself. Maybe pick a specific lens and decide to only use that lens for some period of time, especially if it is a prime (fixed focal length) lens. If you only have zoom lenses then pick a focal length and put a small piece of tape on your lens to keep it from zooming. Spend the entire day using just that one focal length. Try this for more than a day if you can. Sometimes it takes time to learn to let go of what we’re used to and really start to embrace the limitations. But I do believe your creativity will benefit from repeating this exercise every so often. Try different limitations, be creative in how you limit yourself. And believe me, I’m saying all this for my own benefit as well as yours. I need to constantly remind myself to try these exercises, to try something different, to find ways to limit myself and to grow in the process.

12: A display room within the Conservatory at Longwood Gardens

Tell me if you’ve had any similar experiences, or if you’ve tried any of these exercises yourself. How did it turn out? What did you learn? Would you try it again?


Do you enjoy these posts?

Sign up to receive periodic emails with updates and thoughts. Don’t worry, I won’t spam you. And please consider purchasing artwork or products from my online store, and using my affiliate links in the sidebar to the right when shopping online.

I appreciate your support!


The resources below contain affiliate links and I will be compensated if you make a purchase after clicking on my links. This is at no extra cost to you.

Recommended Books by David duChemin: