Random Thoughts

Looking at Layers in the Landscape by Todd Henson

Looking at layers in a landscape, the wider view

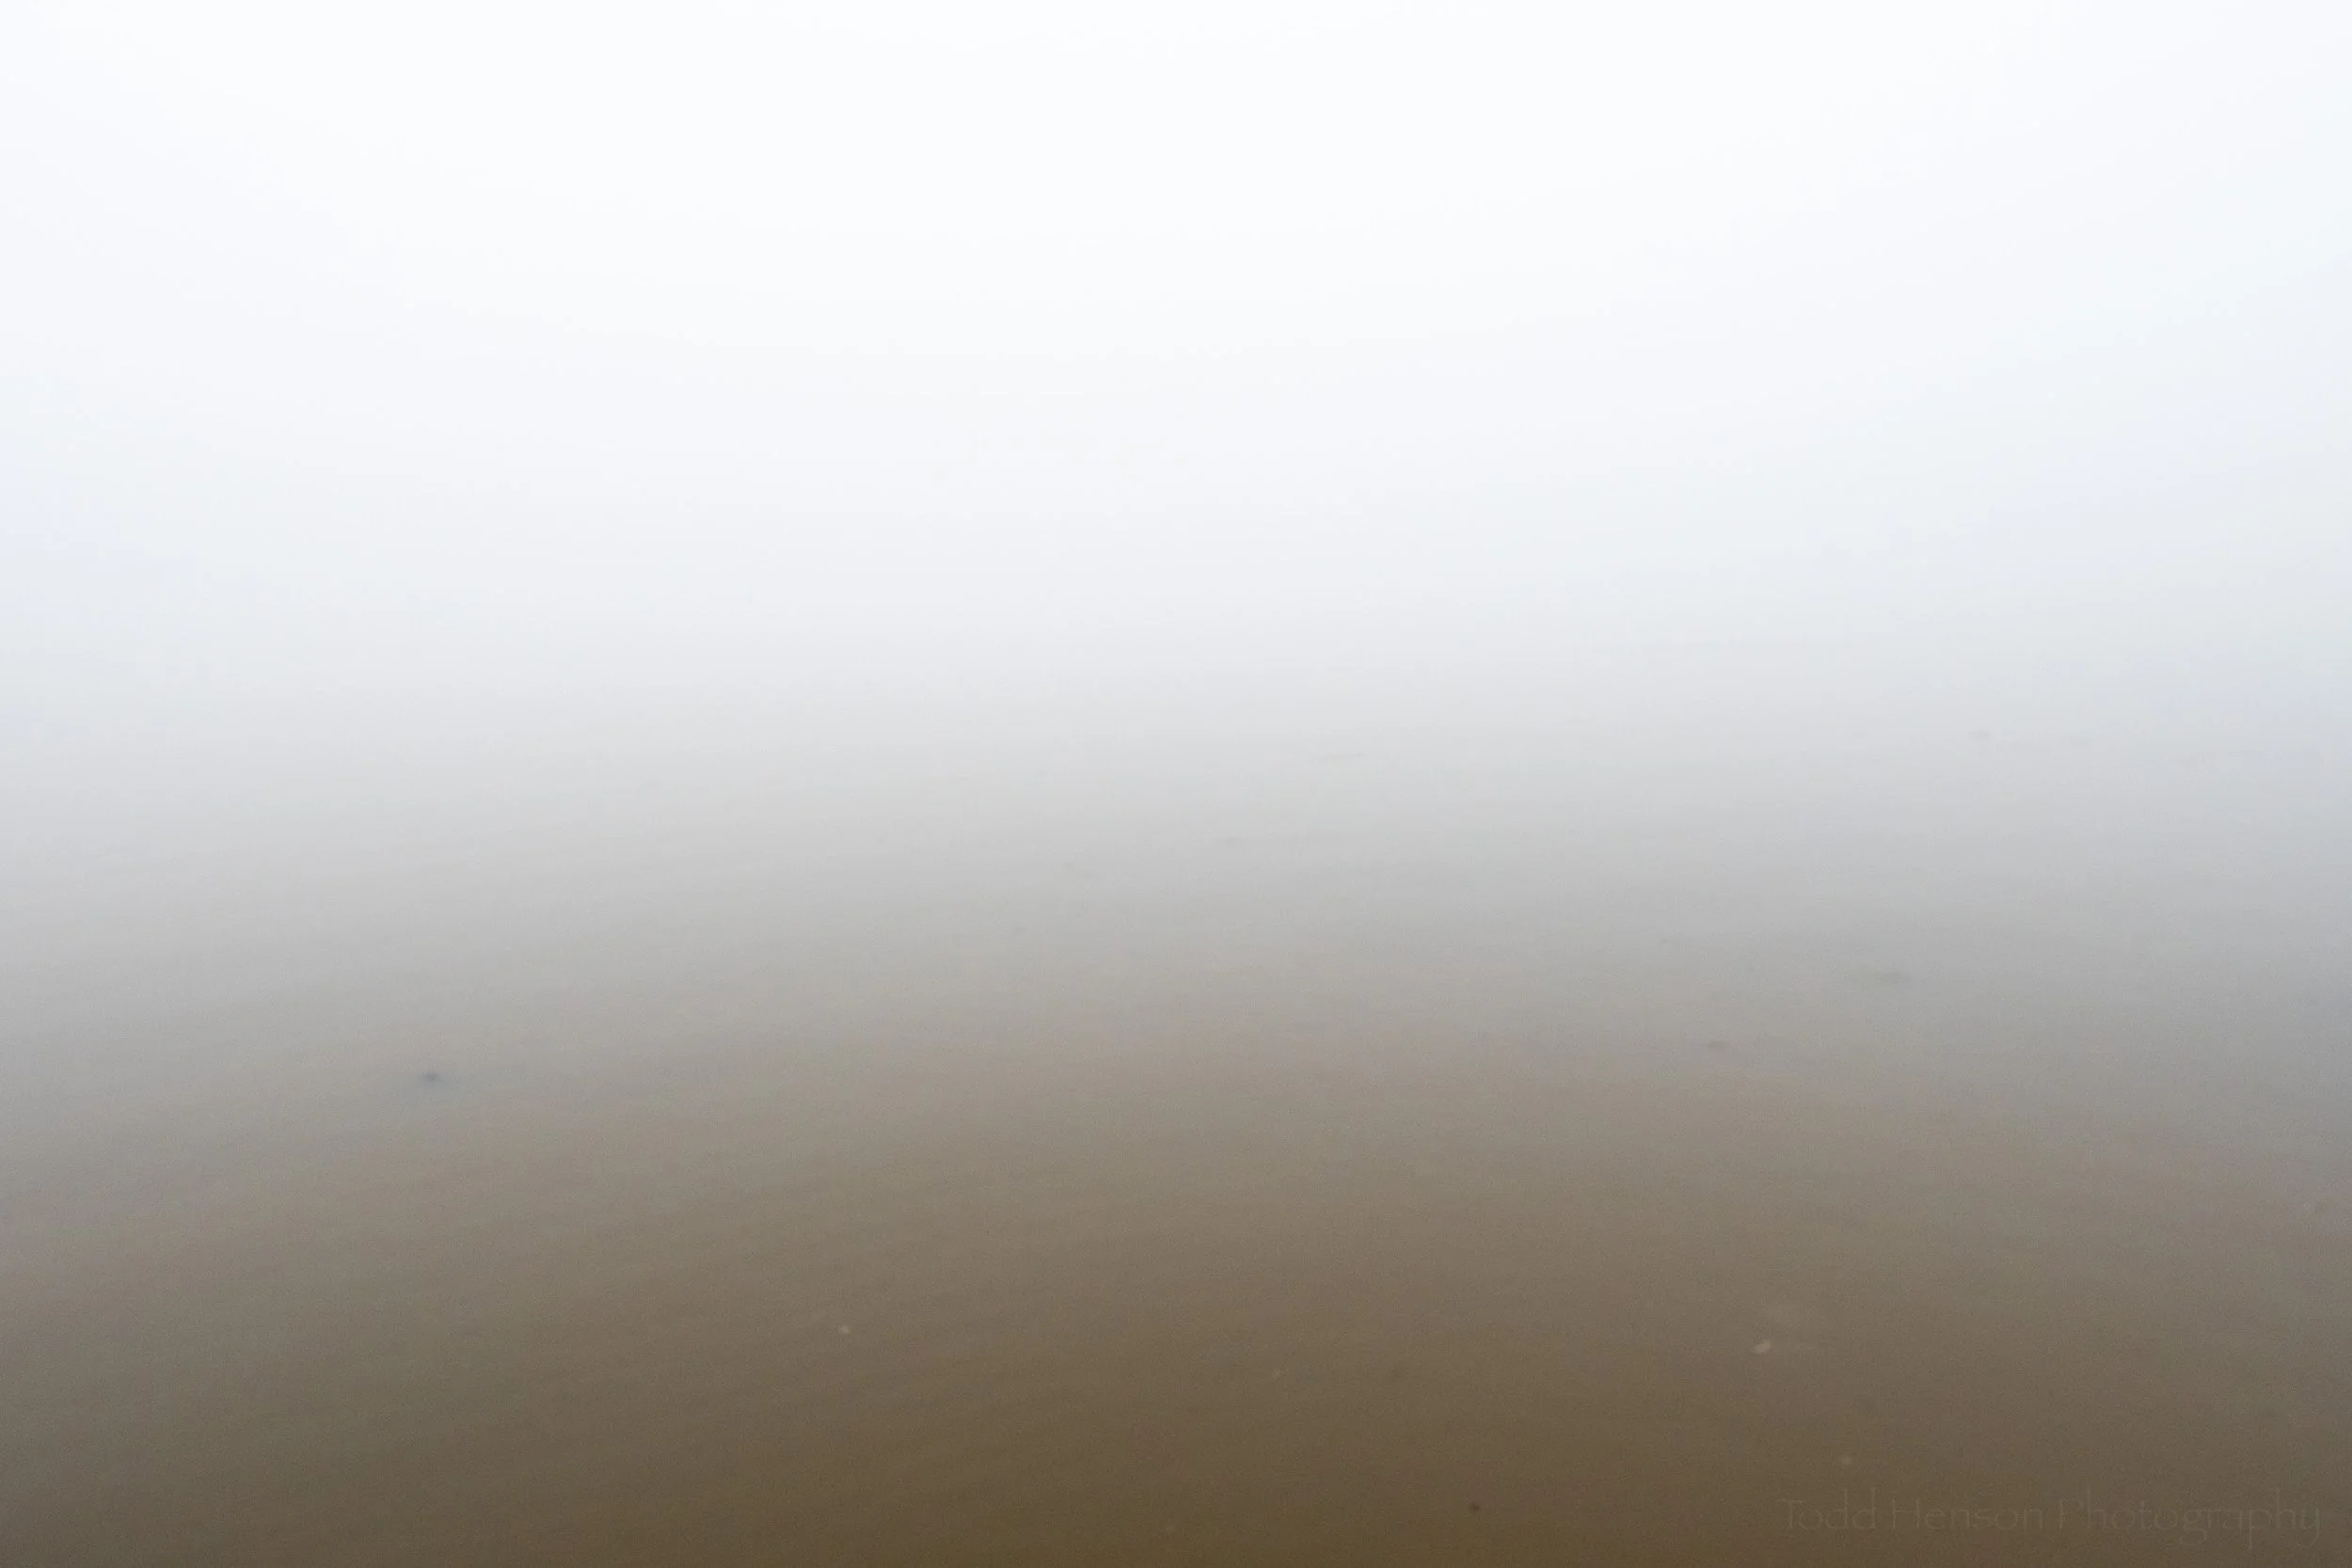
I was walking through the bamboo grove at Blandy Experimental Farm, actually following the tracks of a rabbit in the snow. When I lifted my head I saw I was exiting the grove and that just beyond was a snow-covered field, one that appeared to have been plowed after whatever crop is grown there was harvested. And beyond that was a narrow line of trees with another field beyond, but with enough plant life to give it a tan color instead of the white snow of the foreground field. And beyond all this was another line of trees, then the mountains with a blue-cast from the sky, and finally the blue sky, itself.

Looking at layers in the landscape

All this captured my attention and I realized it was because of the layers of the scene. I like that each layer introduced another color or a new shade of an existing color, and how the layers were spread out over the distance. I can’t claim anything special about these photographs, but perhaps you’ll find the layers as interesting as I did.


Do you enjoy these posts?

Sign up to receive periodic emails with updates and thoughts. Don’t worry, I won’t spam you. And please consider purchasing artwork or products from my online store, and using my affiliate links in the sidebar to the right when shopping online.

I appreciate your support!


Captured Falling Leaves by Todd Henson

A Captured Falling Leaf

One of the scenes we expect to see in some areas during autumn are all the leaves falling from the trees. And perhaps we have a desire to capture some of the leaves on camera, as they are falling, to freeze that action and show the leaf midway to the ground. How do we do that? Well, there are a number of ways, but today we’ll take a light hearted look at one particular method that if I’m honest with you, might be considered cheating. But I ended up having a lot of fun with it, just the same.

Forever Falling, Never to Touch the Earth

Take a close look at the photos in this post. Do you notice anything strange or unusual about the leaves you see, each hanging in mid-air? I will say there was no cheating in software. This was all done in camera and the leaves were each captured mid-air. This also didn’t involve multiple exposures. Each photo is a single exposure, with no in-camera “trickery.”

This technique won’t work with every falling leaf. In fact, it will only work with a very small and rare subset of leaves. It’s not specific to any particular shape, species or color of leaf. But it does depend a bit on location, and involves a fair bit of luck and perhaps a bit of effort searching for those special leaves.

A Loner Leaf Above All the Rest

Have you figured out how it was done? If not, I’ll give one last clue. Click on the photos to open them in a larger view. Then look closely around each leaf. Do you see it? Last chance before I tell you how it’s done.

Ready? Ok. We found each of these leaves hovering right in front of us along the trail. They had been falling at one point, but when we found them they’d at least temporarily stopped their falling and just hovered there. How can that be? Well, the woods are full of spiders and many spiders build webs between trees along the trail. I’ve often walked right into these spider webs, sometimes later finding the spider crawling on my clothing. Well, in this case a leaf happed to get caught by some of the spider silk, and the silk was strong enough to stop the falling of the leaf, so now it hovers there, resisting gravity, slowing swaying or twirling in any light breeze. Each time I found a leaf like this I took advantage of it and created a few photographs to show the leaf hovering in the air.

See? You don’t need any fancy gear to capture a falling leaf in a photo. Just a bit of luck and good observational skills finding those rare leaves that have been captured by spider silk. 😁


Do you enjoy these posts?

Sign up to receive periodic emails with updates and thoughts. Don’t worry, I won’t spam you. And please consider purchasing artwork or products from my online store, and using my affiliate links in the sidebar to the right when shopping online.

I appreciate your support!


Moss and Lichen on the Forest Floor by Todd Henson

Moss and lichen on the forest floor

Photographing through a macro lens can affect how we see. We may begin to notice smaller details in the scene before us, and find that even when we get very close there’s still an incredibly rich expanse seemingly hidden within such a tiny sliver of space. Of course, capturing what we’re seeing and feeling is another matter entirely.

While hiking trails through the forest in early summer my eyes kept moving to the rich diversity of moss and lichen in various locations. So I picked out one with a mix of color and texture and set to finding a composition. I’ve always struggled with this sort of photograph. What is the subject? There’s so much going on, and yet it’s exactly that complexity that drew my attention. So I tried to include as much of the color and texture as I could. I don’t know what those rust-red things are but I love how they stand out amongst the various shades of green, because of both their color and shape.

Looking back on it now I see things I perhaps could have done better at the time. I’m a photographer who naturally leans towards creating images with shallow depth of field. But an image like this seems to benefit from great depth of field. I knew this so I intentionally stopped down the aperture to capture more of the scene in focus. In this case I used an aperture of f/25, which on a typical wide angle lens might have done the trick. But when you get very close to a subject with a macro lens it becomes increasingly difficult to get everything in focus even with the aperture stopped way down. Granted, with this lens I could have stopped down more, but I’m not sure if it would have been sufficient.

So, what could I have done to increase the depth of field to make everything in the photograph appear in focus? Possibly nothing directly in camera. But I could have used a technique called focus stacking where I create multiple images of the same scene in the field, adjusting the focus just a bit for each image until I’ve captured the entire depth of the scene. Then when I get home I import all the photos into Photoshop and stack them together. Photoshop works its magic, picking the sharpest parts of each image and combining them all into one final, hopefully fully focused image.

I’m still pleased with this image. It shows some of the diversity of tiny life in a forest, and how there’s often so much more there than we typically see. But I also like to analyze my efforts so I can learn and grow, both in techniques like focus stacking, and in the more artistic side of how best to compose such an image. I find the artistic side the most challenging, and one I’m still working on, so today I chose to talk about the more technical side.

If you have any thoughts or suggestions, whether technical or artistic, I’d be happy to hear them in the comments below.
Do you enjoy these posts?

Sign up to receive periodic emails with updates and thoughts. Don’t worry, I won’t spam you. And please consider purchasing artwork or products from my online store, and using my affiliate links in the sidebar to the right when shopping online.

I appreciate your support!