education

10 Ways to Work on Photography While Confined to Your House by Todd Henson

Sometimes we’re stuck at home, unable to get out and about as usual. Perhaps this puts a damper on some of our photographic pursuits. But that doesn’t mean we have to completely put aside photography during this time. There are photographic activities we can pursue right in our own house, and below I share 10 ideas to keep you active.

Reading

Read a book, any book.

This could be a great opportunity to catch up on some reading. Pull out some of your photography books and pore over the amazing images. Spend some time on each photograph. What is it you like about this photograph? And why not pick up some non-photography books also? Perhaps you have a book about painting? Or architecture? Or even some great non-fiction and fiction books that could provide inspiration and ideas for your photography? Just start reading.

Education

If you have time at home you may want to consider taking some online classes. You could learn a new skill or improve on an existing one. There are lots of sources of great education out there, such as CreativeLive, KelbyOne, and YouTube. (Note: I’m an affiliate for CreativeLive, but I began as a fan and purchaser of their classes.)

Learn Your Gear

Pull out your camera and manual and start getting to know your gear.

Now may be a good time to pull out that camera manual you never read. Start going through it, learn some of the features you never knew your camera had. Practice with your gear, learn the placement of all the controls so well you can use them in the dark.

Learn About Light

With time on your hands you could setup a small photoshoot to practice with lighting, both natural and artificial using whatever lights and modifiers you have available. Learn how light falls on different subjects. Change the angle of the light, position it closer or further from the subject, control the intensity of the light. Watch the subject throughout the day as the sun changes position. Notice how all this changes the look of the subject and the scene.

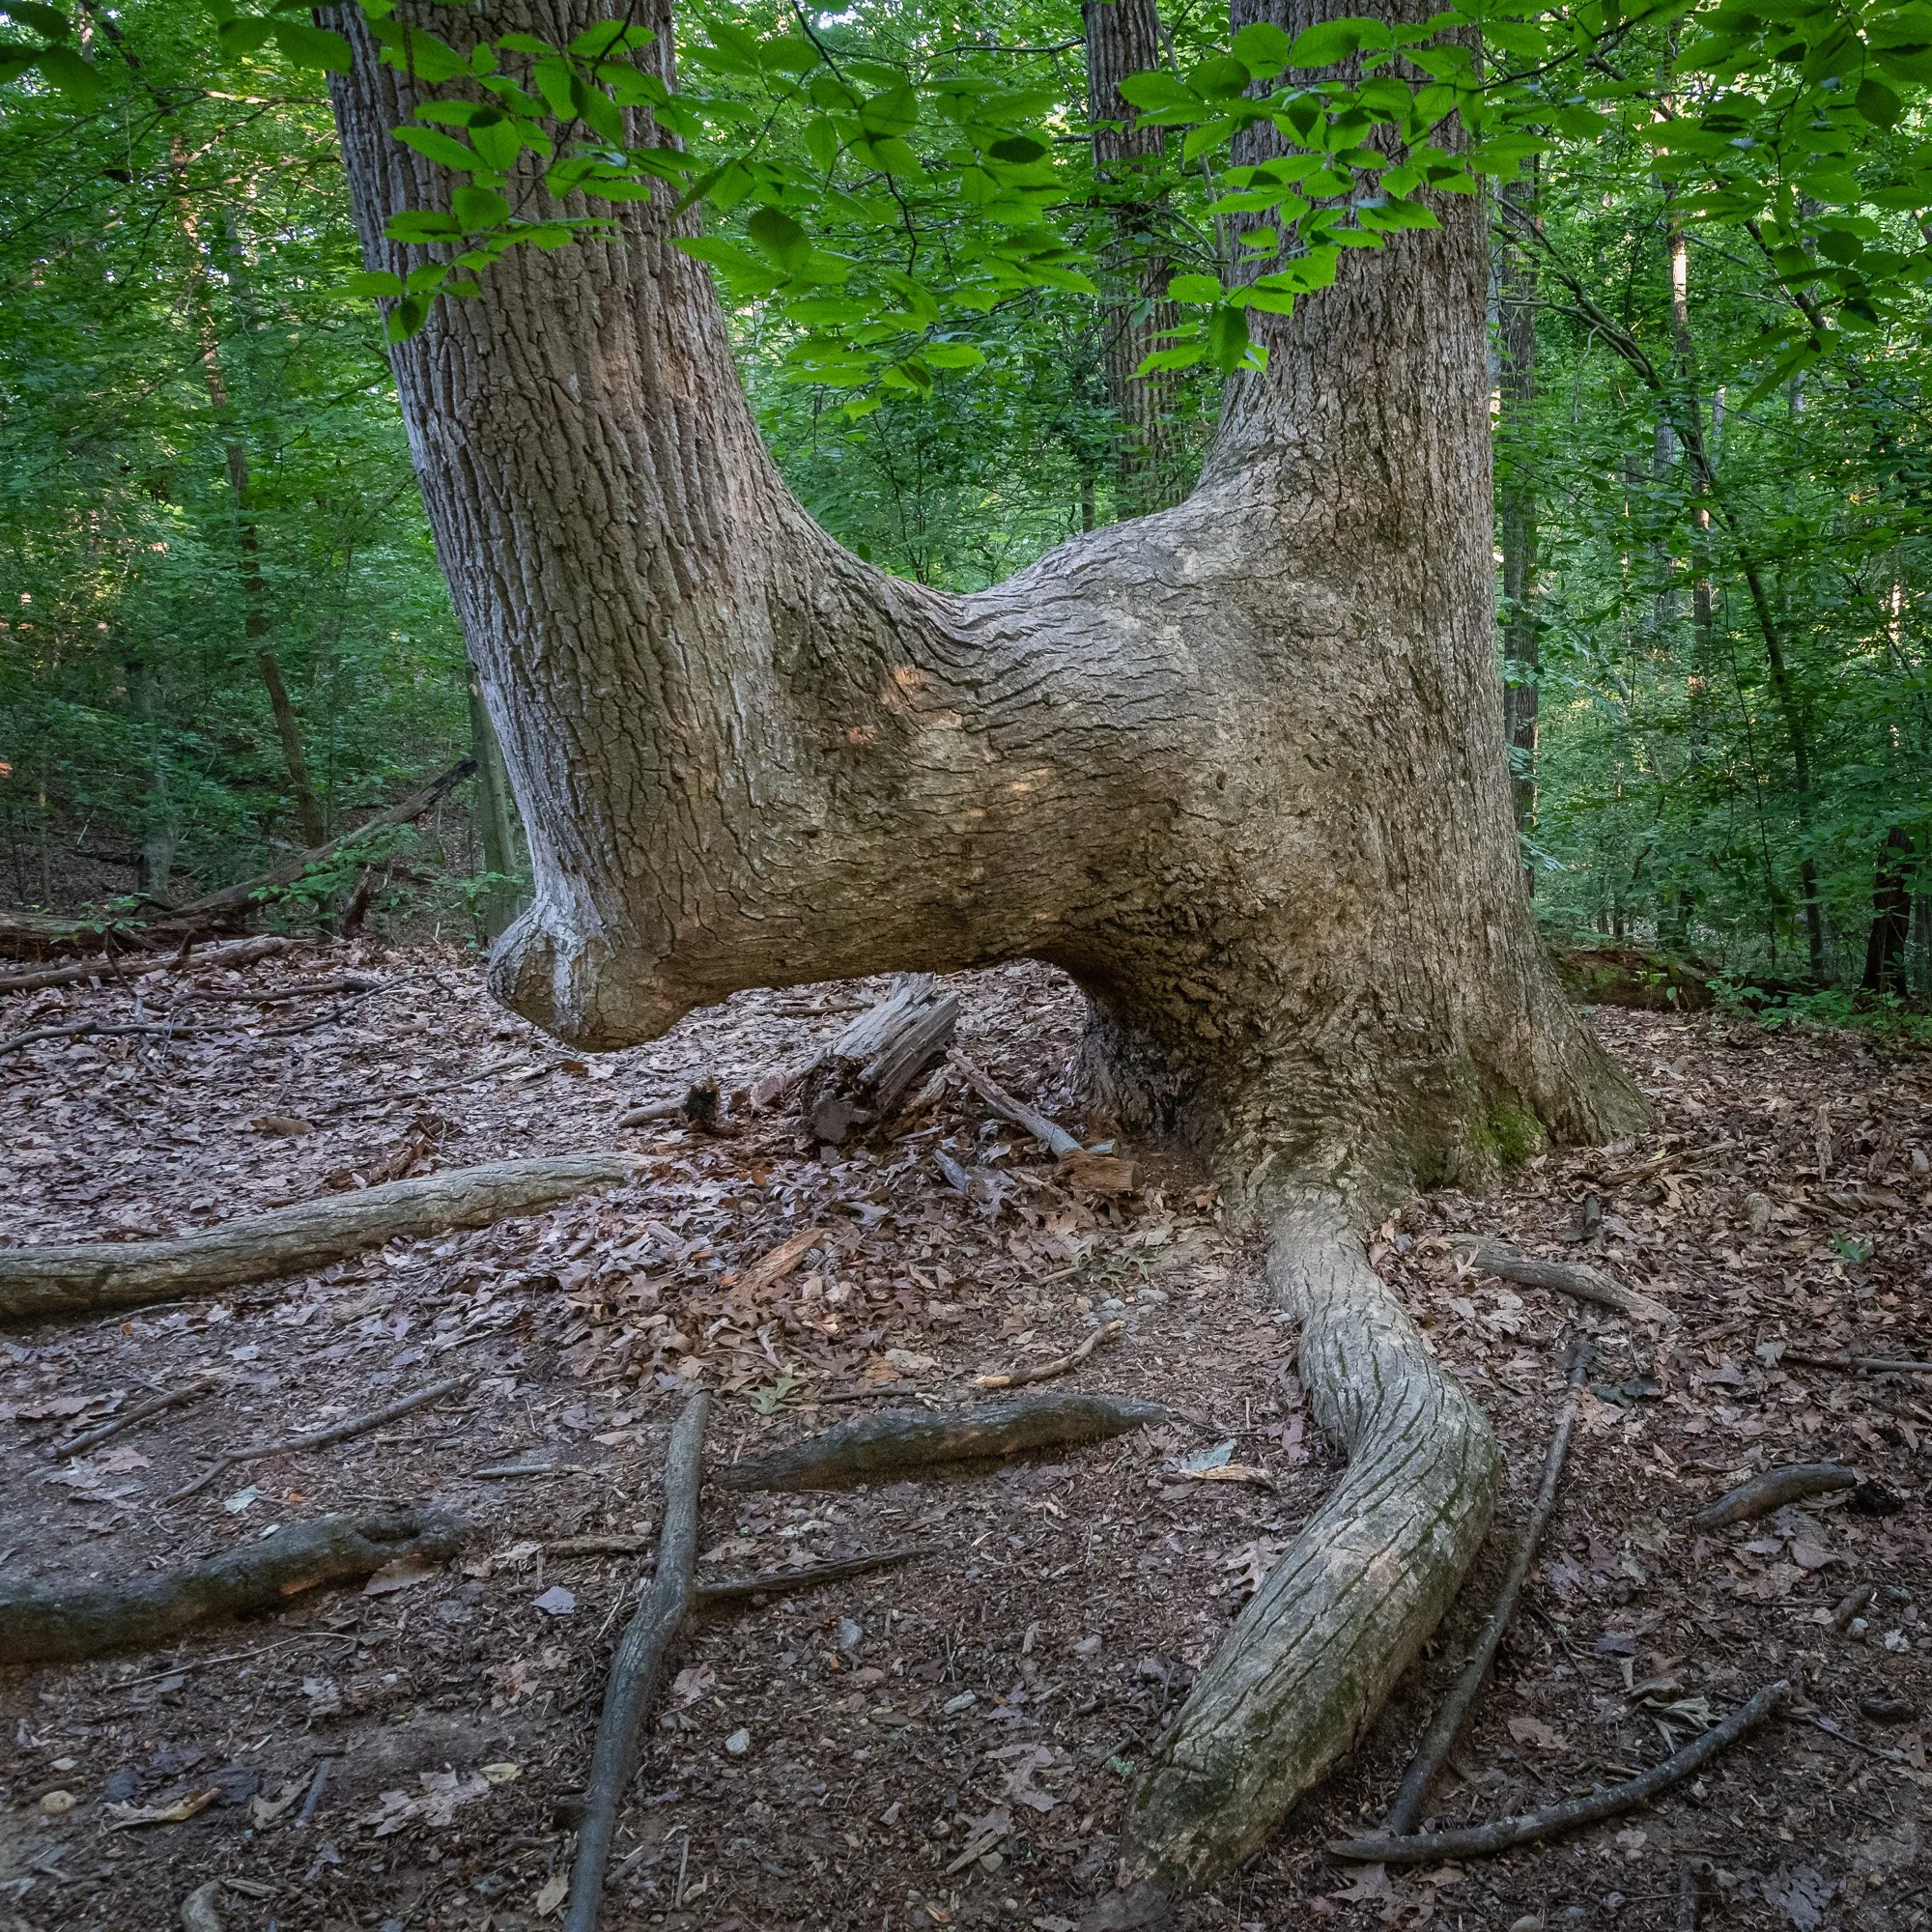
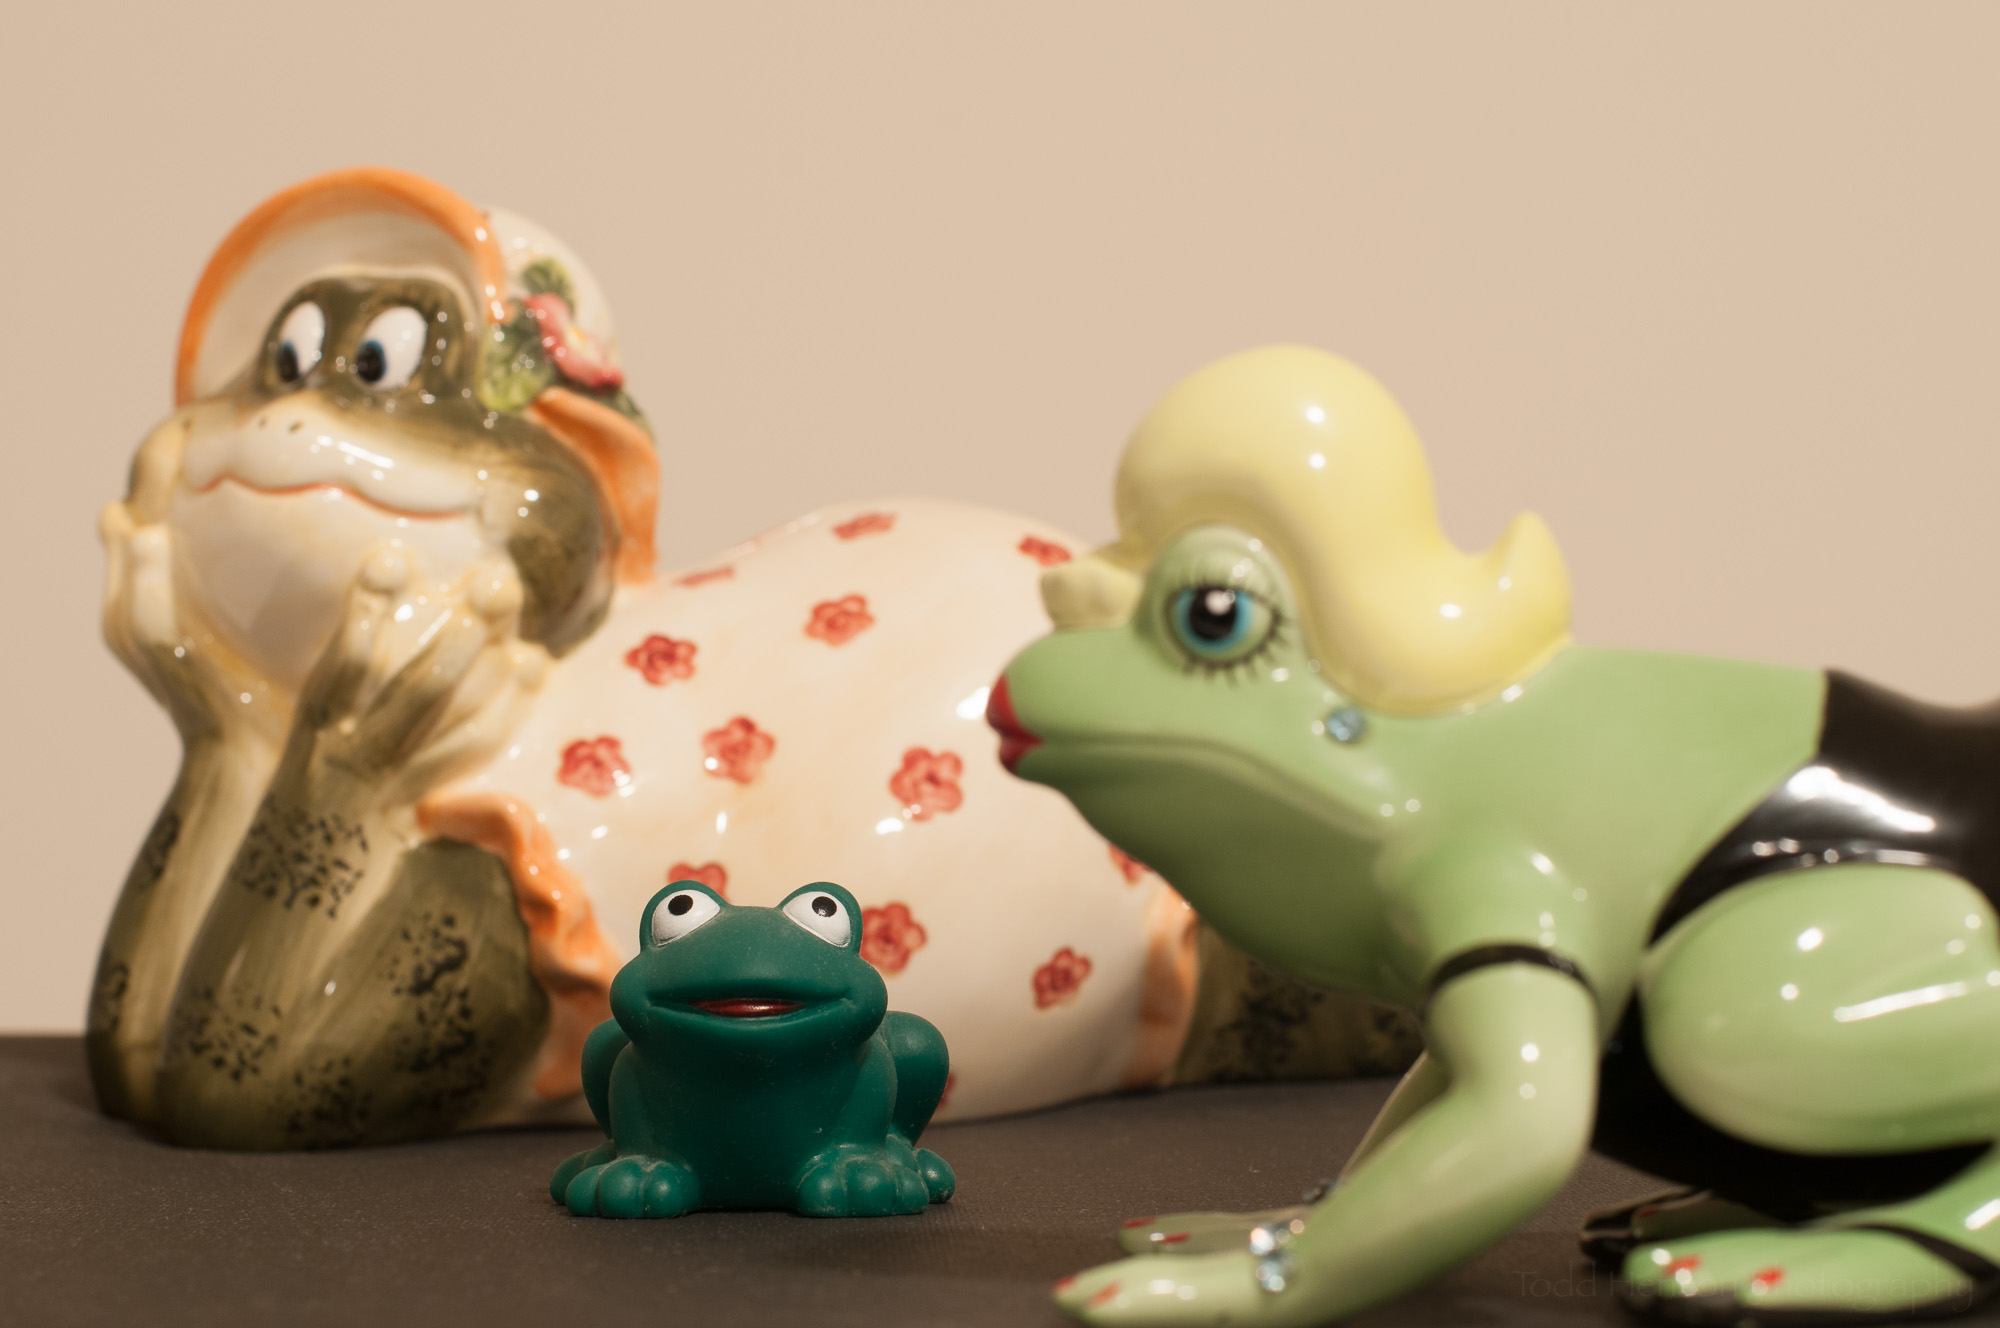
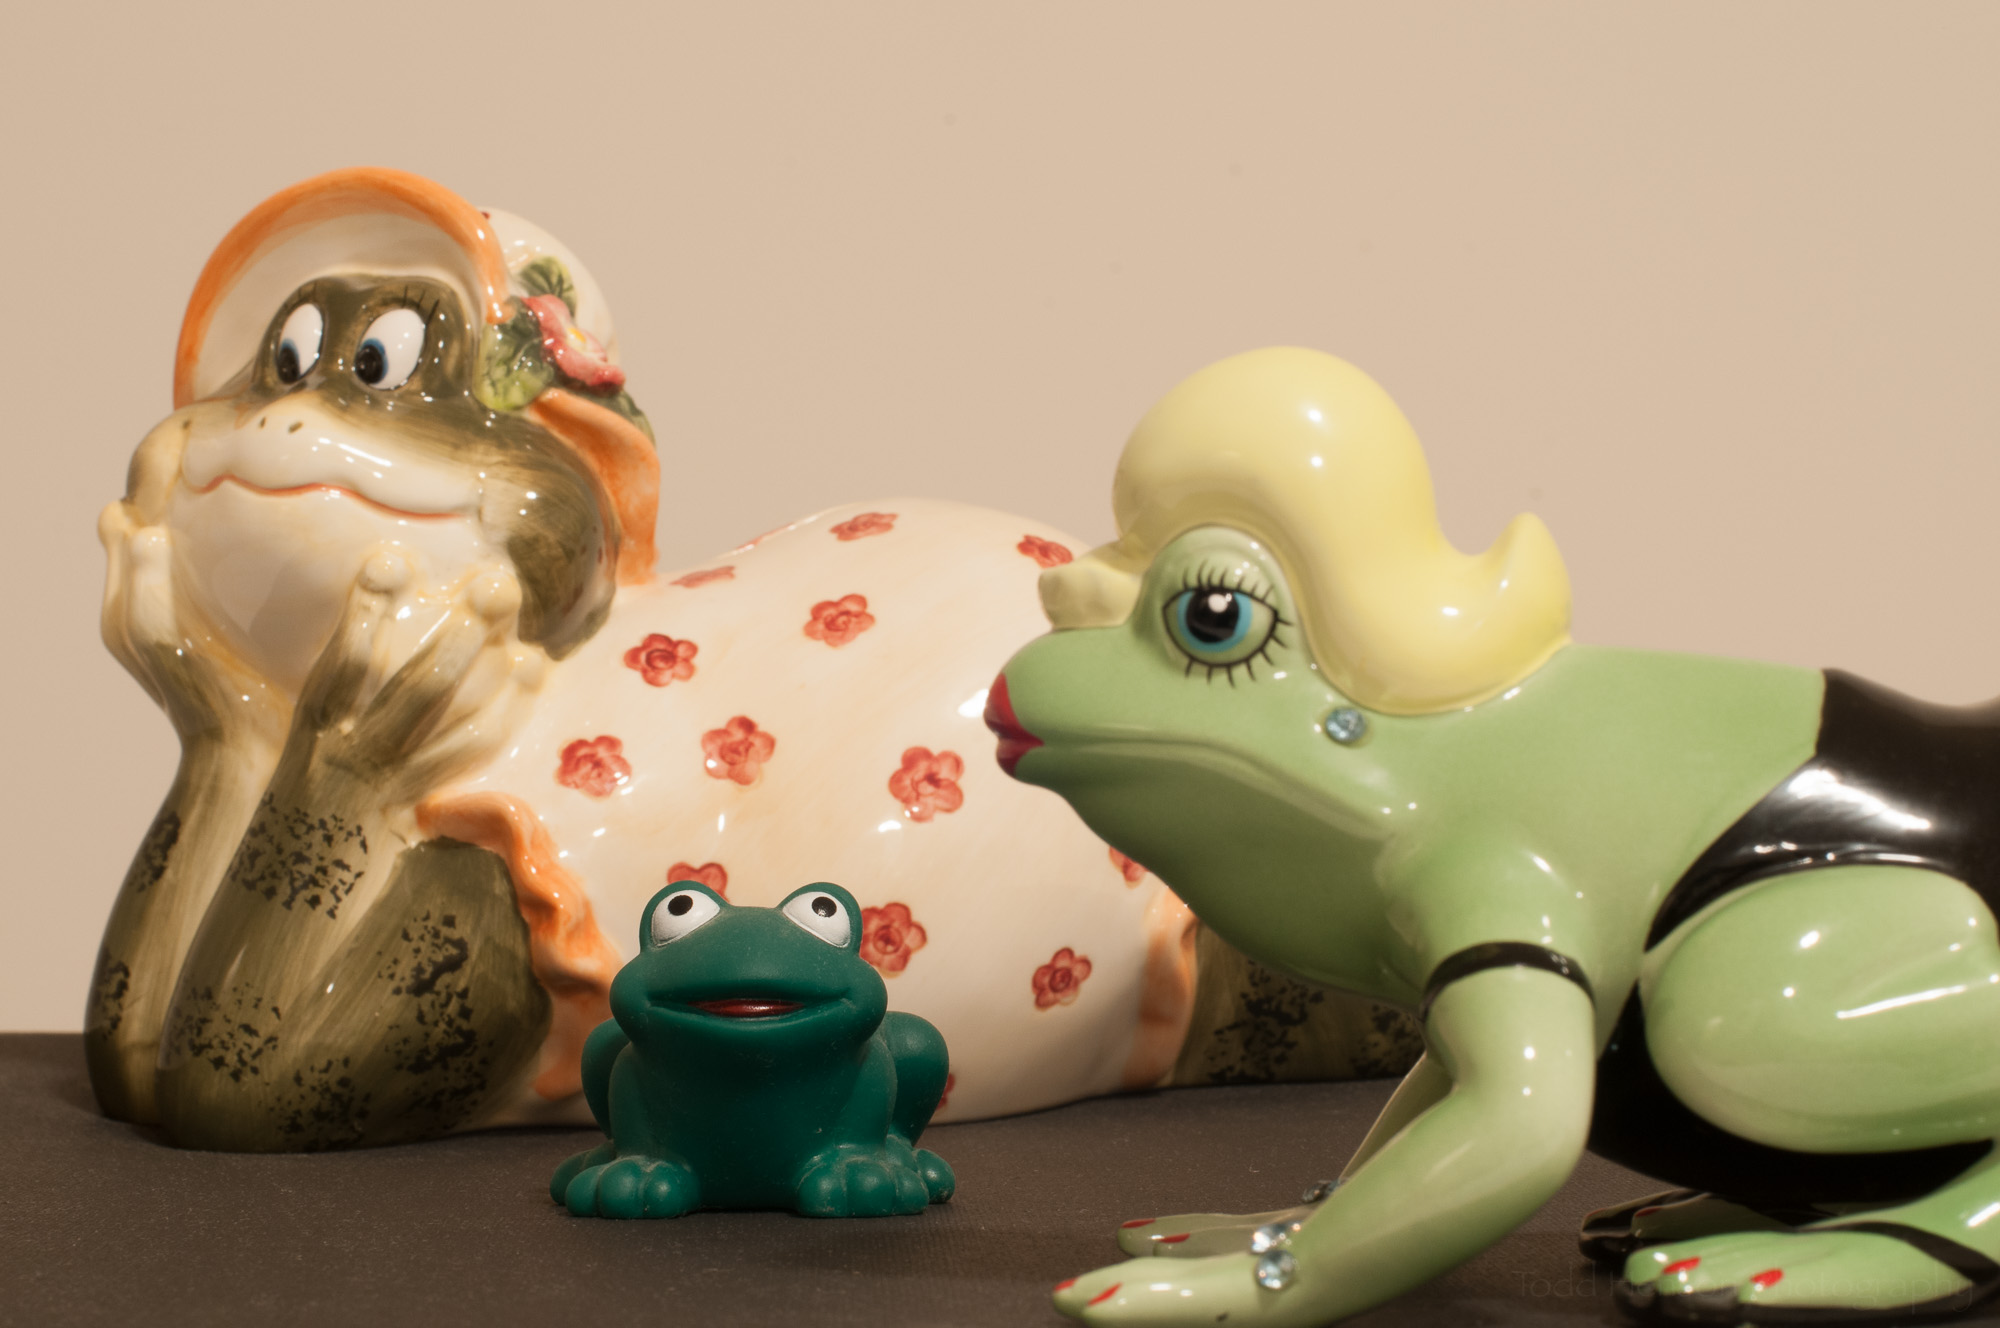
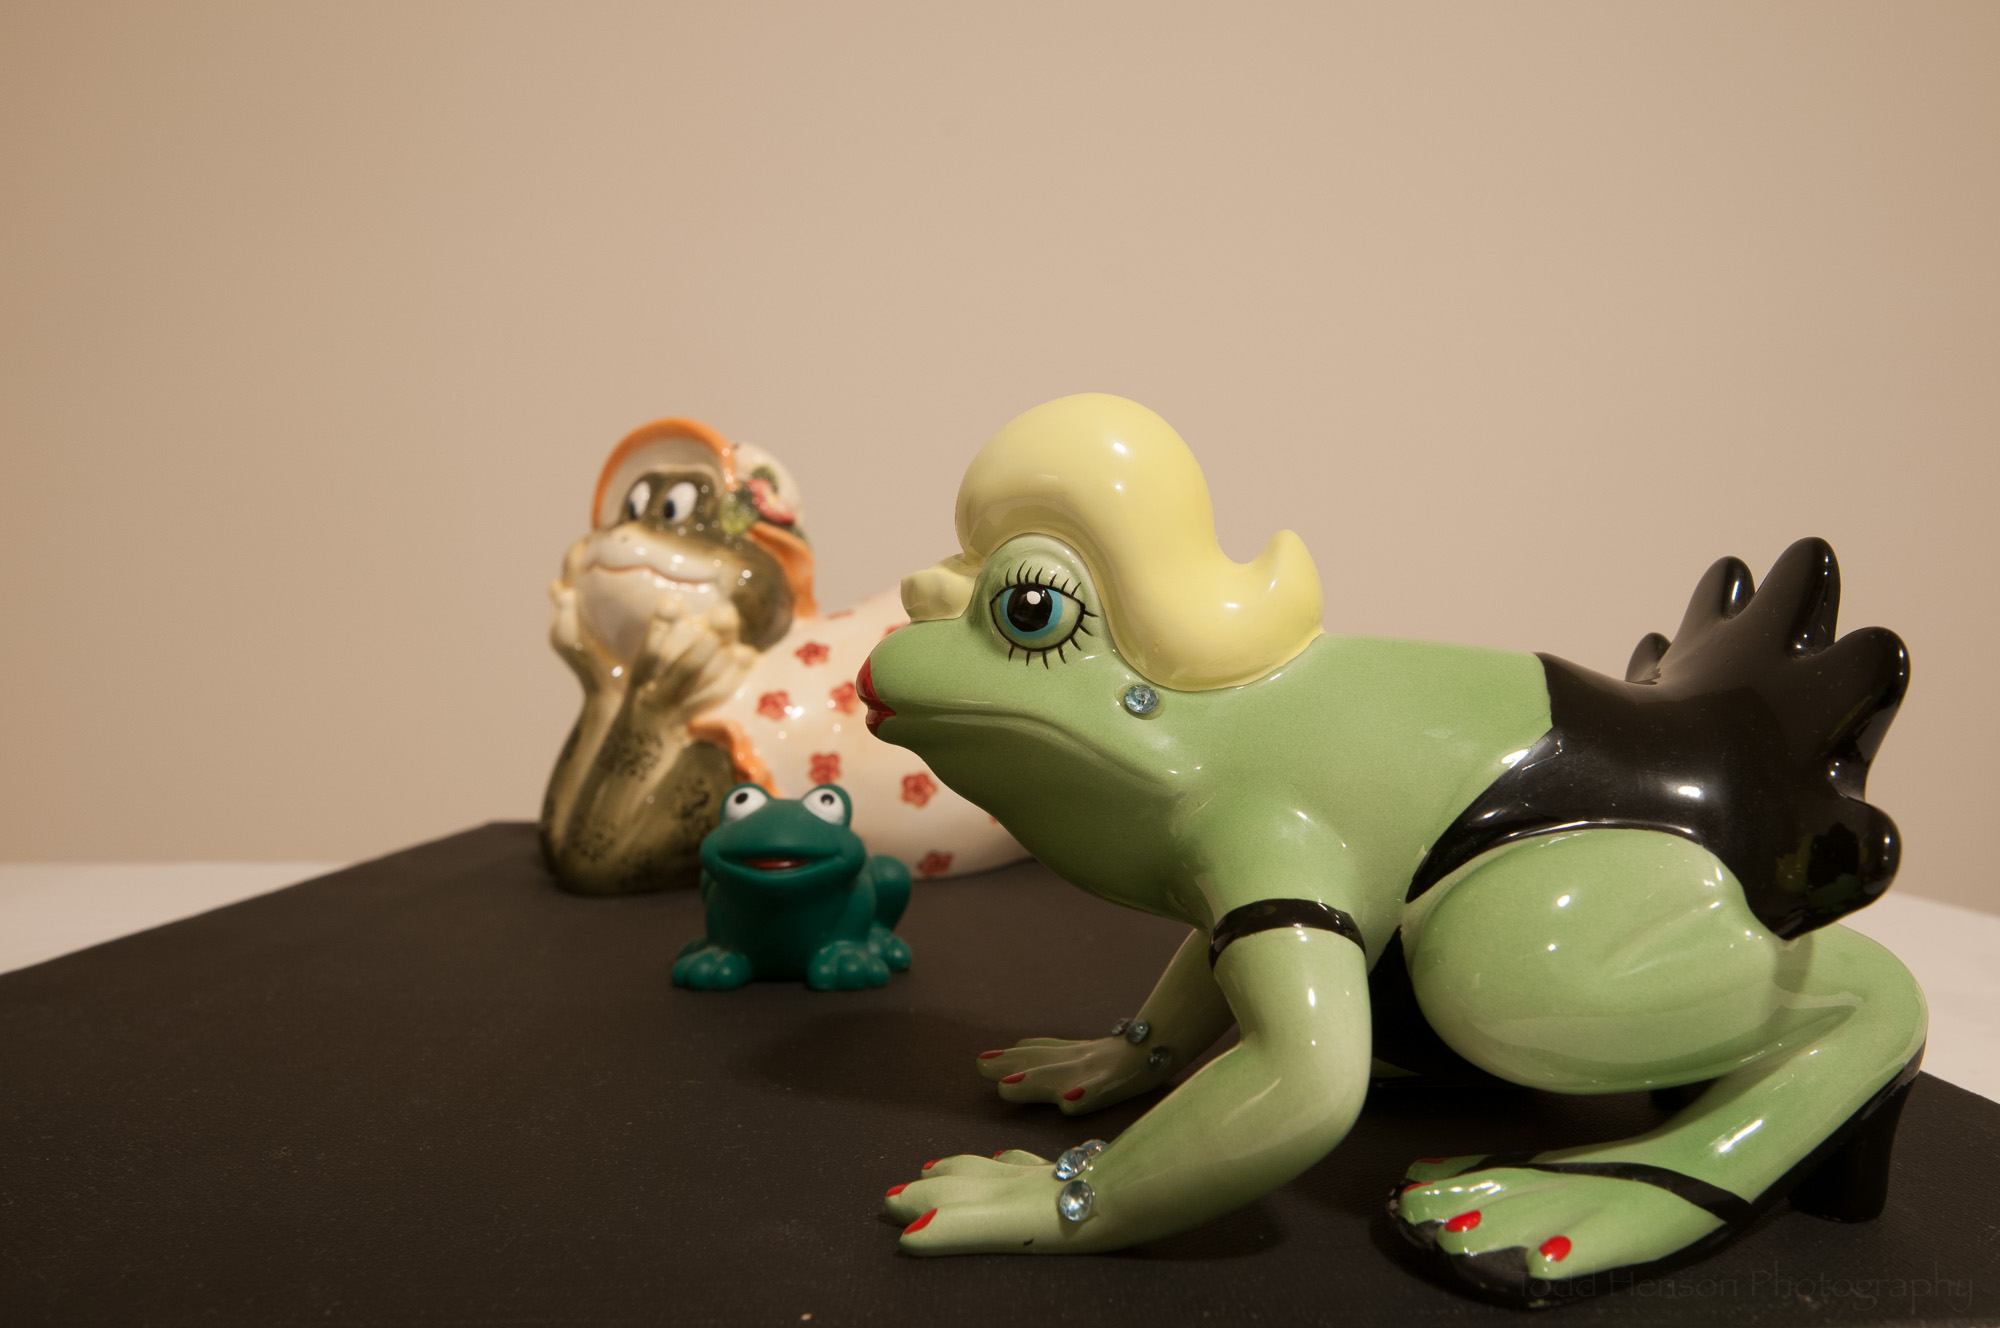
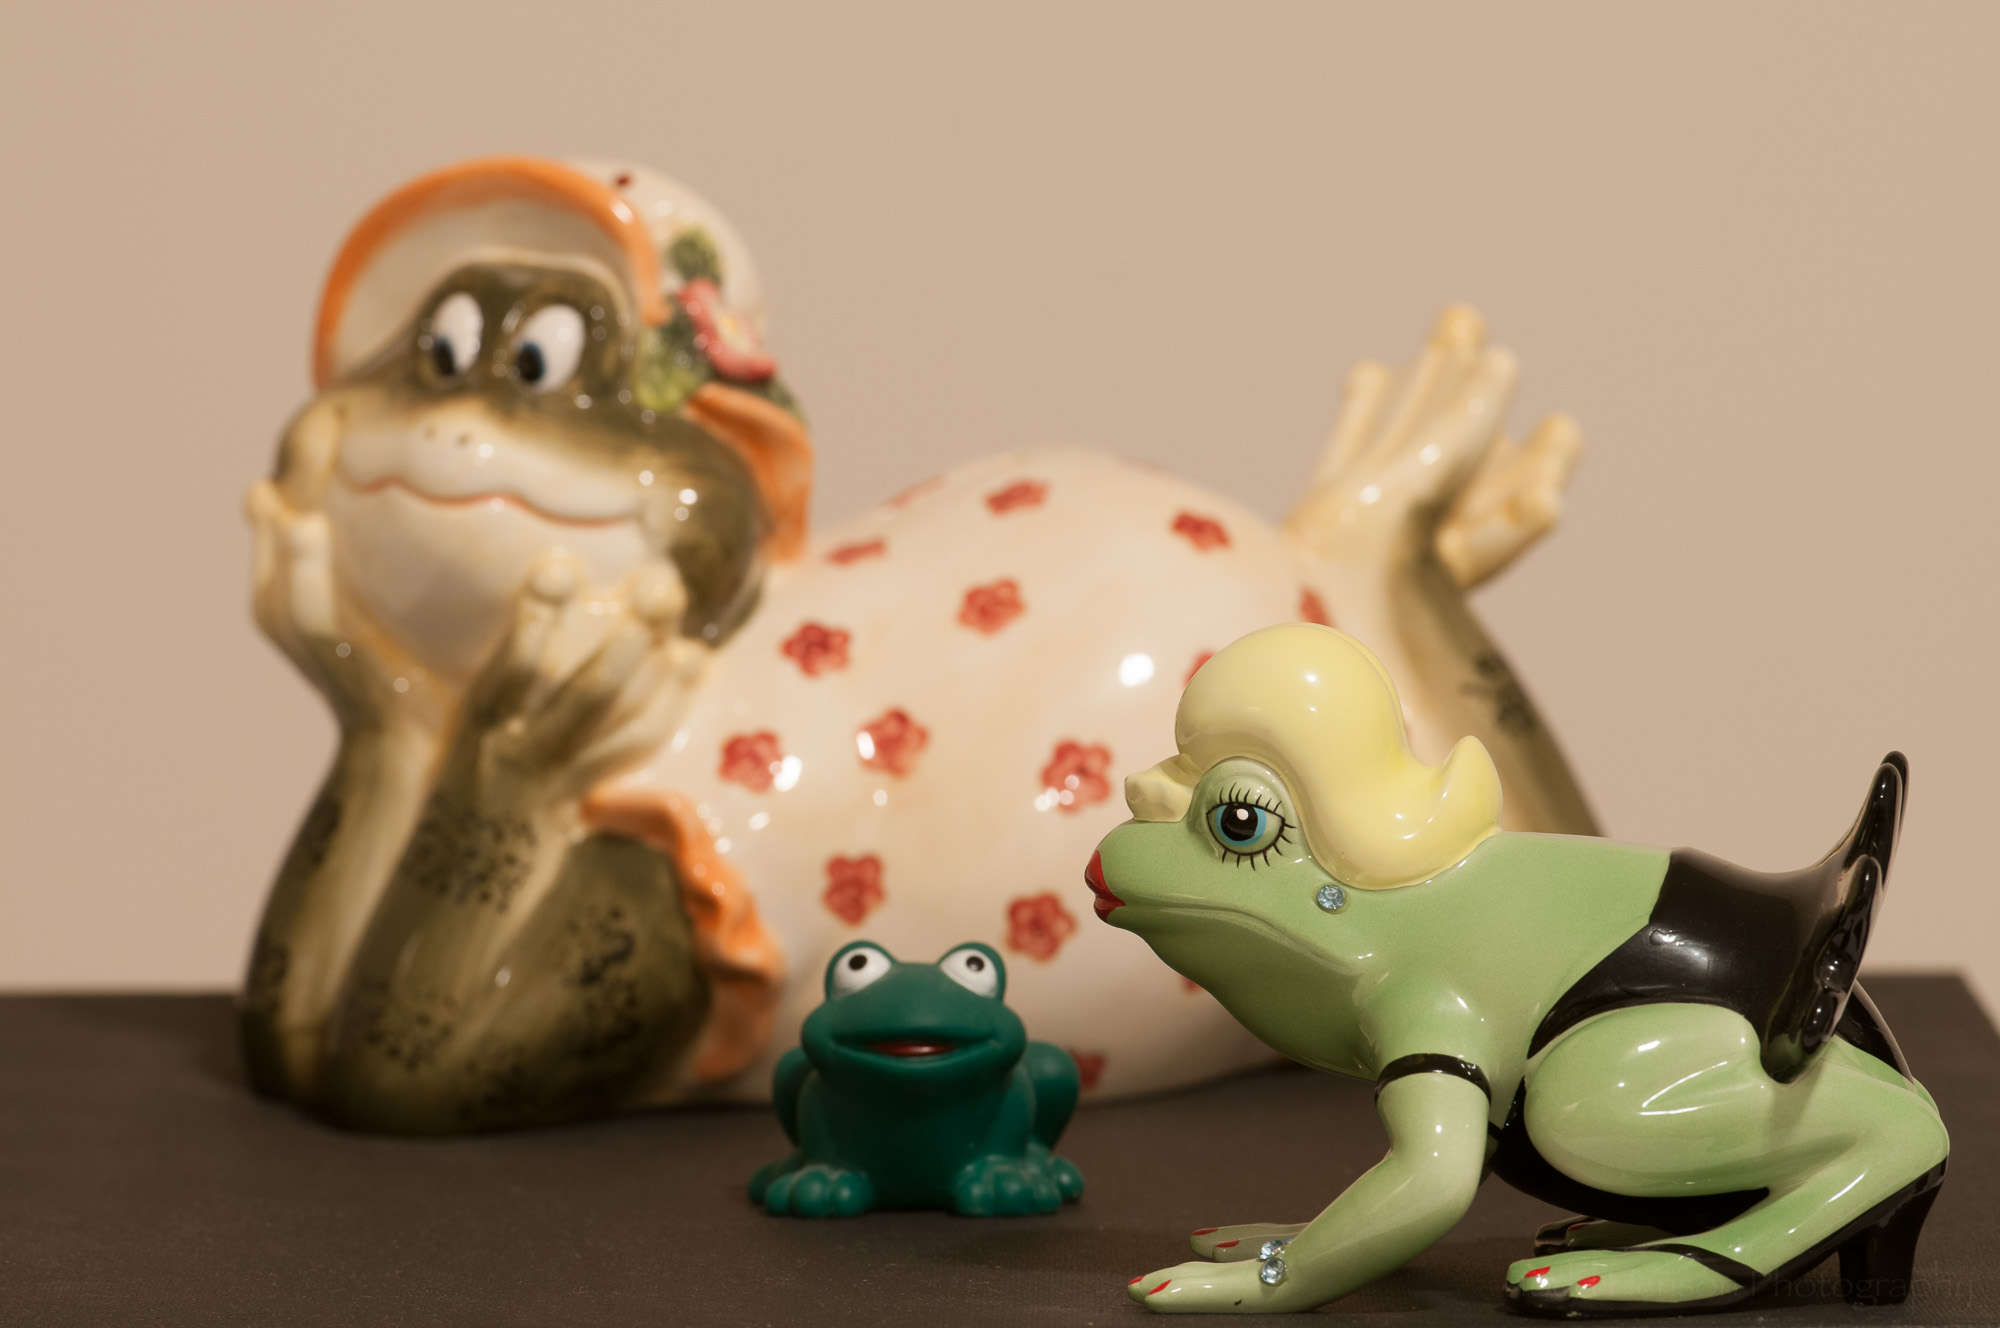
Photography Projects

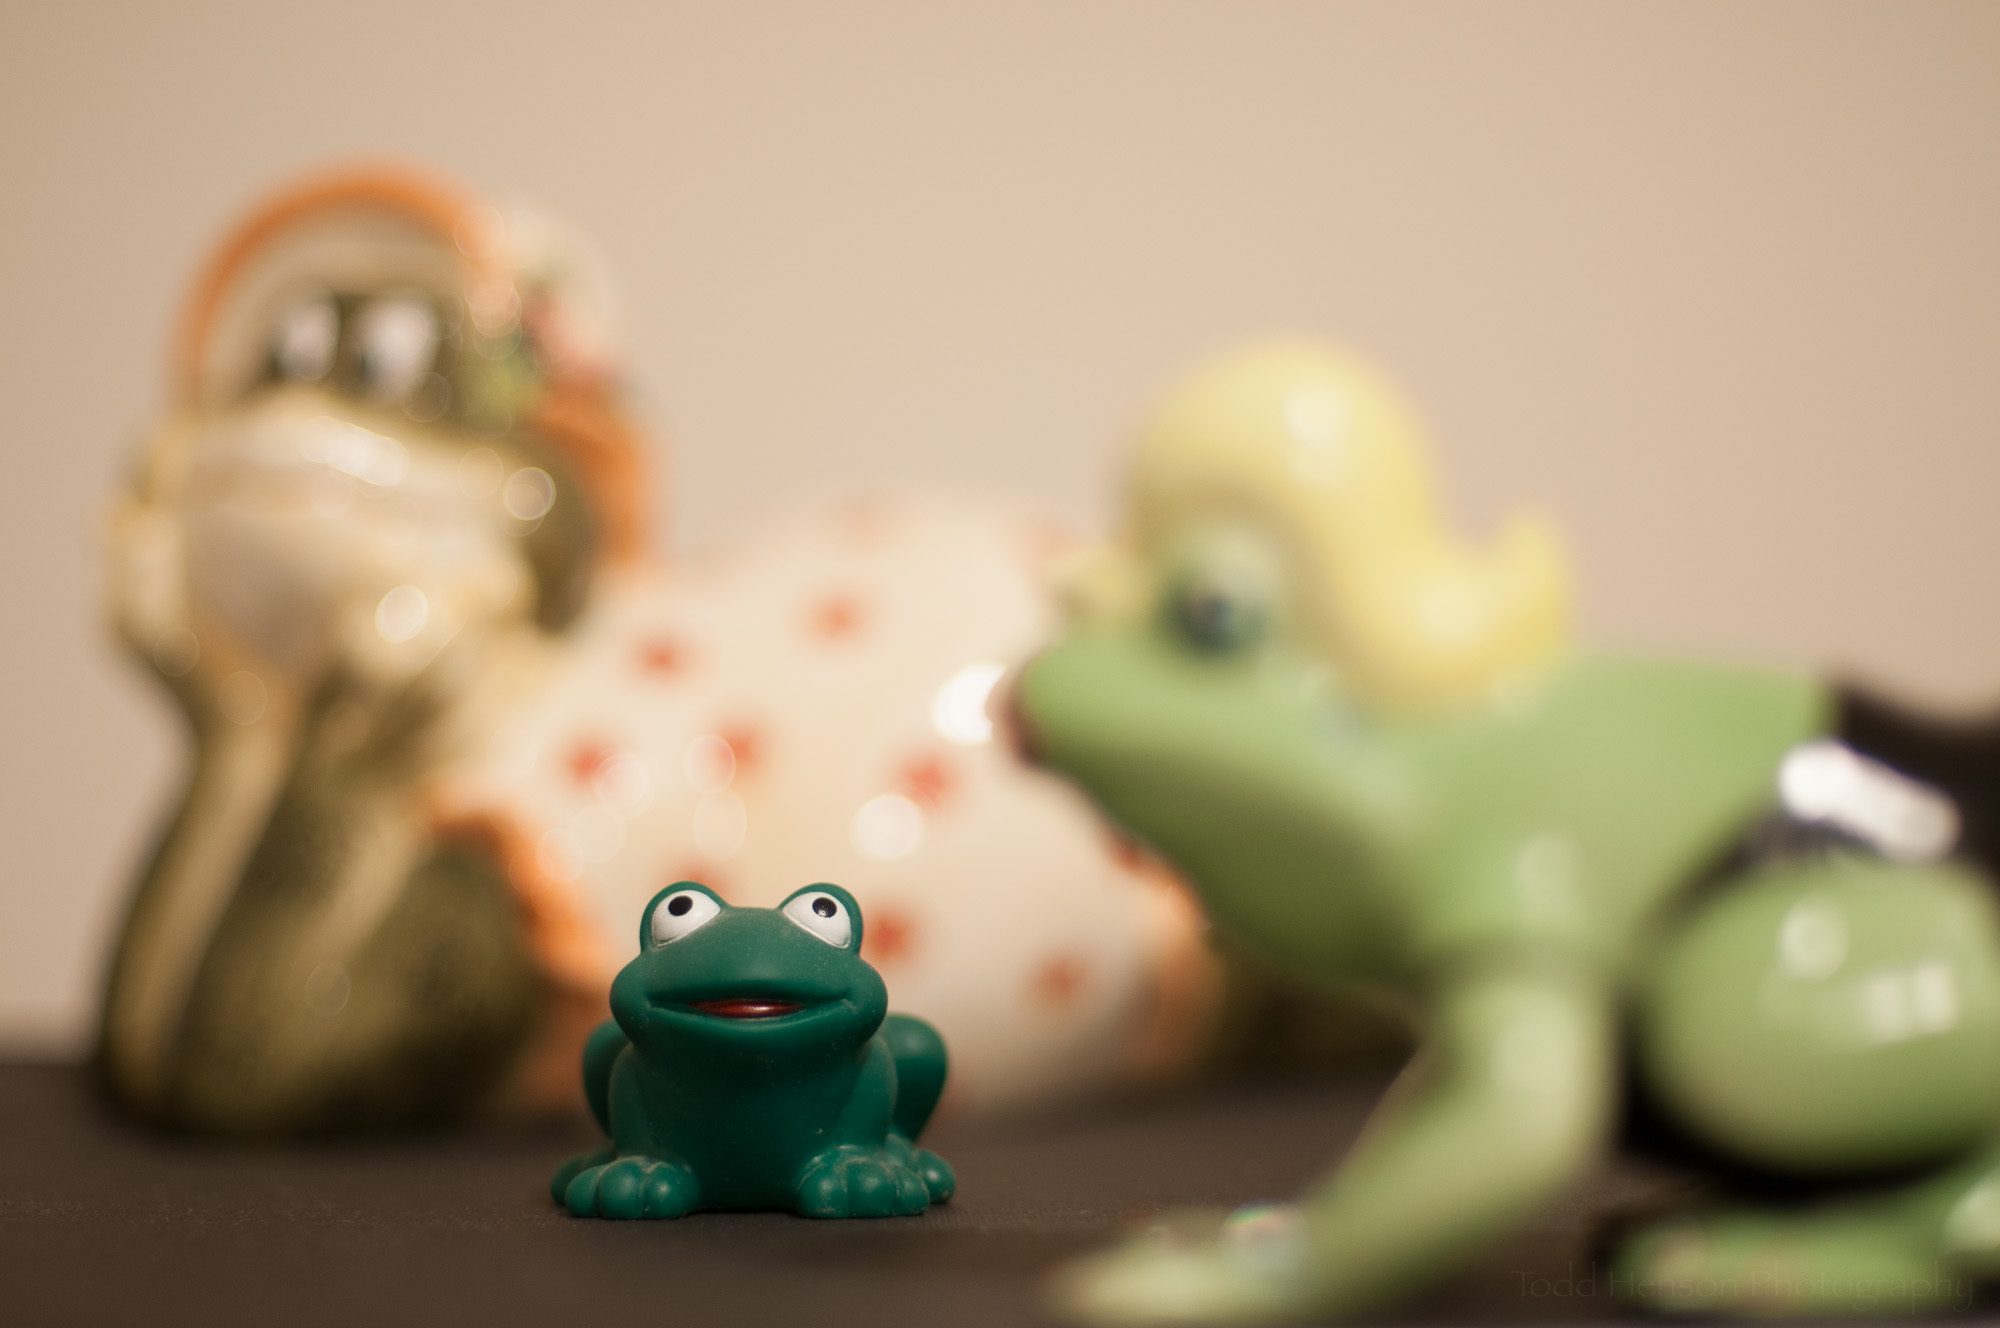
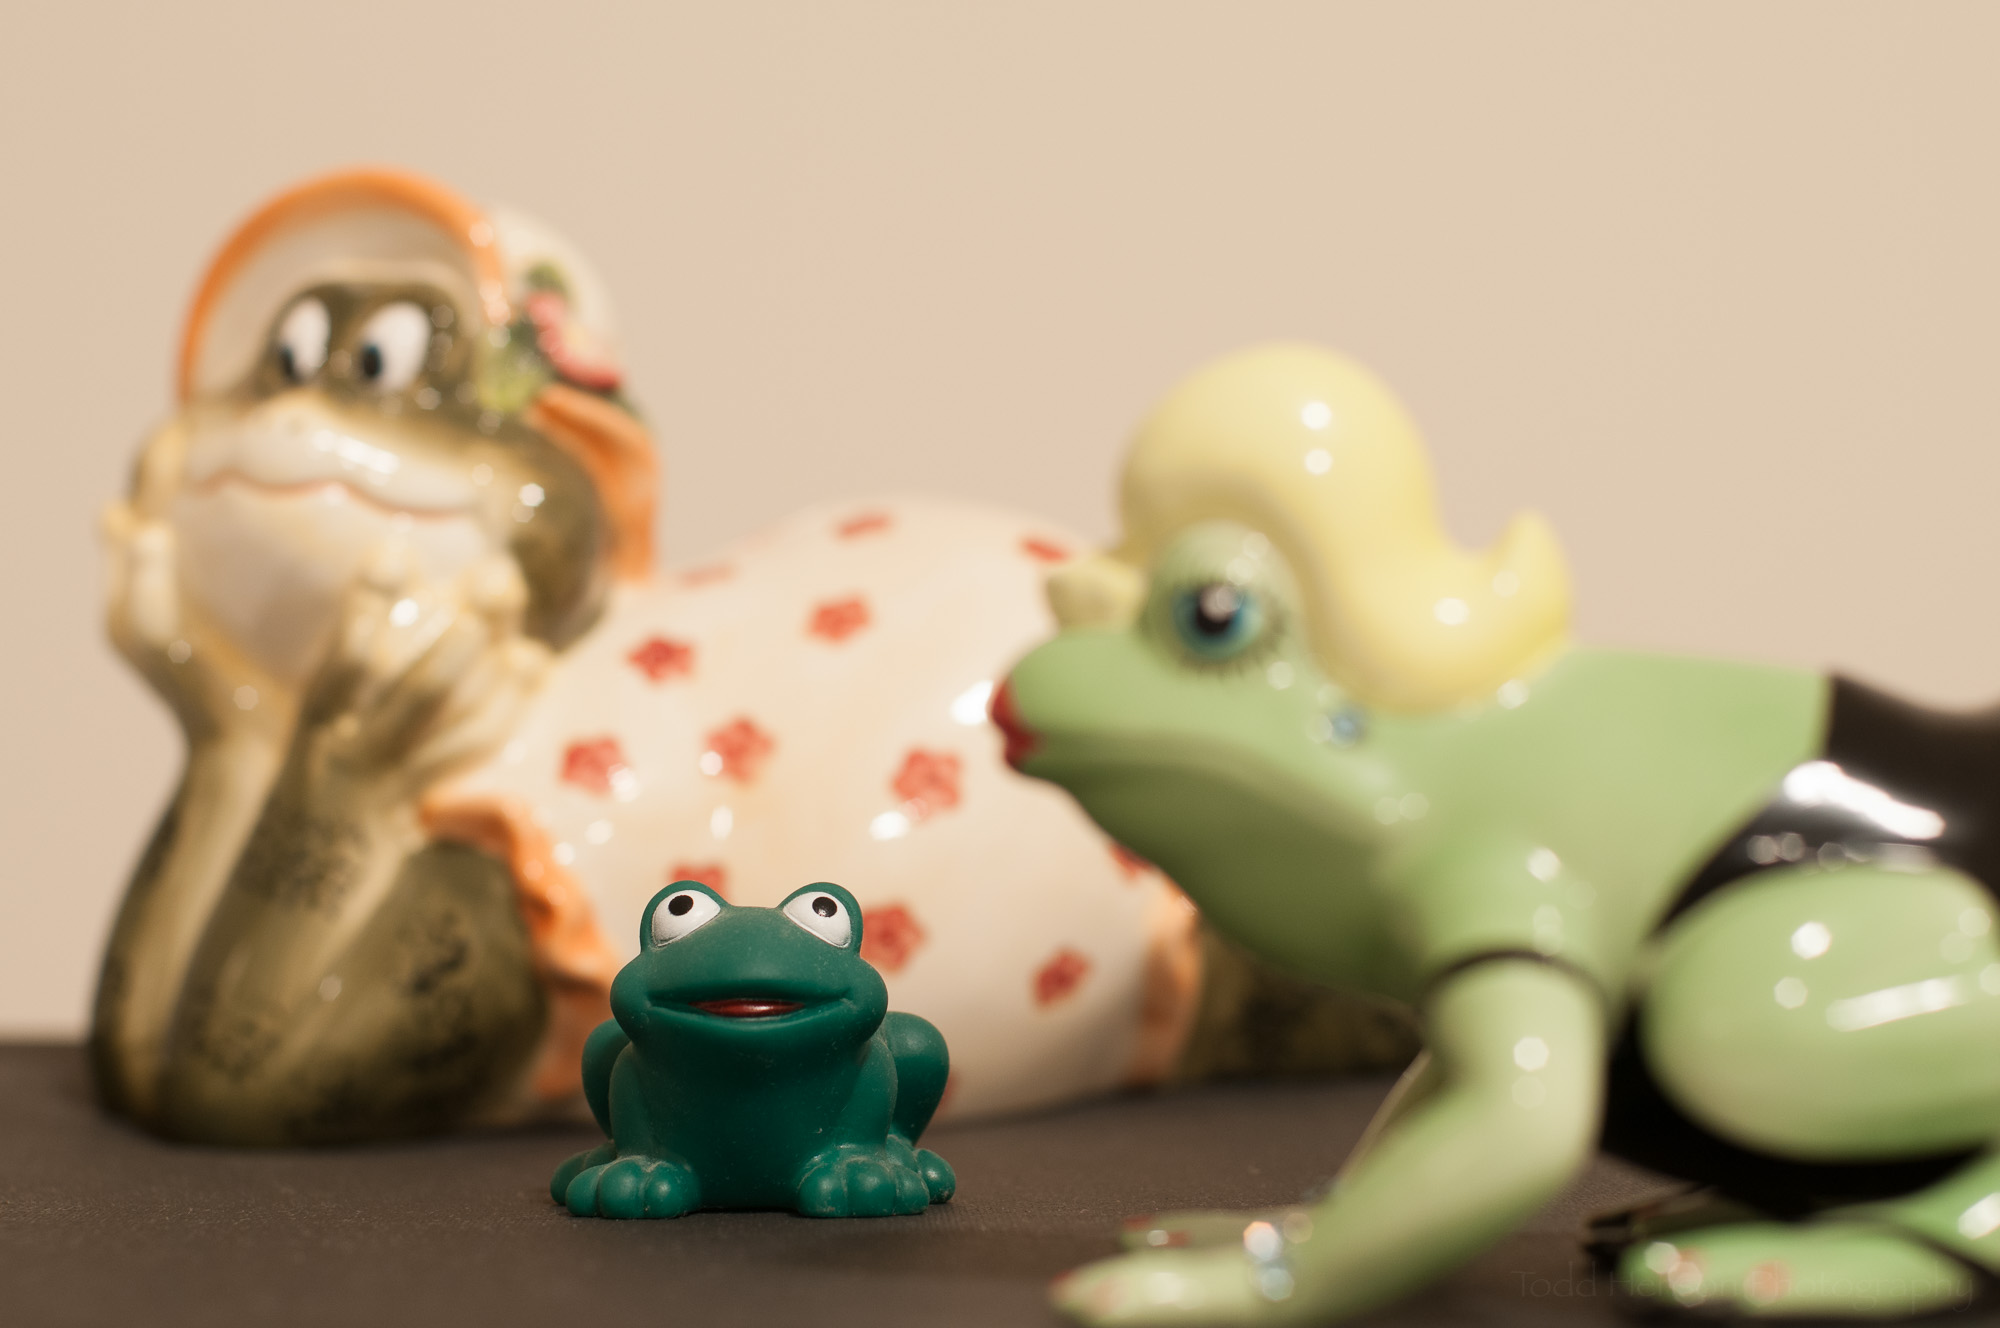
Work on photography projects right in your house, such as this matcha display.

There are plenty of things around the house you could photograph. Think outside the box, find things you may not usually photograph. Try photographing a cup of coffee or tea. Maybe photograph a book shelf or a set of stairs. Bring out a bottle of wine to photograph. Come up with small projects you can work on right here at home. Consider it practice. Have fun experimenting and learning.

Clean Your Gear

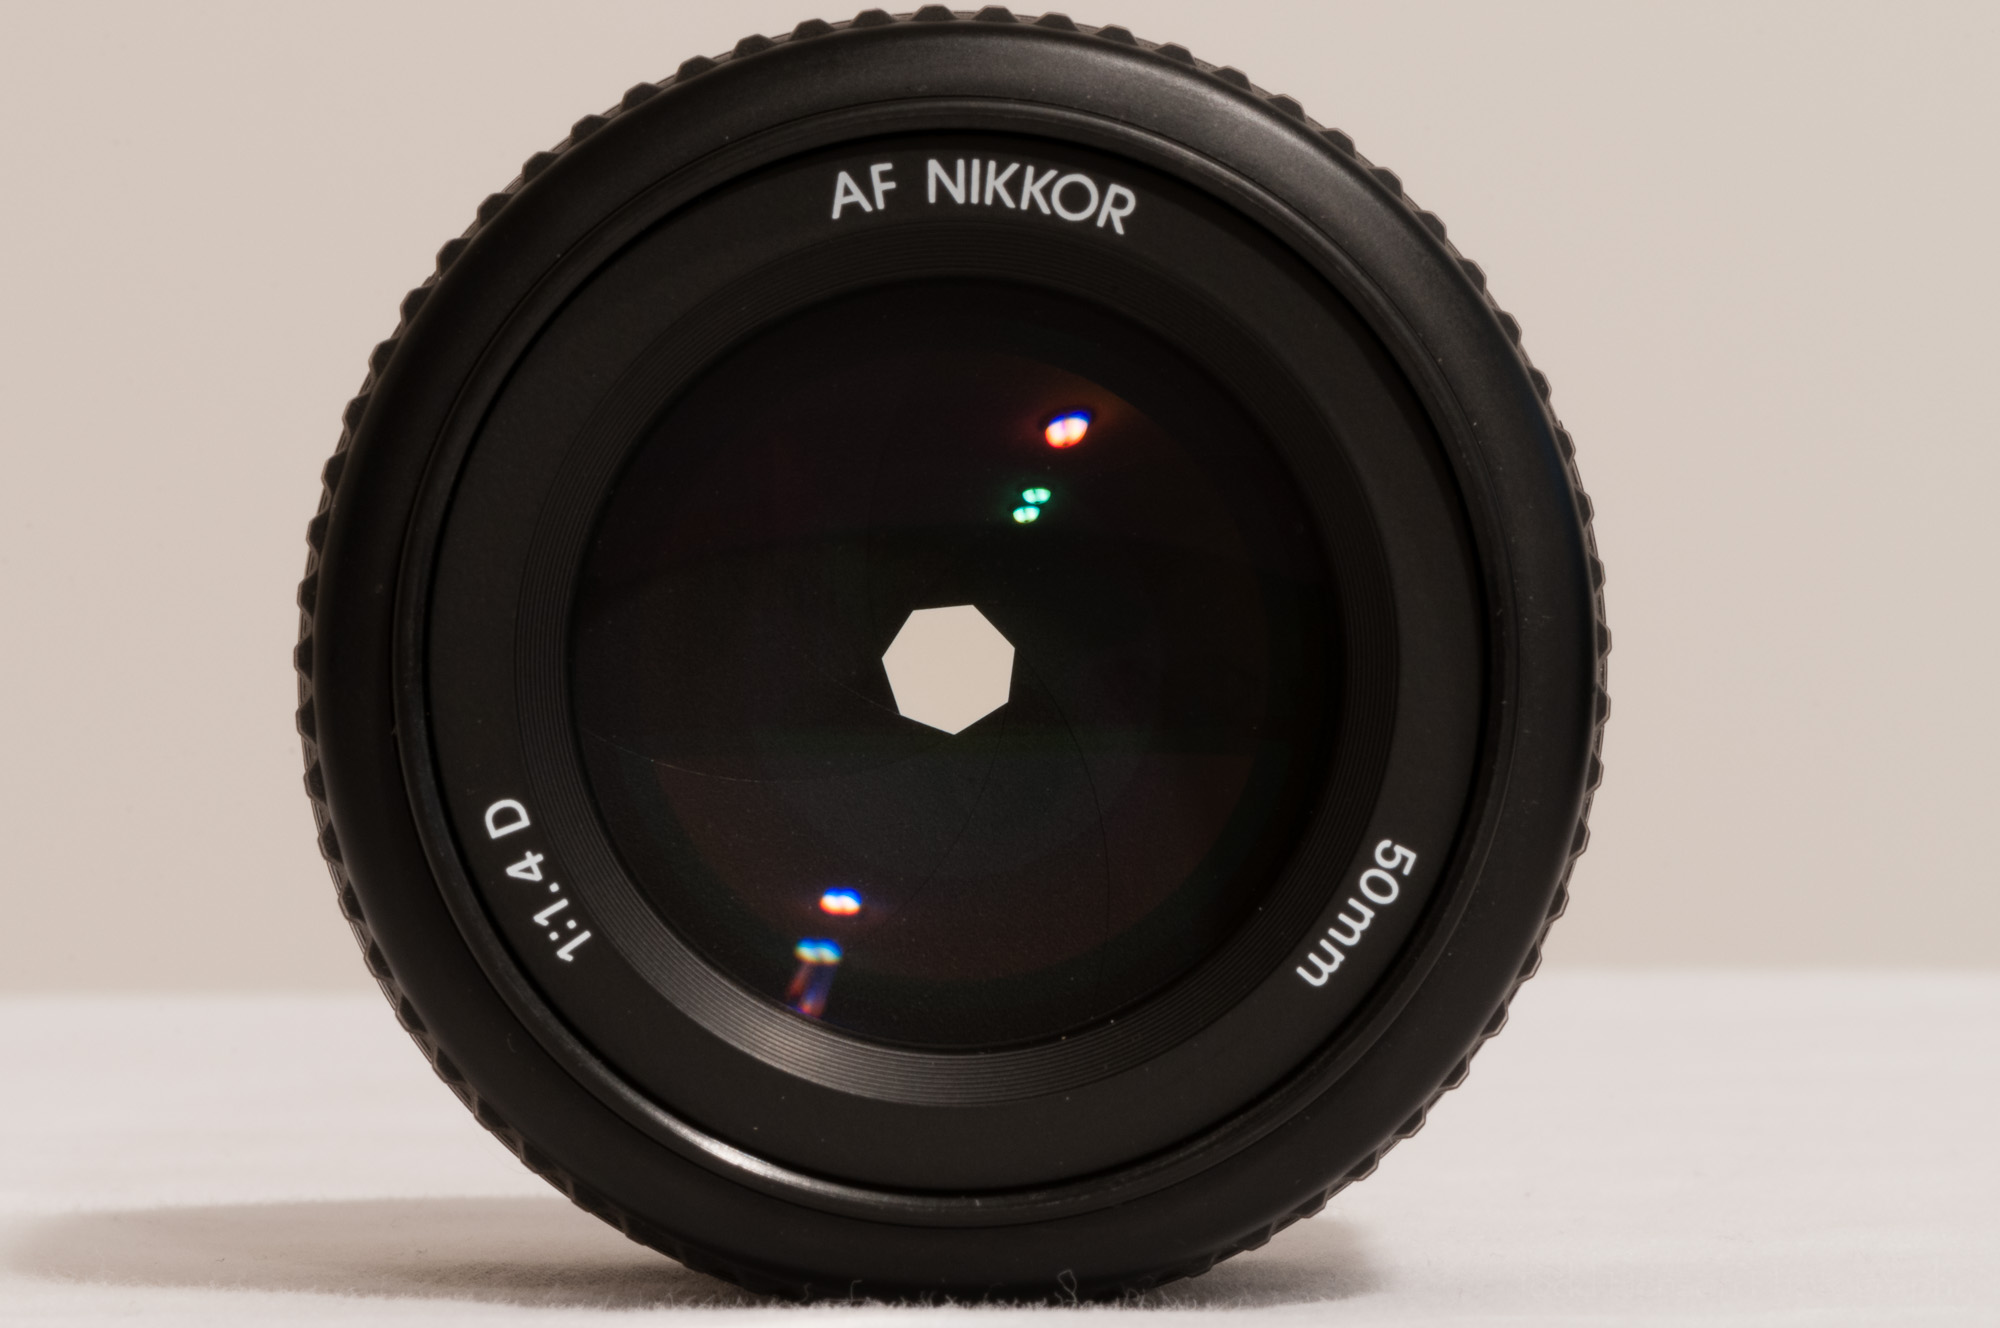
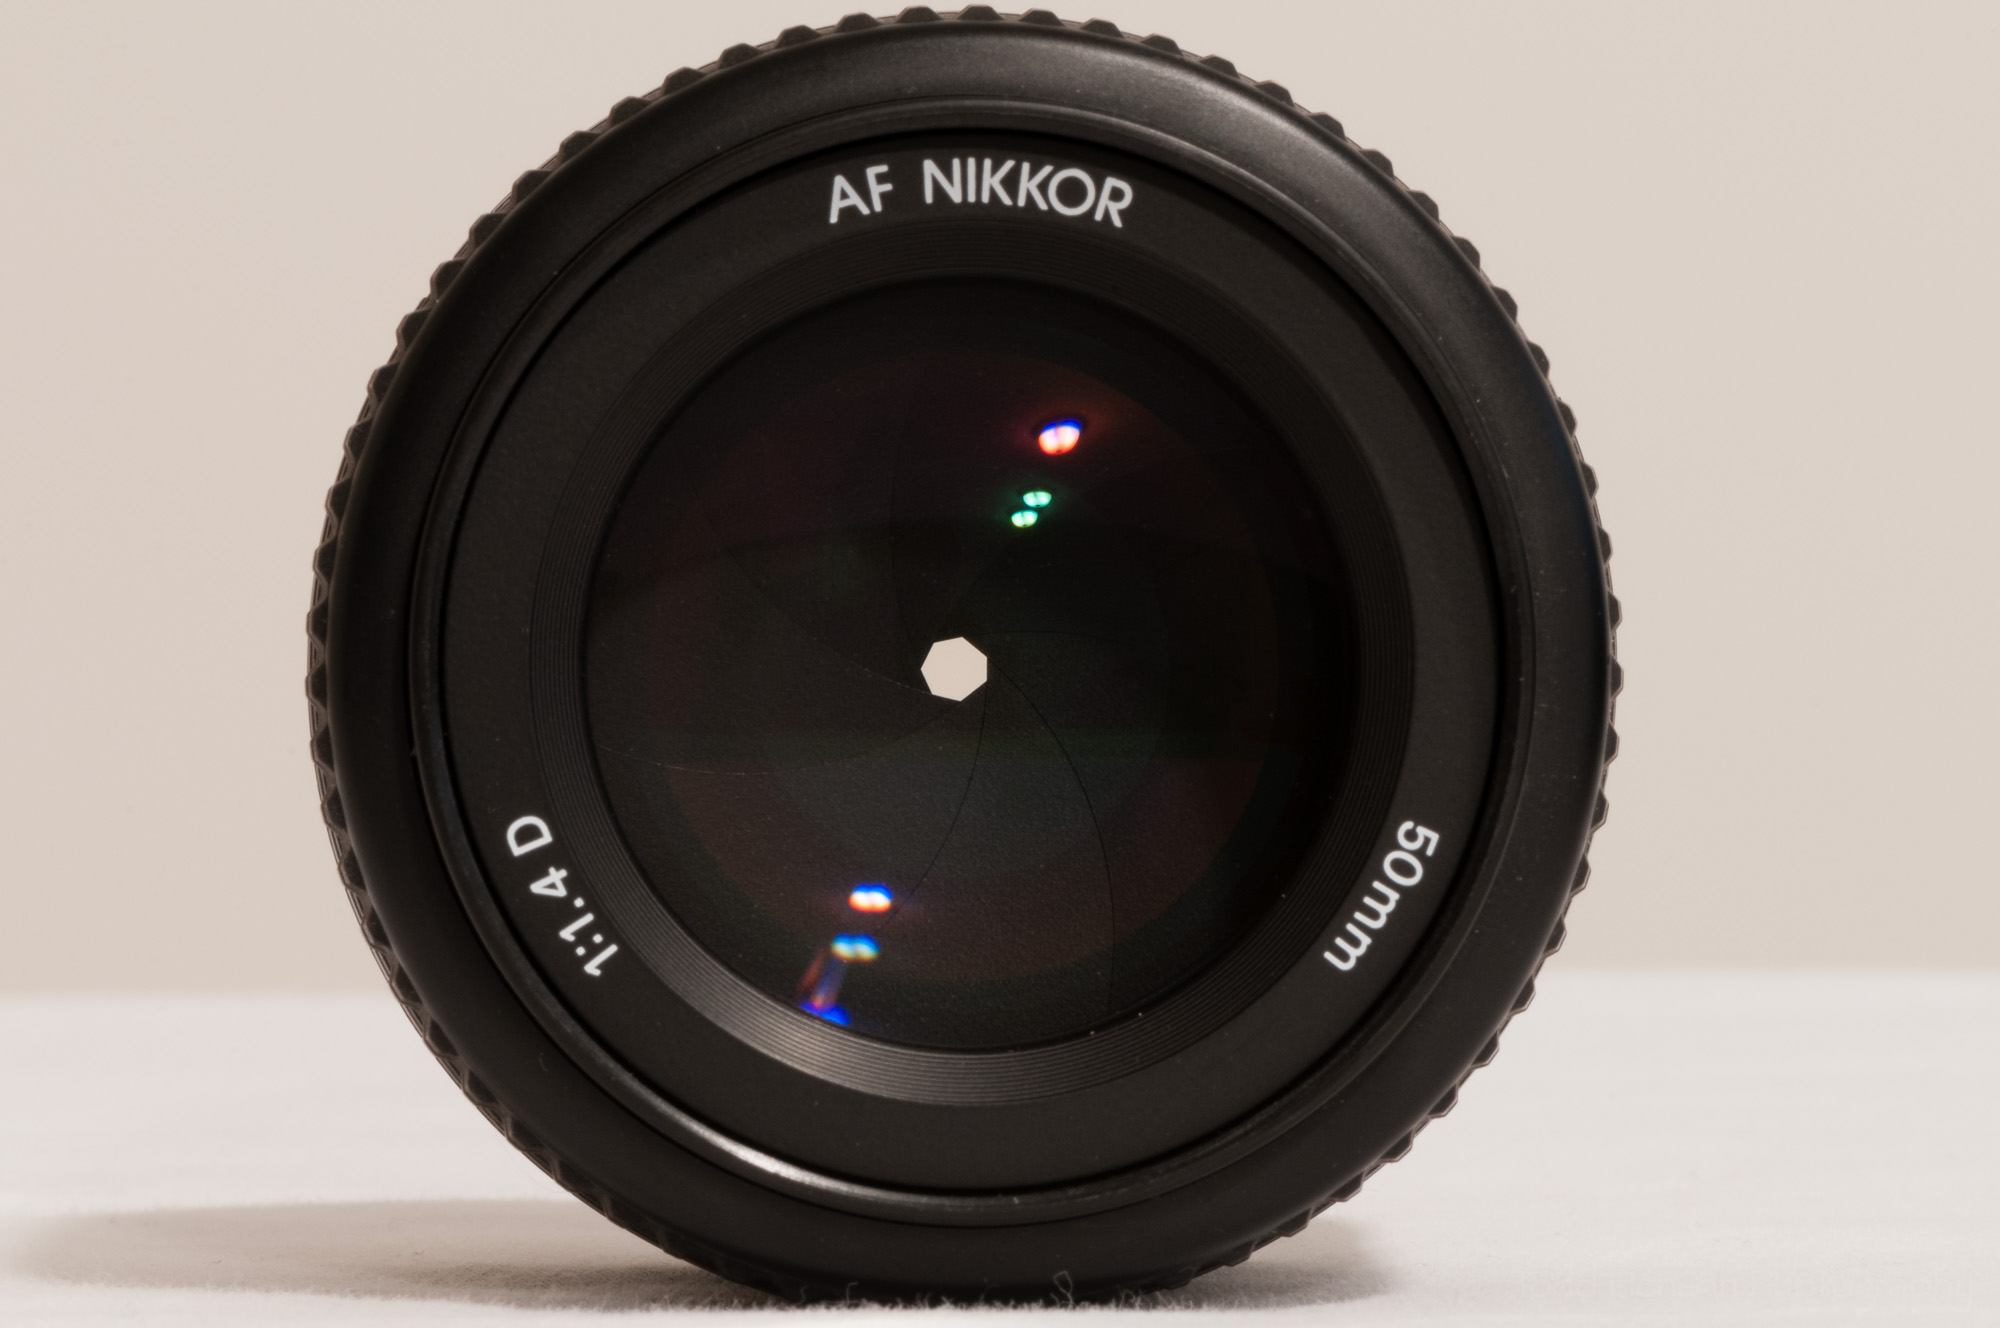
When was the last time you cleaned your gear?

When was the last time you cleaned the outside of your gear or the glass of your lenses? Maybe it’s time to clean your sensor. Bring out your blowers, brushes, and lens wipes and get cleaning.

Reorganize Your Gear

Where do you store your gear? Is it clean and organized, or could it use a little tidying up? What about your camera bags? Are they full of too much stuff accumulated over the years? Is there a better way to reorganize their dividers? Let’s get organized.

Post-processing

This is a perfect time to work on your back catalog, processing photos you maybe have been meaning to, but just haven’t gotten to yet. It’s also a great time to organize your catalog, tag and rate your photos, etc.

Learn Your Software

Try something new with your photography software.

There’s always something new to learn with software these days. And I find it’s also good to practice things I’ve done before to be sure I remember how. So spend some time with your software. Pick an image, any image, and try to learn a new feature. Experiment. Play. Have fun.
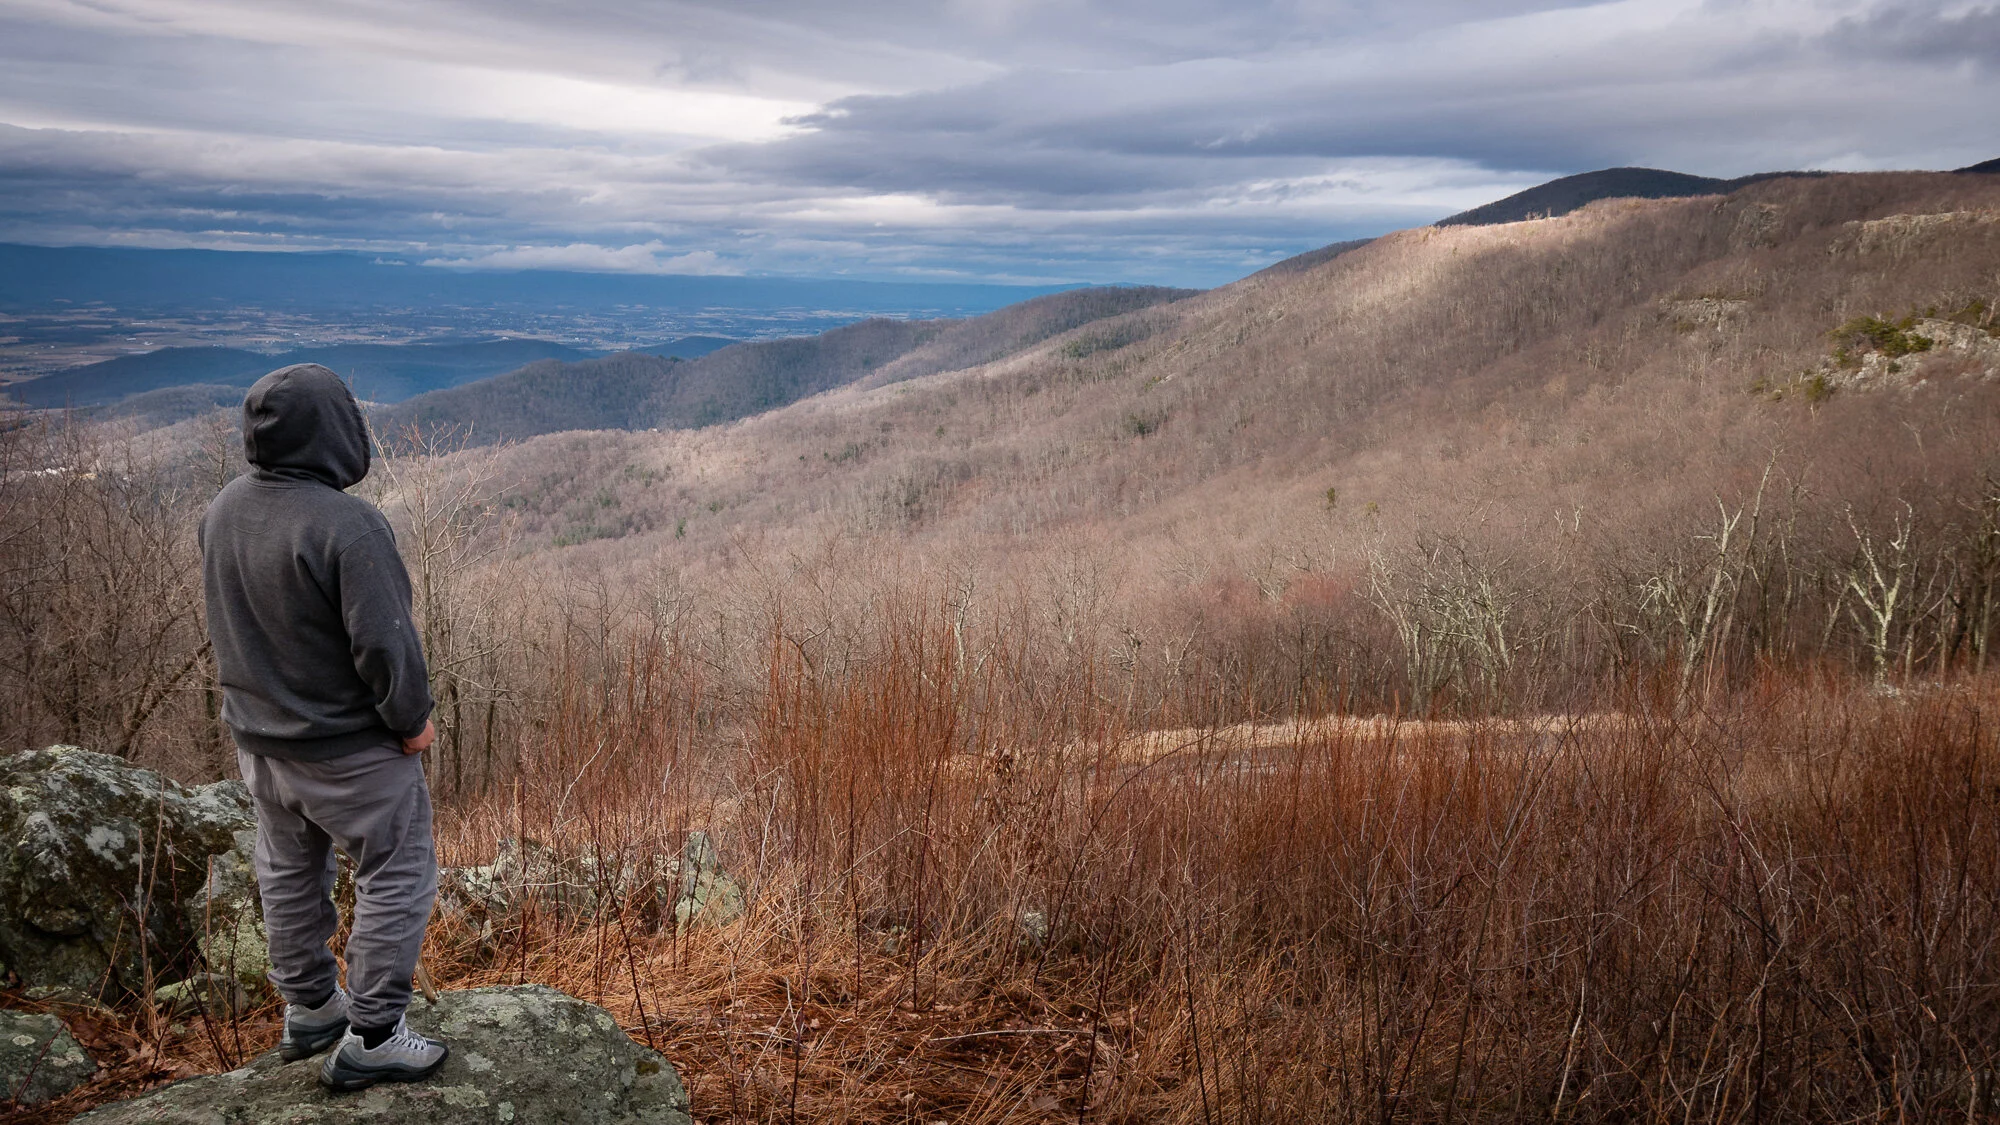
Brainstorm

Maybe you can’t head out now and photograph, but you can brainstorm ideas for when you are able to get out. Take some time and consider ideas for future photographs or projects. Make some plans. Think about things you’d like to photograph. What time of day would work well in that location and with that subject? What season? Maybe research locations you’ve yet to visit.

I hope this list has given you some ideas of ways to stay active and productive even if you can’t leave your house. There’s almost always something we can do to keep learning, to better our craft and better ourselves.

Keep learning. Have fun. And stay positive and healthy!


Do you enjoy these posts?

Sign up to receive periodic emails with updates and thoughts. Don’t worry, I won’t spam you. And please consider purchasing artwork or products from my online store, and using my affiliate links in the sidebar to the right when shopping online.

I appreciate your support!


Wildlife Photography as Education or Wildlife Photography as Art? by Todd Henson

I’ve mentioned before how I have multiple purposes when out photographing wildlife. I have always been interested in wildlife and love learning about all the different species out there in the world. I also have an artistic side that loves creating beautiful photographs of interesting subjects.

Wildlife Photography as Education

I love wildlife. I would go hiking in search of wildlife even if I weren’t a photographer. I collect field guides and books about nature and wildlife of all kinds. So from this perspective photography is a means to an end, allowing me to better appreciate and study wildlife.

My first priority when photographing from this perspective is capturing images that are clear enough to identify the species. To do this I make a conscious effort to photograph as many different views of the species as I can. Sometimes two bird species will look almost exactly the same save for one small area on their body. If you don’t photograph that part of their body you may not be able to tell which species you just photographed.

Artistic? No, but together these photos allowed me to identify this as a Striped Skunk.

Photographing different parts of an animal can help with identification, as it did with this Striped Skunk.

There is nothing artistic about this photo of a Pileated Woodpecker, but it is good enough to identify the species.

When photographing for education I often create what would be considered bad photographs from an artistic perspective. They are cluttered or blurry, the subject is too far away, or turned in an unflattering direction. You can see some of these in my Field Notes sections. But I consider them good photographs if they identify a species or show an interesting behavior. There is value in this, at least to me.

Wildlife Photography as Art

I also love photography as an art form. I enjoy trying to create pleasing, artistic photographs, images that show emotion or have a message, even if it might be interpreted completely differently by different viewers.

Photographing wildlife from this perspective entails a slight shift in priorities. I no longer worry quite so much about photographing the animal from all the different perspectives. I’m now far more aware of the environment, of the background. A good background can make a shot, a bad background can kill it.

A portrait of an Eastern Cottontail Rabbit

Most of my photography in this category might be considered animal portraiture. I zoom in on the animal, trying to keep the background to a minimum. I most often choose lenses and settings that allow me to blur the background, drawing attention to the subject. This often requires long telephoto lenses and larger apertures, as well as finding locations where the subject is at a great enough distance from the background to allow a pleasant blur, perhaps completely obscuring the background.

A Yellow-rumped Warbler preparing to fly. I deliberately positioned myself to take advantage of the out of focus green background.

A cloud sheltered this Eastern Bluebird from the sun, yet its light illuminated the autumn colors in the background.

But it’s also possible to create environmental portraits, or even landscapes with wildlife, photographs that show the animal in its environment. The animal is still a subject of the photograph, but no longer the only subject. The environment, itself, becomes a subject, showing where the animal lives, hunts, eats, nests. These can often be wide, sweeping landscape images that showcase a species as part of the landscape. I don’t often shoot these but I do have a great desire to try more of them.

So Which Is It?

I enjoy photographing wildlife as part of furthering my or others education. I enjoy photographing wildlife in an artistic manner. These perspectives sometimes require different tactics. So which do I choose when going out shooting? Which takes priority?

Honestly, I don’t put a lot of thought into it while in the field. I think both are worthwhile perspectives, shooting wildlife photography as a means of education or as a form of art. And thankfully I don’t have to choose one or the other. I can pursue both.

If I find a species that is new to me I will naturally try to create as many photographs of it as possible. I want to be able to successfully identify it, and I’m naturally interested in animal behavior, so I try to capture that. I also am always looking for pleasing backgrounds, interesting compositions. But in the case of a new species I do tend more towards the photography as education perspective.

If I’m photographing a species I’ve photographed many times before I know I don’t need extra images to help identify it, so my focus is on creating the most pleasing image I can. I might skip some potential images in pursuit of something more interesting, something where the light hits the animal just so, or the animal’s position lines up perfectly with some element of the scene. Without putting much conscious thought into it I jump right into the artistic perspective.

These perspectives remind me of a recent conversation with a friend, talking about birding and photography. Some birders develop an interest in photography through their existing interest in birding. And some photographers develop an interest in birding through their photography. There is enough overlap between the two to draw some people to both.

What about you? Do you prefer one or the other, or do you also enjoy both perspectives? Or do you, perhaps, have another goal separate from these two?


Do you enjoy these posts?

Sign up to receive periodic emails with updates and thoughts. Don’t worry, I won’t spam you. And please consider purchasing artwork or products from my online store, and using my affiliate links in the sidebar to the right when shopping online.

I appreciate your support!


Fundamentals of Photography with John Greengo by Todd Henson

This post contains affiliate links and I will be compensated if you make a purchase after clicking on my links. This is at no extra cost to you.

Fundamentals of Photography with John Greengo. Image credit: CreativeLive

Fundamentals of Photography with John Greengo. Image credit: CreativeLive

Are you new to photography? Interested in learning how to master your new camera and use it to begin creating beautiful images? Or perhaps you already know a bit about photography and would like a refresher to reinforce various topics? If so, check out CreativeLive’s class, Fundamentals of Photography, taught by John Greengo.

For many years John Greengo has taught his Fundamentals of Photography class, often adding or updating content, especially if anything new has happened in the world of photography. I’ve purchased two versions of this class in the past (in 2010 and 2012), and still go back to the lessons from time to time. John is a great teacher and he creates amazing visuals that help explain and reinforce the topics he teaches. (The visuals and examples in this post are my own.)

Selection of SLR lenses

In the class, John covers a wide range of topics. He talks about the different types of cameras out there today and how each work. He explains each part of a camera system, including the digital sensor and the differences between sensors, and camera lenses in their different forms. He explains how light works and how the camera captures it.

John teaches about exposure, and how it is affected by choices of shutter speed, aperture, and ISO. He explains each of these topics with visuals that really help you grasp the concepts. Examples of this are how to use aperture to get a shallow depth of field or a large depth of field. He talks about how shutter speed will affect the look of your image, allowing you to freeze the action or create motion blur to show the action. He explains ISO and how it controls how sensitive the sensor is to light.


Example: Aperture and Depth of Field

The images of the lens below show the actual, physical, opening of the aperture at 4 different f-stops: f/1.4, f/4, f/8, and f/16. For this particular lens, a 50mm f/1.4 Nikkor lens, the largest opening possible is f/1.4 and the smallest opening possible is f/16. Click on the arrows on either side of the image to display to the next image.

The images of the frogs below show the depth of field for each of the apertures above. The depth of field is the area most in focus. In each image I focused on the eyes of the middle frog.

Notice at f/1.4 there is very little depth of field, meaning there is a lot of the image that is out of focus. Notice how at f/4, then f/8, and finally f/16, that more and more of the image is in focus.

Look at the images of the lens above again. Notice that f/1.4 is the largest opening and created the least depth of field (had the least in focus). Notice that f/16 is the smallest opening and created the largest depth of field (had the most in focus).


Example: Focal Length and Perspective

The images below were created at 2 different focal lengths. I attempted to keep the compositions as close as possible.

The first image was created using a wide angle lens at a focal length of 16mm. The front of the lens is very close to the foreground frog. Notice how large the foreground frog is in relation to the background frog. Notice how far away the background frog looks. Short focal length lenses (wide angle lenses) can stretch out the landscape, making objects in the foreground appear larger and making objects in the background appear smaller.

The second image was created using a telephoto lens at a focal length of 200mm. Notice how much larger the background frog is in relation to the foreground frog. Notice how much closer the background frog seems than in the wide angle image. This is called compression. Longer focal length lenses (telephoto lenses) compress the foreground and background, bringing the background objects closer to the foreground.

These images are an example of why it can still be very useful to move back and forth in a scene and not just rely on zooming your lens to fit the scene to the lens. Instead, visualize how you'd like the image to look.

Do you want to emphasize the foreground and minimize the background? Then use a wide angle lens and get close to the foreground object.

Do you want to emphasize the background, making it seem very large? Then use a telephoto lens. You can then move closer or further from the foreground object depending on how large you what that to be in the frame.


In addition to the more technical topics, John also talks about composition and design, about how to create pleasing images, how to add drama and evoke emotion in the viewer. He has had a long and successful career in photography, and has worked with other well known photographers, such as Art Wolfe. John is very good at taking what he’s learned and passing that on to his students through the videos and visuals.

Fundamentals of Photography is a long class full of content. It is first broadcast live over several days, usually close to 5 or 6 hours a day. One of the nice things about purchasing the class is being able to watch it later at your own pace. You can take one topic at a time, watch the videos, experiment with your camera, really understand the topic. Then move on to the next topic.

If you’re new to CreativeLive, check them out. They are an online education company that broadcasts classes on a whole range of topics. The classes are free to watch during the live broadcast and from time to time when they rebroadcast the class. They are always broadcasting something. If you like the class you can purchase it, letting you stream the class anytime, and also letting you download the videos and other content to your computer to watch offline anytime you want. Some classes have extra content only available when you purchase. I have purchased dozens of classes over the years, and likely will continue to. CreativeLive offers a fantastic platform for learning. Their topics cover not just photography & video, but also art & design, music & audio, craft & maker, and money & life.