Angular Flow No. 1
The Story
Angular Flow No. 1 is a more abstract photograph than I usually create. It depicts water flowing over a dam above Great Falls on the Potomac River, which flows between Maryland and Virginia and past Washington, DC.
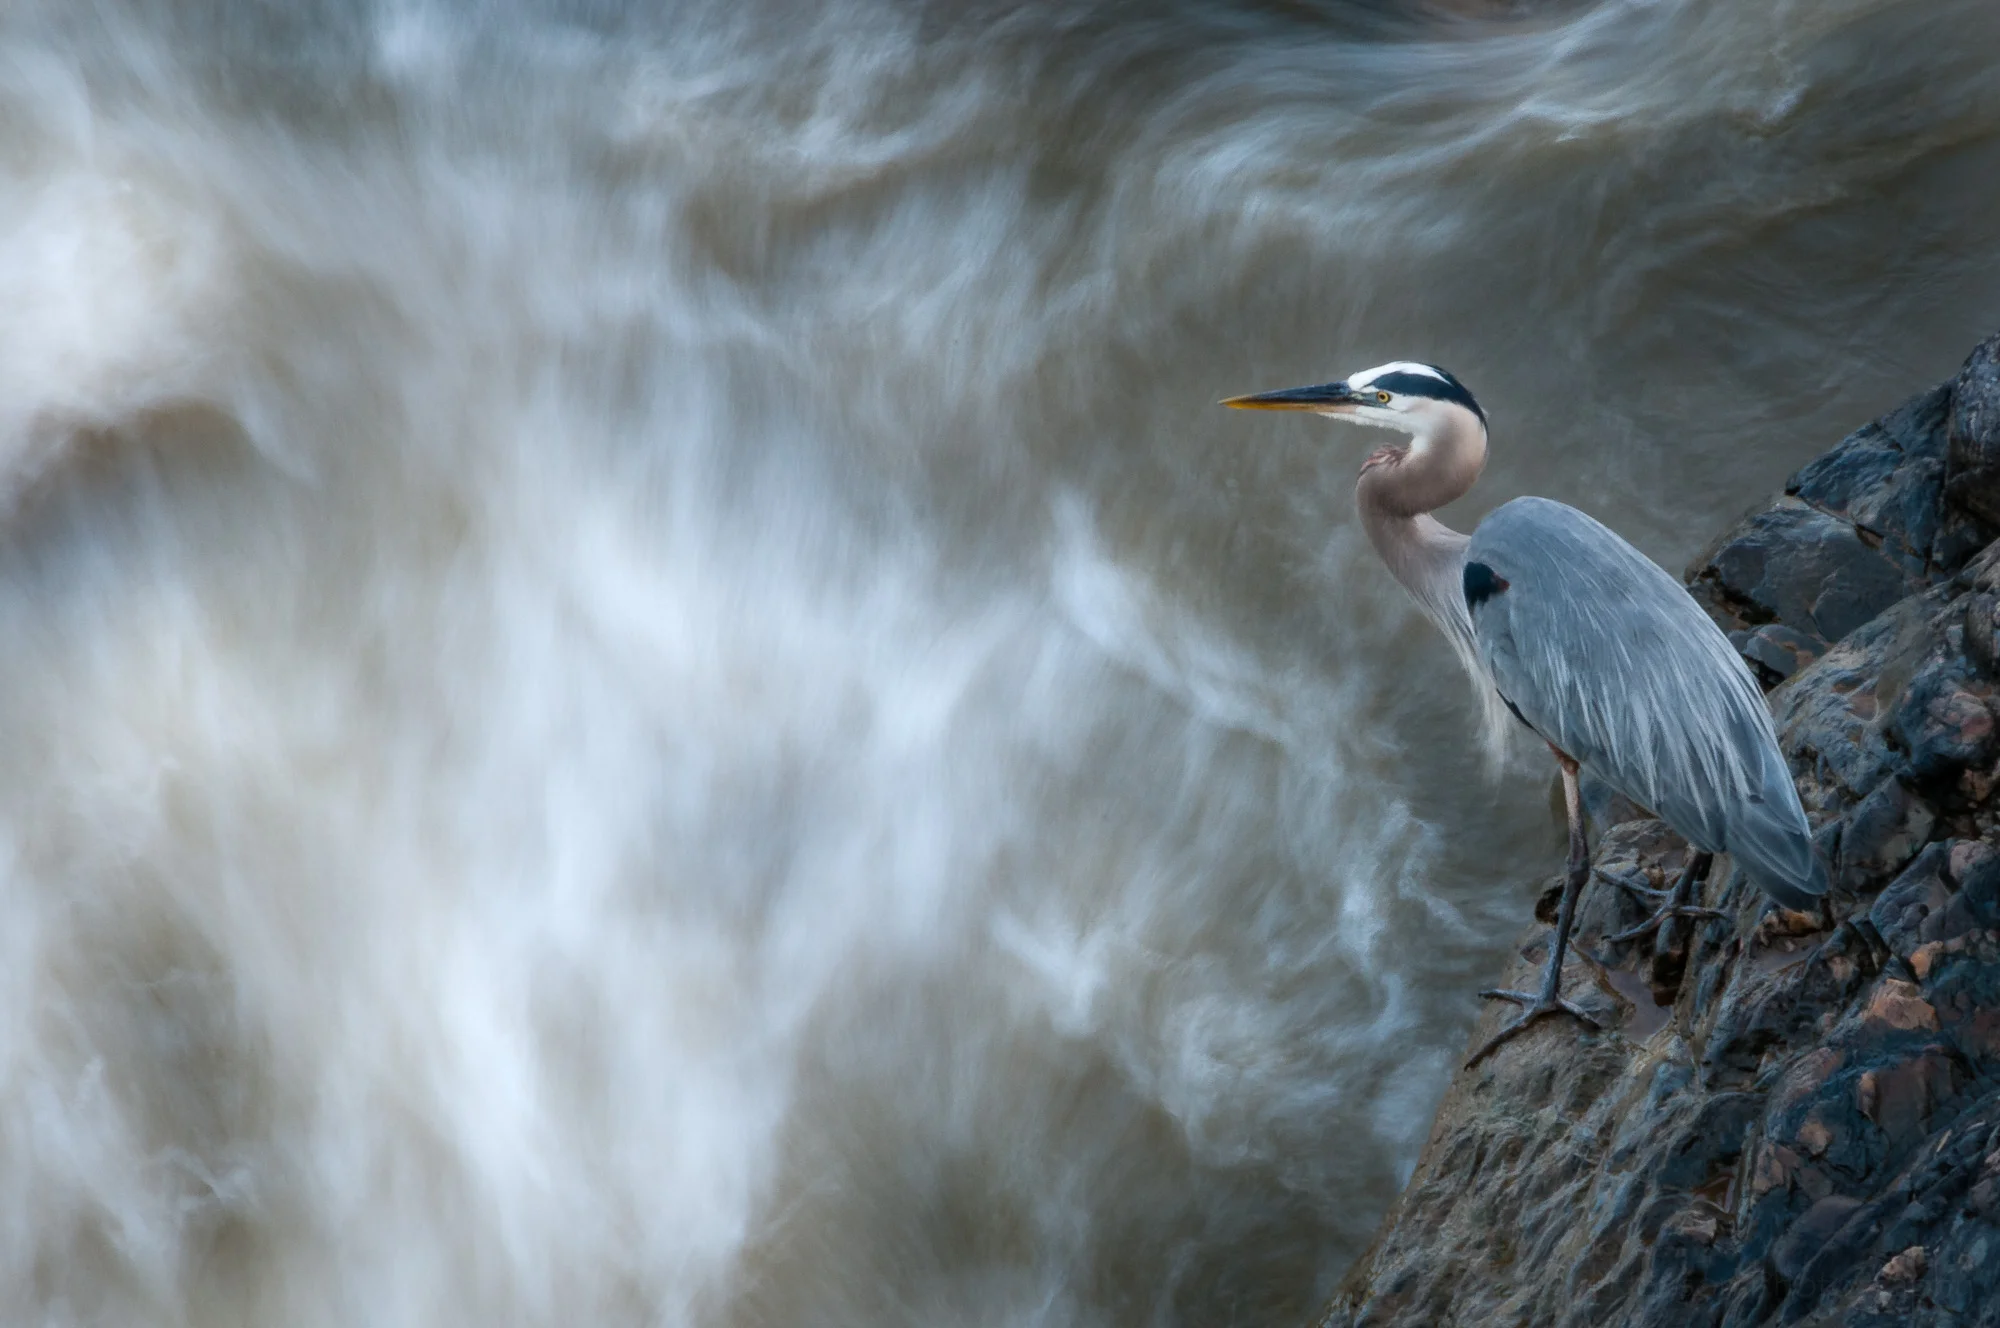
I had been on the Maryland side of the river photographing the falls and also some of the many Great Blue Herons that congregate at the falls looking for fish. A little later in the day, while standing on a platform overlooking the dam above the falls I was taken by the interesting lines and tones as the water flowed over the dam.
I liked the look of the flowing water, and how the dam created a distinct line between the darker water above the dam and the lighter water below the dam. I figured a slow shutter speed would accentuate this, smoothing out the water and showing all the different tones, helping with the abstract nature of the scene.
The Technique
I wanted a slow shutter speed but I didn’t have a neutral density filter with me, so instead I stopped the aperture of my lens down as far as it would go, f/36 in this case. Stopping down the aperture limits the amount of light that gets through the lens to the camera sensor. That’s why it lets you use a slower shutter speed, the sensor needs more time to collect enough light for the exposure.
Stopping down the aperture also increases the depth of field. I wasn’t all that worried about the depth of field in this case, but it does help assure the line of water going over the dam is in focus.
Be aware, using very small apertures can also adversely affect the sharpness of a photograph due to diffraction. In this case I wasn’t as worried about that, as the subject was flowing water. But you may notice your photos are a little soft when you use the smallest aperture. If this happens open the aperture a little more.
Setting an aperture of f/36 and keeping my ISO as low as I could (ISO 200) let me keep the shutter open for 5 seconds (requiring a tripod), creating just the sort of look I was after.
The Processing
Below you can see the raw image I started with before making any adjustments in Adobe Lightroom. This is an unprocessed raw, so it is naturally a little flat. I didn’t think the rocks in the background added anything to the image, as I was most interested in the water, itself. So I cropped out the top part of the image. I also noticed the rocks were not very sharp.
The original raw image for Angular Flow No. 1
Next I tweaked the white balance and made various other adjustments to bring out a little more contrast between the different parts of the frame. As you can see below, the blue, reflected from the sky, begins to look a little unrealistic. But I had in mind a monochromatic photograph to concentrate on just the tones and lines so I wasn't worried about how the colors looked, just how the contrast and patterns looked.
Initial color processing of Angular Flow No. 1
Finally, I converted the image to black and white and tweaked all the color channels to adjust the levels of grey associated with each color. I brought up the whites and darkened down the blacks. In the color images the water flow was not quite horizontal, there was a slight upward tilt towards the left. So I rotated the image just slightly to make the water flow more horizontal. I thought about cropping such that the diagonal line of the dam ran from one corner to the other but I actually preferred the look where the line ends just above and below the corners.
Angular Flow No. 1 - The final version in black and white
Let me know what you think in the comments below. Would you have done things any differently?
Do you enjoy these posts?
Sign up to receive periodic emails with updates and thoughts. Don’t worry, I won’t spam you. And please consider purchasing artwork or products from my online store, and using my affiliate links in the sidebar to the right when shopping online.
I appreciate your support!