black and white

Variations on a Theme: October on Aquia Creek by Todd Henson

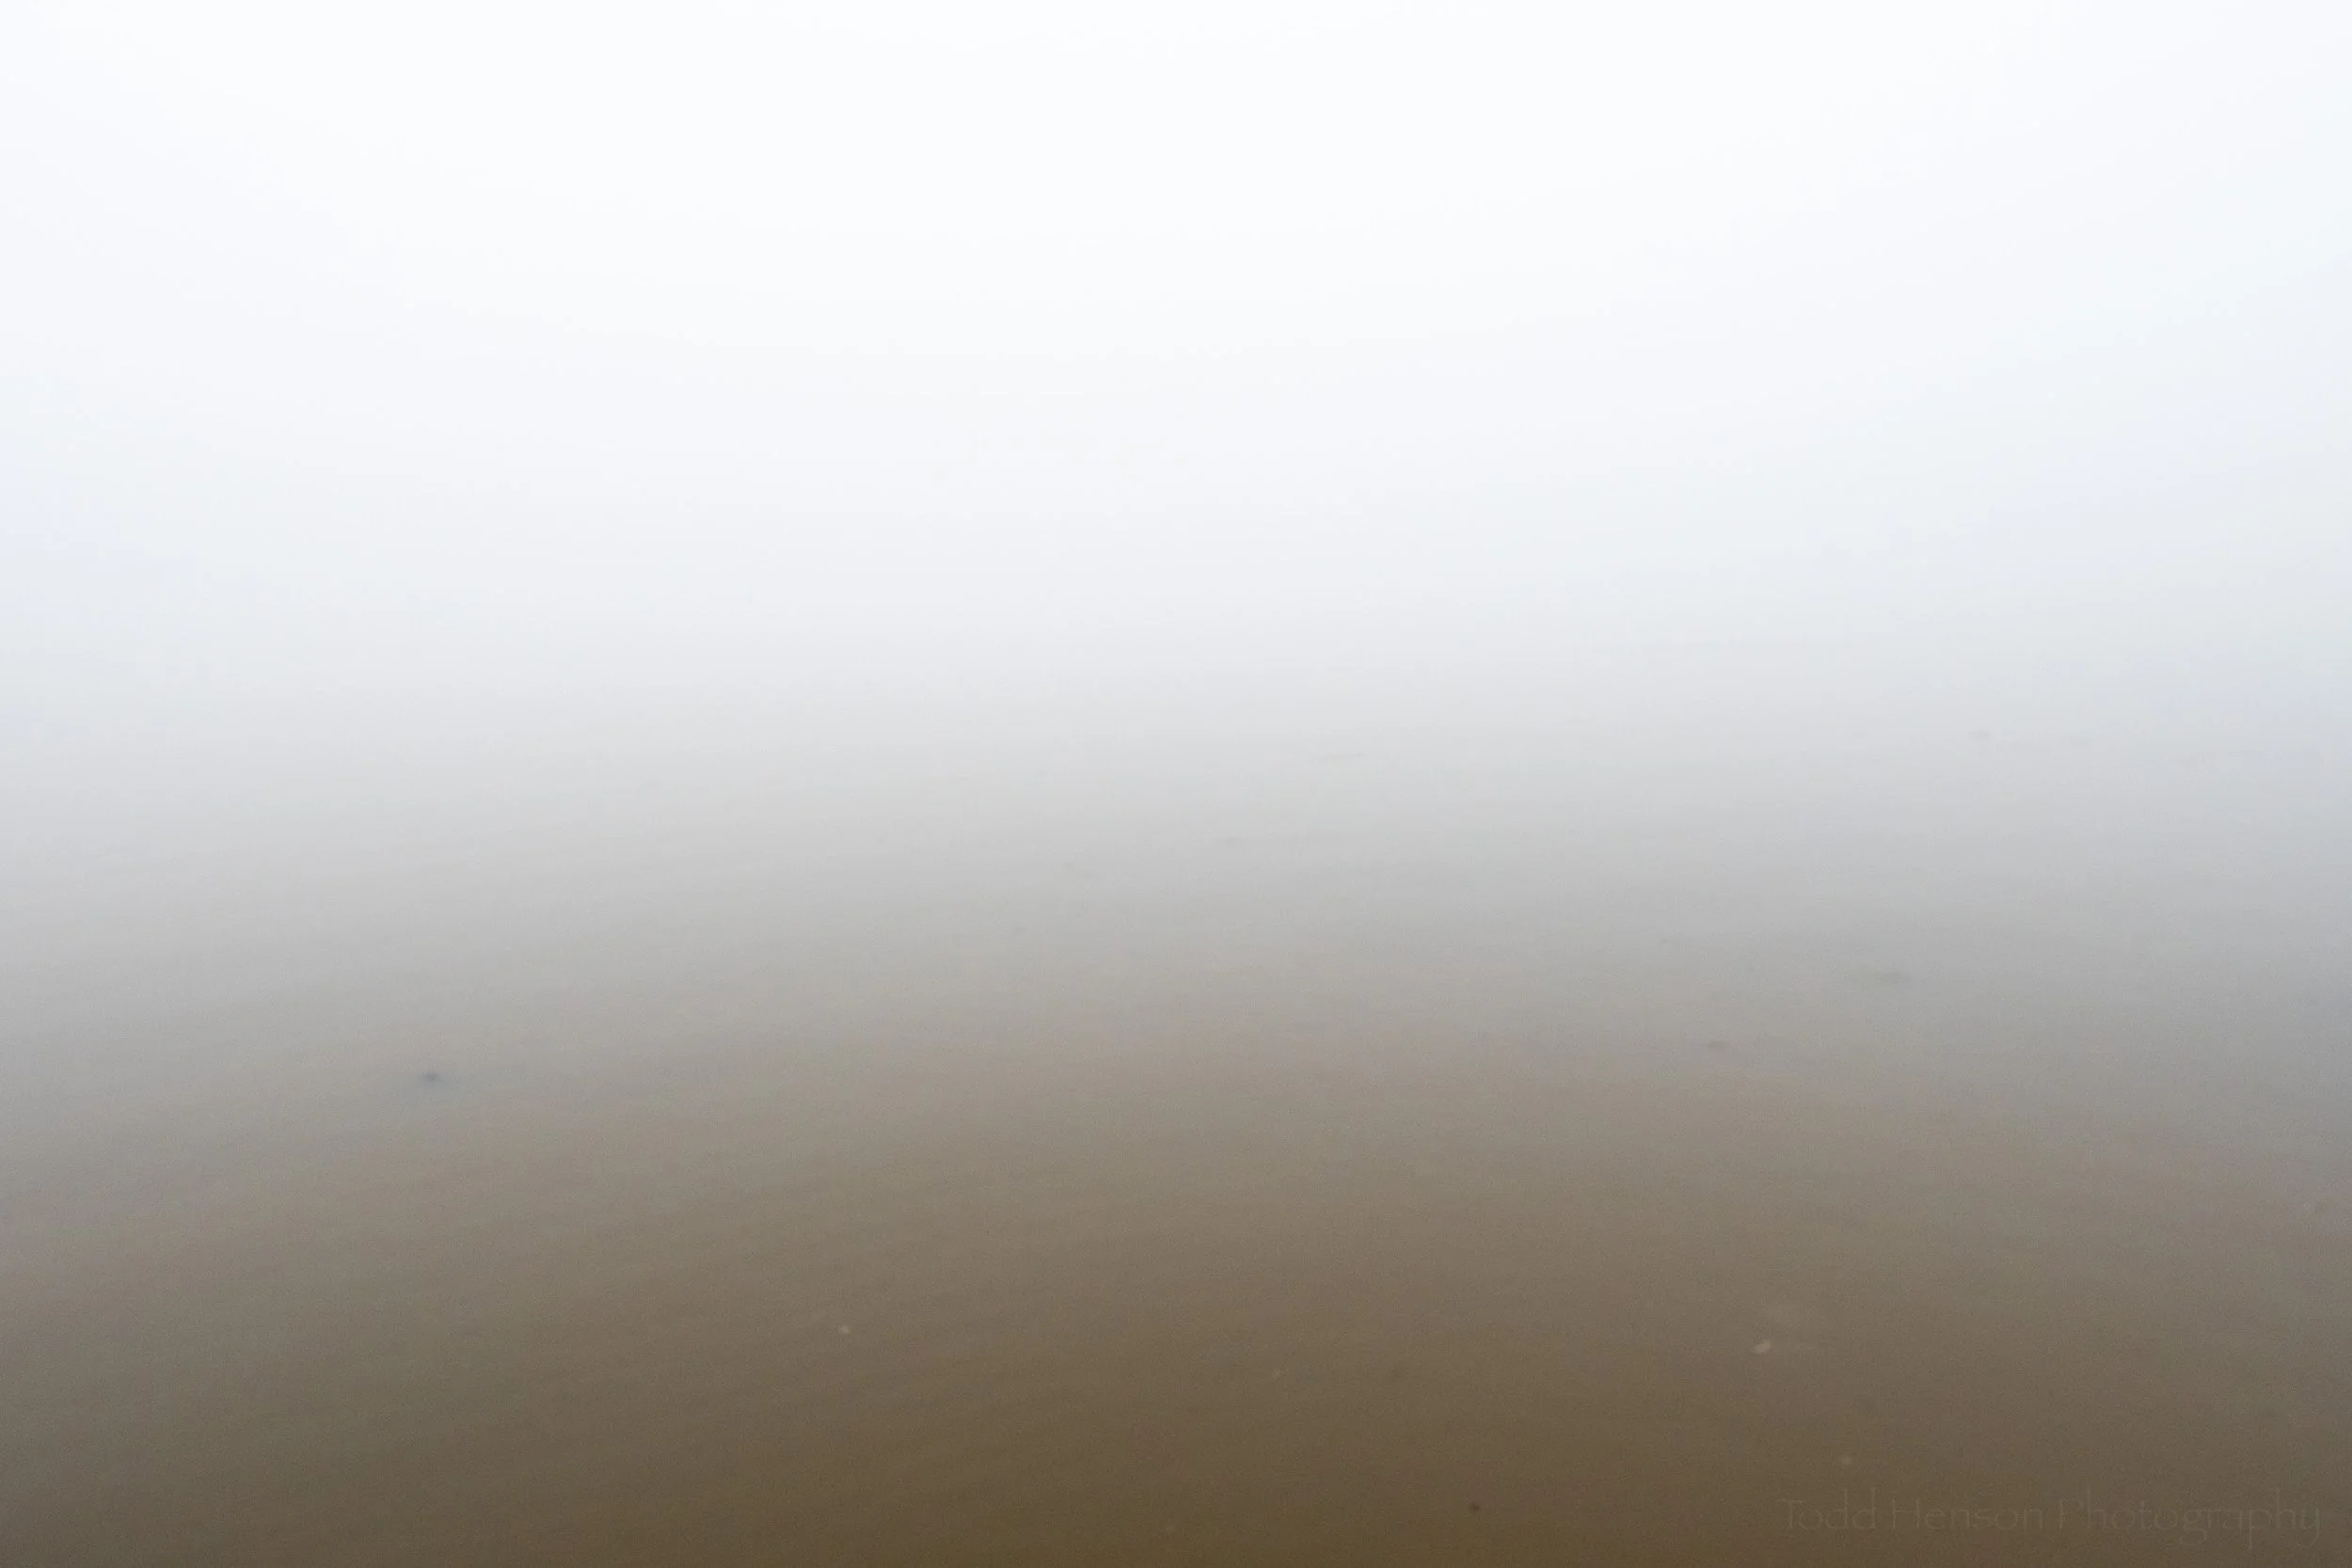
To set the stage, the weather forecast in late October had called for somewhat overcast skies which I’d thought might work for photographing autumn color reflections along the shoreline of Aquia Creek as seen from Widewater State Park in Virginia. So my father and I set out that morning to find hardly a cloud in the sky. Such is life. 😀

While walking along the shoreline I noticed a pier in the distance and for whatever reason was attracted to it. The sun was up, there was this single long cloud or perhaps a large contrail in the sky, and cormorants were fishing in the creek. I thought the scene might work as a black and white image since there wasn’t a lot of color, mostly the blues of the sky reflecting off the water. I honestly figured any images this day would be sketches of the scene and I’d try returning another day with different weather. As we walked along the shoreline trail I kept photographing this same scene from slightly different perspectives.

At some point either the wind or perhaps a boat created a wake in the water that seemed to reflect the angled line of the cloud. I liked that symmetry so created another set of photos, the results of which can be seen in this post.

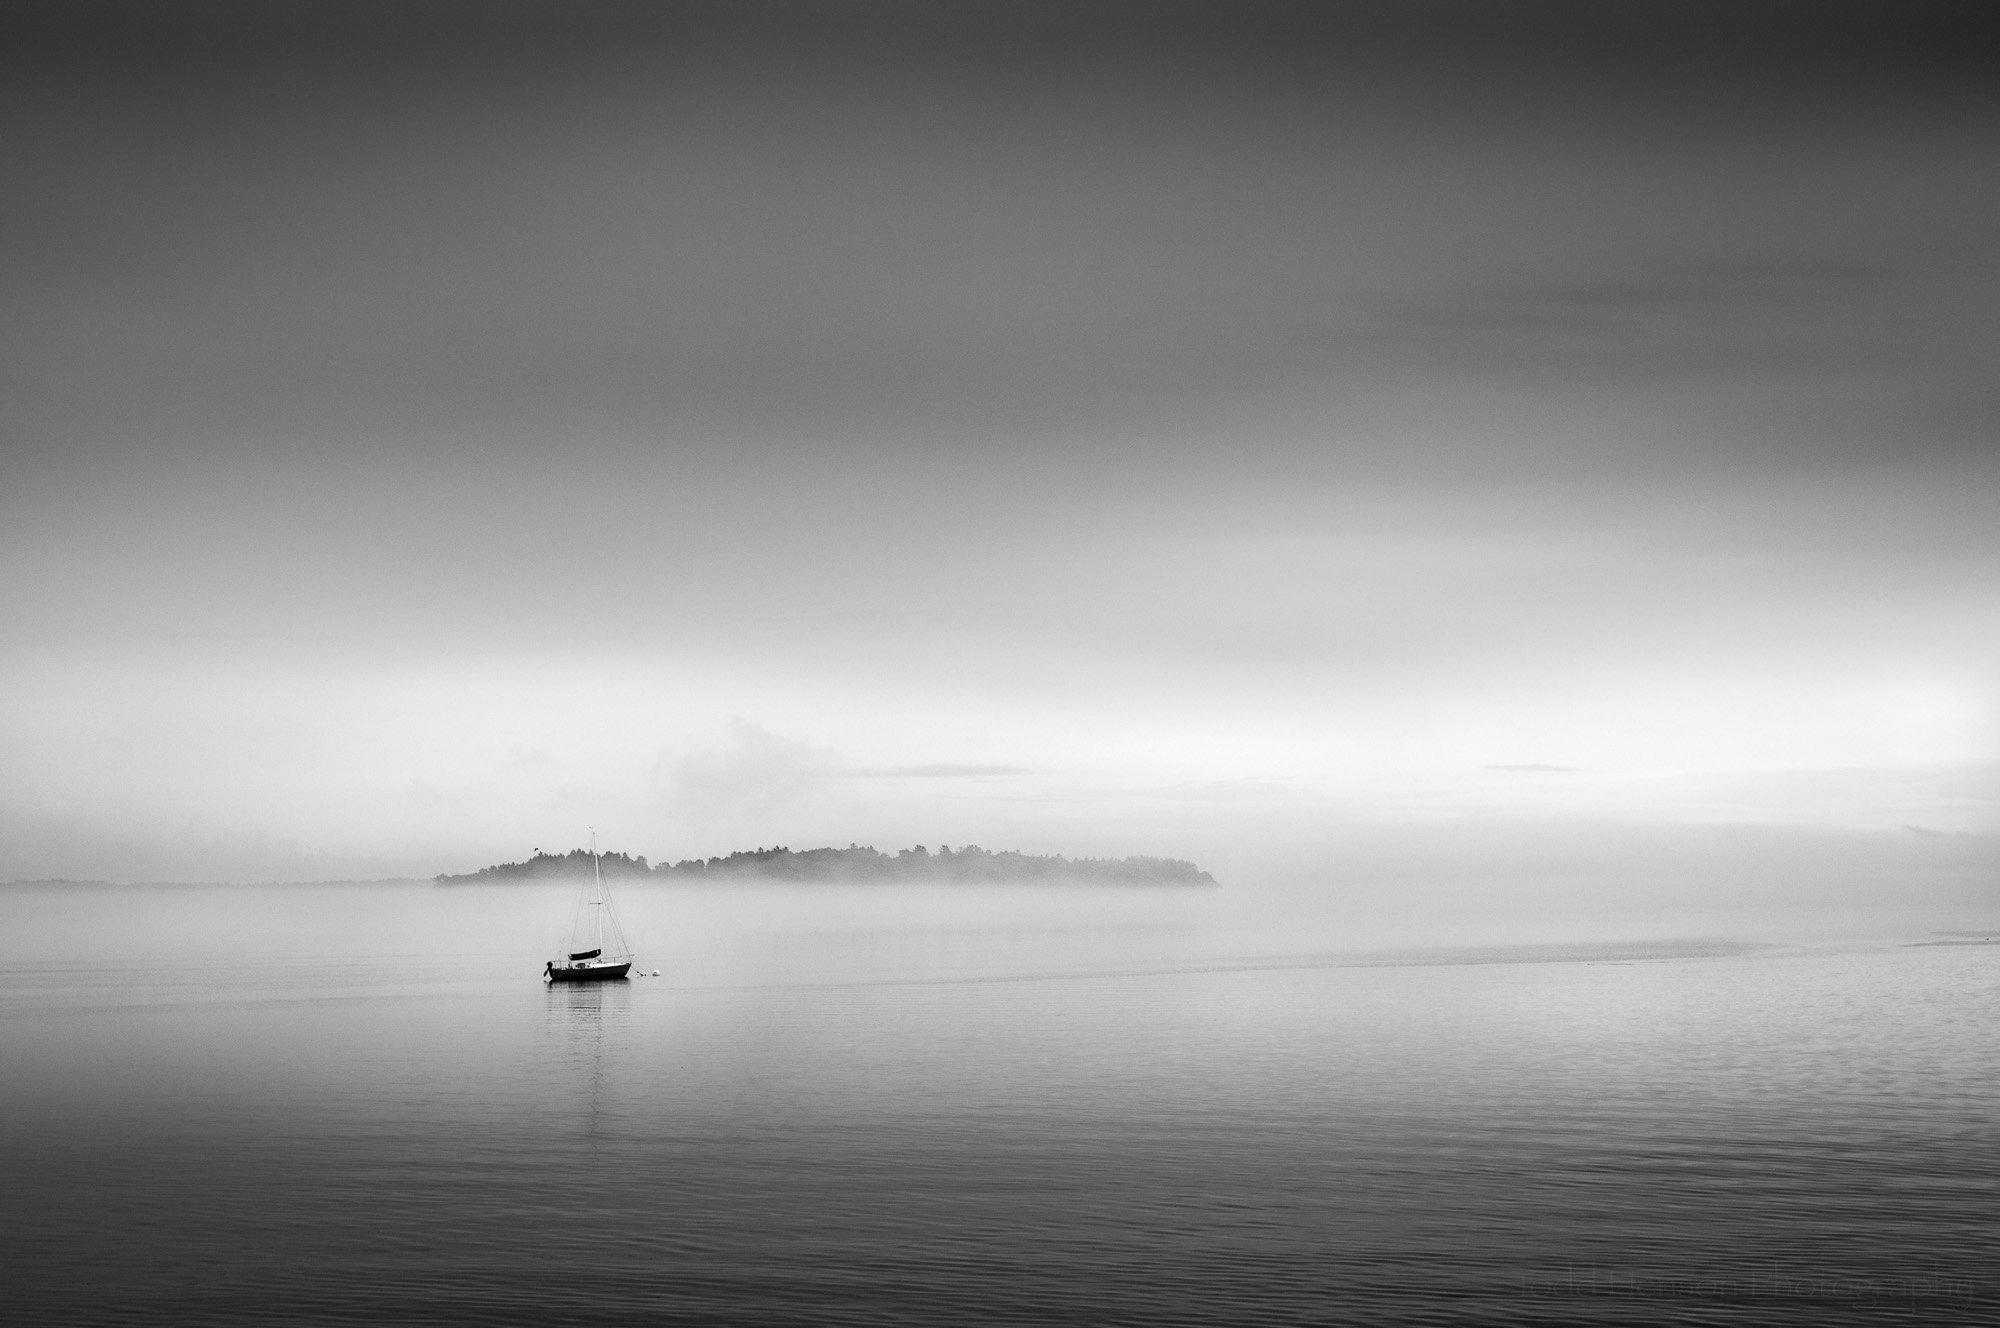
October on Aquia Creek (black & white version)

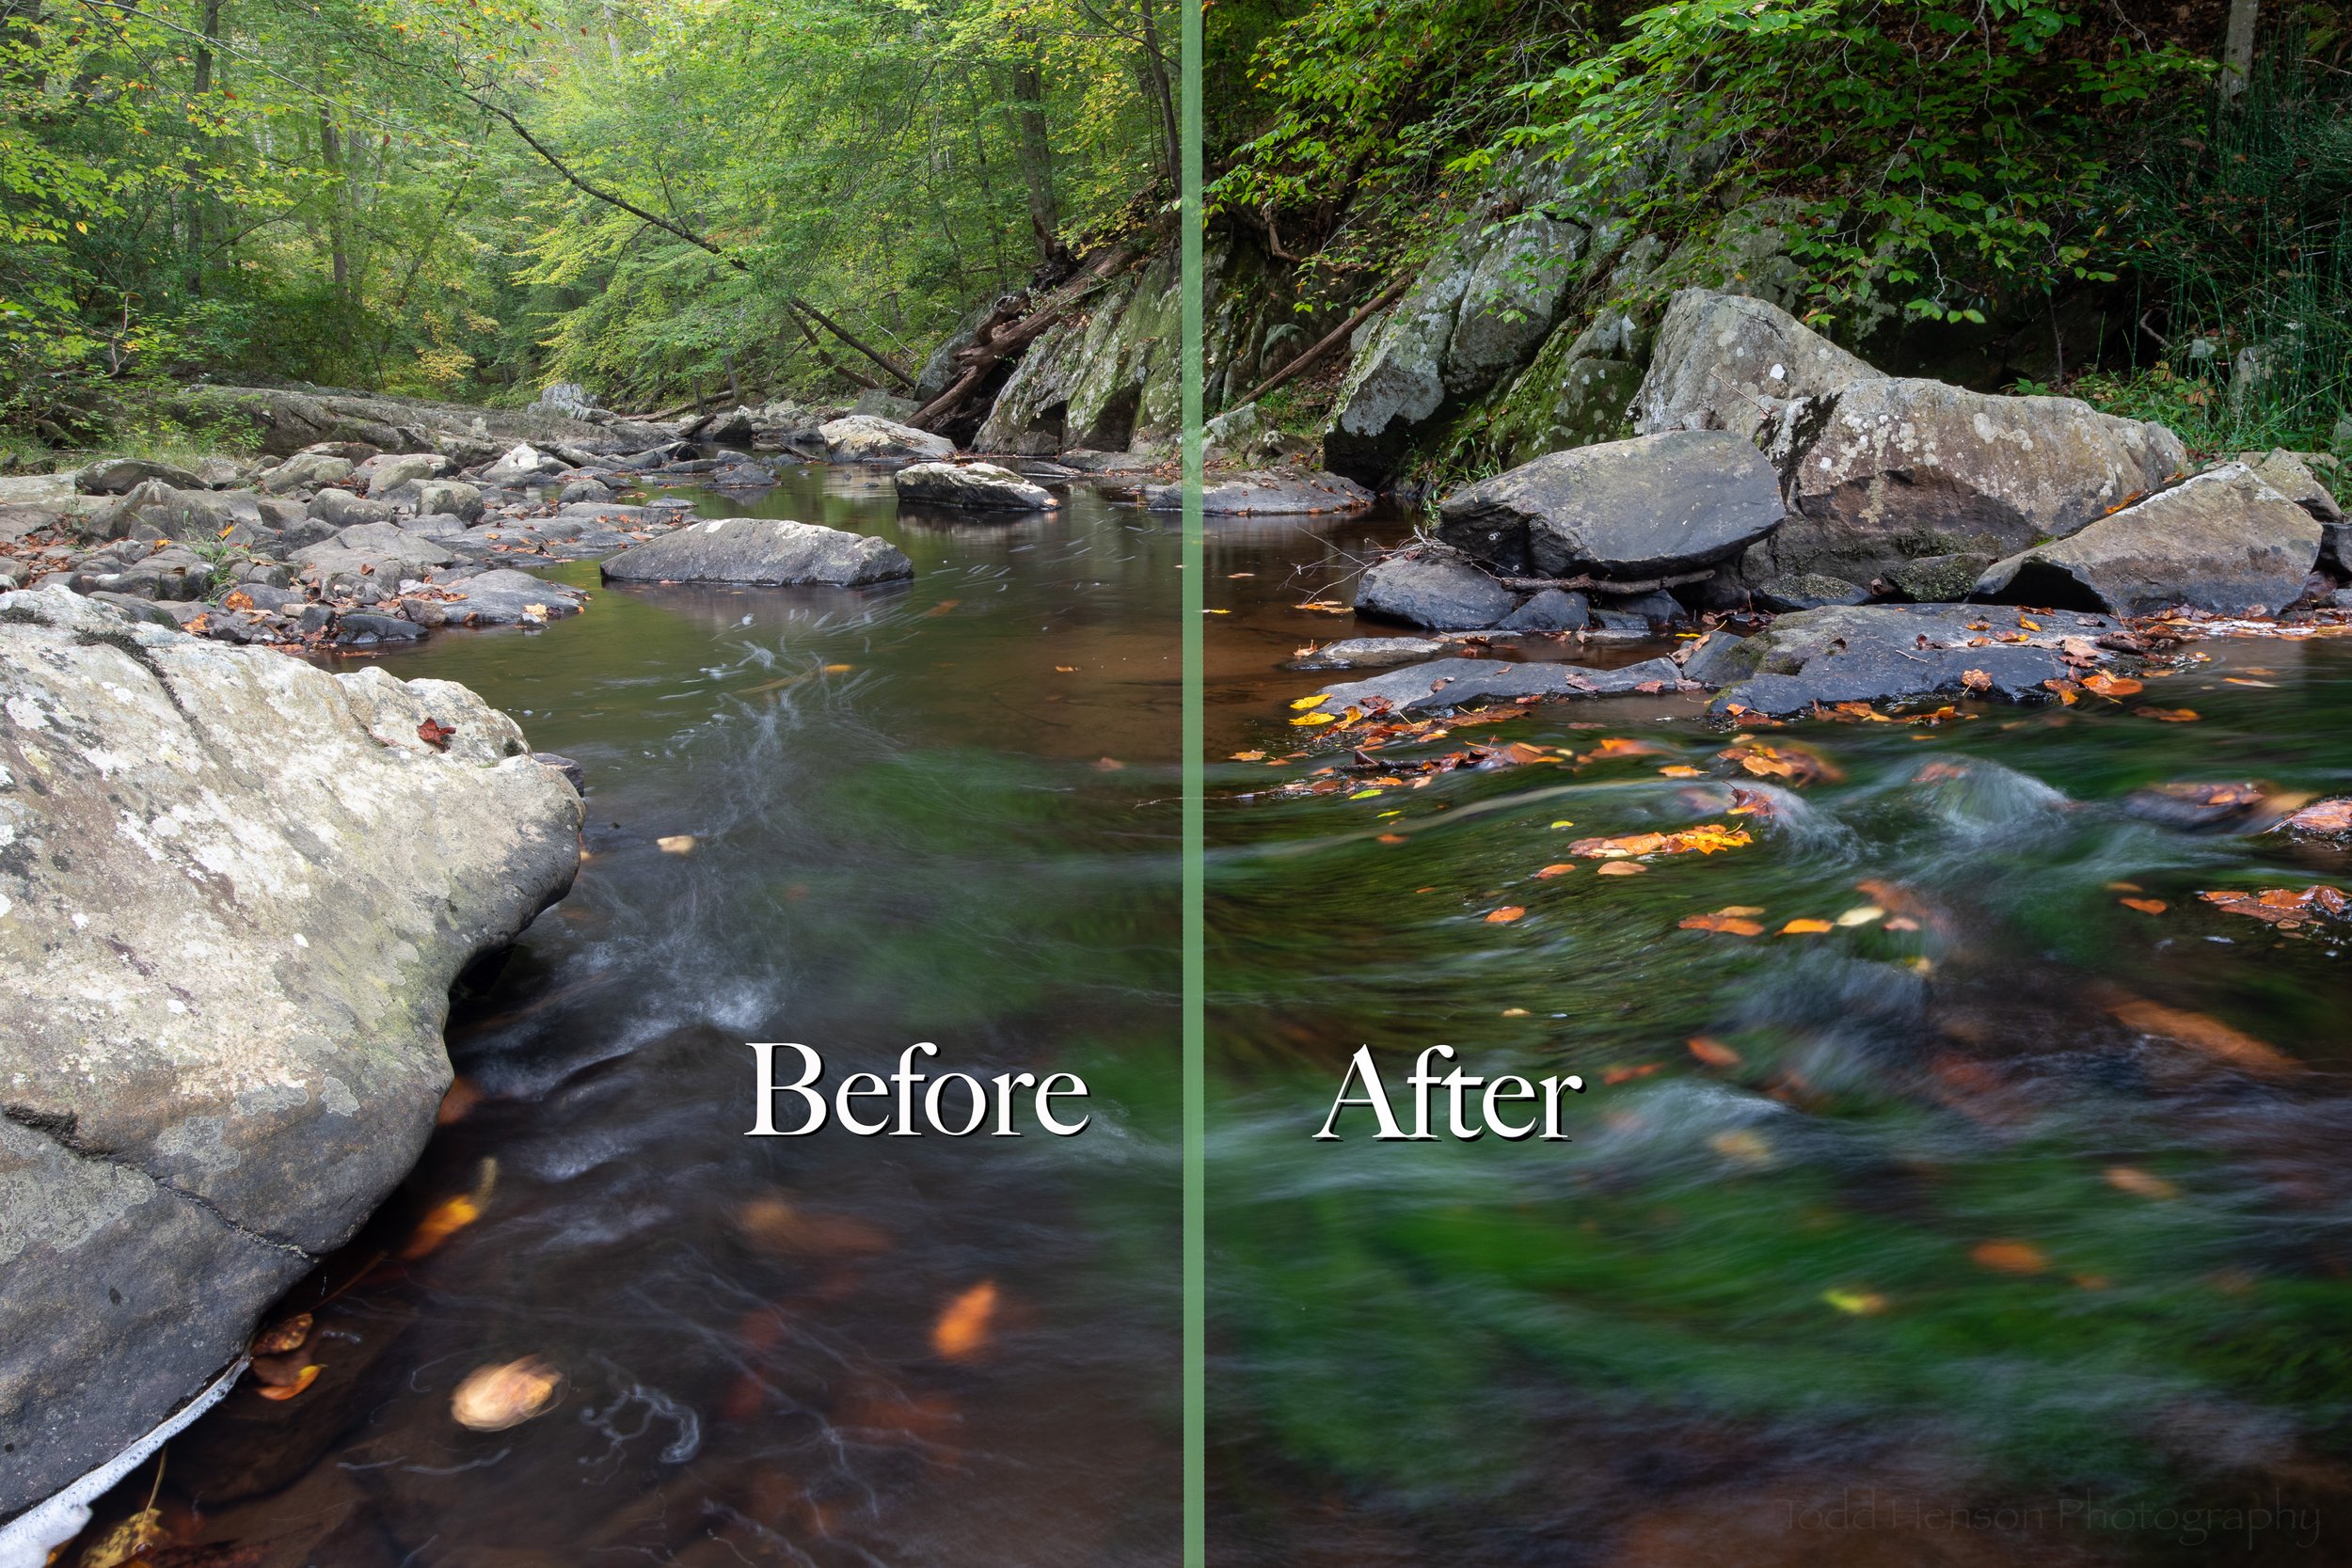
As I’d mentioned, I was thinking black and white while photographing so that’s how I first processed the image, making various tweaks to the underlying colors which lightened and darkened those areas in the black and white version to create what I hoped would be an interesting final image. I lightened up the little bit of water around a cormorant to the right to draw some attention to it if your eyes happen to follow the angled funnel of the cloud and water to that area.

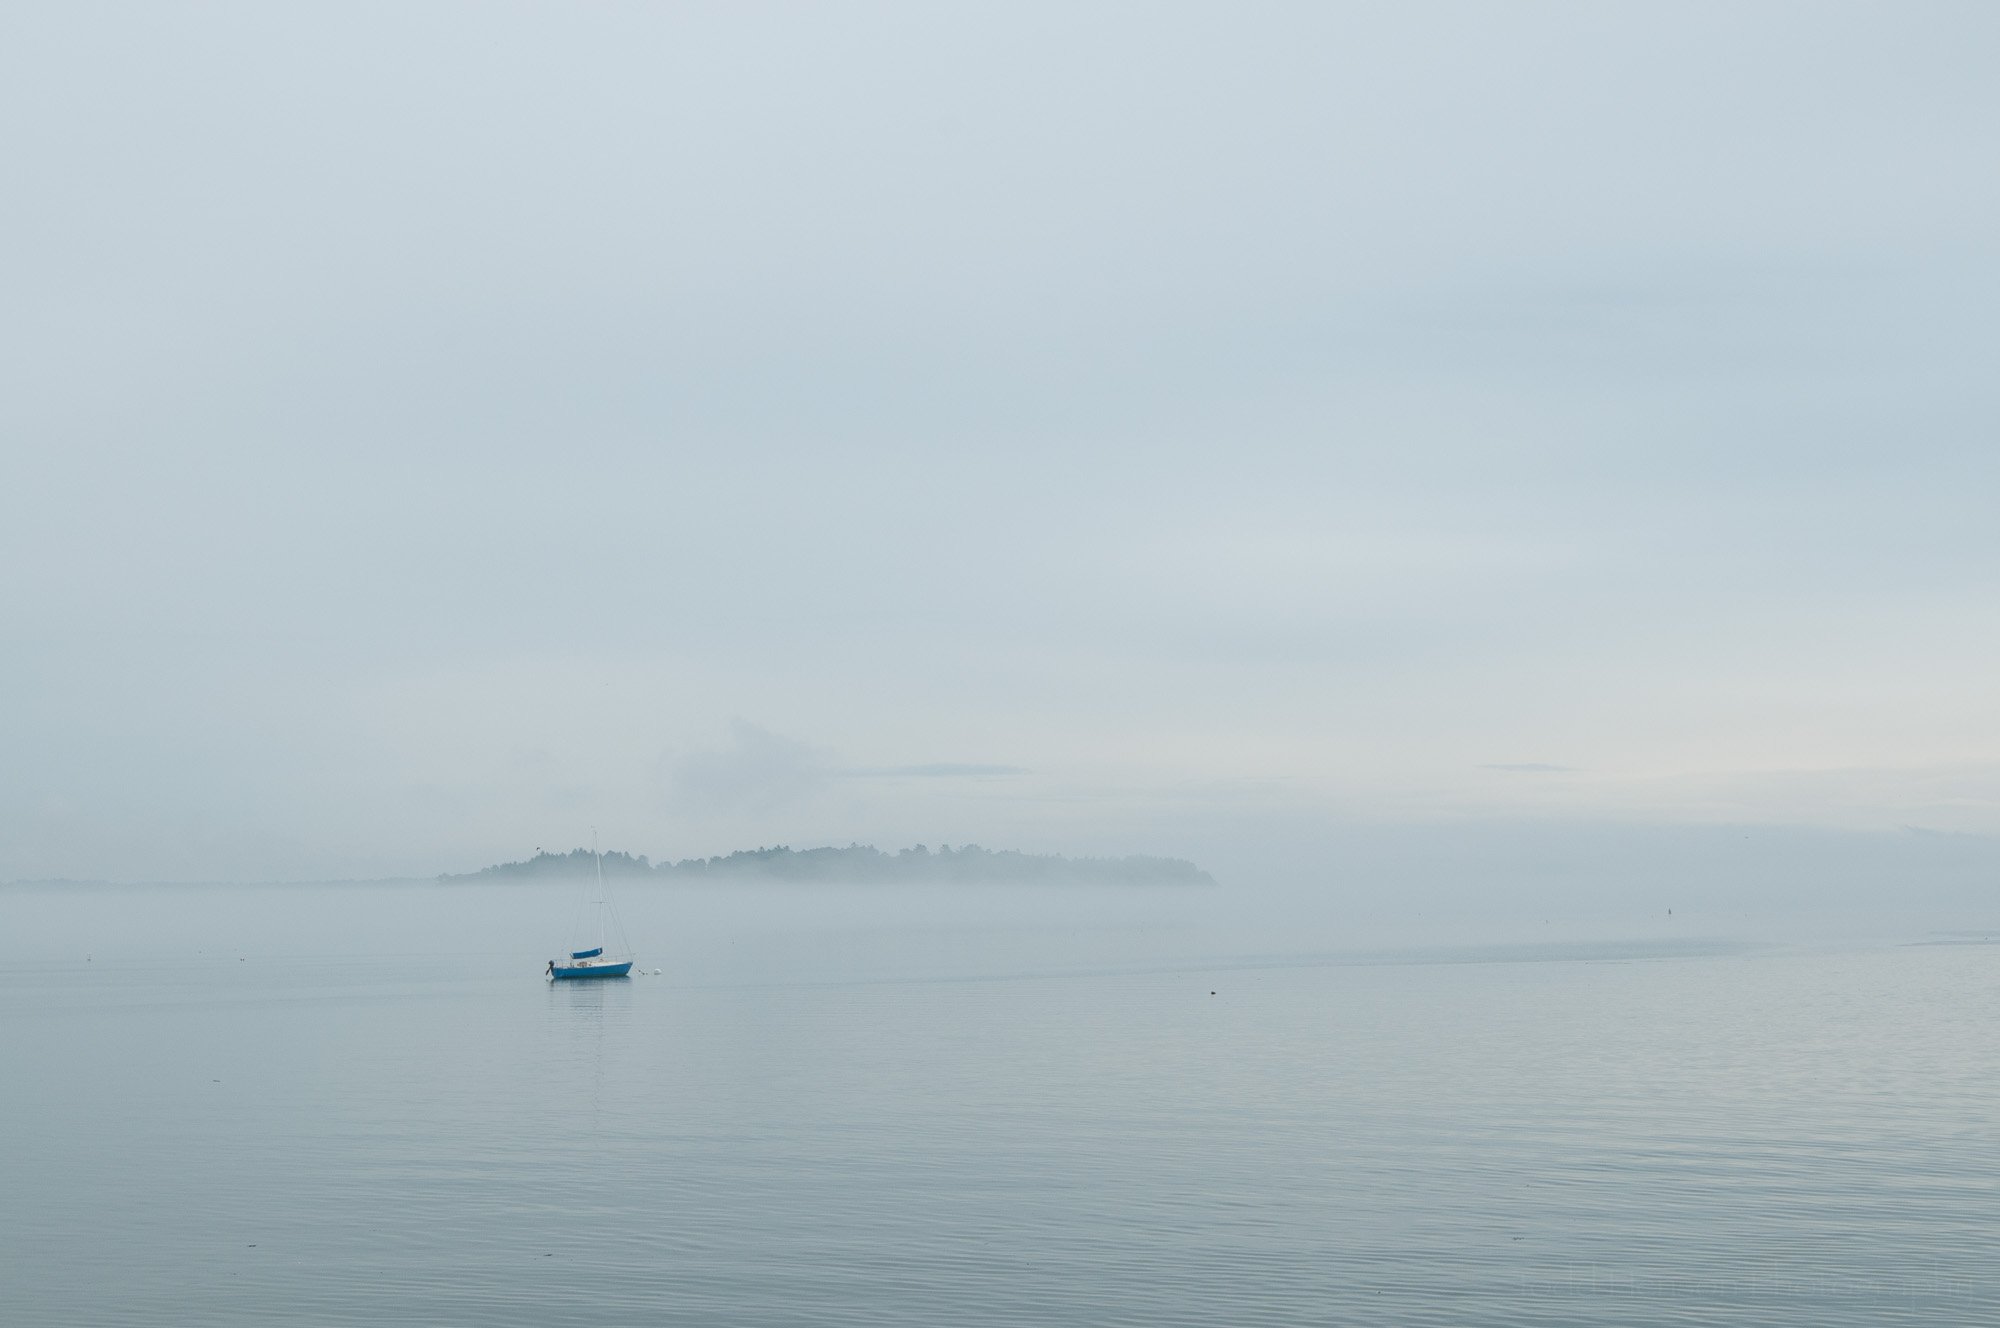
After I’d thought I’d finished the black and white version I decided to see how it might look if fully processed in color, so I went back in and created a new version. I made different adjustments in the color version than I had in the black & white which resulted in both the pier and part of the far shoreline standing out a bit more.

October on Aquia Creek (color version)

I thought I was done. But I remembered there’d been a flock of geese that flew through the scene at one point, which I’d created a few images of, so I went back through all the photos I’d created of this scene and found those. They didn’t have the nice pattern symmetry of cloud and water, which is why I’d overlooked them when looking for the one image I’d work on. And yet I liked what they added to the scene. So I decided to do something I rarely do, pulling the flying geese from one image and copying them onto another. Because of inconsistencies in how I processed the color and black & white versions the geese appear in a slightly different location in each image.

So what do you think? Does either version work? Do you prefer one over the other? Do you think the geese were a good addition or an unneeded one. Let me know in the comments below.


Do you enjoy these posts?

Sign up to receive periodic emails with updates and thoughts. Don’t worry, I won’t spam you. And please consider purchasing artwork or products from my online store, and using my affiliate links in the sidebar to the right when shopping online.

I appreciate your support!


Before & After: Foggy Morning on Casco Bay by Todd Henson

Before & After: Foggy Morning on Casco Bay

It’s been a while since I put together a before & after post where I compare the image straight out of the camera with the final processed image and show some of the steps I used to get from one to the other. Today we’re looking at a photo of a foggy morning on Casco Bay in Maine. It was such an incredibly foggy day many folks might think there was no point in even having a camera out. In fact, one person who saw me photographing this scene asked if I had a special filter on my camera that cut through the fog. 😀 Needless to say, the fog was very much a part of the image, helping to give it a particular mood.

I used Adobe Lightroom to process this image and I’ll show some of the settings I used in the steps below.

Straight Out of the Camera

Here is how the image looked straight out of the camera. Everything is a hazy shade of blue.

Before making any adjustments

Step 1: Convert to Black & White

Convert to black & white

The first step for this image was converting to black & white. I knew when holding the camera that I’d likely process some of the images as black & white. There just wasn’t enough color in the scene to make much of a difference to me and I was picturing a particular look with bold and dark shades of grey transitioning to the lighter tones at the center of the image. I adjusted the various color channels to shift the shades of gray, though there wasn’t a lot of color in the scene to begin with.

Step 2: Basic Exposure Adjustments

Basic exposure adjustments

The next step and one I usually do first was that of basic exposure adjustments. I increased the exposure a bit to lighten the overall scene, and increased contrast a touch. I push up the highlights and whites quite a bit and pushed down the shadows and blacks. This is the exact opposite that we might typically do when trying to bring out as many details as possible, such as when processing high dynamic range (HDR) images. In this case I wanted to add to the punchy-ness of the image, essentially lessening the effects of the fog just a bit. I still wanted the fog, but I wanted to assure the boat really stood out. To go along with this I used the dehaze setting to cut through the fog just a bit (there’s the magic anti-fog filter the person asked me about).

Step 3: Graduated Filter at the Top

Graduated filter at the top of the image

I was looking for something dynamic and contrasty. This led me to apply a graduated filter to the sky and use it to darken the exposure, as well as dropping the shadows and blacks to darken it even further. I was using Michael Kenna as an inspiration with this image.

The circle and lines on the image show where I’ve applied the filter. The circle is on the center line and you can see a line above and below. These allow me to control how quickly the exposure moves from darker to lighter with darker at the top and lighter towards the bottom.

Step 4: Graduated Filter at the Bottom

Graduated filter at the bottom of the image

I wanted to really direct your eyes to the center of the frame with the boat and the foggy island in the distance. So I added another graduated filter, this time to the water at the bottom of the frame. Similar to the sky I turned it into a graduated neutral density filter that would darken the water, darker towards the bottom and lighter towards the top. Again, you can see the lines that control how quickly the exposure changes.

Step 5: Spot Removal

Spot removal

I don’t know if you’re able to see in these smaller screenshots, but during the entire process I kept noticing spots on the image. Some of these were sensor dust, something that happens with cameras with removable lenses where dust can get into the camera and settle on the sensor. It appears as little fuzzy spots and can be quite annoying. Thankfully, Lightroom has a handy spot removal tool and all those circles show where I removed a spot. Not all the spots are necessarily sensor dust. Some are other spots I noticed in the scene and found distracting. They might have been debris floating in the water or birds in the sky.

Step 6: Another Graduated Filter on the Sky

Another graduated filter to further darken the sky

When I first started working the image I was really going for extremely bold blacks, so I applied another graduated filter to the sky and further reduced exposure and dropped highlights, shadows, whites and blacks, so the sky went from lighter gray all the way to black.

Step 7: Brush Strokes on the Boat and Island

Brush strokes on the boat and island

I wanted to assure the boat and island stood out. These were my subjects. So I used the brush tool to roughly select them and increased contrast in that area by adjusting various settings, like contrast, highlights, shadows, blacks, and clarity.

Step 8: Brush Strokes to Central Region

Brush strokes to the central region

Similar to step 7, but this time I selected almost the entire central region. I wanted to keep it much lighter than the top and bottom, so I boosted the whites and highlights and lifted the shadows and blacks.

Step 9: More Brush Strokes to the Boat

More brush strokes to the boat

I decided to bring a little more attention to the boat so I applied another brush stroke, this time lightening the selected area by raising highlights and whites.

Step 10: Going Crazy with Graduated Filters

Going crazy with graduated filters

I kept thinking I wanted very bold blacks so I applied yet another graduated filter to just the top portion of the sky and seriously lowered highlights, shadows, whites and black, further darkening this region.

Step 11: Final Steps for Version 1

Final steps for the first version of the image

Then I applied the final steps for what would become the first version of this image. I adjusted the tone curve, further increasing contrast. I applied profile corrections that correct for any issues with the specific lens I used. And I applied a rather strong vignette, darkening the corners and pushing the upper corners and bottom to absolute black. At the time I though this was the final image.

Step 12: Graduated Filter Tweaks

Tweaking the graduated filters

After letting the image sit for a while I realized I’d pushed the contrast much further than I was comfortable with. So I tweaked the various graduated filters, lessening the contrast by lightening the sky and water so nothing went to complete black, instead maintaining degrees of gray.

Step 13: Another Round of Spot Removal and Final Cleanup

Another round of spot removal and some final cleanup

Finally, I went crazy with cleaning up any remaining spots. I used Lightroom’s features to help visualize spots and I zoomed in to 100% so I could closely inspect every part of the image. You can see I removed a larger number of additional spots of various sizes. I was looking for smooth transitions and found any dark or light specks distracting so I removed them.

Final Image

Foggy Morning on Casco Bay: Final Image

All of this led to the final image you see above. Click on the image further below to cycle between the before and after versions to better see the full range of changes. As you saw in the steps above, I sometimes go too far with something before changing my mind and toning it back down. Sometimes I do that in a single editing session and other times it’s days later after I’ve let the image sit a while.

I hope you’ve enjoyed this look at the roads we sometimes travel when crafting our images. There are times we’re almost completely happy with an image just as it is, with only the minimal set of adjustments almost every raw file requires. But other times we have a vision of the scene and have to do a bit more work to realize that vision, crafting the raw image to reflect what we imagine. It can be a very fun process.


Foggy Morning on Casco Bay is available for purchase as wall art or on a variety of products at my online store.

Photography Prints by Todd Henson


Do you enjoy these posts?

Sign up to receive periodic emails with updates and thoughts. Don’t worry, I won’t spam you. And please consider purchasing artwork or products from my online store, and using my affiliate links in the sidebar to the right when shopping online.

I appreciate your support!


Variations on a Theme: Mid-May Blooms by Todd Henson

Variations on a Theme: Mid-May Blooms

For this look at variations on a theme we explore different ways of finishing exactly the same photograph. This was prompted by a comment from Lashaan of Bookidote on the post, A Flowering Shrub One May Morning, where he wondered how the photos might look in a black and white rendition. So I decided to experiment with one of the photos and see what I could do with it.

Color Version

Mid-May Blooms: Color Version

We begin with the color version. I’ve always been more of a color photographer, I see in color, I’m drawn to color. So most of my photography is processed as color. In this case I love the green background, how the white flowers stand out against it, and the subtle pinks and yellows in some of the flowers. I’m very happy with this photograph.

Low Key Black & White Version

Mid-May Blooms: Low Key Black & White Version

My first thought when interpreting this photo in black and white was to create a low-key image with a dark background and beautiful white flowers. Something bold and dynamic. Something that helped the flowers jump off the screen. It creates a particular feeling from the photograph, and I found I liked this version, as well.

High Key Black & White Version

Mid-May Blooms: High Key Black & White Version

What naturally followed my thoughts of creating a low-key image? Well, of course, creating a high-key image, one much lighter and perhaps a bit more ethereal and soft. Yes, the flowers are white, but that doesn’t mean we can’t create a very soft light grey for the background. The flowers still stand out, but it creates a much different feeling from the photograph. I find I also like this version.

Mid-Tones Black & White Version

Mid-May Blooms: Mid-Tones Black & White Version

Finally, I ended up creating an image that was somewhere between the two previous versions, creating something that perhaps feels closer to reality. This version relies on a nice range of mid-tones, nothing too dark or too light, creating a more balanced image. As you might have guessed, I like this version, too.

Thoughts

There are an almost unlimited number of ways to process any photograph. Even if your goal is to recreate reality as closely as possible there’s still so many choices to make, and very few of us can perfectly remember exactly how a scene looked, so our attempts to recreate it might naturally vary.

Another option is to ignore reality and instead process the image based on your emotions, how you felt about the scene instead of how the scene looked. This can lead to photos that still look real but might not perfectly match the actual scene that day. Or it can lead to images that look very different from that day.

When you decide to process a photograph in black and white it opens an entirely new treasure box full of possibilities. Most of us don’t see in black and white, so any image we create in black and white will be very interpretive. As with color, you can create something that we’ll feel looks real, or you can create something very different from the color source.

When shooting in raw mode our cameras capture all the color information and save it in the image file. We can choose to interpret the photo in black and white by shifting each of the colors to some shade of grey. And as the different versions above show, your choices can create vastly different final images.

I hope you’ve enjoyed this short look at four different versions of the same image. There are countless other ways this image could have been interpreted, and that’s both some of the fun and frustration of post-processing. We have to choose.


Do you enjoy these posts?

Sign up to receive periodic emails with updates and thoughts. Don’t worry, I won’t spam you. And please consider purchasing artwork or products from my online store, and using my affiliate links in the sidebar to the right when shopping online.

I appreciate your support!