Techniques

Reading the Rapids: An Example of Dodging and Burning by Todd Henson

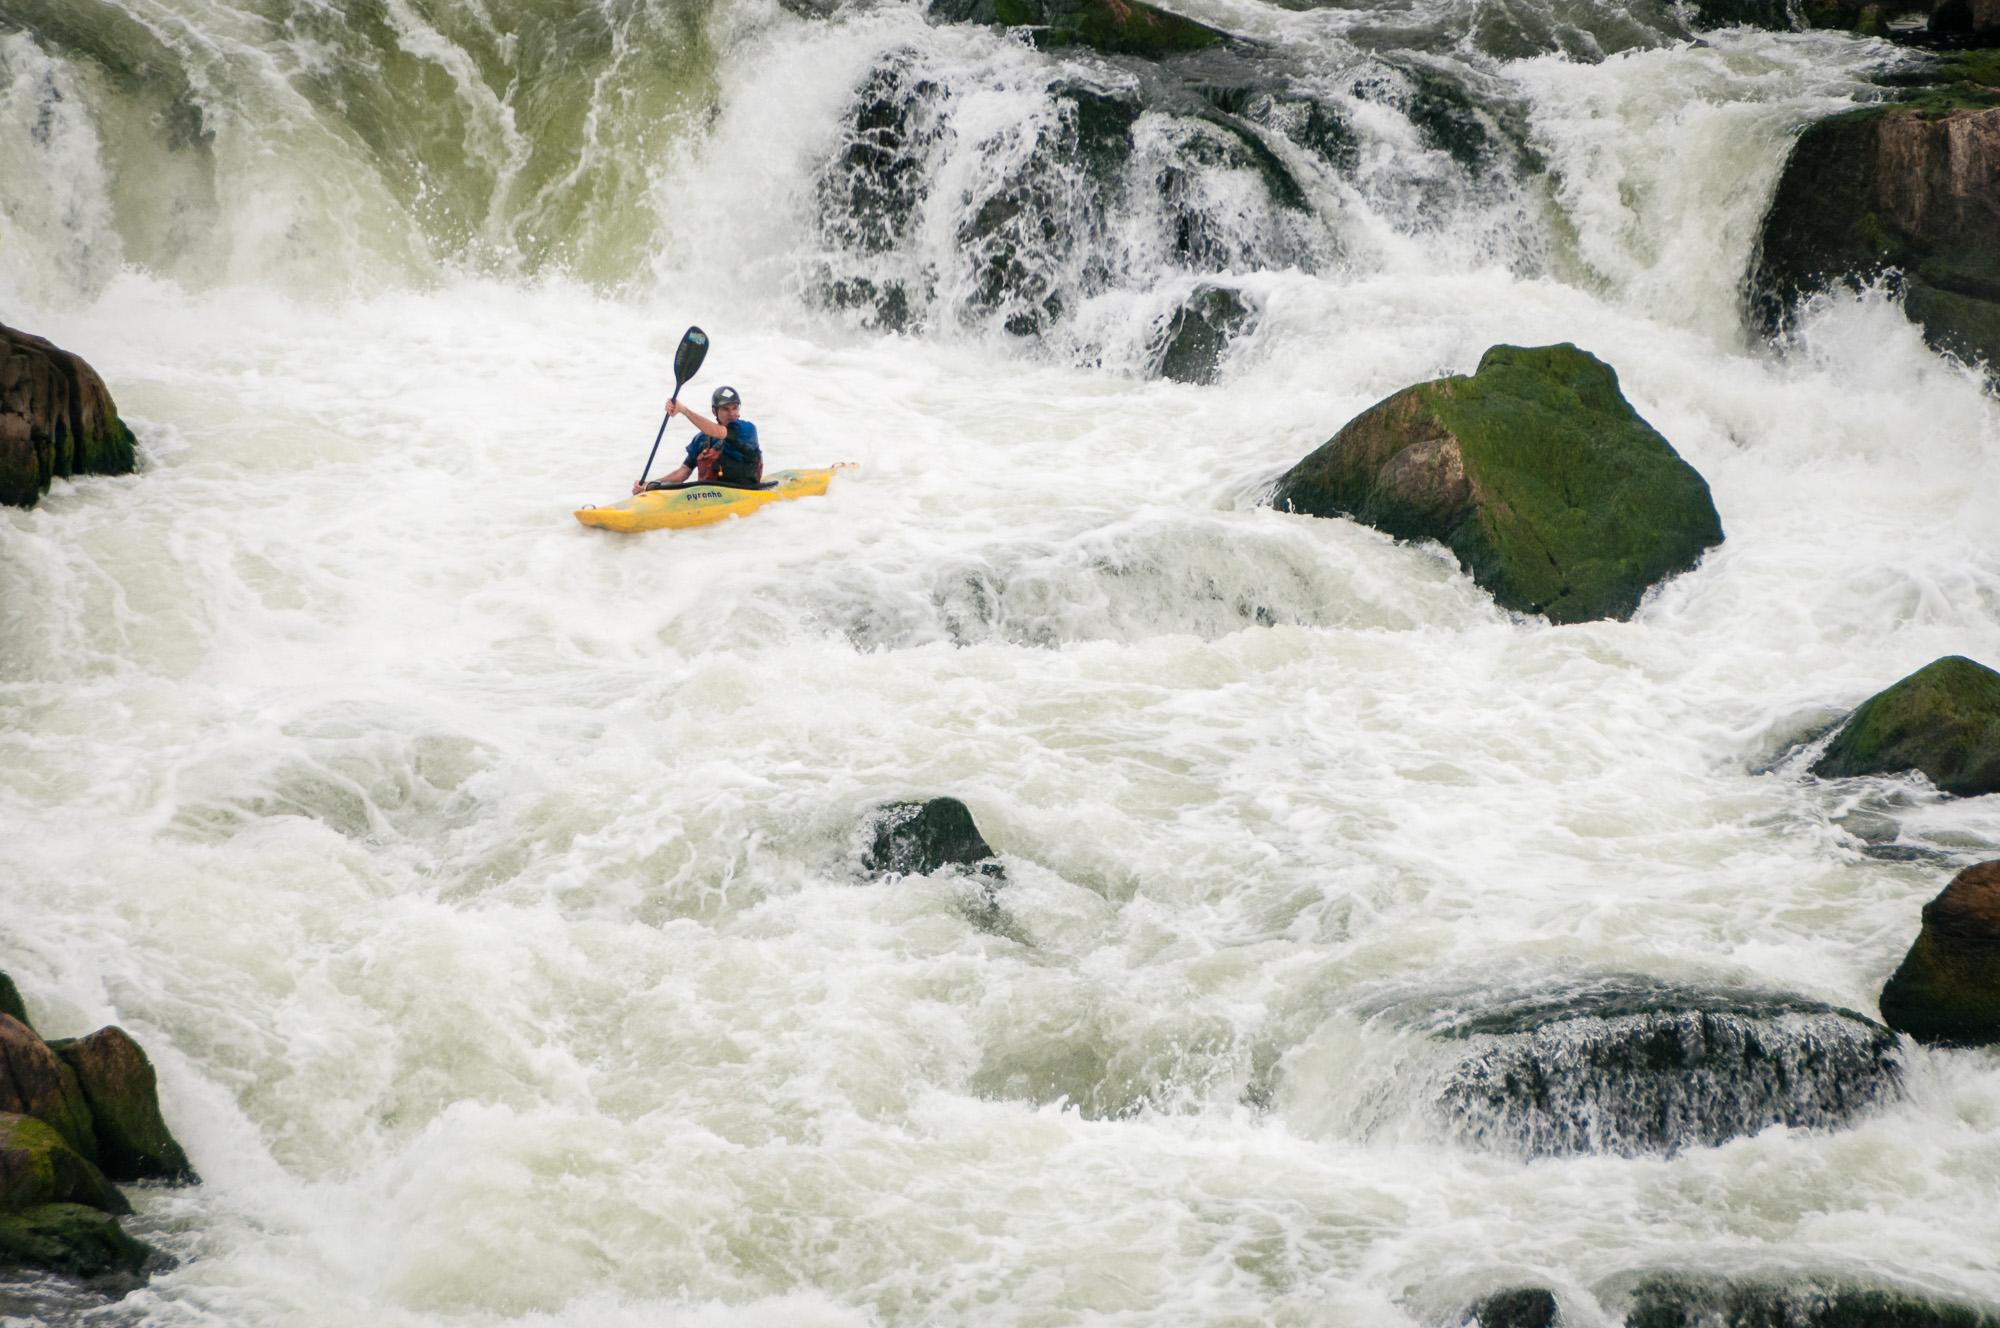
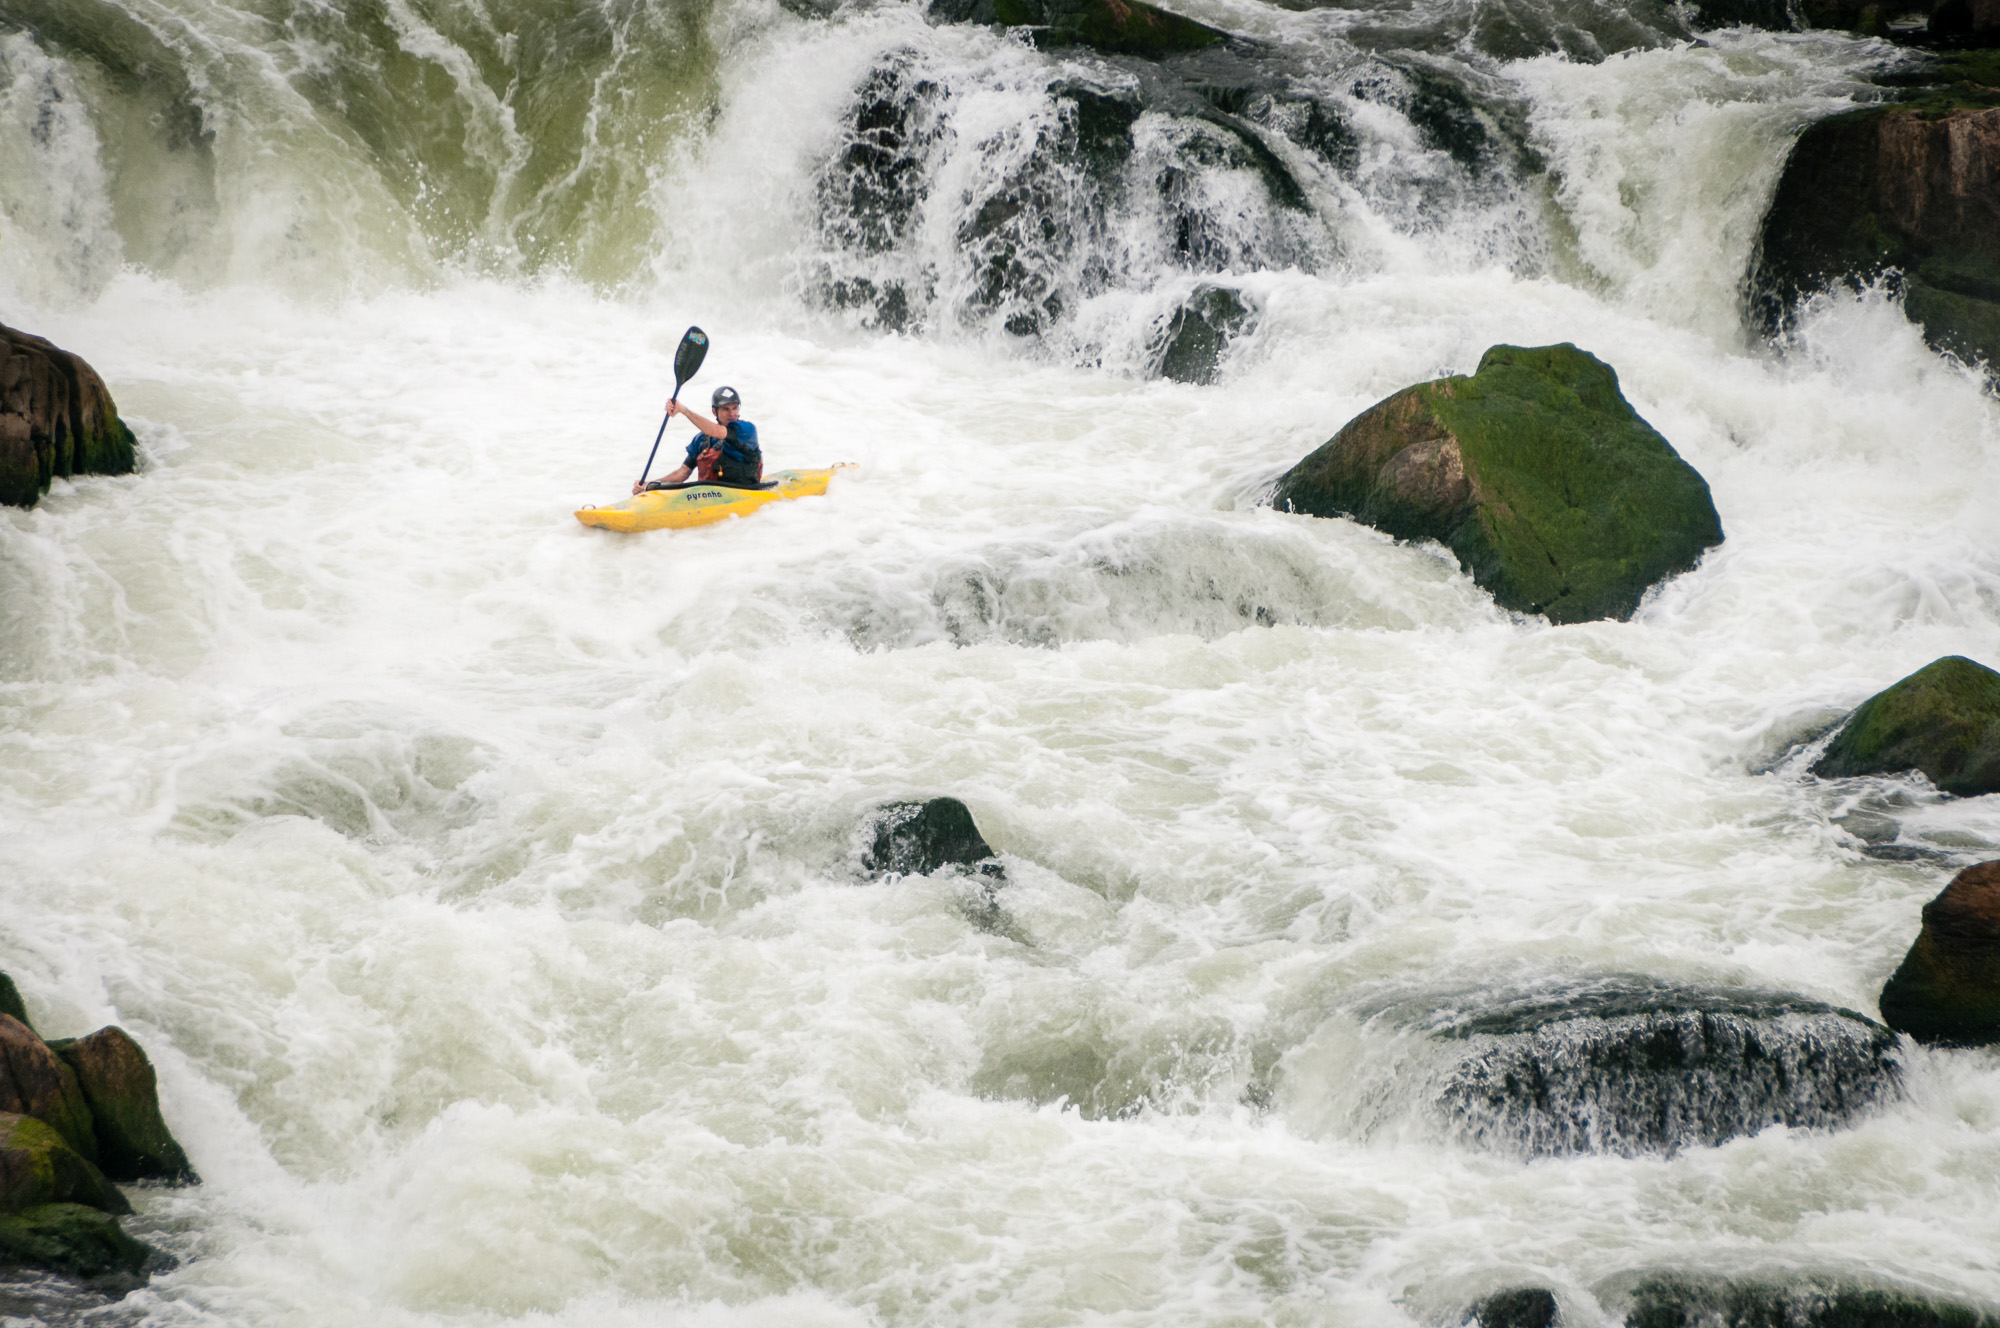
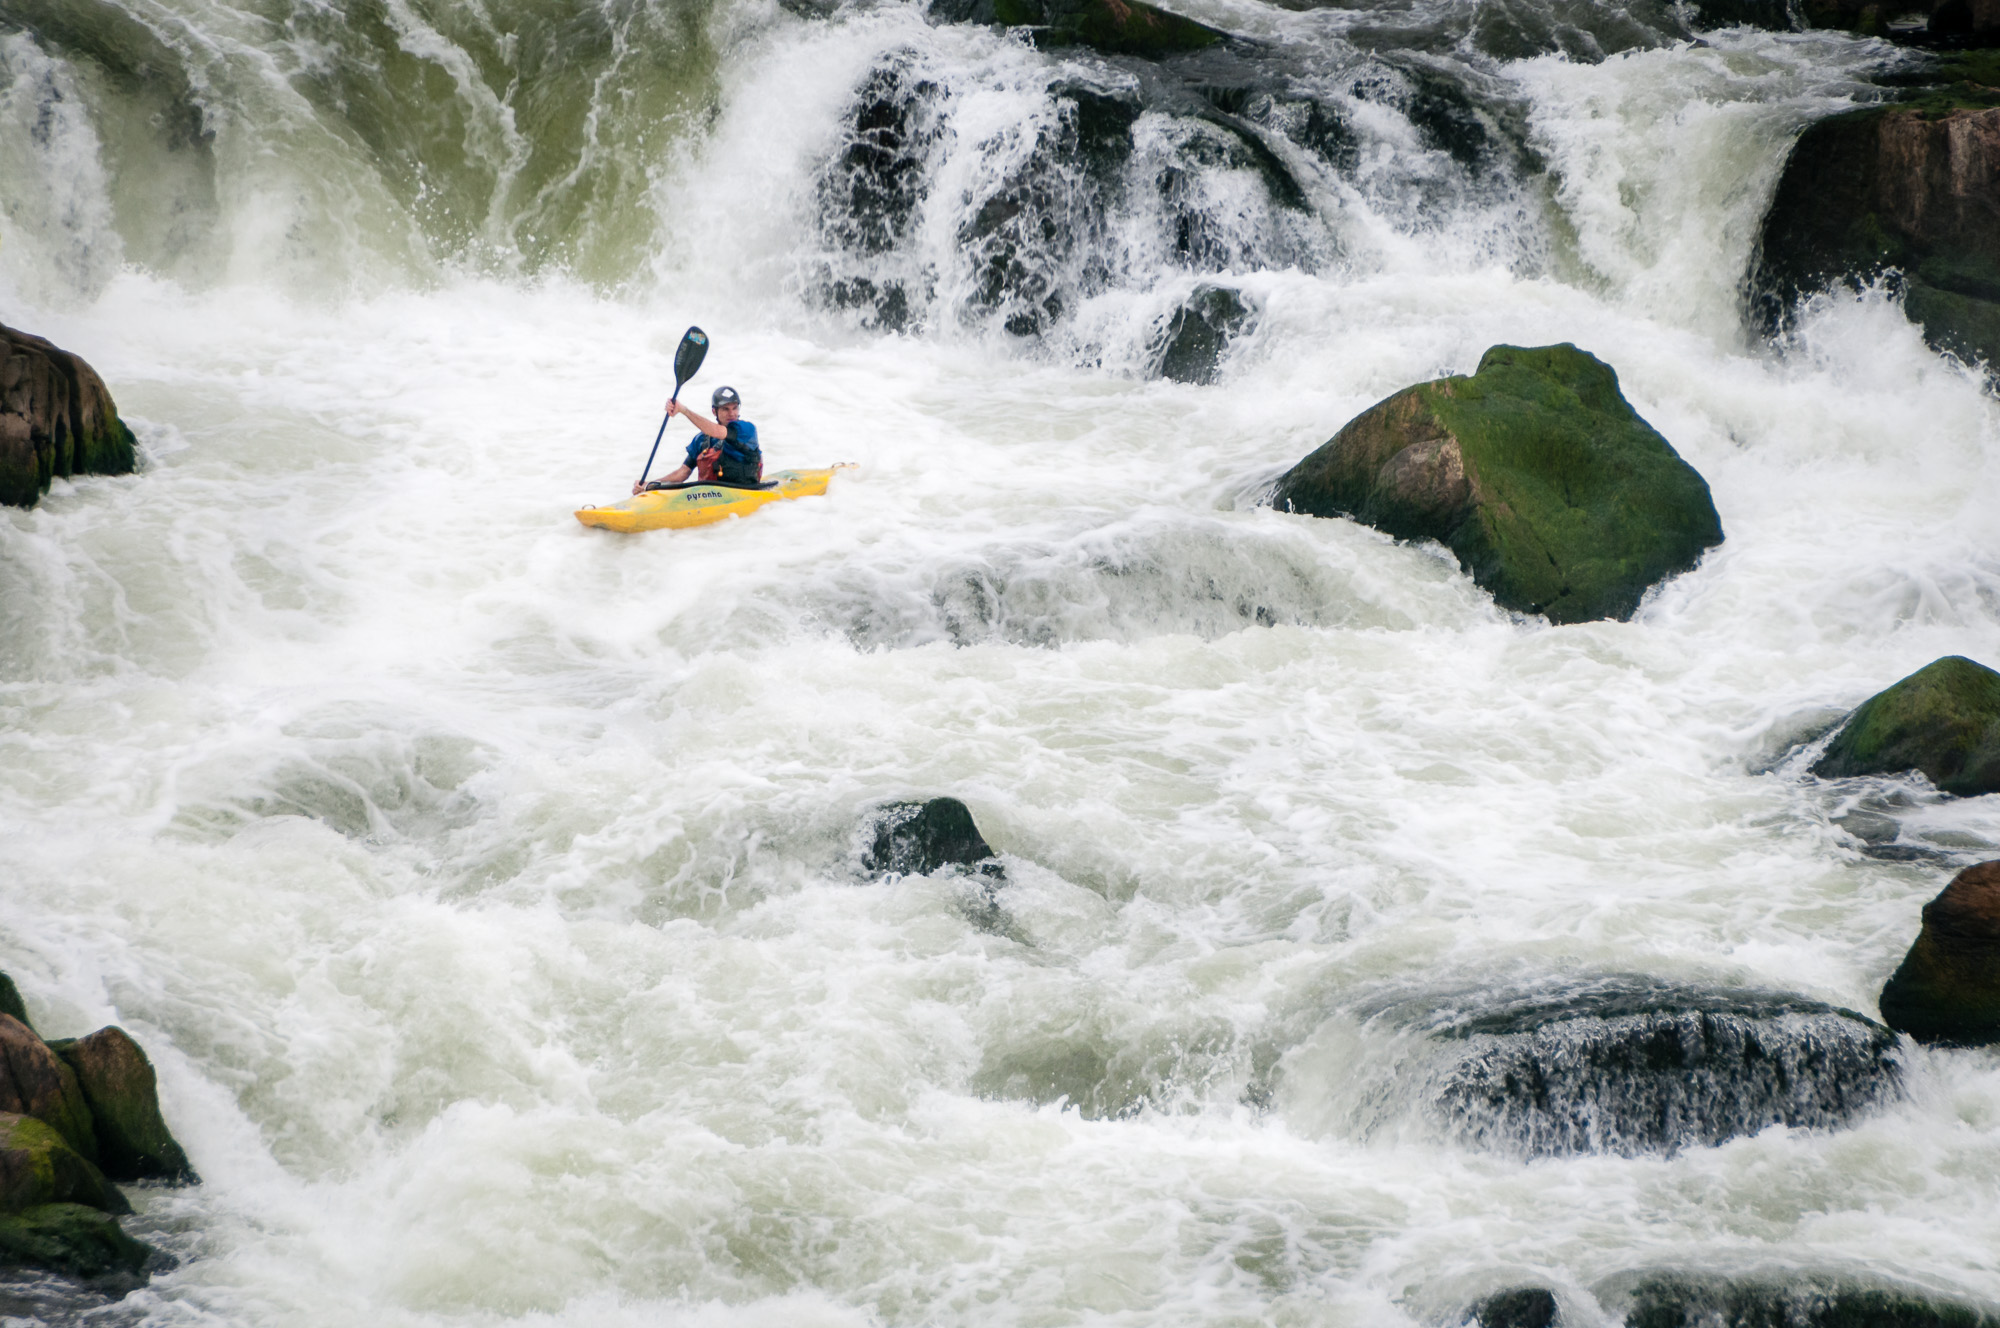
Reading the Rapids, an example of dodging and burning.

Why should you dodge and burn when processing your photographs? What difference does it make? Is it really worth the effort? And what is dodging and burning, anyway?

The term is one from the film darkroom when using the enlarger to shine light through the negative and expose it onto the light sensitive paper or other media. Dodging is the process of covering parts of the print you want lighter in the finished product. And burning is the process of adding extra light (exposure) to areas of the print you want darker in the finished product. Bruce Barnbaum, in The Art of Photography, says “dodging and burning are essential techniques in making most prints.”

Barnbaum speaks of dodging or burning when working with film in the darkroom. But the technique is just as important in the digital darkroom. We just use different tools, namely software, to accomplish it. In Adobe Lightroom I often use the adjustment brush to dodge (lighten) and burn (darken) portions of an image. In fact, the image above was dodged and burned using this technique.

Guy Tal, in The Landscape Photographer’s Guide to Photoshop, describes a technique he uses in Adobe Photoshop where he creates a new image layer using the Soft Light blending mode to allow him to selectively dodge and burn any part of the image. Because he uses a separate layer he can easily make adjustments anytime and the changes are non-destructive (meaning they don’t kill pixels in the original image).

The goal is to bring out all the desired detail and mold the light in a way that strengthens the composition wherever possible. Burning or dodging can also be used to add snap to selected areas. There are, of course, any number of reasons for burning or dodging. Use them, but use them sensibly for your goals.
— Bruce Barnbaum, The Art of Photography, page 191
Among other things, dodging can be very effective in recovering shadow details or lightening the main subject so it stands out from its surroundings; burning can be used to tone down highlights or to darken the area around a subject we wish to stand out more.
— Guy Tal, The Landscape Photographer’s Guide to Photoshop, page 104

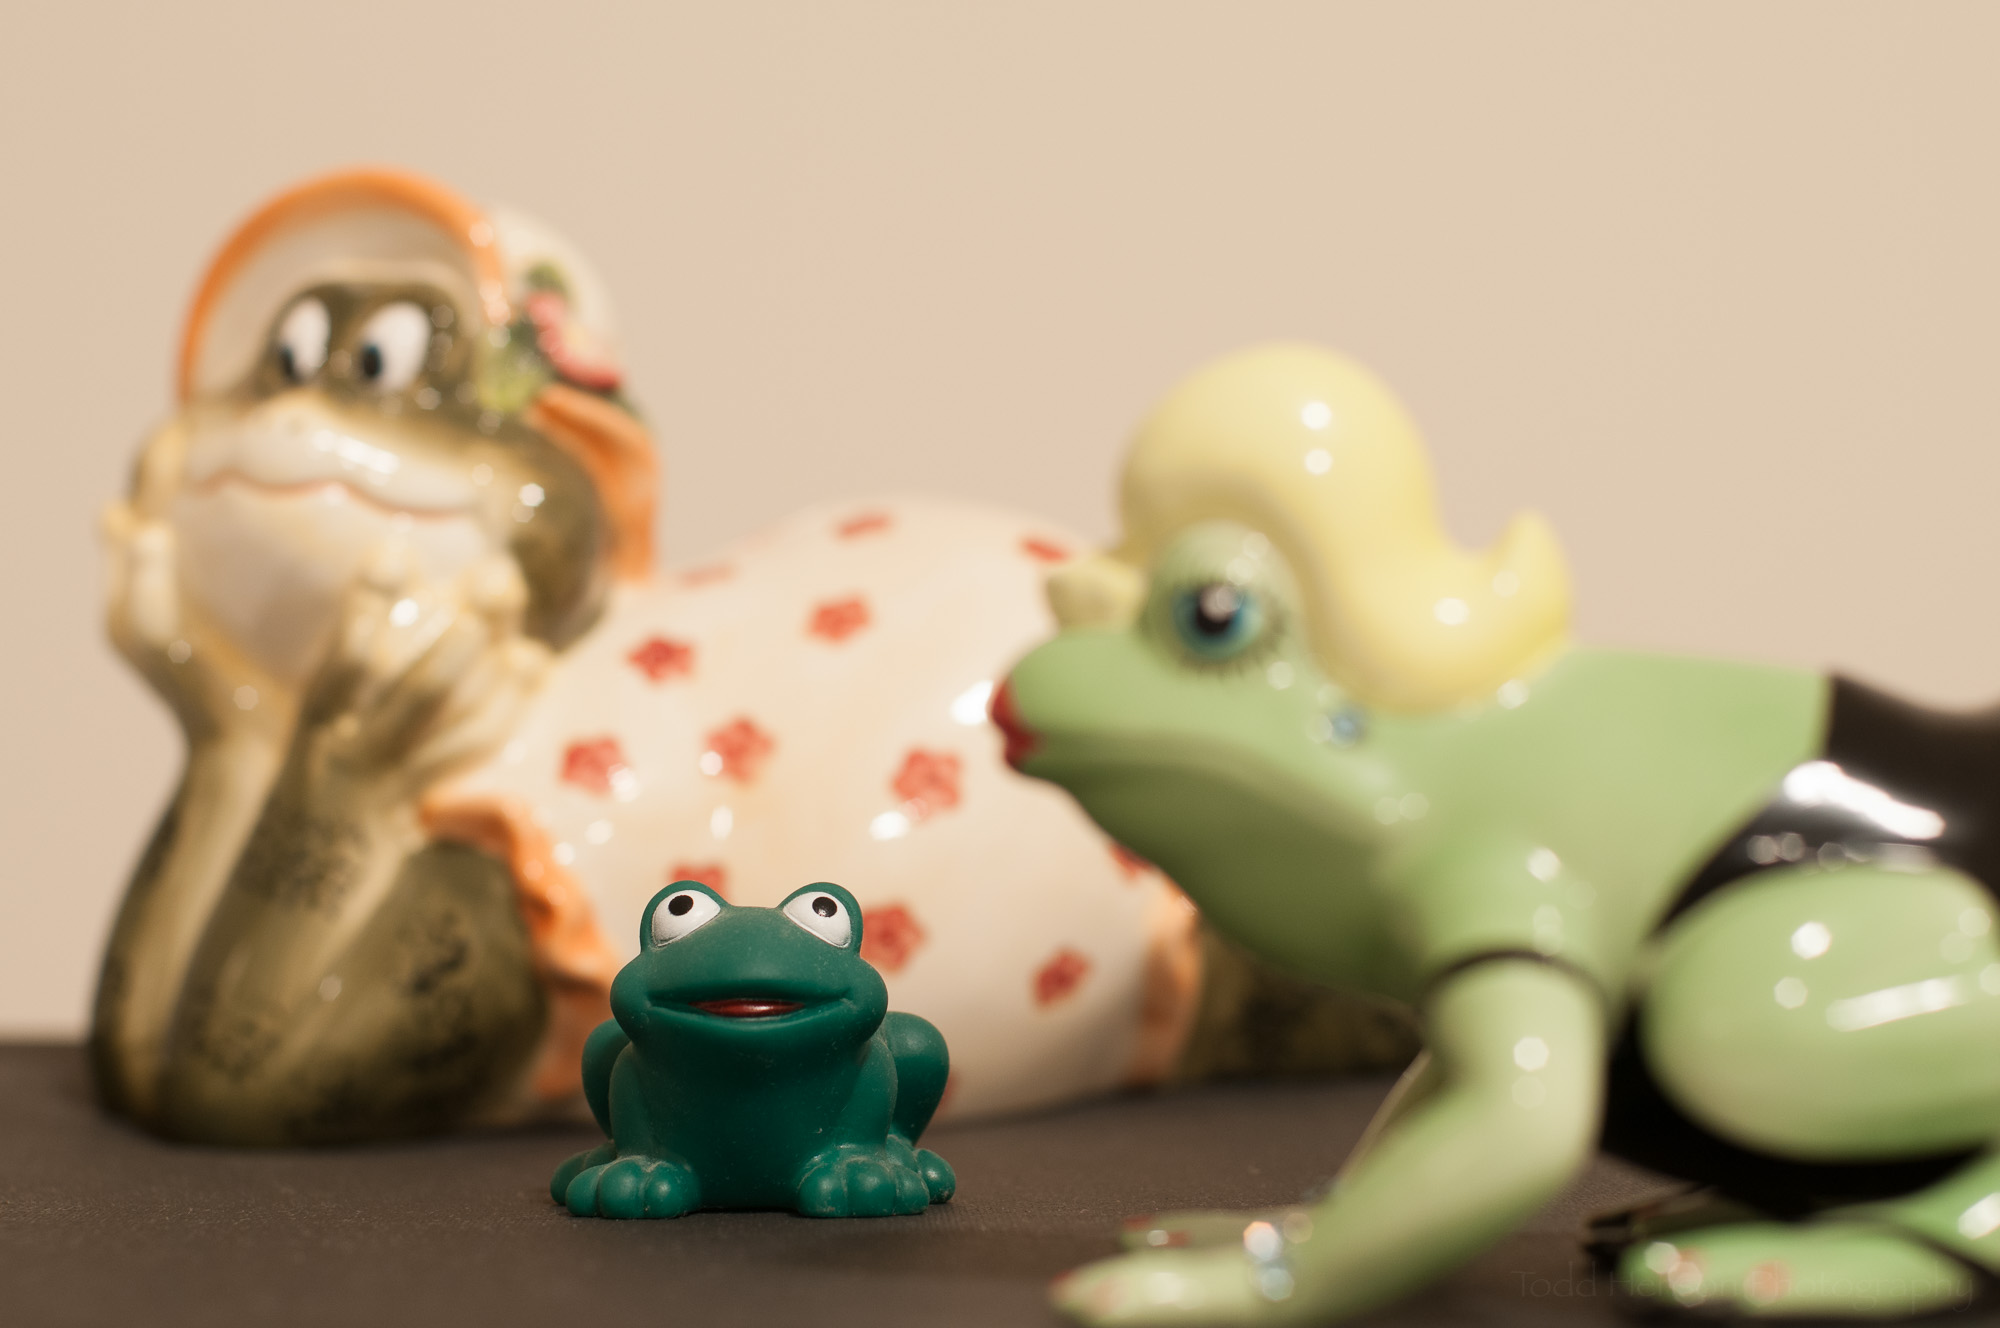
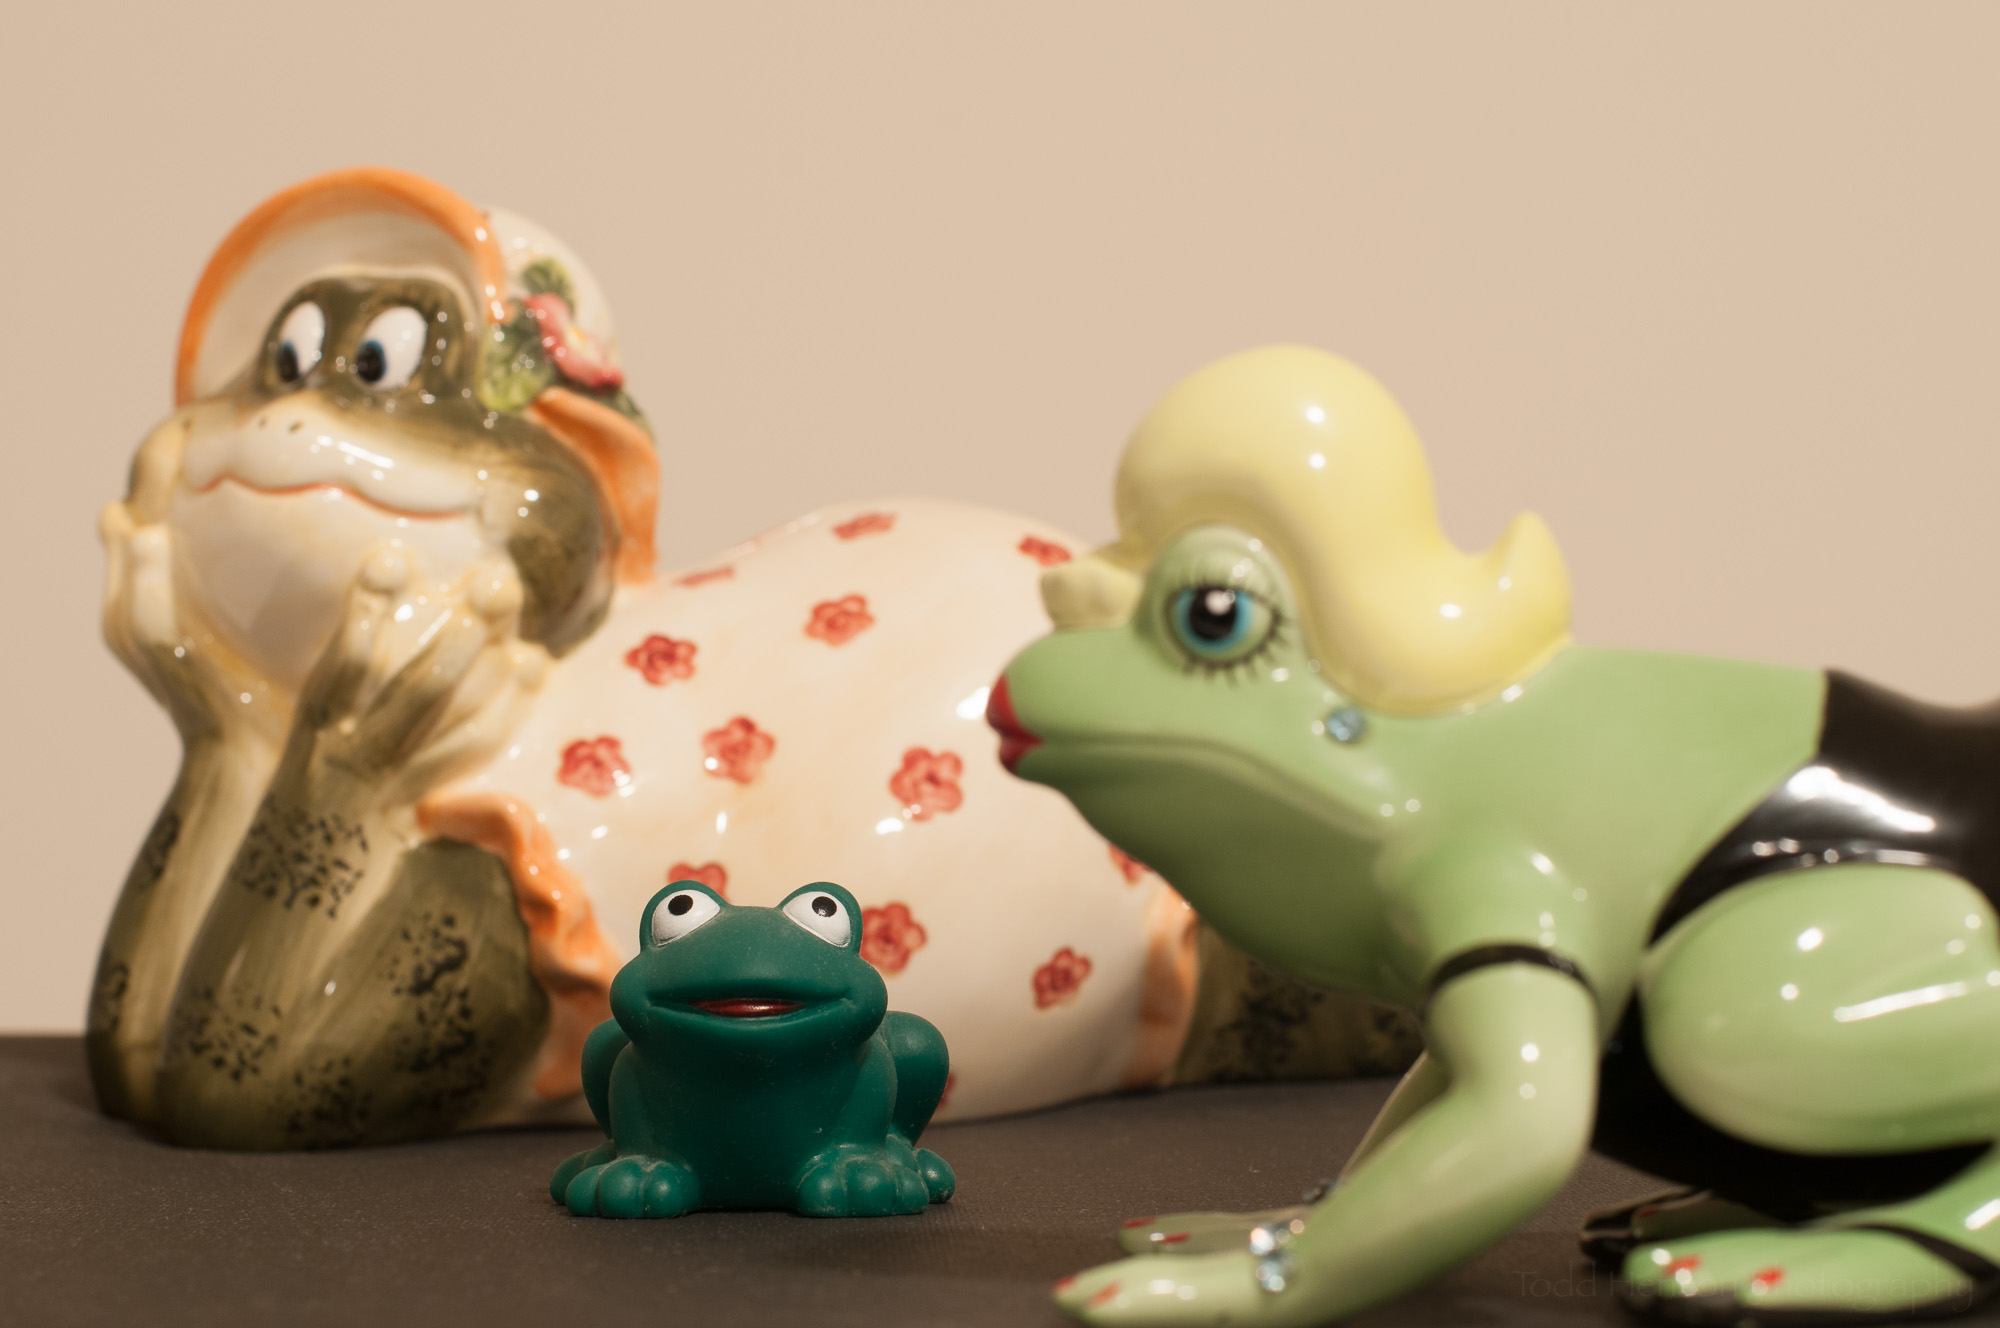
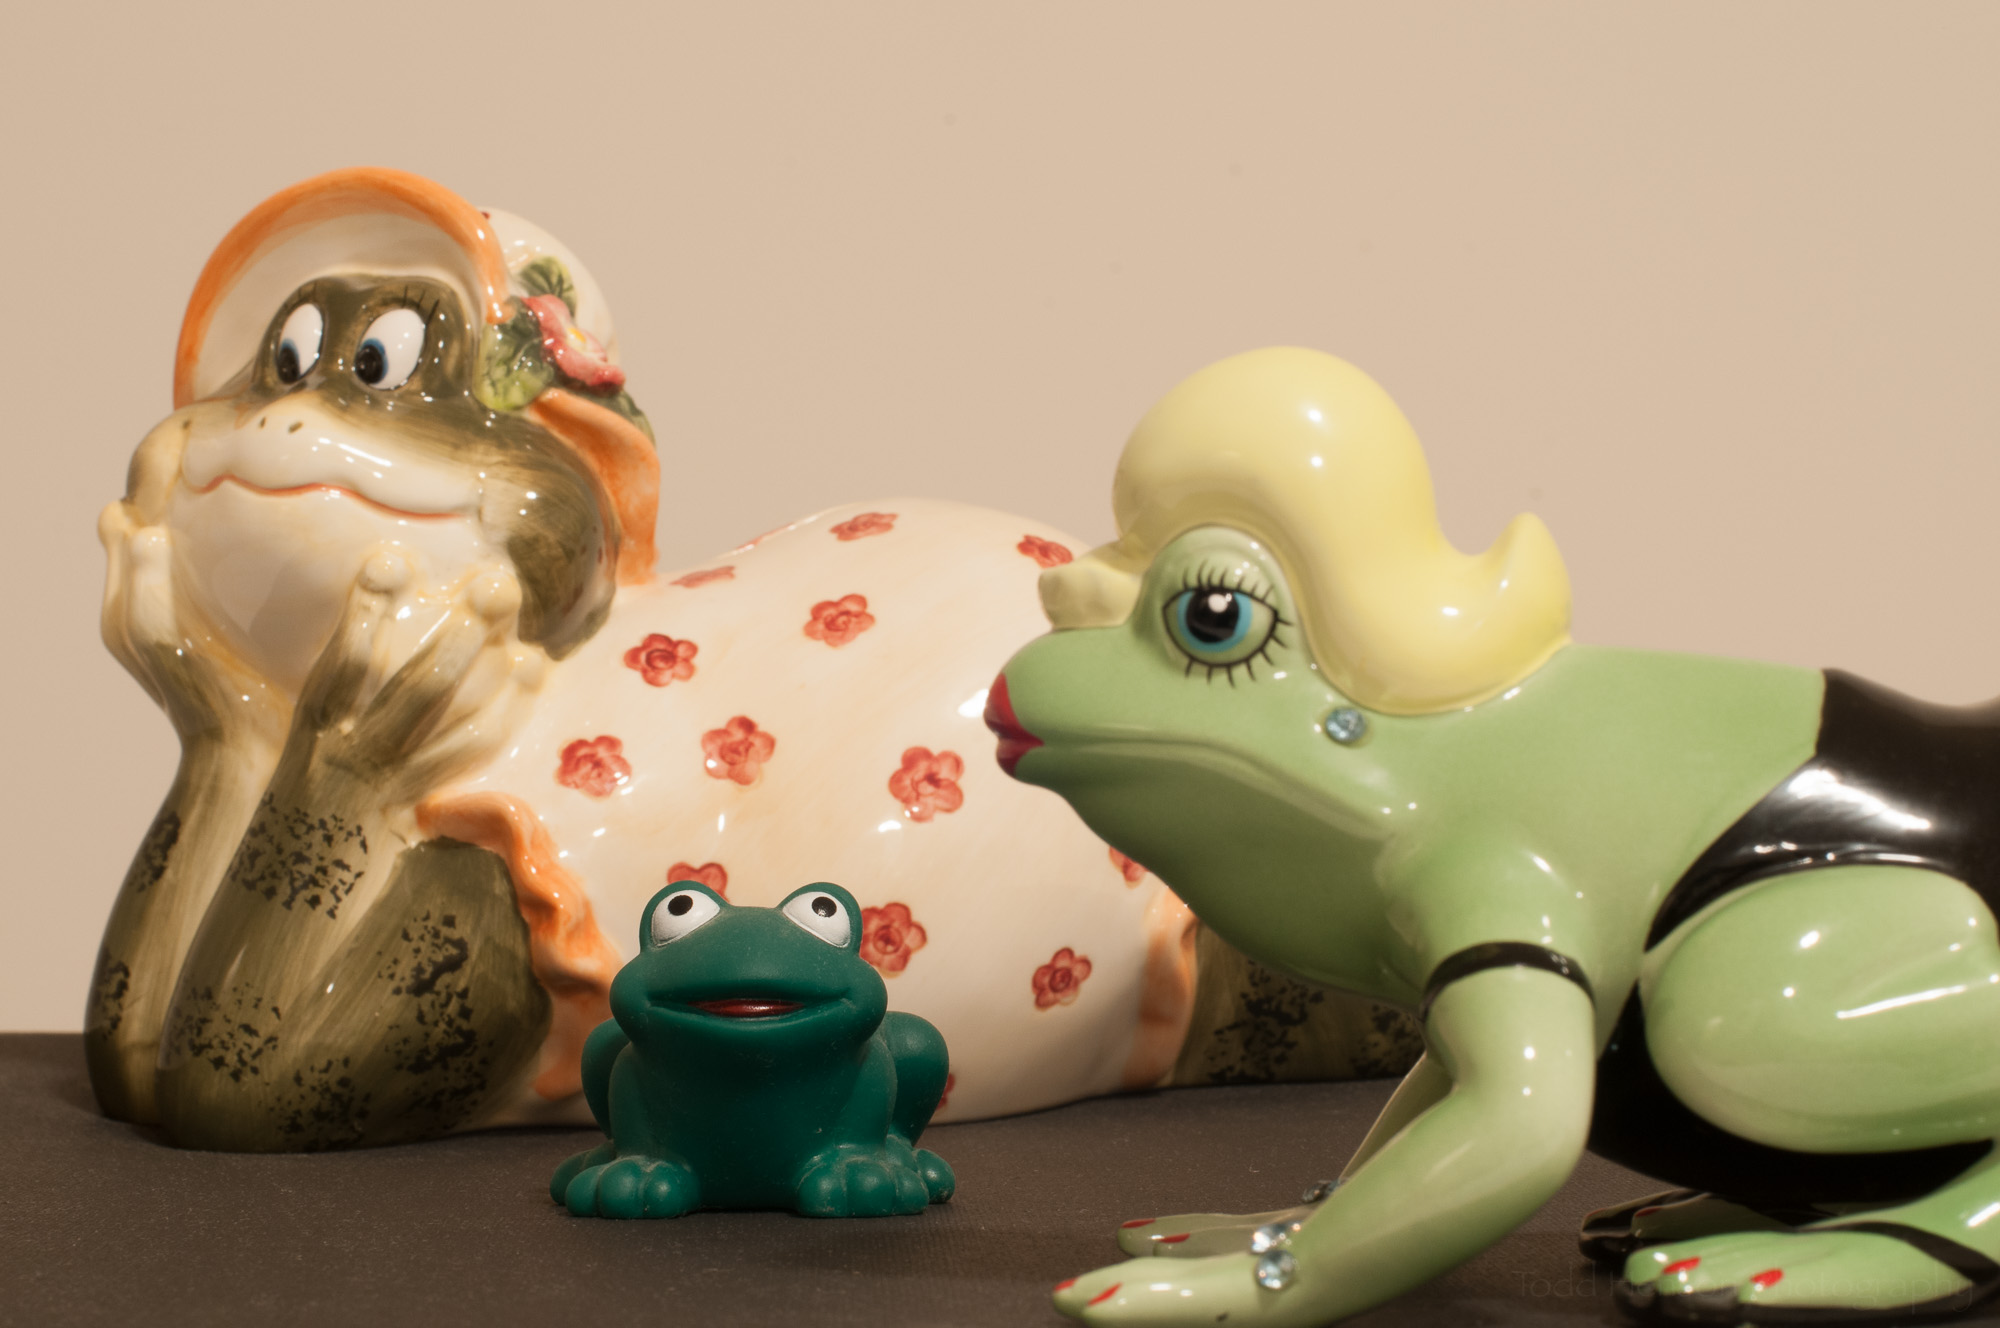
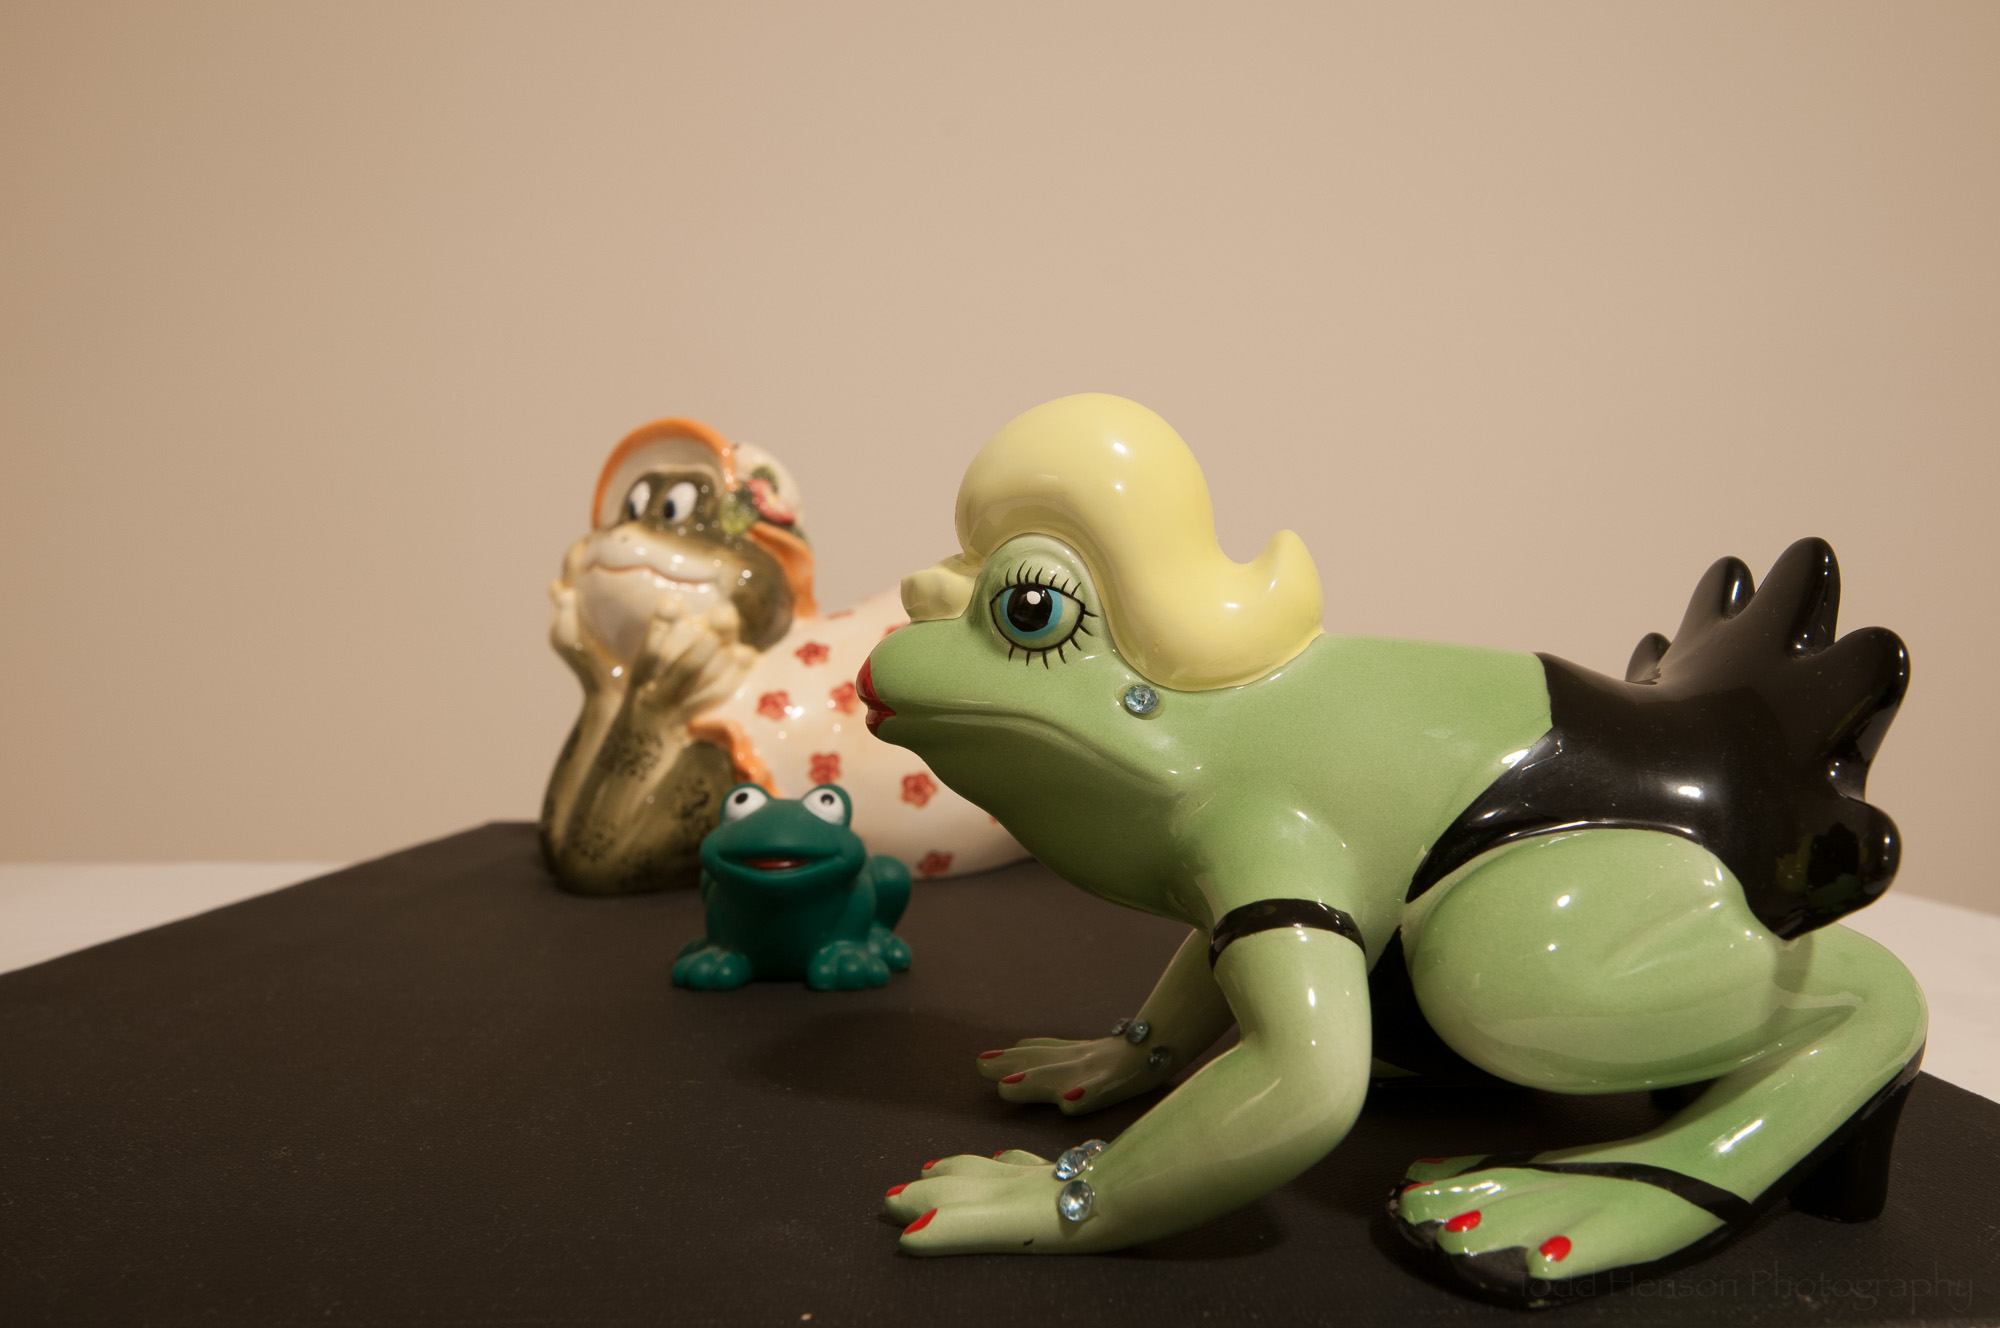
The image at the top of this post is the finished photograph after dodging and burning. Below is a slideshow to step you through how dodging and burning changed the look of the photo. The effects are often subtle as you apply them, and can be difficult to see in the slideshow. Look closely as you step through. I slowly darkened and lightened different portions of the water, rocks, and kayaker. Further below is a slideshow of the original and final versions where you can more easily see the differences. I hope this helps convince you of the power of dodging and burning to shape our photographs and help lead the viewer’s eye through the frame.

Click on the photograph, or the arrows on either side, to step through the slideshow.

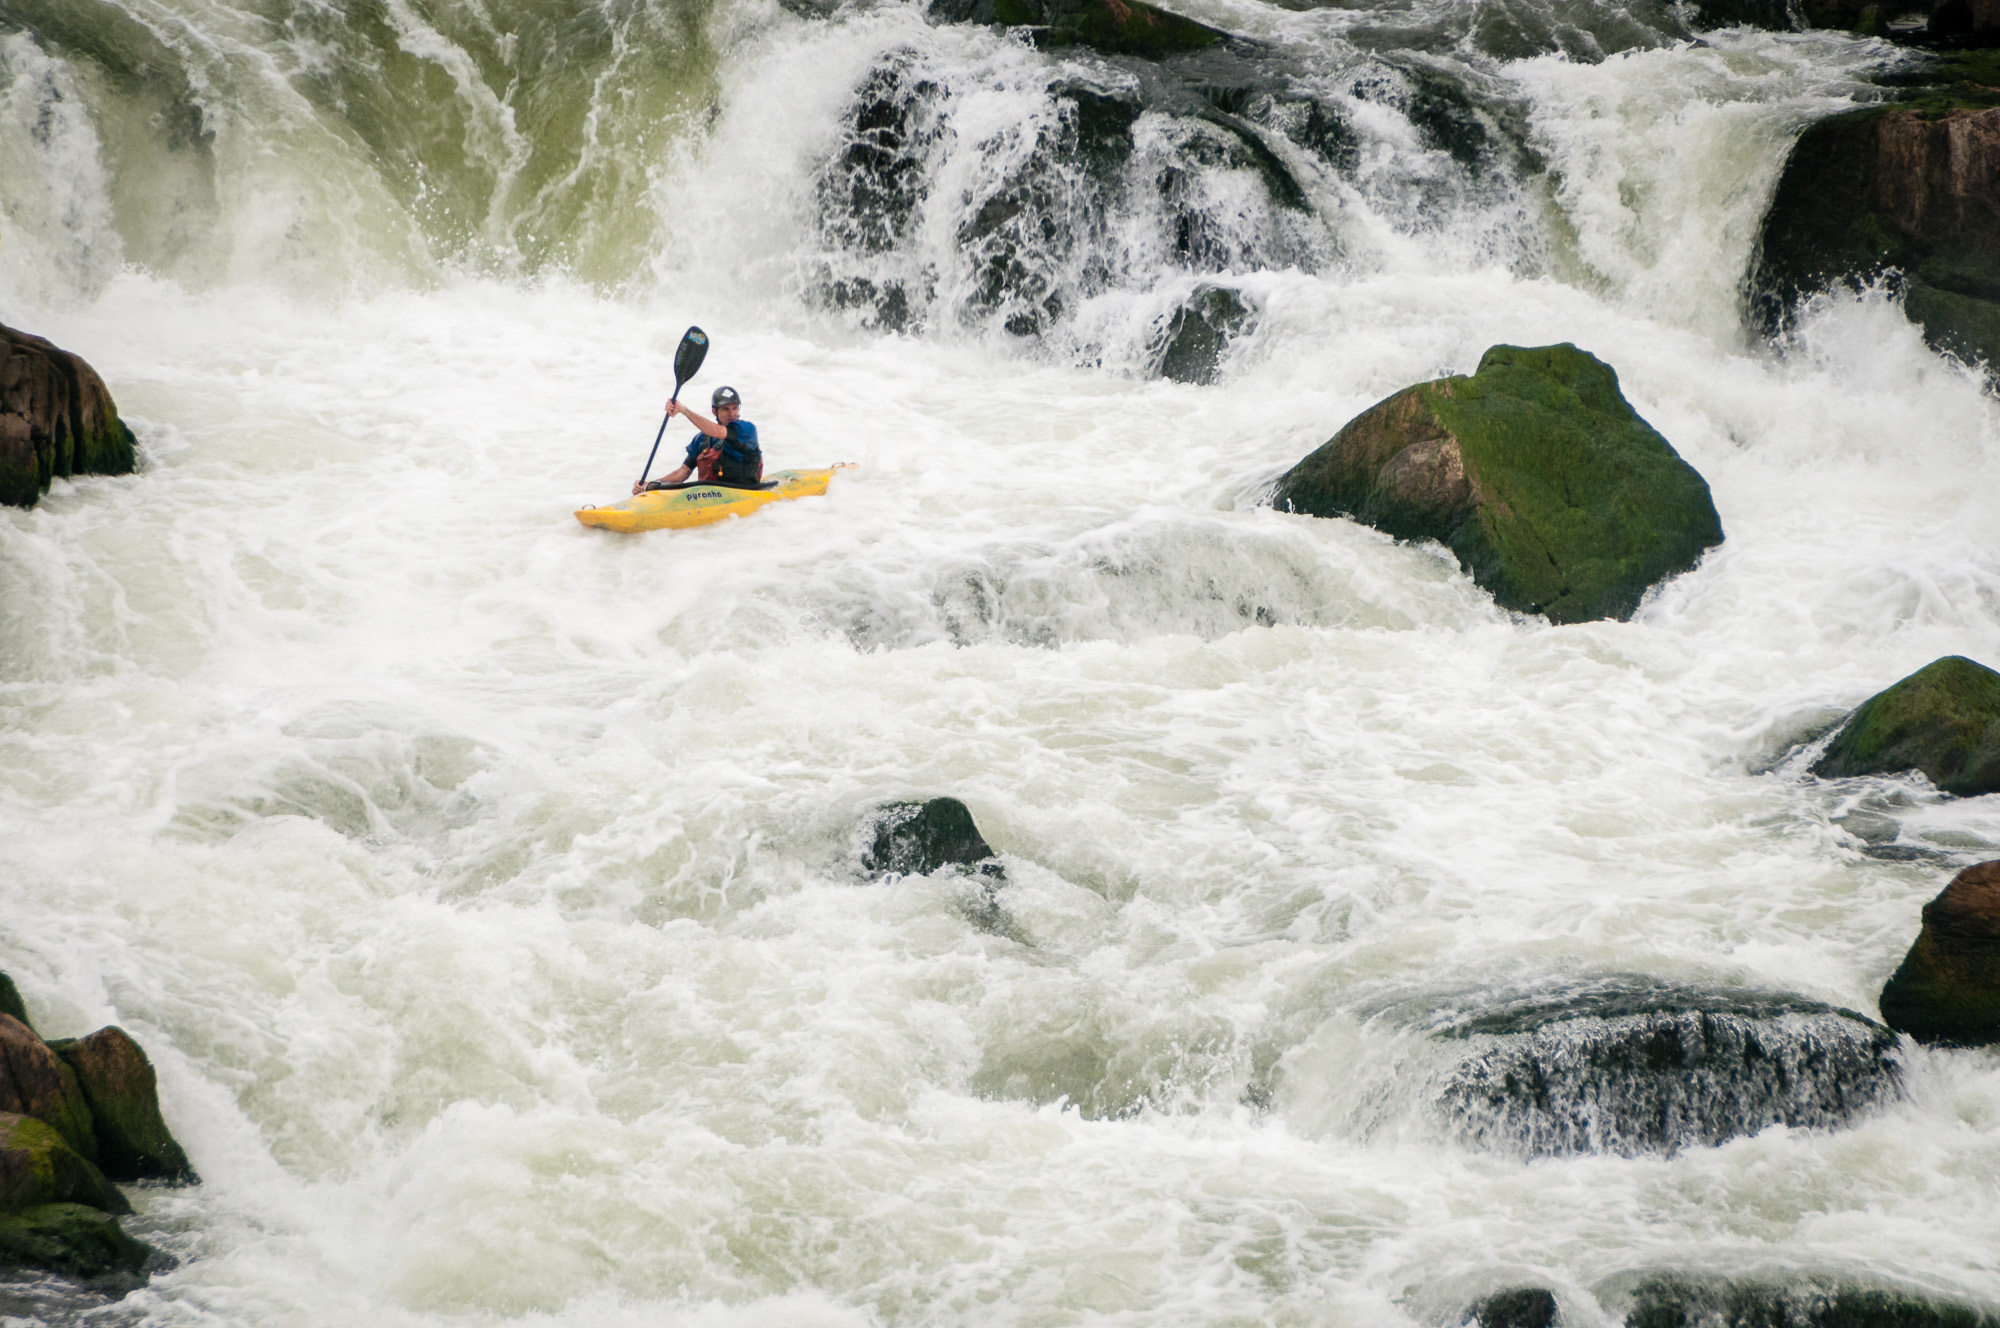
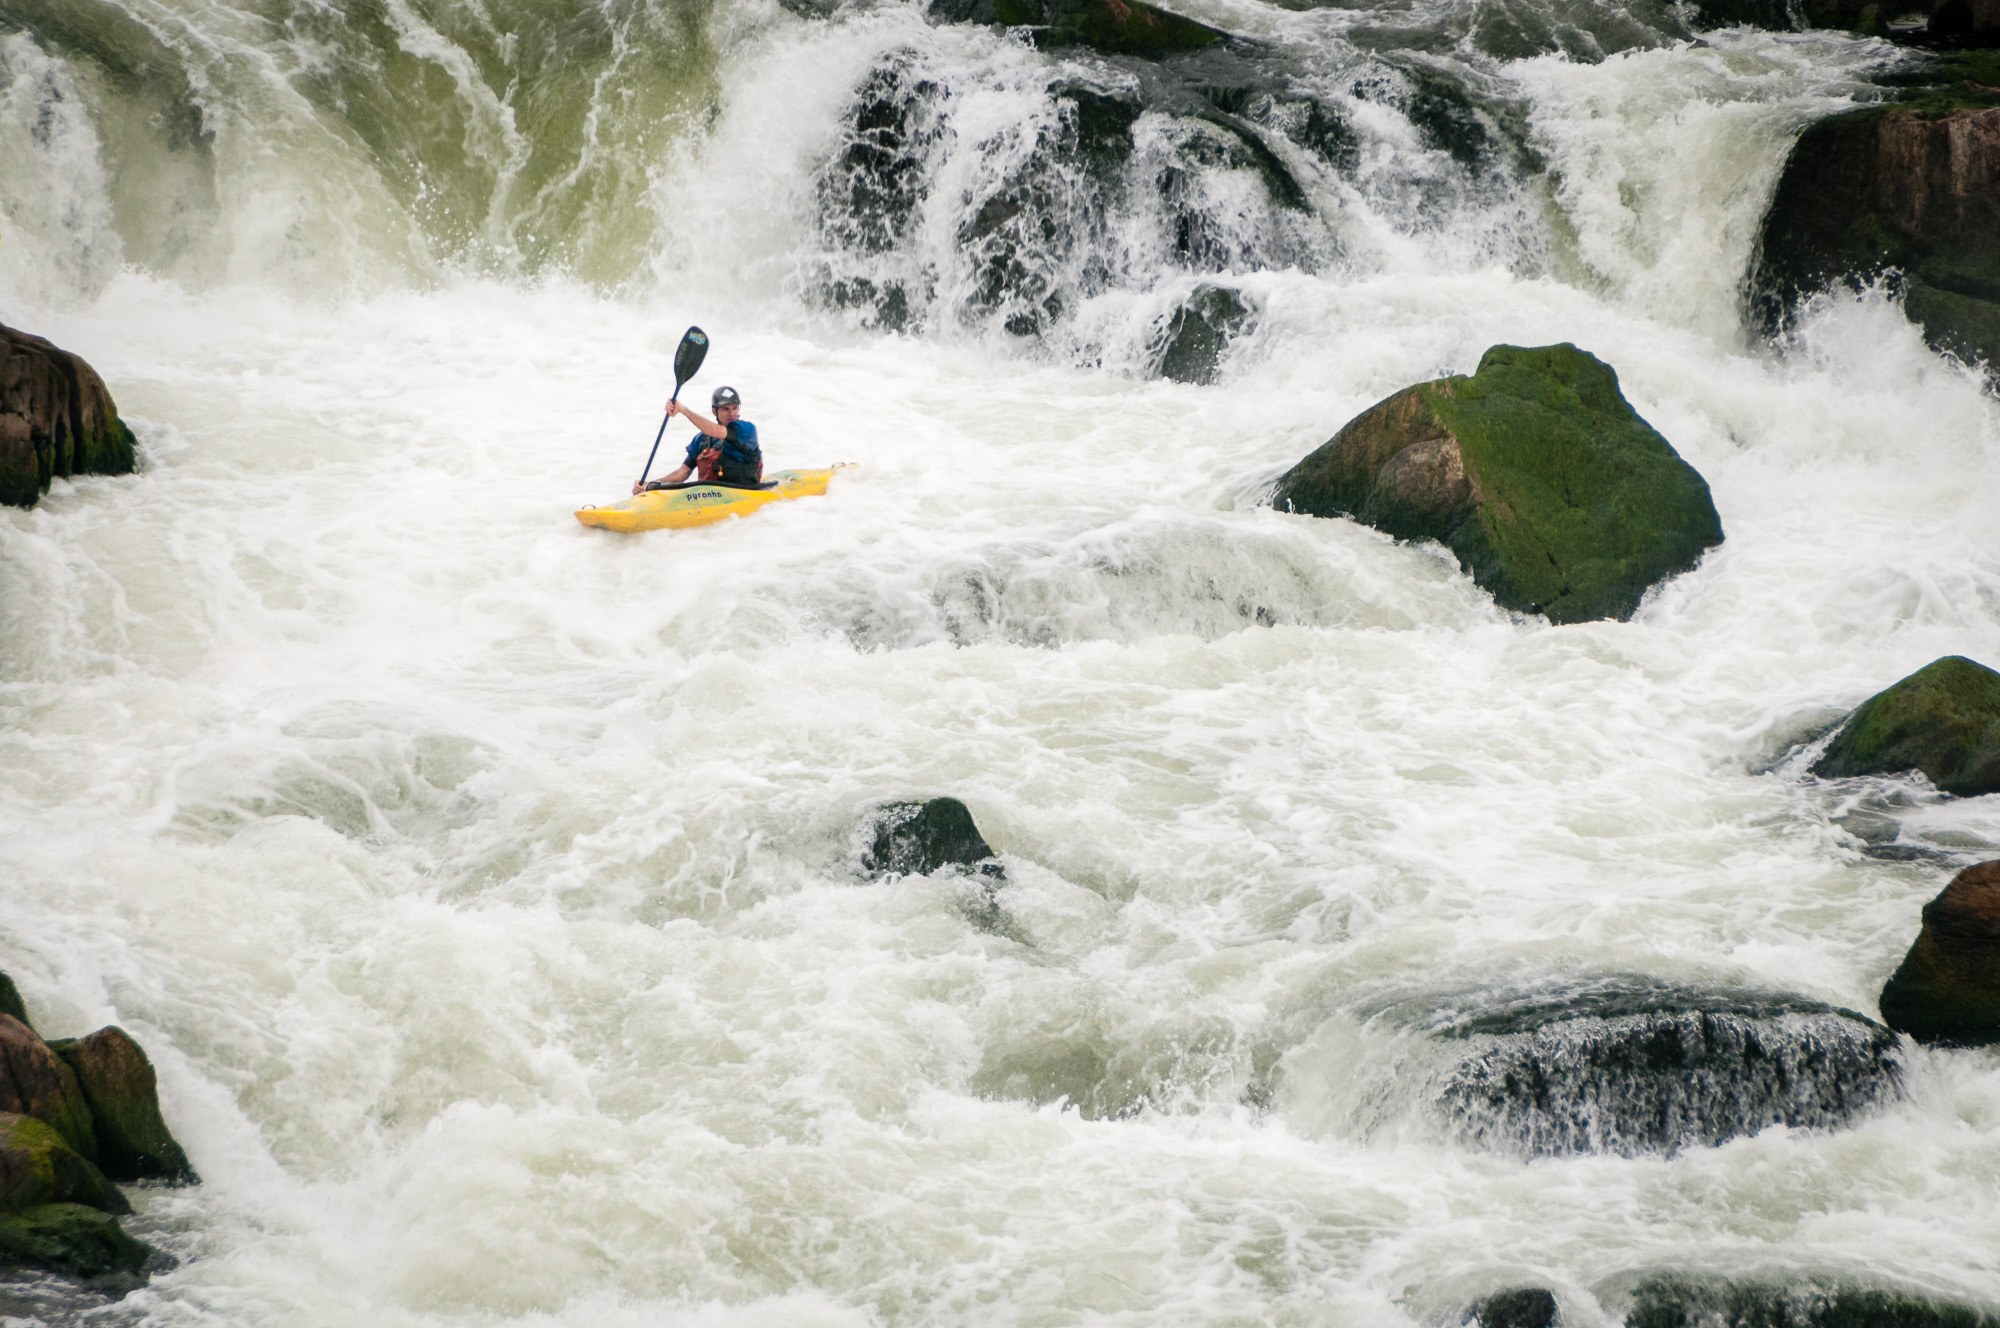
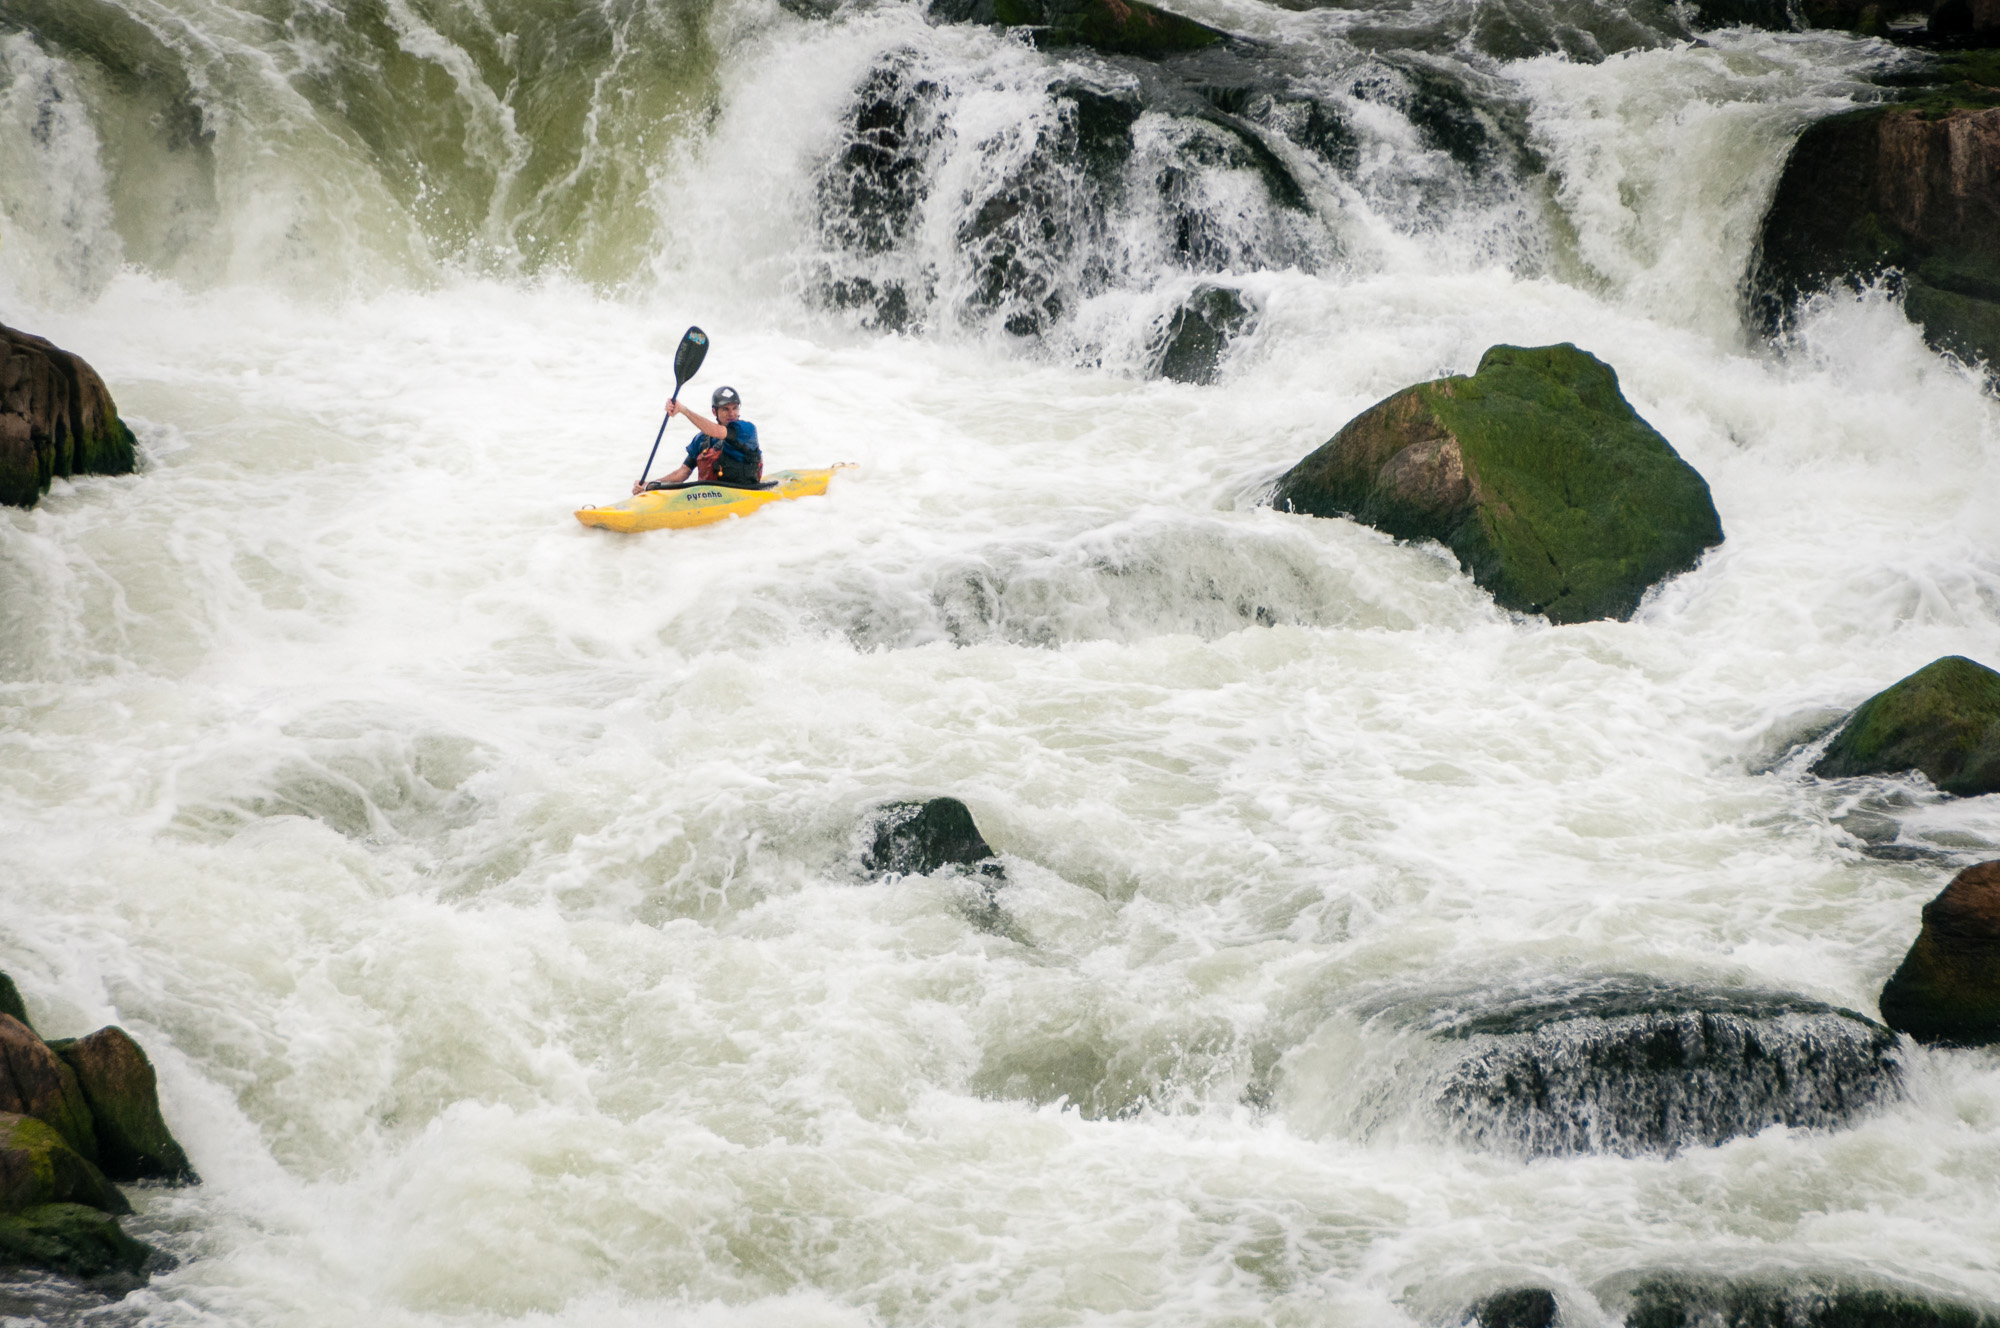
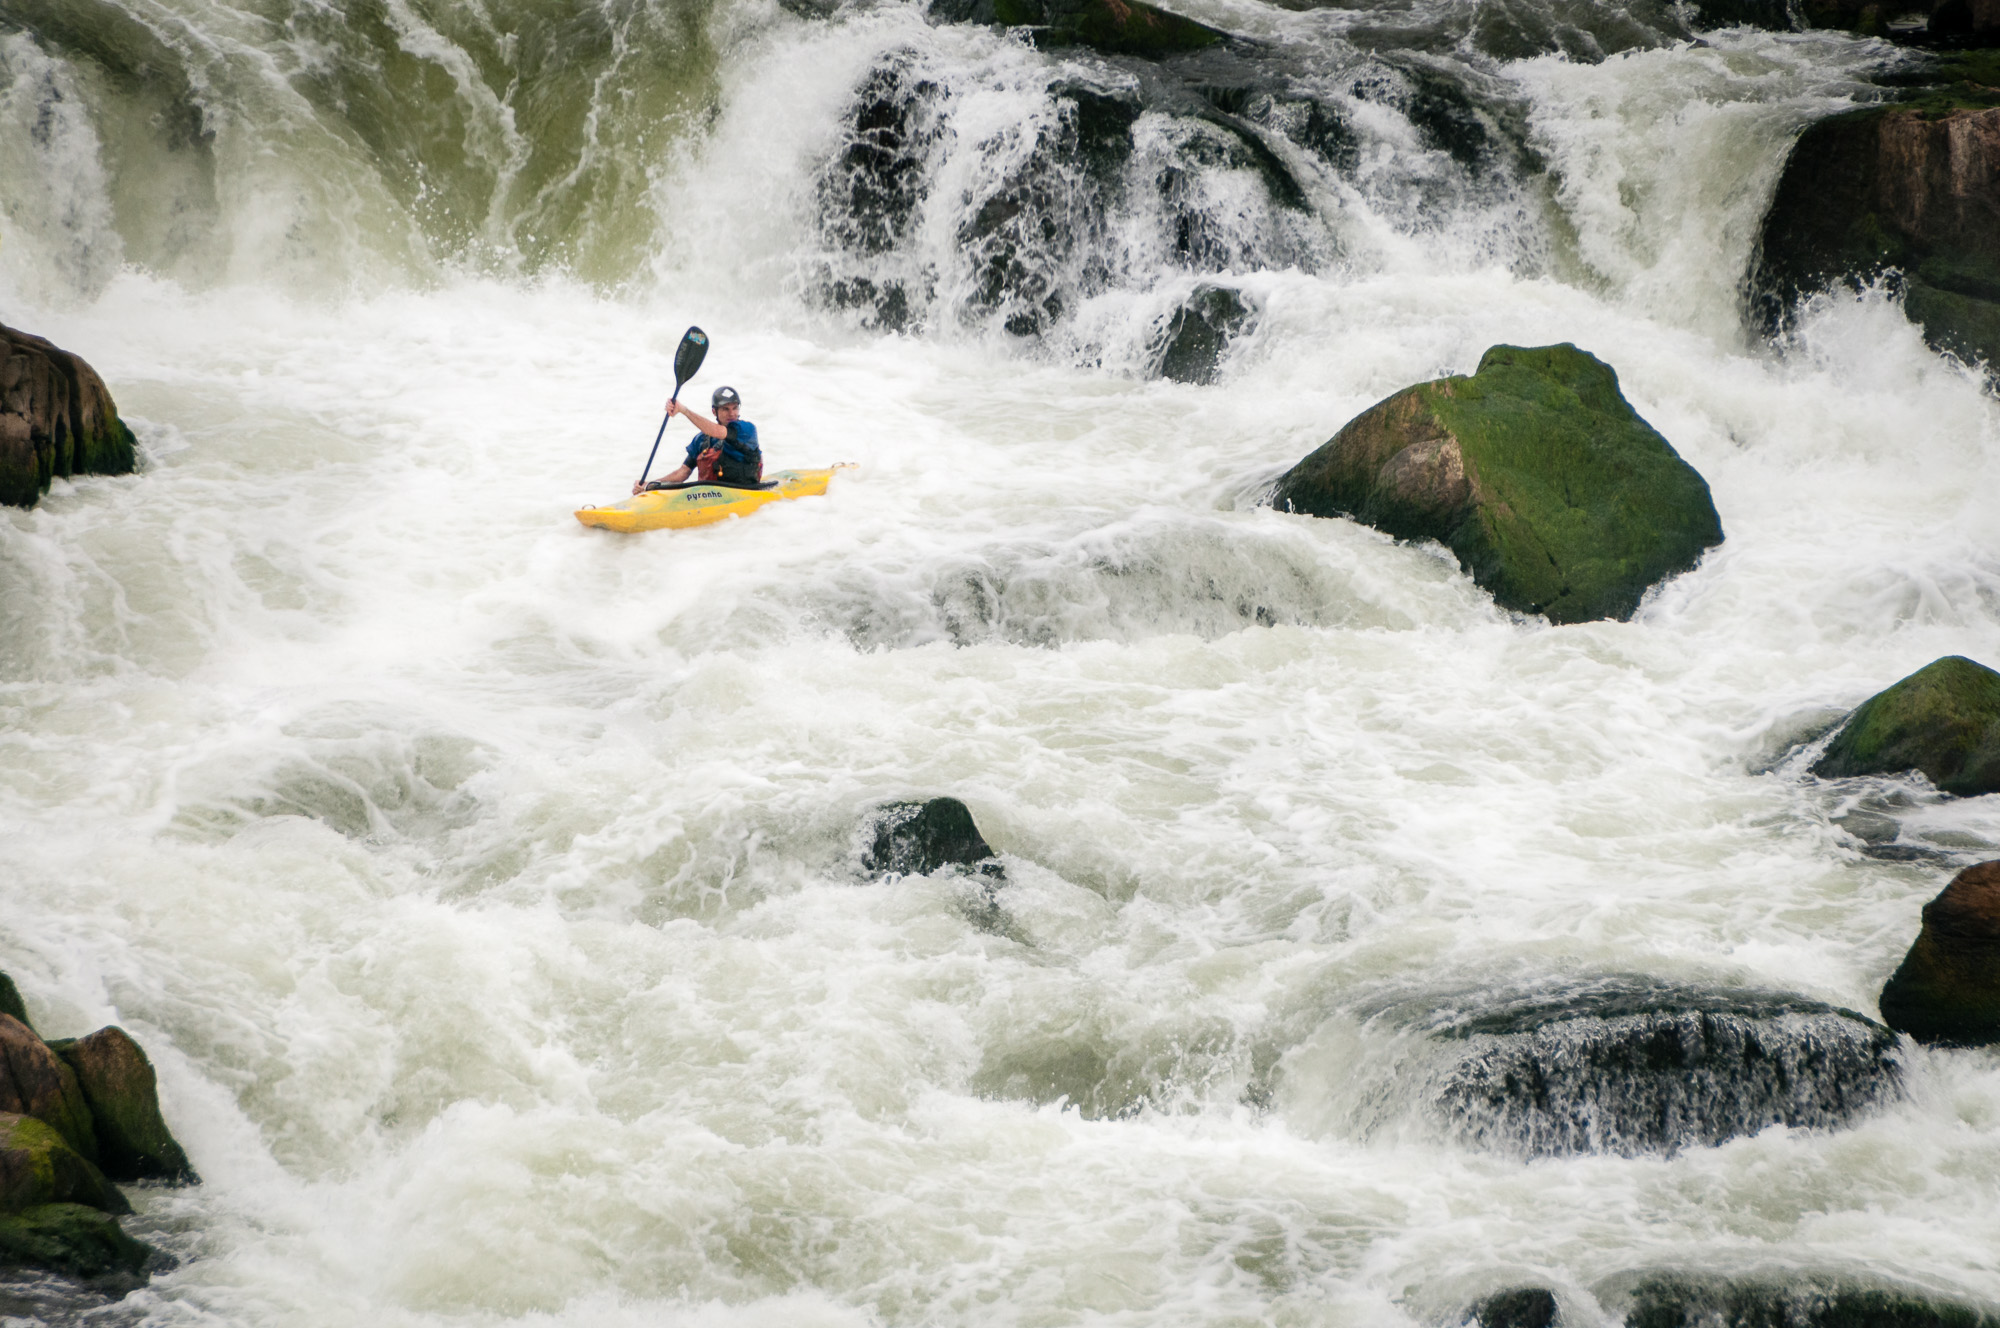
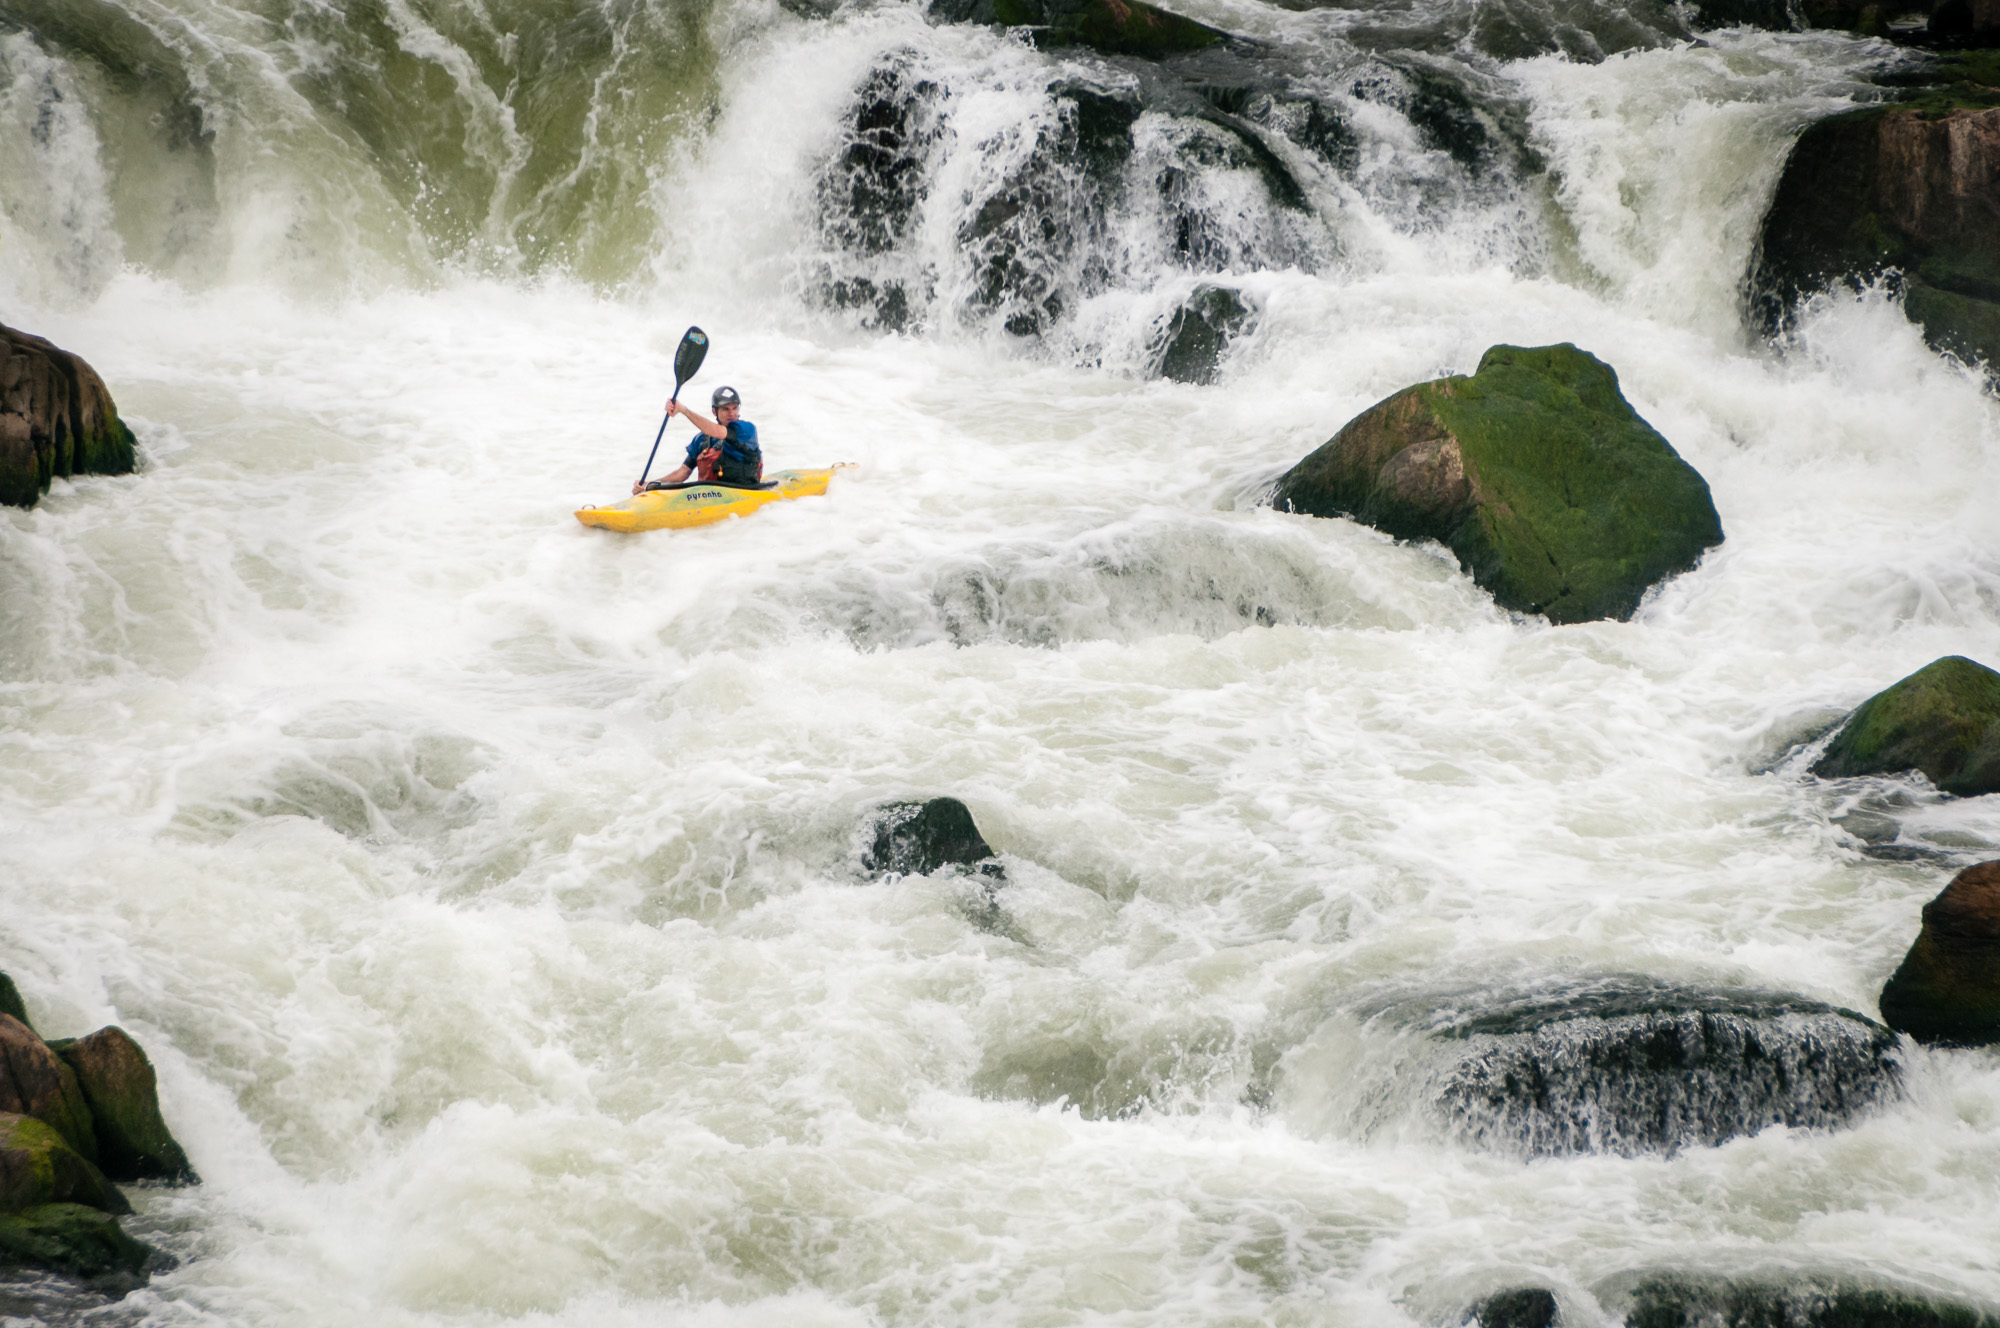
Below is a slideshow of the before and after images. It's much easier to see what changed in these.

I see no magic to a straight print (i.e., one with no darkroom manipulation, such as dodging or burning) unless the tonal values of the scene miraculously fall into the perfect array of tonalities everywhere. Such perfect alignment rarely occurs, so darkroom manipulation is almost always necessary. Ansel Adams knew this, for nearly all of his prints were burned or dodged, some quite heavily. I know this to be true because I had spoken to him about the printing of several of his images, and he explained the extensive manipulations required for most of his images. Most of my prints are manipulated as well, some quite extensively. I recommend that all photographers recognize this and use the tools available in the darkroom for their creative and artistic needs.
— Bruce Barnbaum, The Art of Photography, page 193

Do you enjoy these posts?

Sign up to receive periodic emails with updates and thoughts. Don’t worry, I won’t spam you. And please consider purchasing artwork or products from my online store, and using my affiliate links in the sidebar to the right when shopping online.

I appreciate your support!


The resources below contain affiliate links and I will be compensated if you make a purchase after clicking on my links. This is at no extra cost to you.

Books Mentioned in this Post


Storytelling Example Using Kayakers on Jordan Pond by Todd Henson

Photography is a form of storytelling. A single photograph can tell a story. It can make you think, make you wonder about what’s happening, what you are seeing, where the people are looking, or what the animal is doing. And a series of photographs can be used to tell a longer story, one told in vignettes, each frame telling its own story while also contributing to the larger story as a whole.

National Geographic Magazine is full of great examples of stories told through series of images. Most articles in their magazine include a series of photographs that help tell the story, that enhance the words and help draw in the reader. These photographs are typically created intentionally with storytelling in mind, with that specific article in mind.

I recently thought about storytelling when going back through my photographs of Acadia National Park in Maine. I had not thought much about storytelling during the trip. It was a vacation to get away from work, to clear my mind and spend some time with my father. We just wanted to see some sights and eat some great food.

But recently, going back through the images, I began to see the potential for a story. The images were of Jordan Pond in the fog. Initially I was attempting to create landscape images, showing the pond and the fog along with parts of the shore, some rocks, trees, etc. But then I saw kayakers on the pond and began focusing in on them, integrating them into the photographs. They made great subjects.

Looking back at the images I wondered if there might be a combination of images that could tell a story. I tried to imagine my vacation had been an assignment, that I needed a series of photographs to go along with a story. So I edited them down to the selection you see in this post.

I don’t have a written story for these images. This was just an exercise to see how I might pull together images if there were one. But this also was an exercise to help get me thinking more intentionally on future trips or future photo shoots, to think about telling a story with the images I create. Instead of just creating a large number of individual images I can attempt to intentionally create a series to tell a story.

Have you ever attempted to tell a story using a series of images? If not then I encourage you to give it a try. If you have then leave a comment below and let me know about your experiences.


Do you enjoy these posts?

Sign up to receive periodic emails with updates and thoughts. Don’t worry, I won’t spam you. And please consider purchasing artwork or products from my online store, and using my affiliate links in the sidebar to the right when shopping online.

I appreciate your support!


Fundamentals of Photography with John Greengo by Todd Henson

This post contains affiliate links and I will be compensated if you make a purchase after clicking on my links. This is at no extra cost to you.

Fundamentals of Photography with John Greengo. Image credit: CreativeLive

Fundamentals of Photography with John Greengo. Image credit: CreativeLive

Are you new to photography? Interested in learning how to master your new camera and use it to begin creating beautiful images? Or perhaps you already know a bit about photography and would like a refresher to reinforce various topics? If so, check out CreativeLive’s class, Fundamentals of Photography, taught by John Greengo.

For many years John Greengo has taught his Fundamentals of Photography class, often adding or updating content, especially if anything new has happened in the world of photography. I’ve purchased two versions of this class in the past (in 2010 and 2012), and still go back to the lessons from time to time. John is a great teacher and he creates amazing visuals that help explain and reinforce the topics he teaches. (The visuals and examples in this post are my own.)

Selection of SLR lenses

In the class, John covers a wide range of topics. He talks about the different types of cameras out there today and how each work. He explains each part of a camera system, including the digital sensor and the differences between sensors, and camera lenses in their different forms. He explains how light works and how the camera captures it.

John teaches about exposure, and how it is affected by choices of shutter speed, aperture, and ISO. He explains each of these topics with visuals that really help you grasp the concepts. Examples of this are how to use aperture to get a shallow depth of field or a large depth of field. He talks about how shutter speed will affect the look of your image, allowing you to freeze the action or create motion blur to show the action. He explains ISO and how it controls how sensitive the sensor is to light.


Example: Aperture and Depth of Field

The images of the lens below show the actual, physical, opening of the aperture at 4 different f-stops: f/1.4, f/4, f/8, and f/16. For this particular lens, a 50mm f/1.4 Nikkor lens, the largest opening possible is f/1.4 and the smallest opening possible is f/16. Click on the arrows on either side of the image to display to the next image.

The images of the frogs below show the depth of field for each of the apertures above. The depth of field is the area most in focus. In each image I focused on the eyes of the middle frog.

Notice at f/1.4 there is very little depth of field, meaning there is a lot of the image that is out of focus. Notice how at f/4, then f/8, and finally f/16, that more and more of the image is in focus.

Look at the images of the lens above again. Notice that f/1.4 is the largest opening and created the least depth of field (had the least in focus). Notice that f/16 is the smallest opening and created the largest depth of field (had the most in focus).


Example: Focal Length and Perspective

The images below were created at 2 different focal lengths. I attempted to keep the compositions as close as possible.

The first image was created using a wide angle lens at a focal length of 16mm. The front of the lens is very close to the foreground frog. Notice how large the foreground frog is in relation to the background frog. Notice how far away the background frog looks. Short focal length lenses (wide angle lenses) can stretch out the landscape, making objects in the foreground appear larger and making objects in the background appear smaller.

The second image was created using a telephoto lens at a focal length of 200mm. Notice how much larger the background frog is in relation to the foreground frog. Notice how much closer the background frog seems than in the wide angle image. This is called compression. Longer focal length lenses (telephoto lenses) compress the foreground and background, bringing the background objects closer to the foreground.

These images are an example of why it can still be very useful to move back and forth in a scene and not just rely on zooming your lens to fit the scene to the lens. Instead, visualize how you'd like the image to look.

Do you want to emphasize the foreground and minimize the background? Then use a wide angle lens and get close to the foreground object.

Do you want to emphasize the background, making it seem very large? Then use a telephoto lens. You can then move closer or further from the foreground object depending on how large you what that to be in the frame.


In addition to the more technical topics, John also talks about composition and design, about how to create pleasing images, how to add drama and evoke emotion in the viewer. He has had a long and successful career in photography, and has worked with other well known photographers, such as Art Wolfe. John is very good at taking what he’s learned and passing that on to his students through the videos and visuals.

Fundamentals of Photography is a long class full of content. It is first broadcast live over several days, usually close to 5 or 6 hours a day. One of the nice things about purchasing the class is being able to watch it later at your own pace. You can take one topic at a time, watch the videos, experiment with your camera, really understand the topic. Then move on to the next topic.

If you’re new to CreativeLive, check them out. They are an online education company that broadcasts classes on a whole range of topics. The classes are free to watch during the live broadcast and from time to time when they rebroadcast the class. They are always broadcasting something. If you like the class you can purchase it, letting you stream the class anytime, and also letting you download the videos and other content to your computer to watch offline anytime you want. Some classes have extra content only available when you purchase. I have purchased dozens of classes over the years, and likely will continue to. CreativeLive offers a fantastic platform for learning. Their topics cover not just photography & video, but also art & design, music & audio, craft & maker, and money & life.